
There's something wonderfully nostalgic about returning to a place that has long felt like home. For Taylor and Chris, years of vacations along Virginia&#…
There's something wonderfully nostalgic about returning to a place that has long felt like home. For Taylor and Chris, years of vacations along Virginia's coast made choosing the Marriott Virginia Beach Oceanfront an easy decision, especially with a straightforward drive down from Pennsylvania along the Eastern Shore. Beautifully photographed by Brittany Breen Photography and coordinated by The Happy Hour Hostess, their celebration blended timeless coastal elegance with thoughtful personal details.
From an oceanside ceremony overlooking the Atlantic to a candlelit ballroom reception (complete with meaningful family tributes and adorable details of their beloved dog, Zoey), every moment felt like them in a beach-loving joy kind of way.
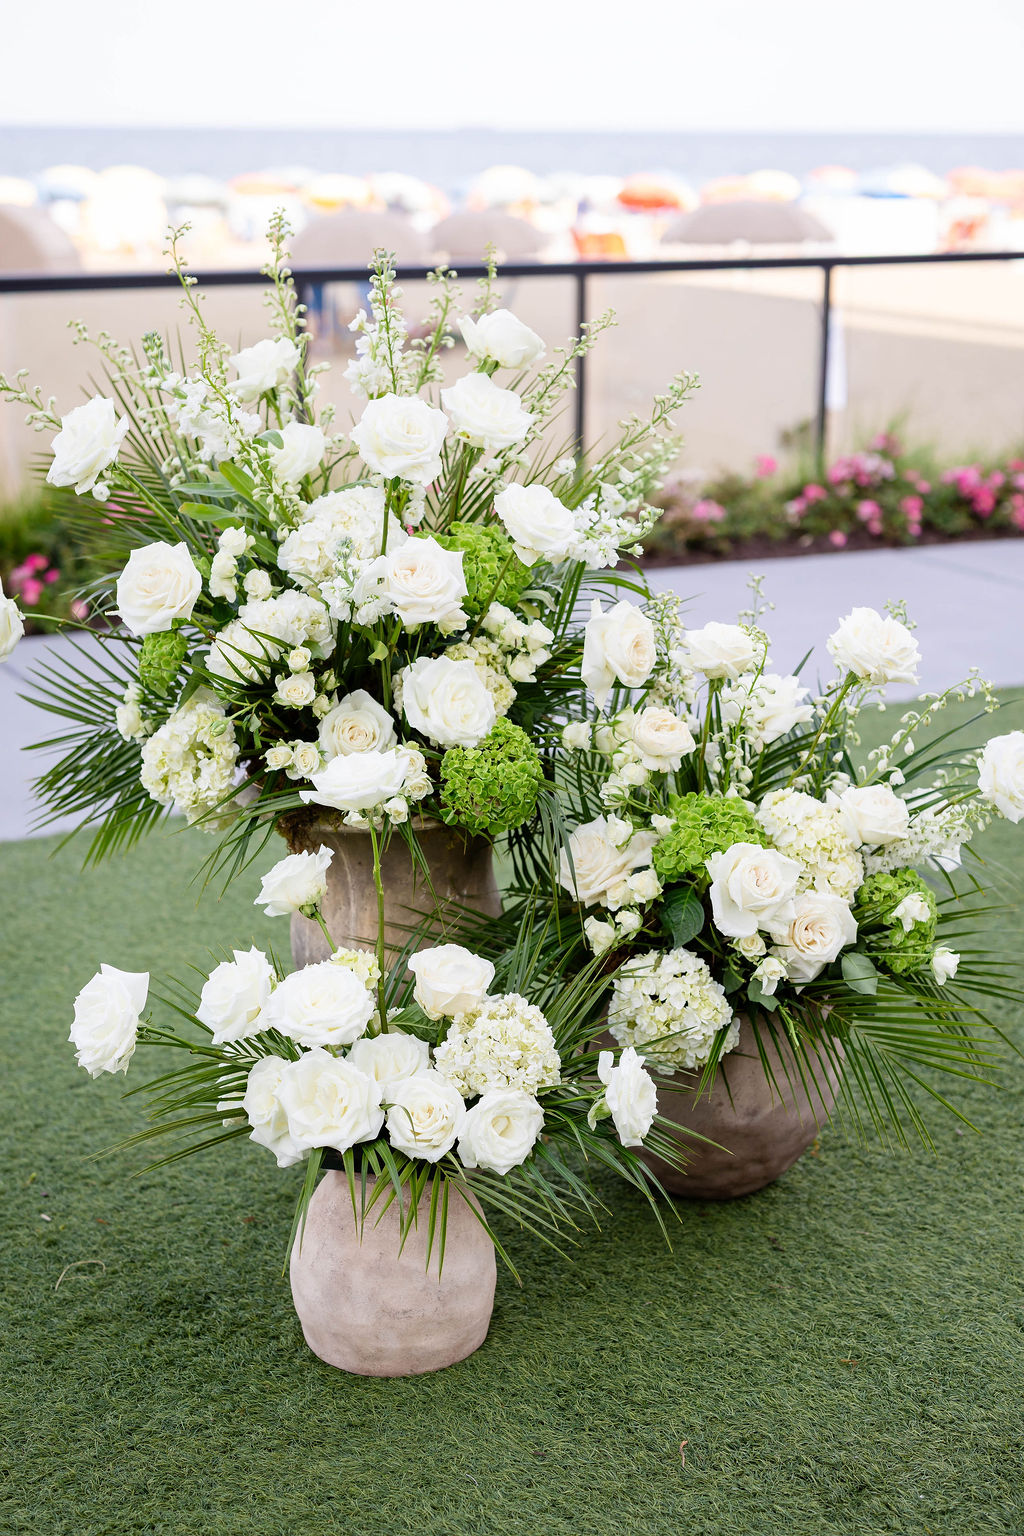
Why We Love This Wedding: Taylor and Chris struck the perfect balance between modern destination elegance and heartfelt storytelling. By pairing timeless beach wedding aesthetic like all-white florals and palm leaves with no traditional wedding party or cake, they created a celebration that feels both effortlessly stylish and uniquely their own.

A Virginia Beach Destination Wedding Years in the Making
For Taylor and Chris, Virginia Beach was already a place filled with cherished memories. Their guests traveled from near and far to celebrate throughout the weekend, beginning with a casual welcome gathering at the Cavalier Beach Club before moving to the Marriott Virginia Beach Oceanfront for the wedding day festivities. The venue offered everything they envisioned for a destination celebration, from panoramic Atlantic views to elegant indoor and outdoor event spaces that allowed guests to enjoy the best of the Virginia Beach Oceanfront.
A Coastal Wedding Style Inspired by Modern Elegance
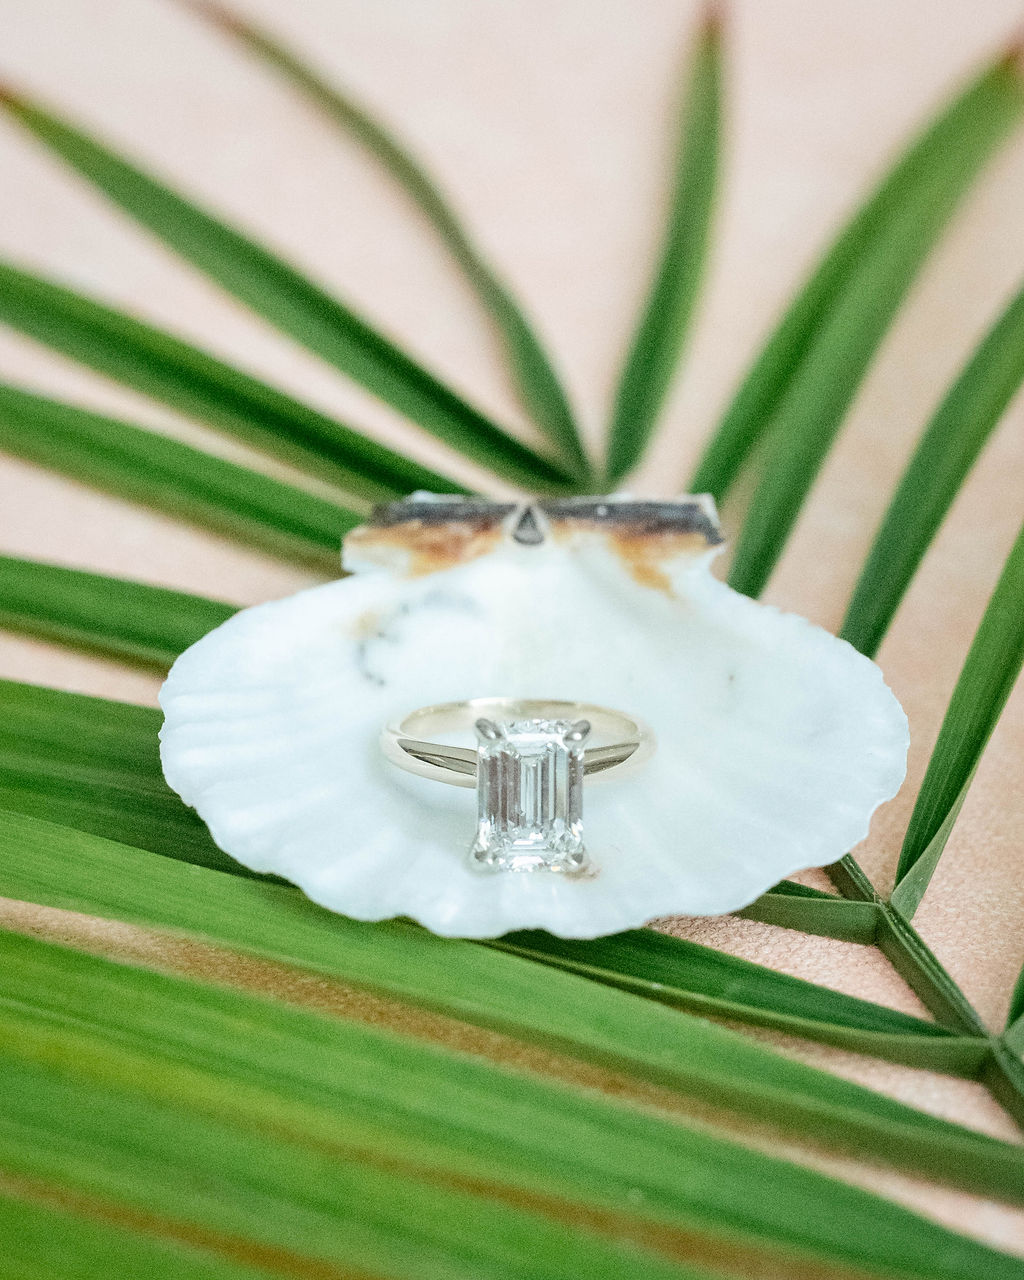
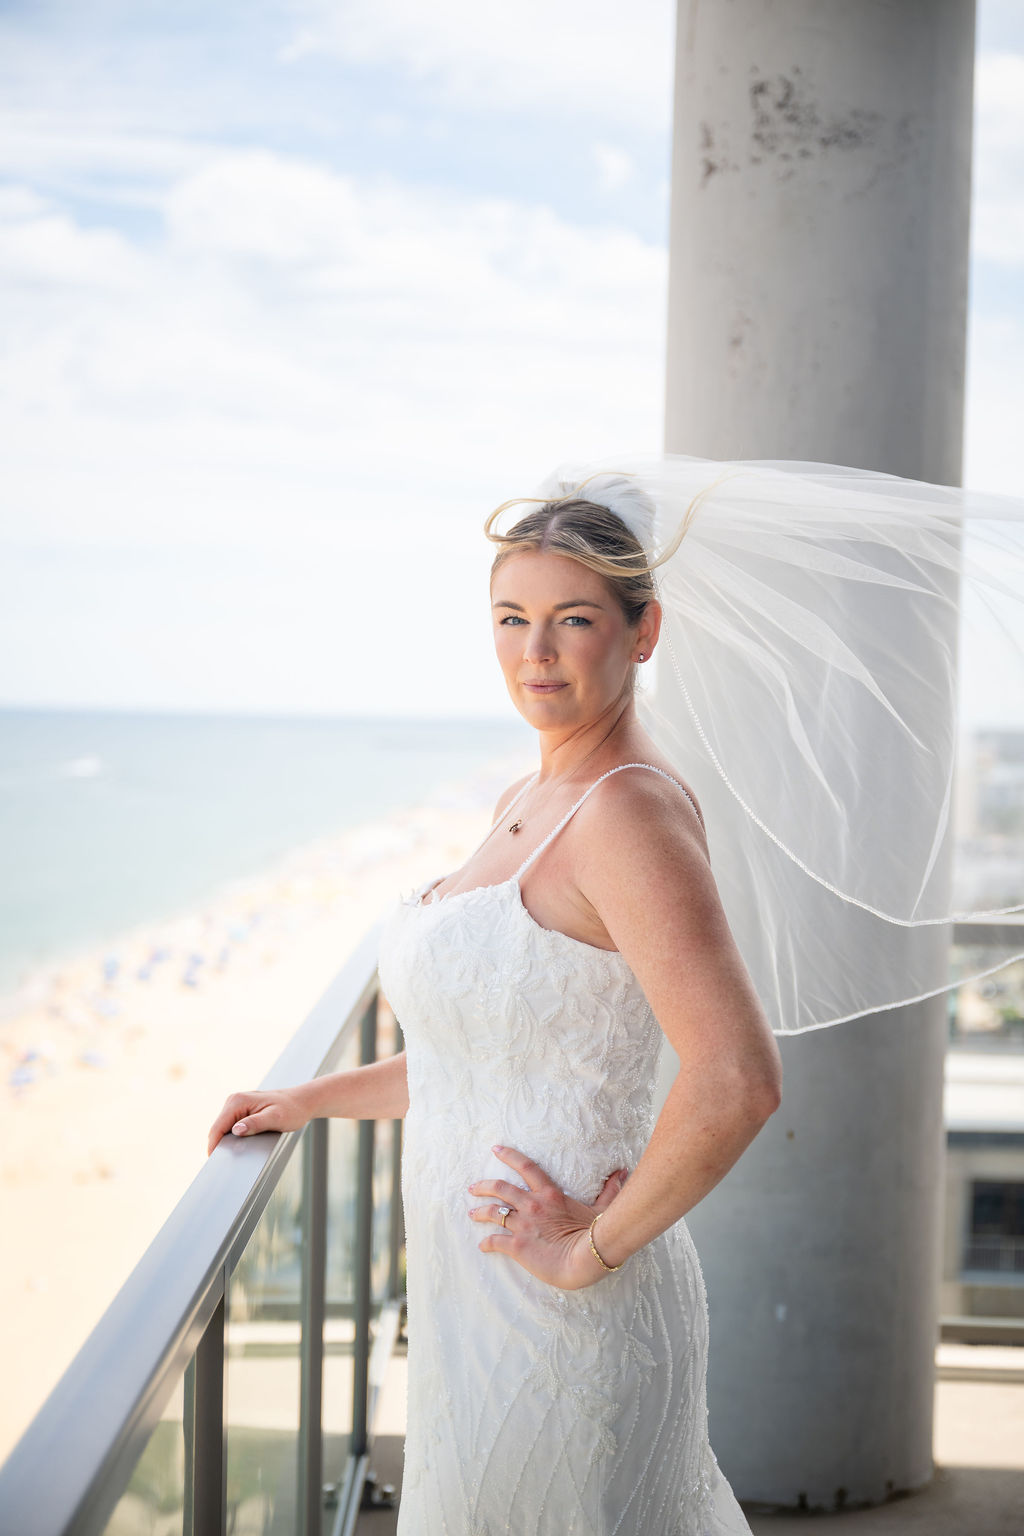
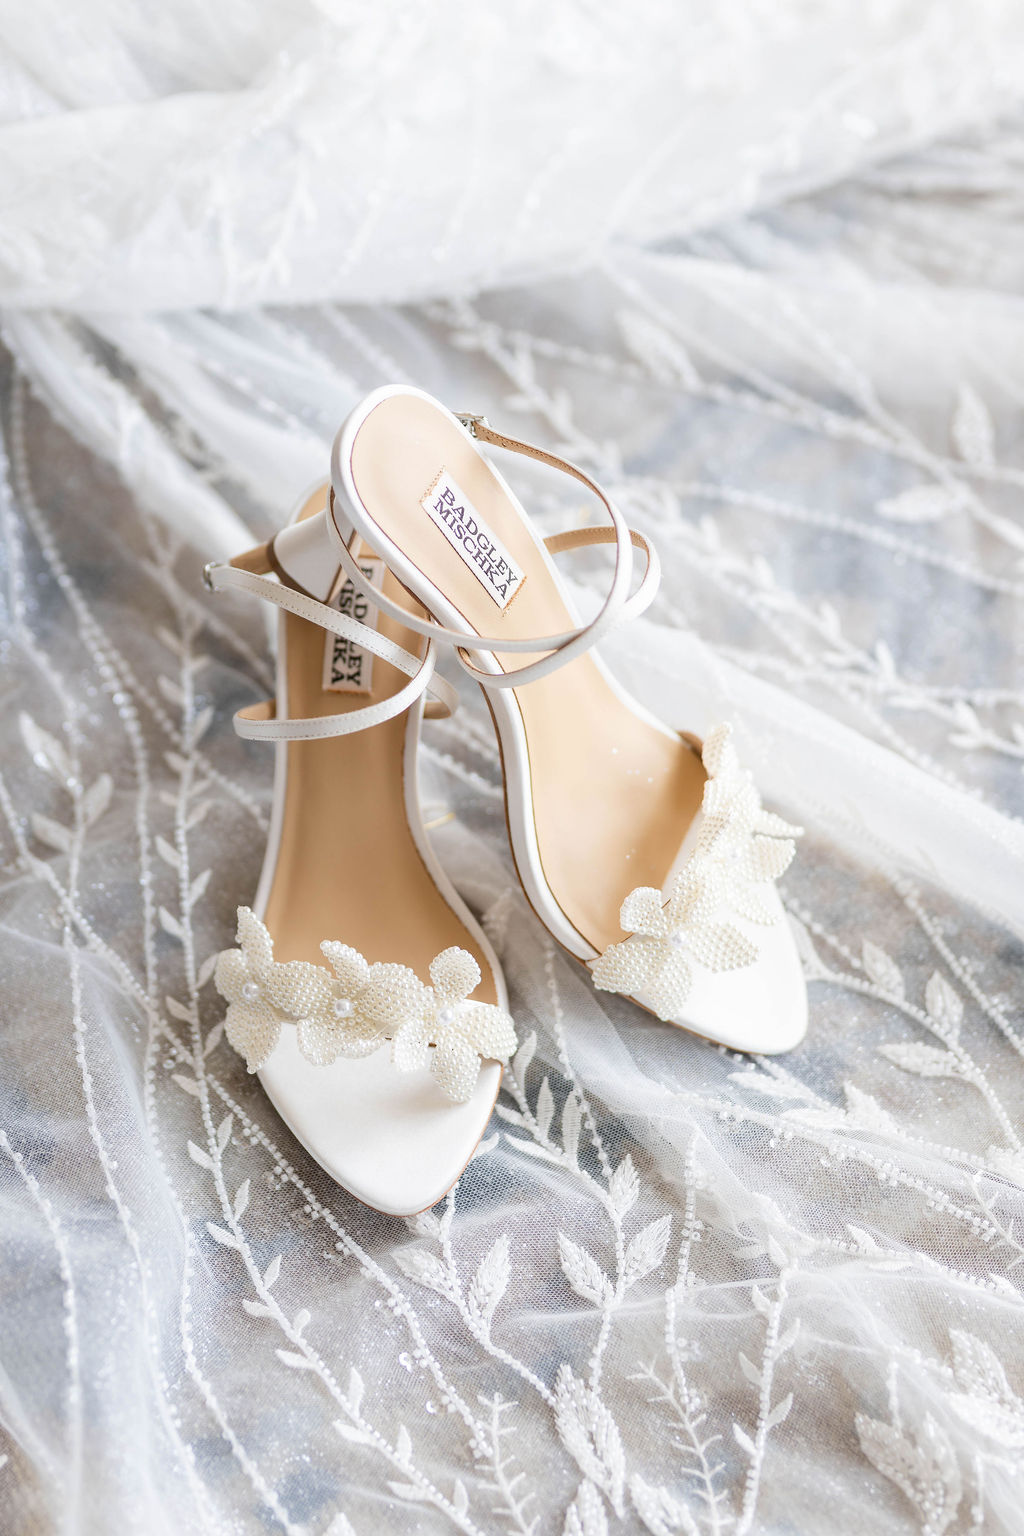
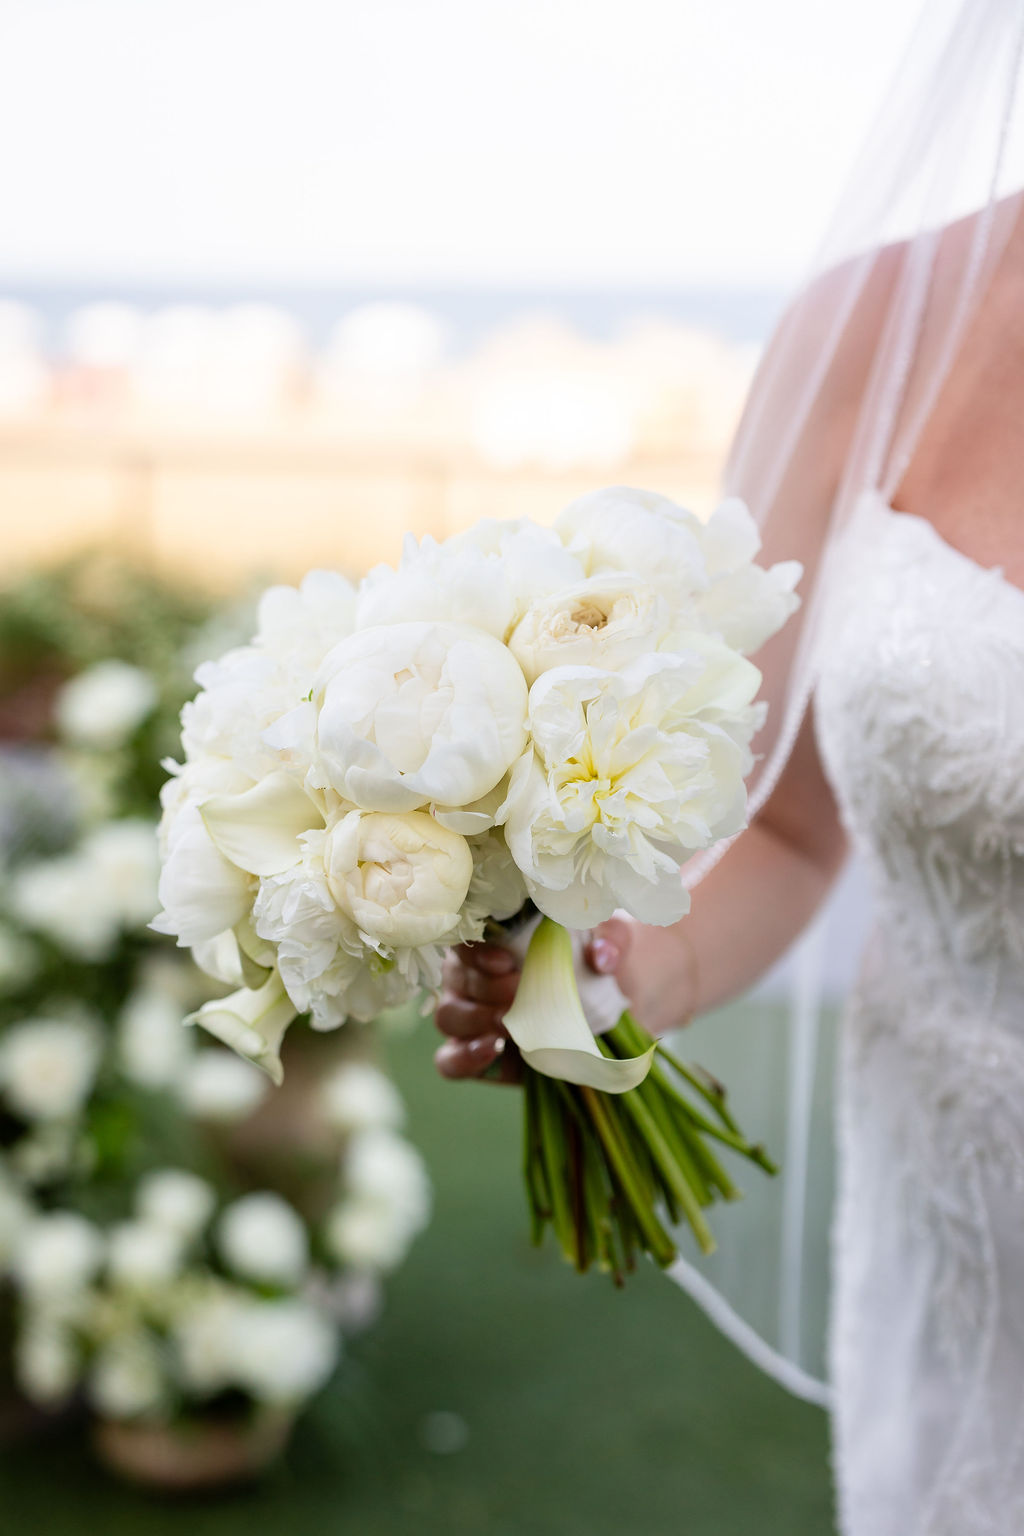
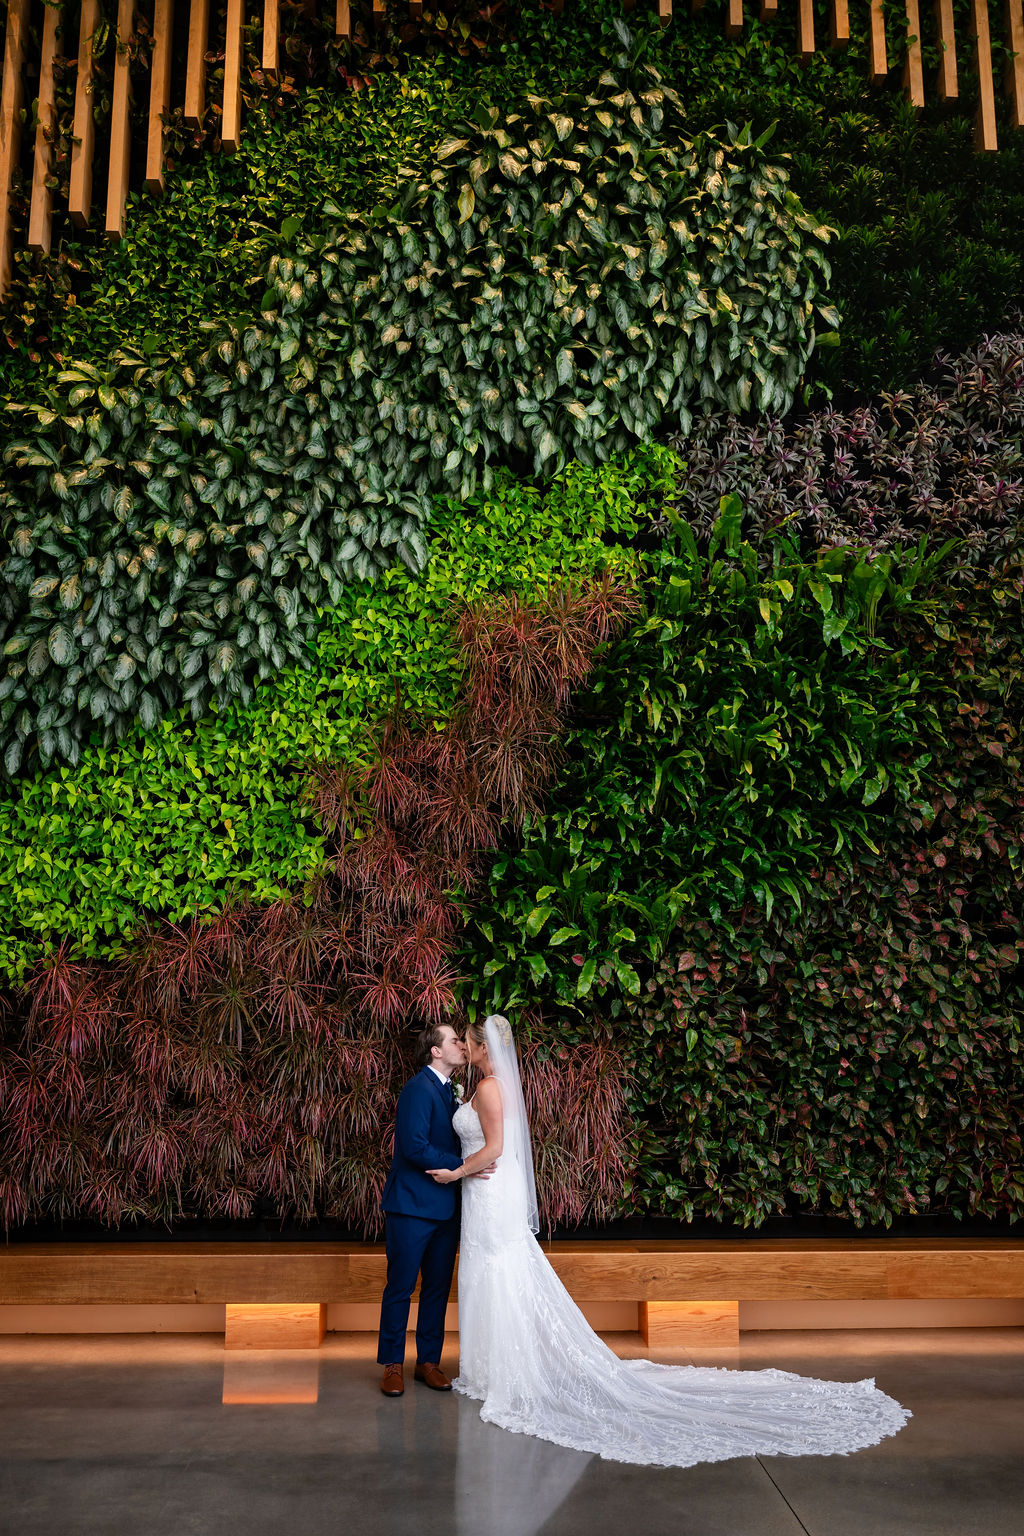
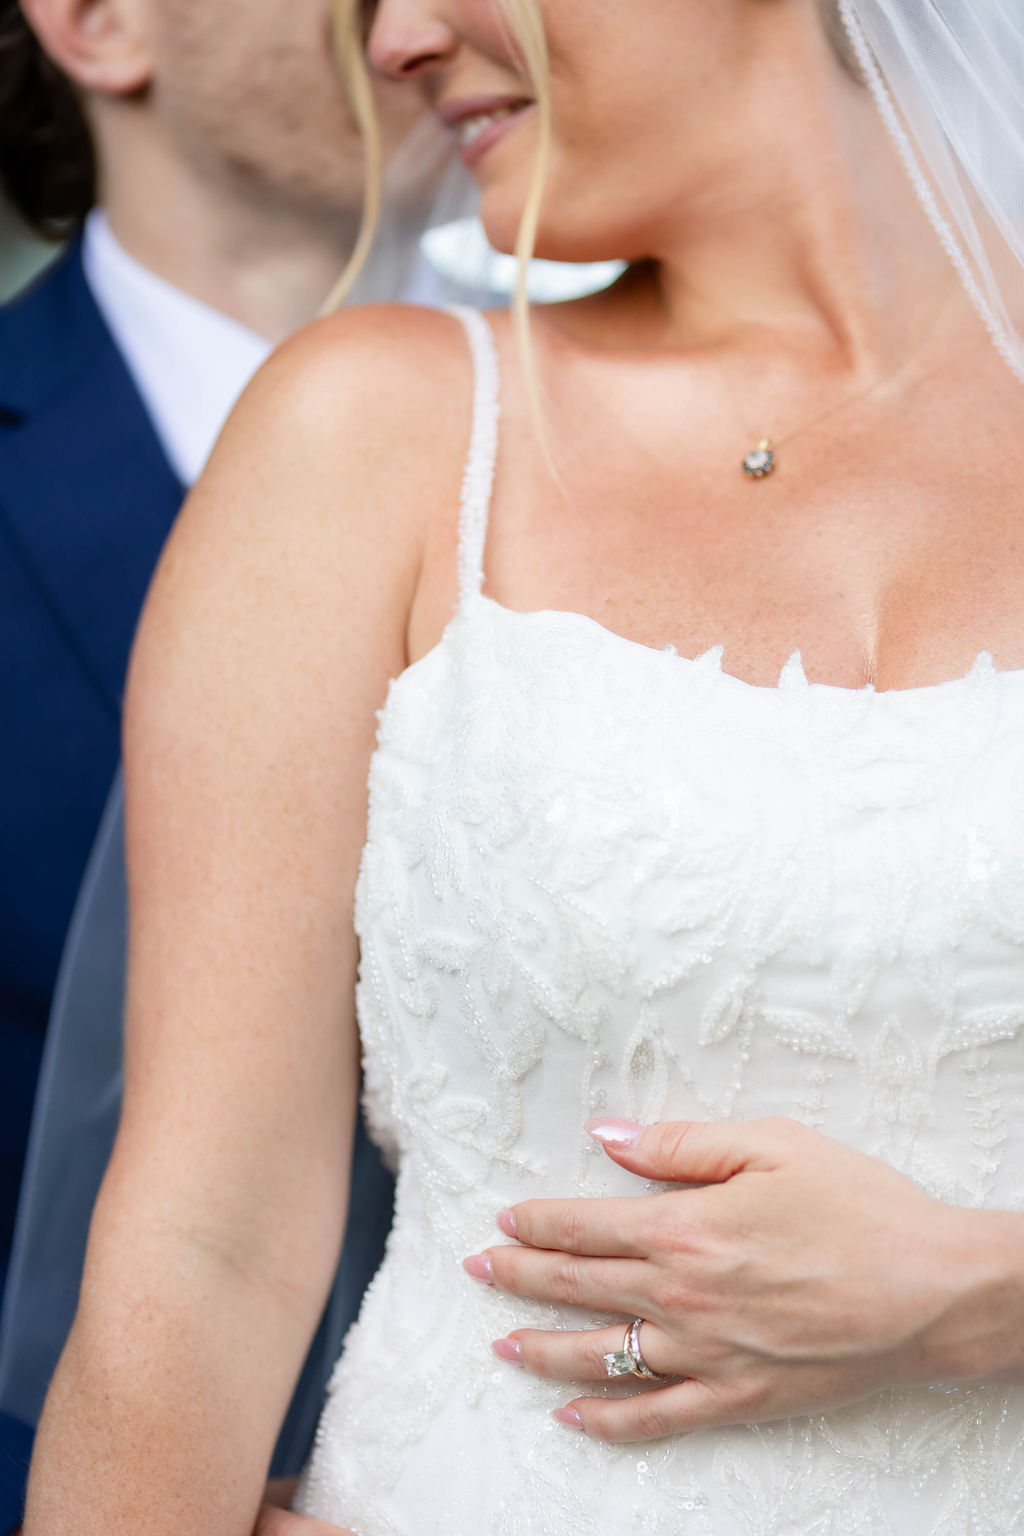
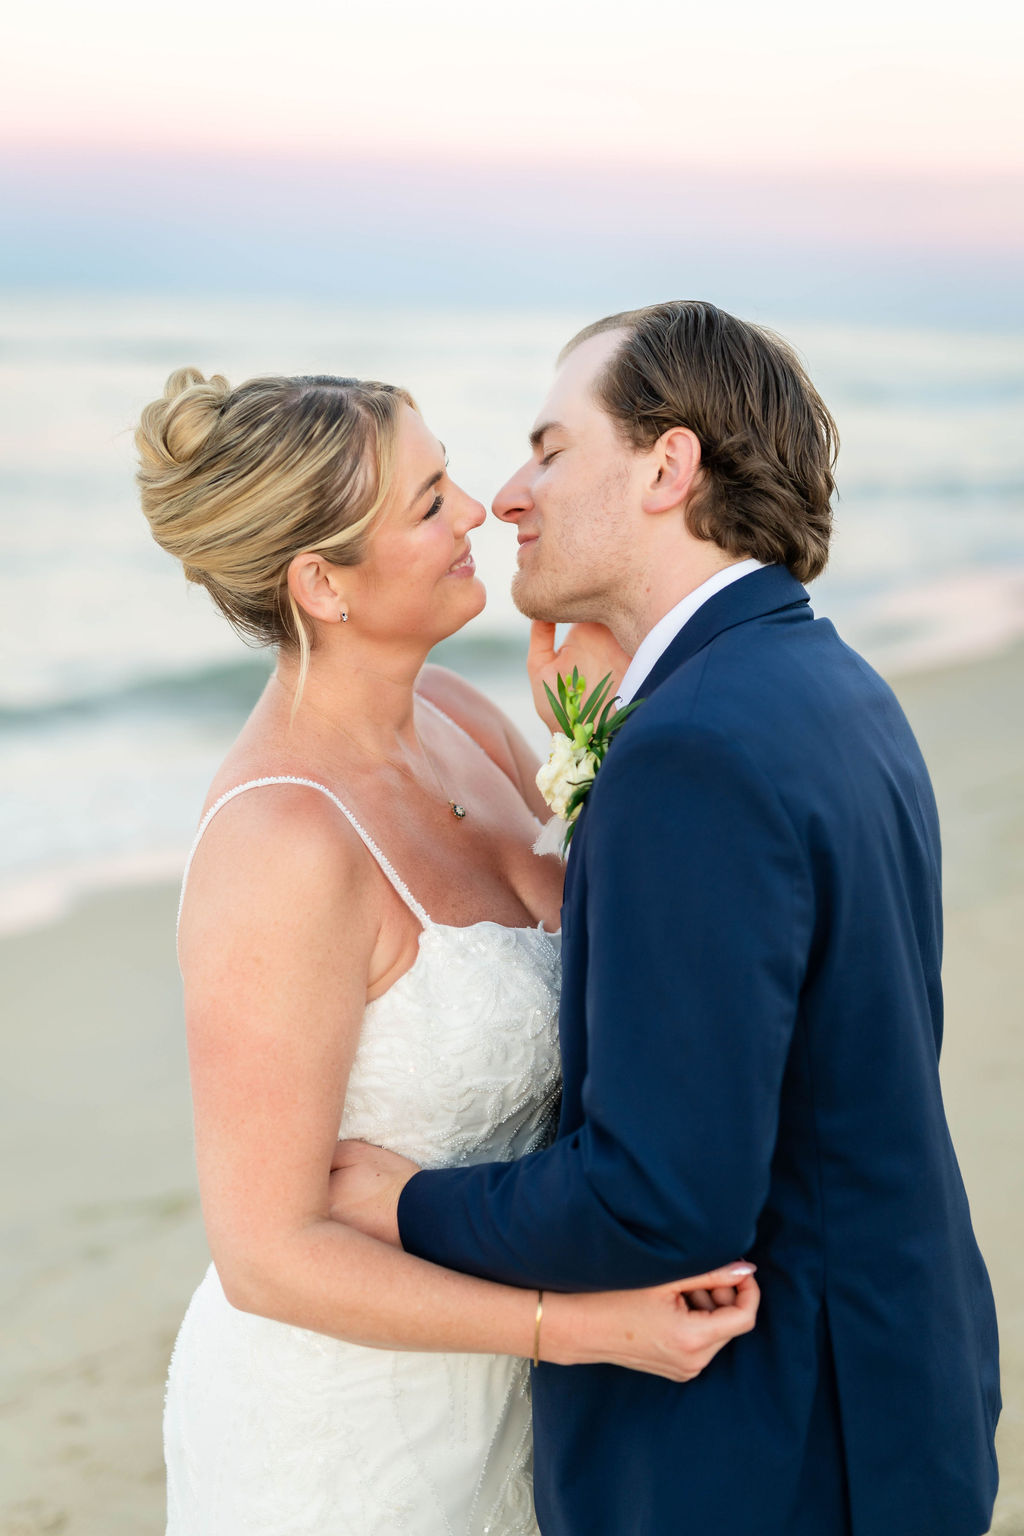
Taylor embraced coastal glamour in a beautifully beaded wedding gown with a dramatic train that shimmered with every step. Paired with pearl-decorated Badgley Mischka heels, her bridal look subtly echoed the texture and elegance of seashells found along the shoreline. It's a beach bride's dream!
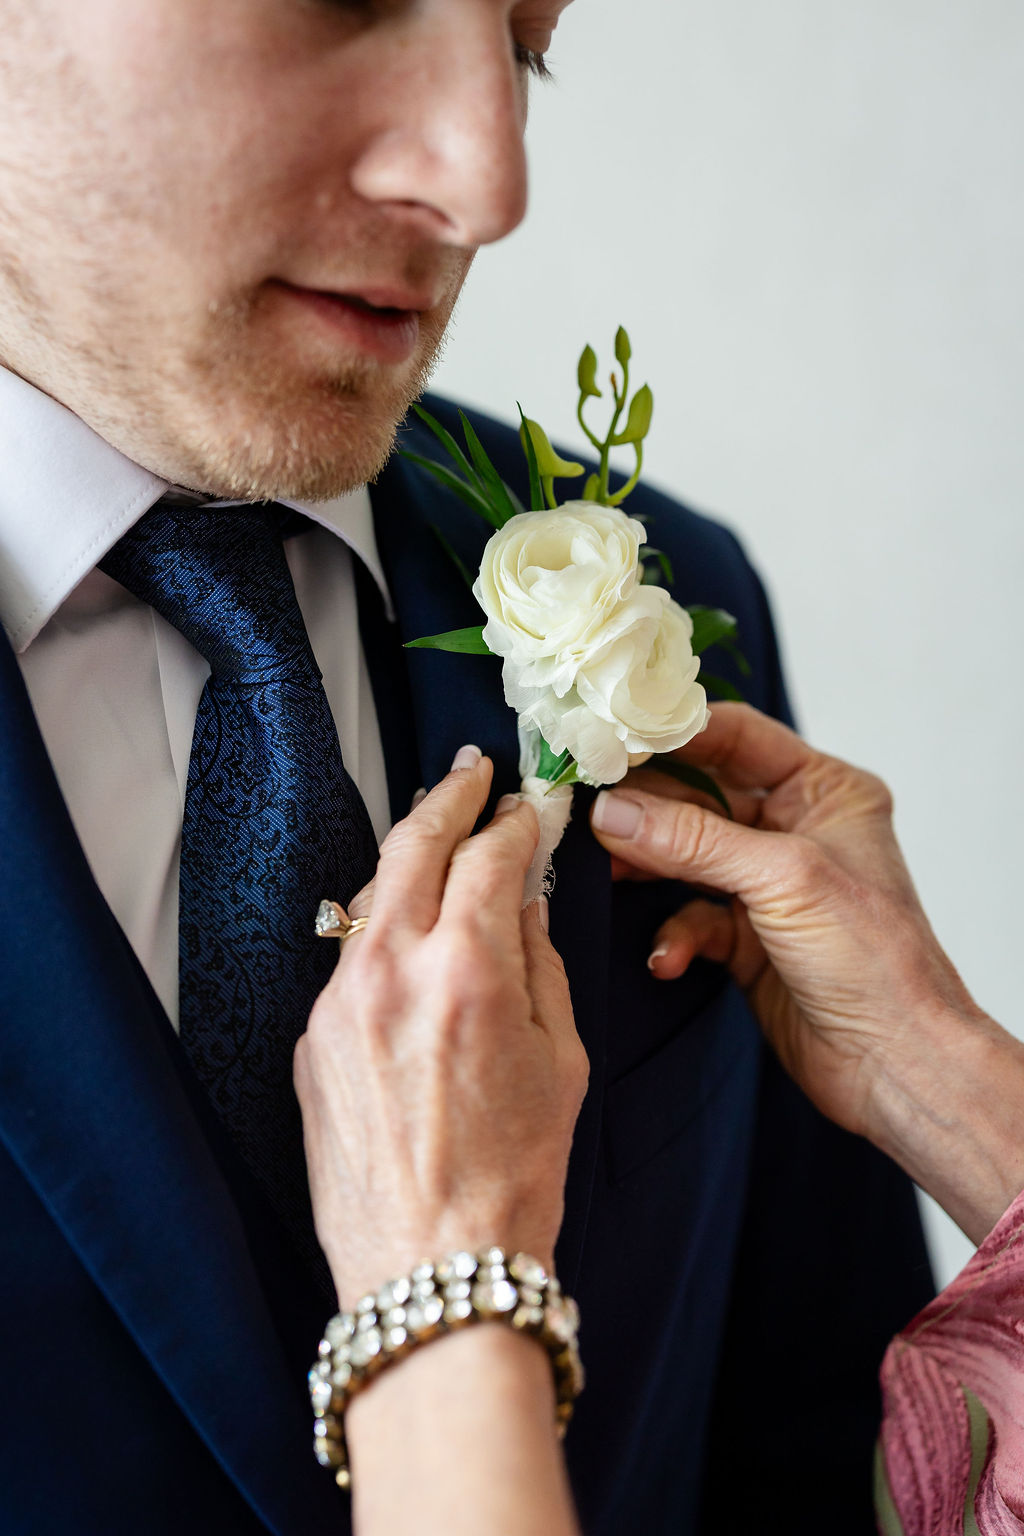
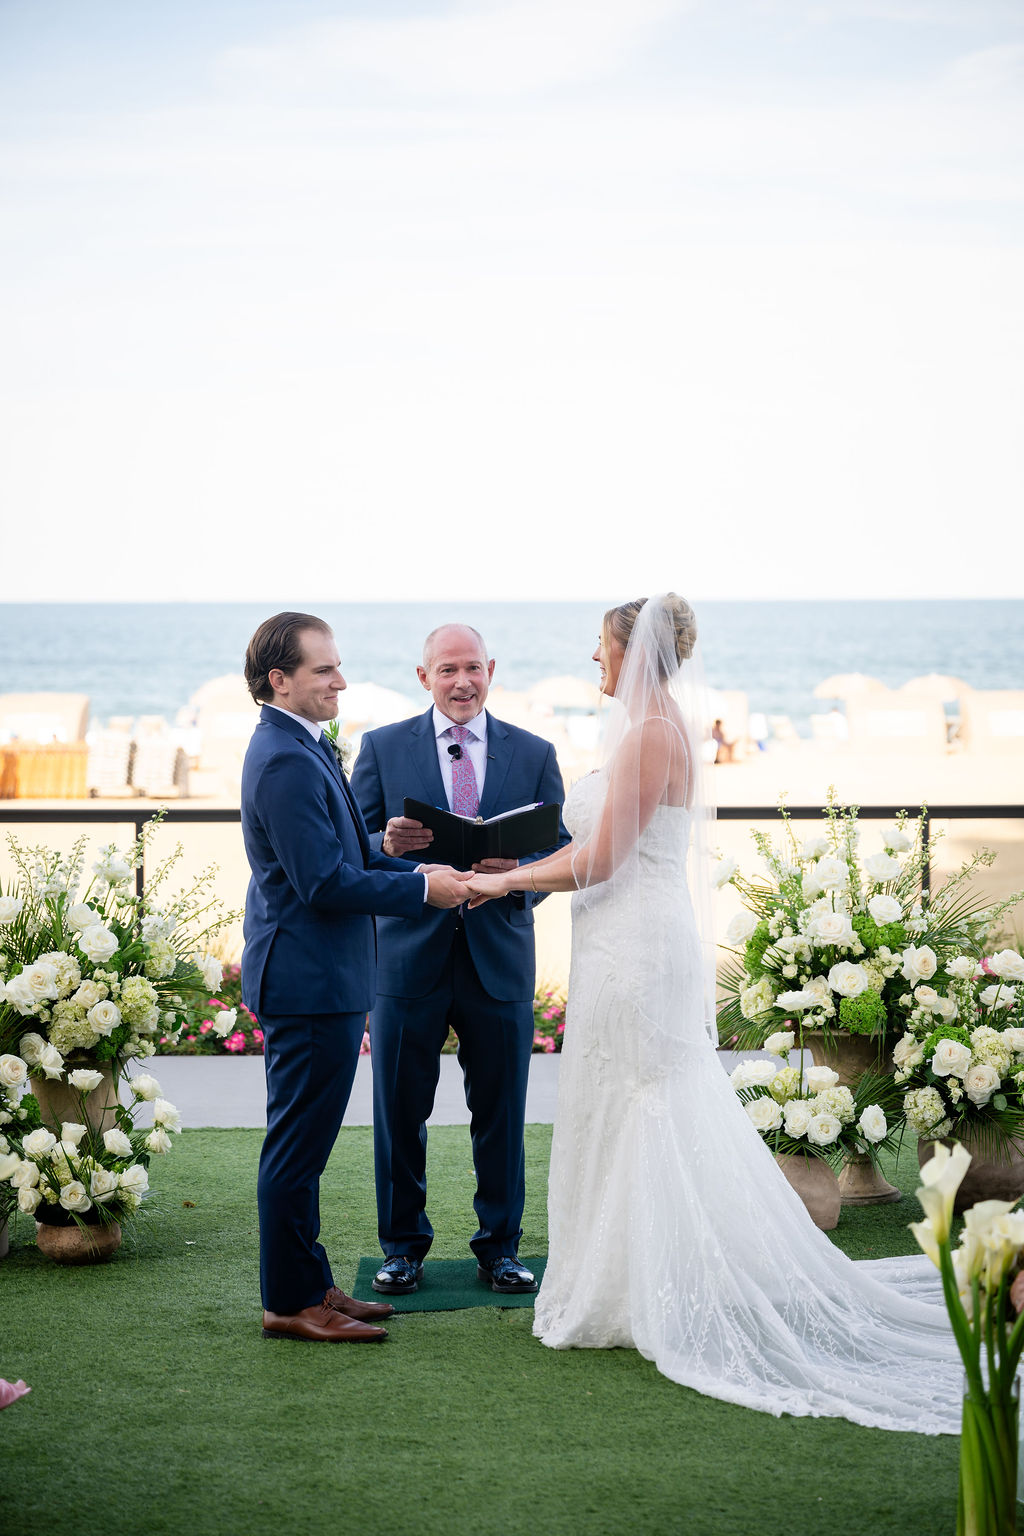
Chris complemented the sophisticated aesthetic in a timeless navy blue three-piece suit that felt perfectly at home against the ocean backdrop.
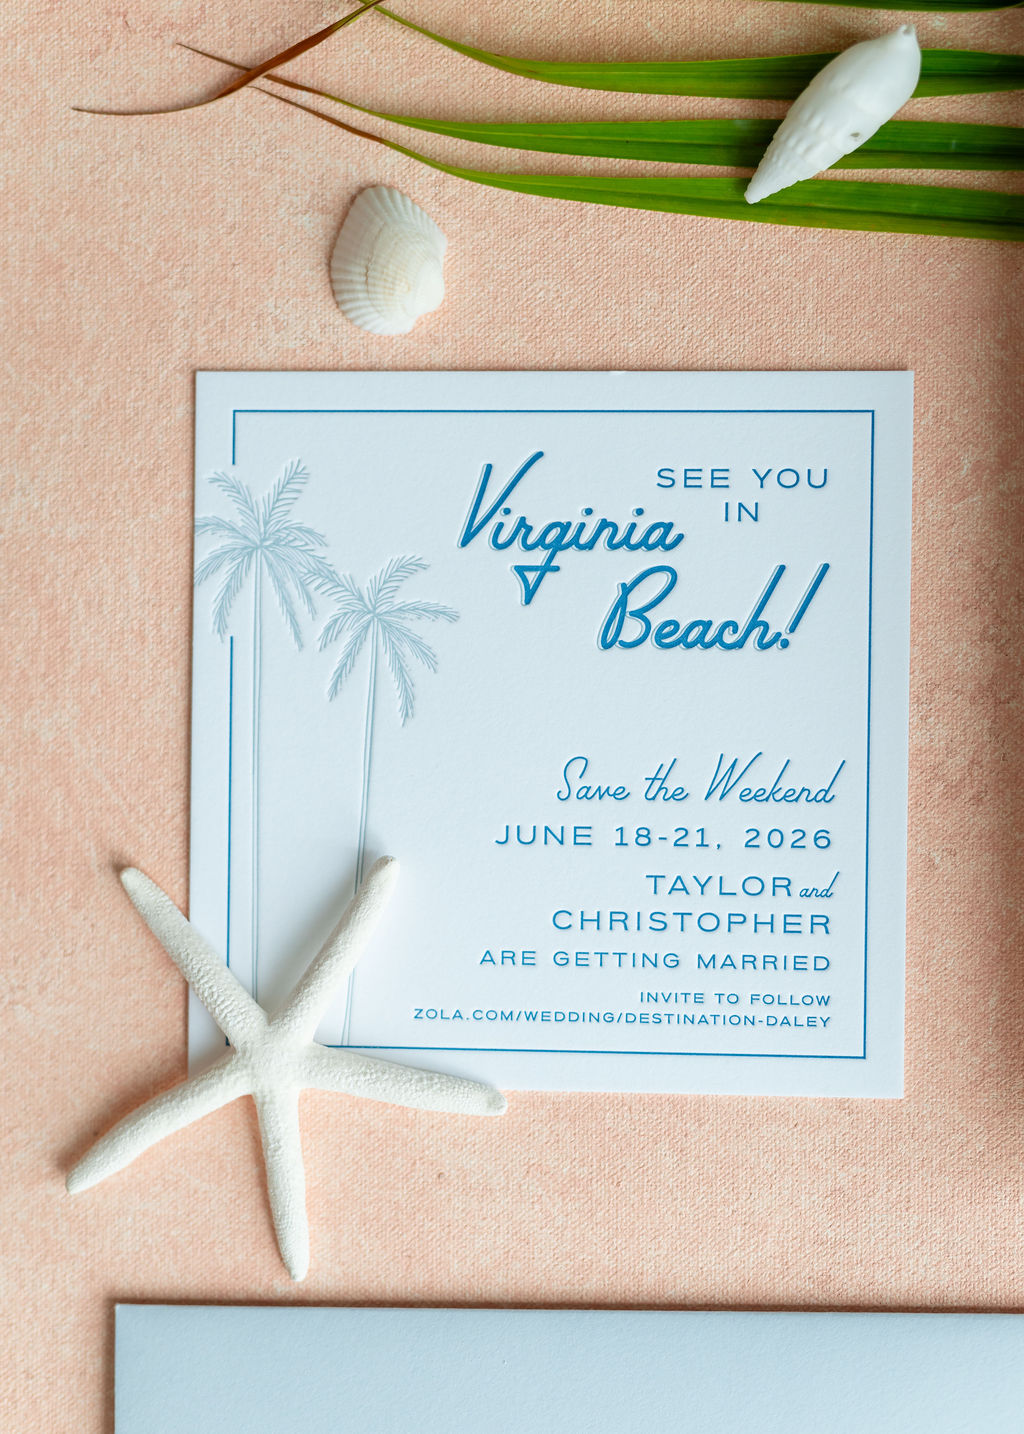
Their design-forward stationery suite and day-of signage by Swell Press introduced guests to the celebration with colorful letterpress invitations featuring palm trees and retro fonts – a playful nod to Virginia Beach while setting the tone for the stylish weekend ahead.
An Oceanfront Wedding Ceremony at the Marriott Virginia Beach Oceanfront
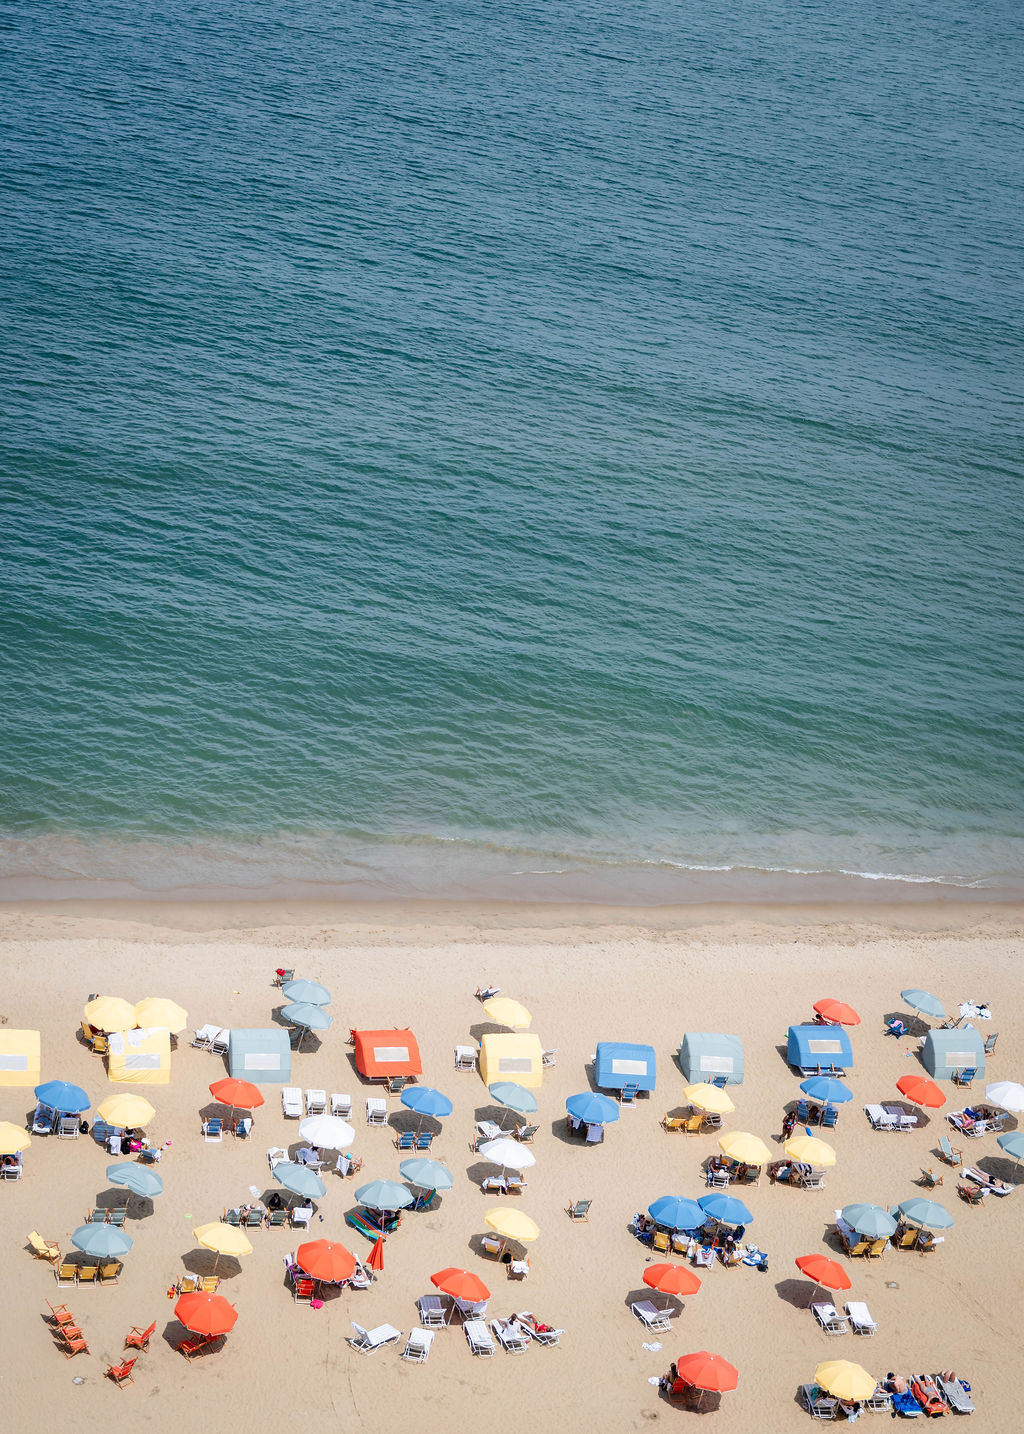
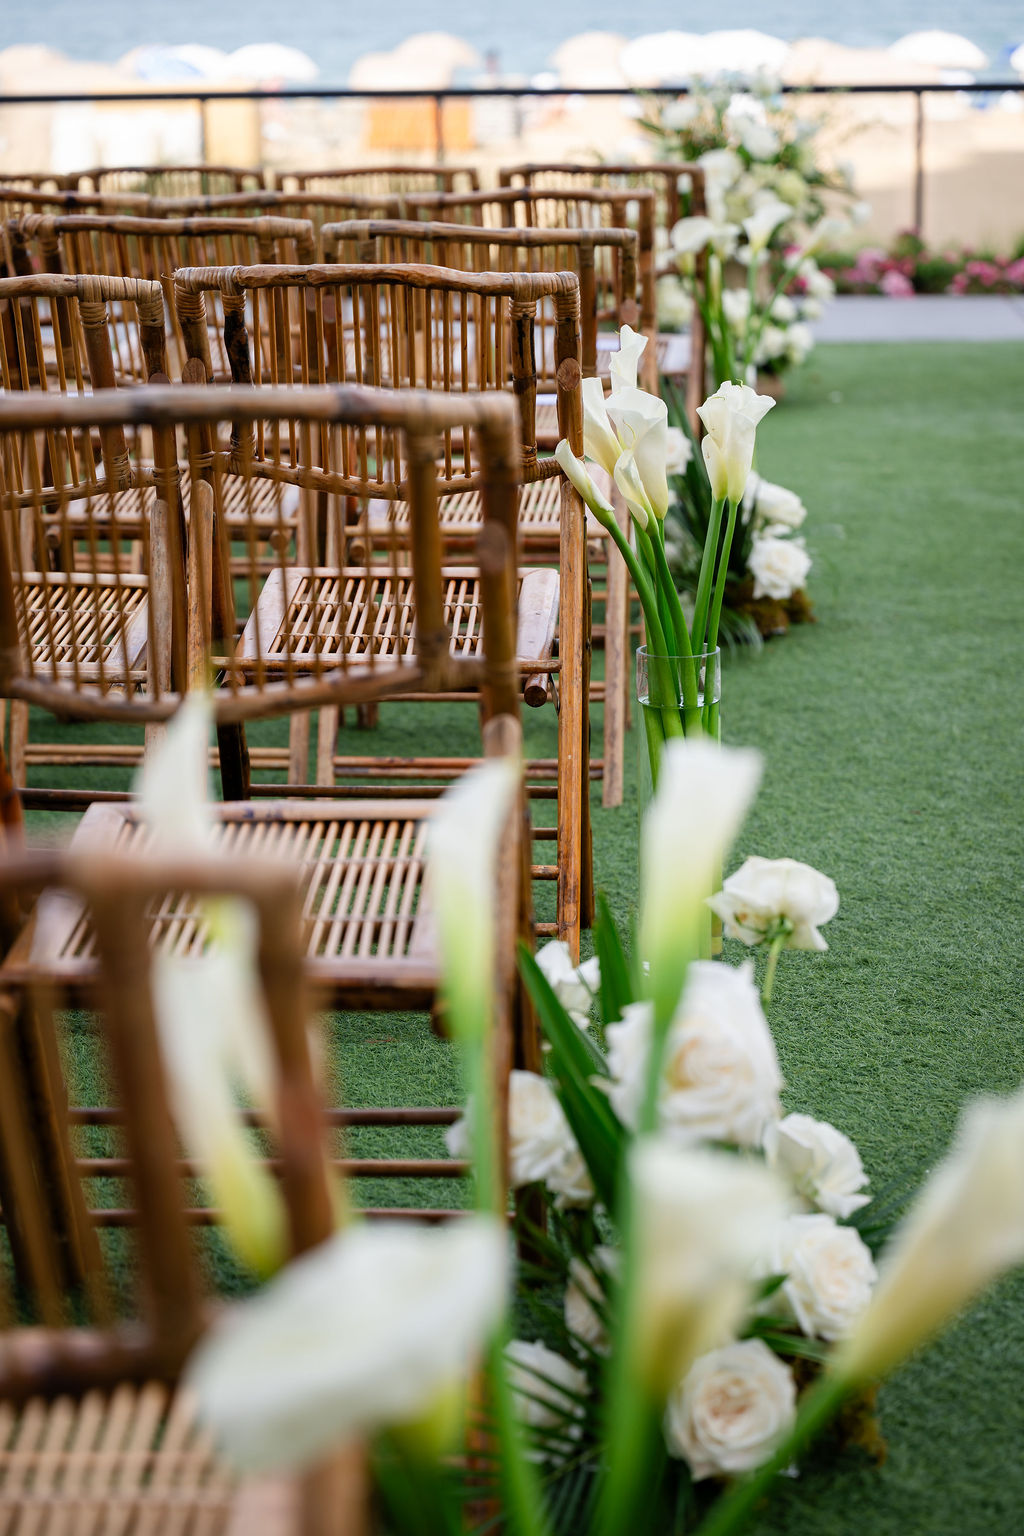
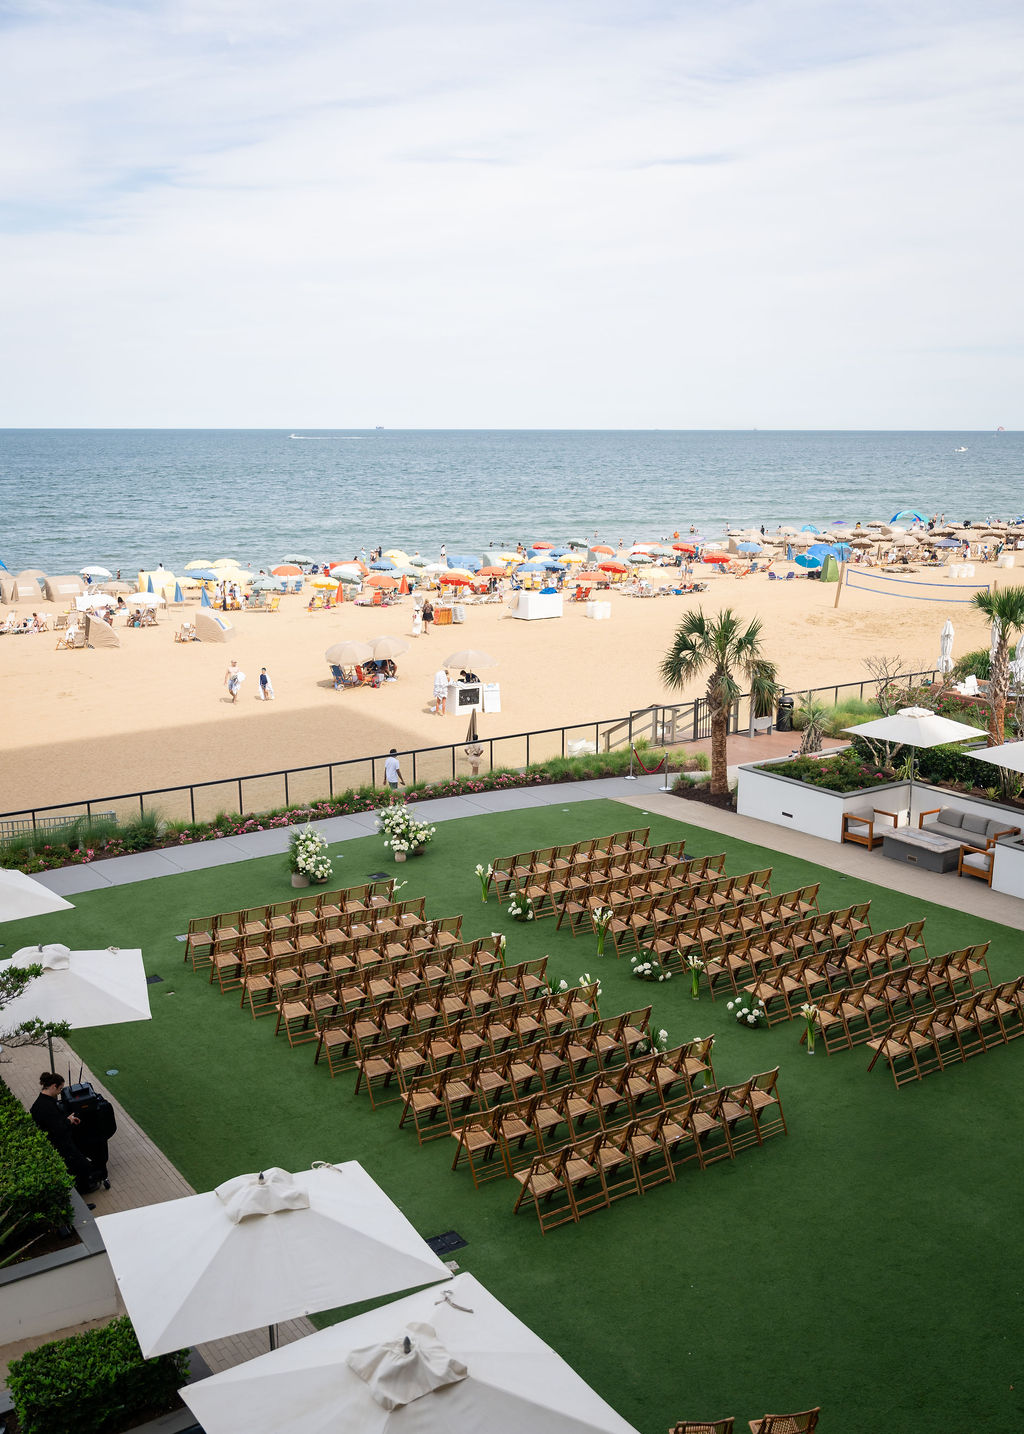
Their ceremony took place on the hotel's Ocean Lawn overlooking the Atlantic Ocean, where rows of textural bamboo folding chairs anchored the scene while elegant white calla lilies and roses framed the aisle. With fun, colorful beach umbrellas, blue skies, and waves creating a naturally beautiful backdrop, it couldn't have been more perfect!
Forgoing a traditional wedding party (a growing trend among modern couples), the focus remained entirely on the couple and sunny energy as they exchanged vows surrounded by their nearest and dearest.
Meaningful Wedding Details Honoring Family and Their Beloved Dog
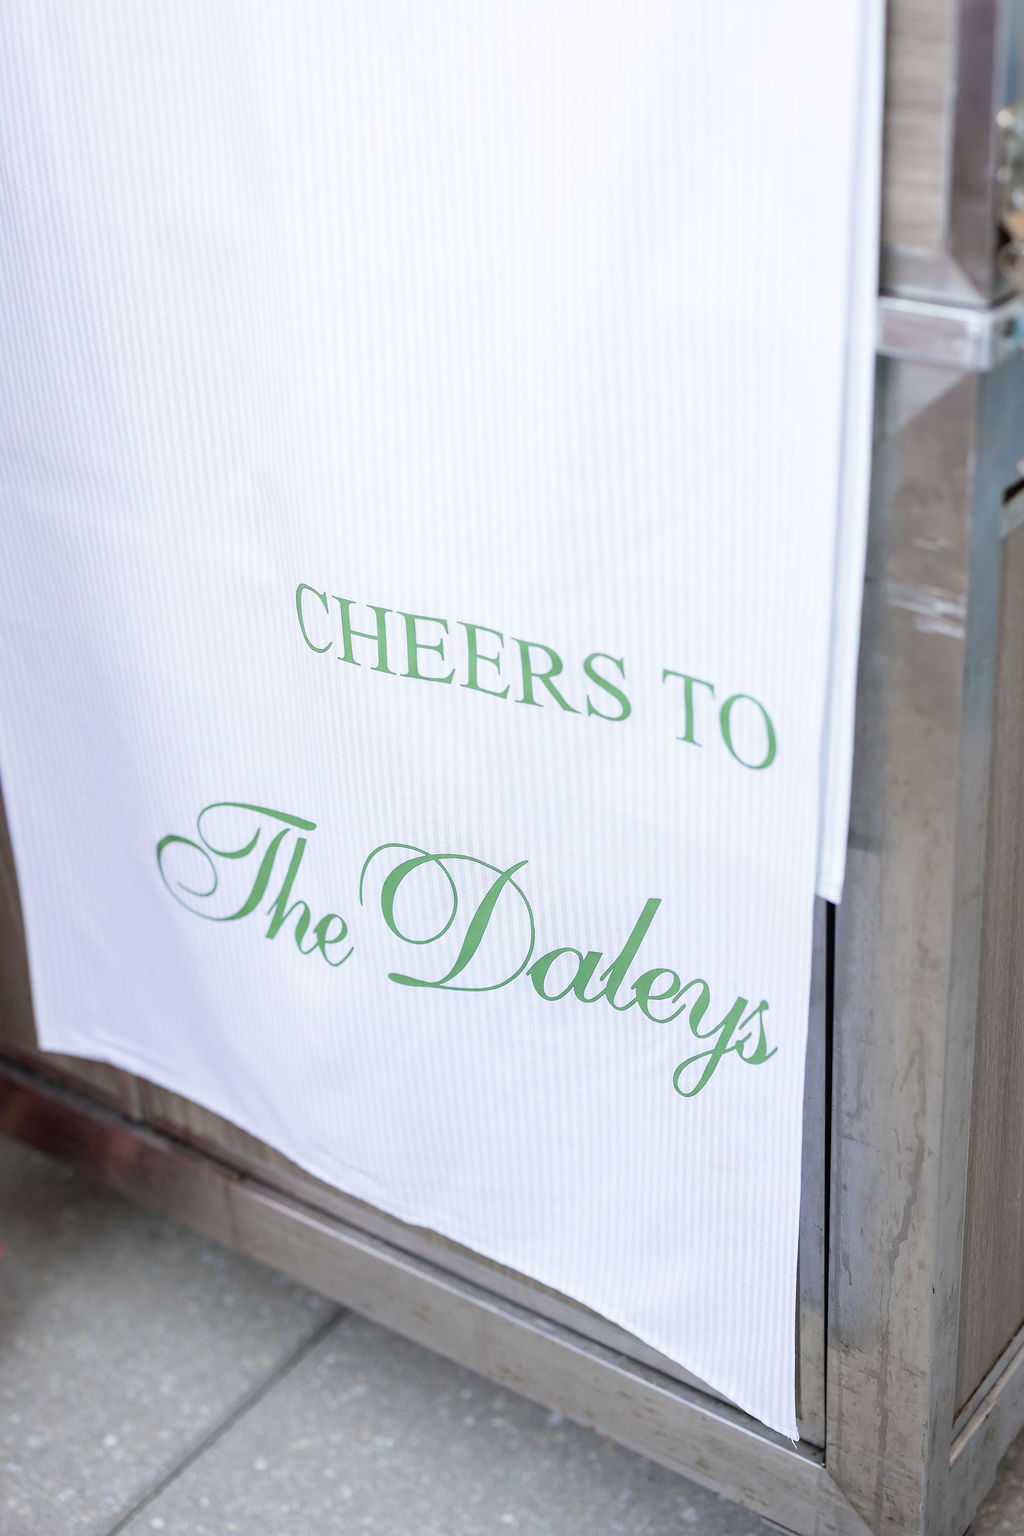
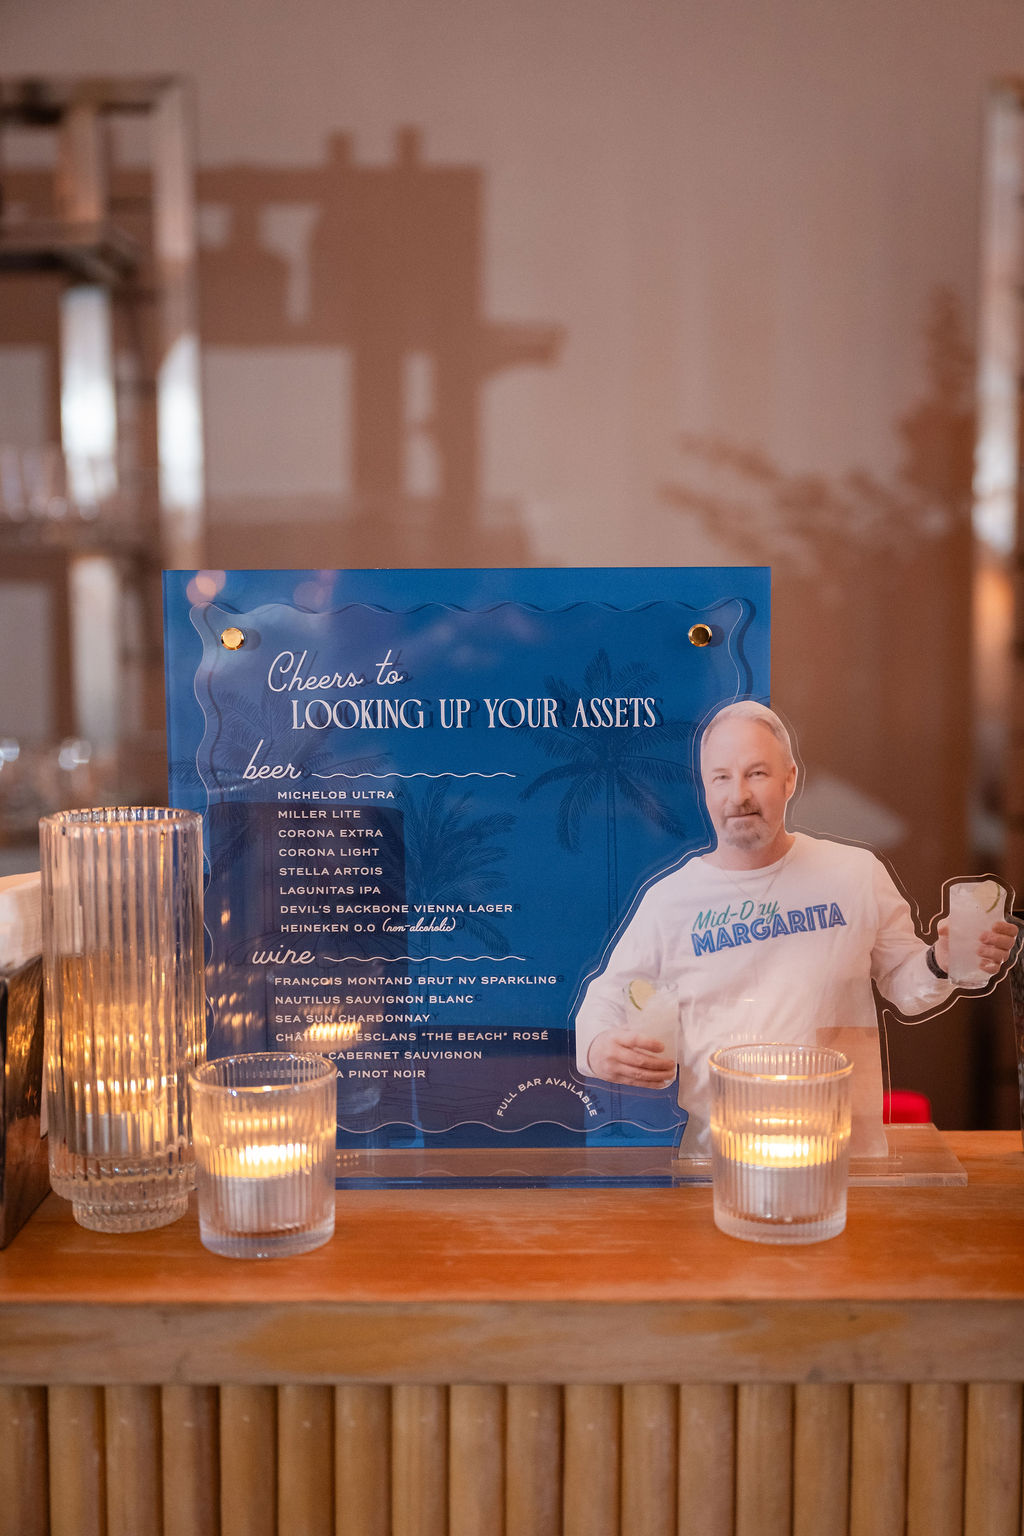
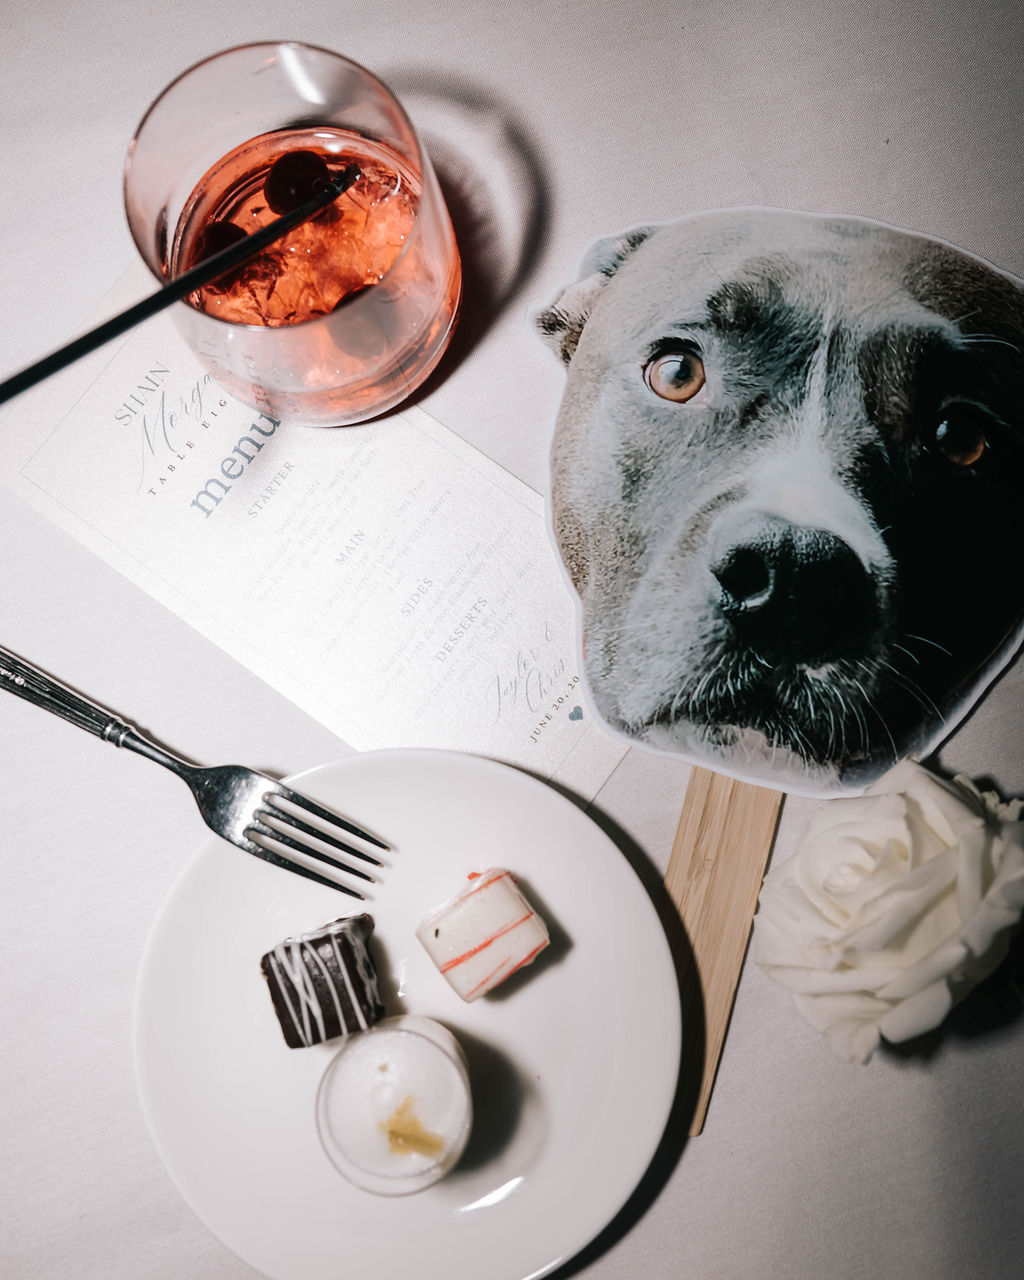
Throughout the day, Taylor and Chris thoughtfully incorporated personal details that reflected both their family and their shared story. One especially heartfelt tribute honored Taylor's late stepfather with a custom bar menu featuring his photograph and the playful phrase, "Cheers to looking up your assets," allowing guests to raise a glass in his memory while celebrating the couple.
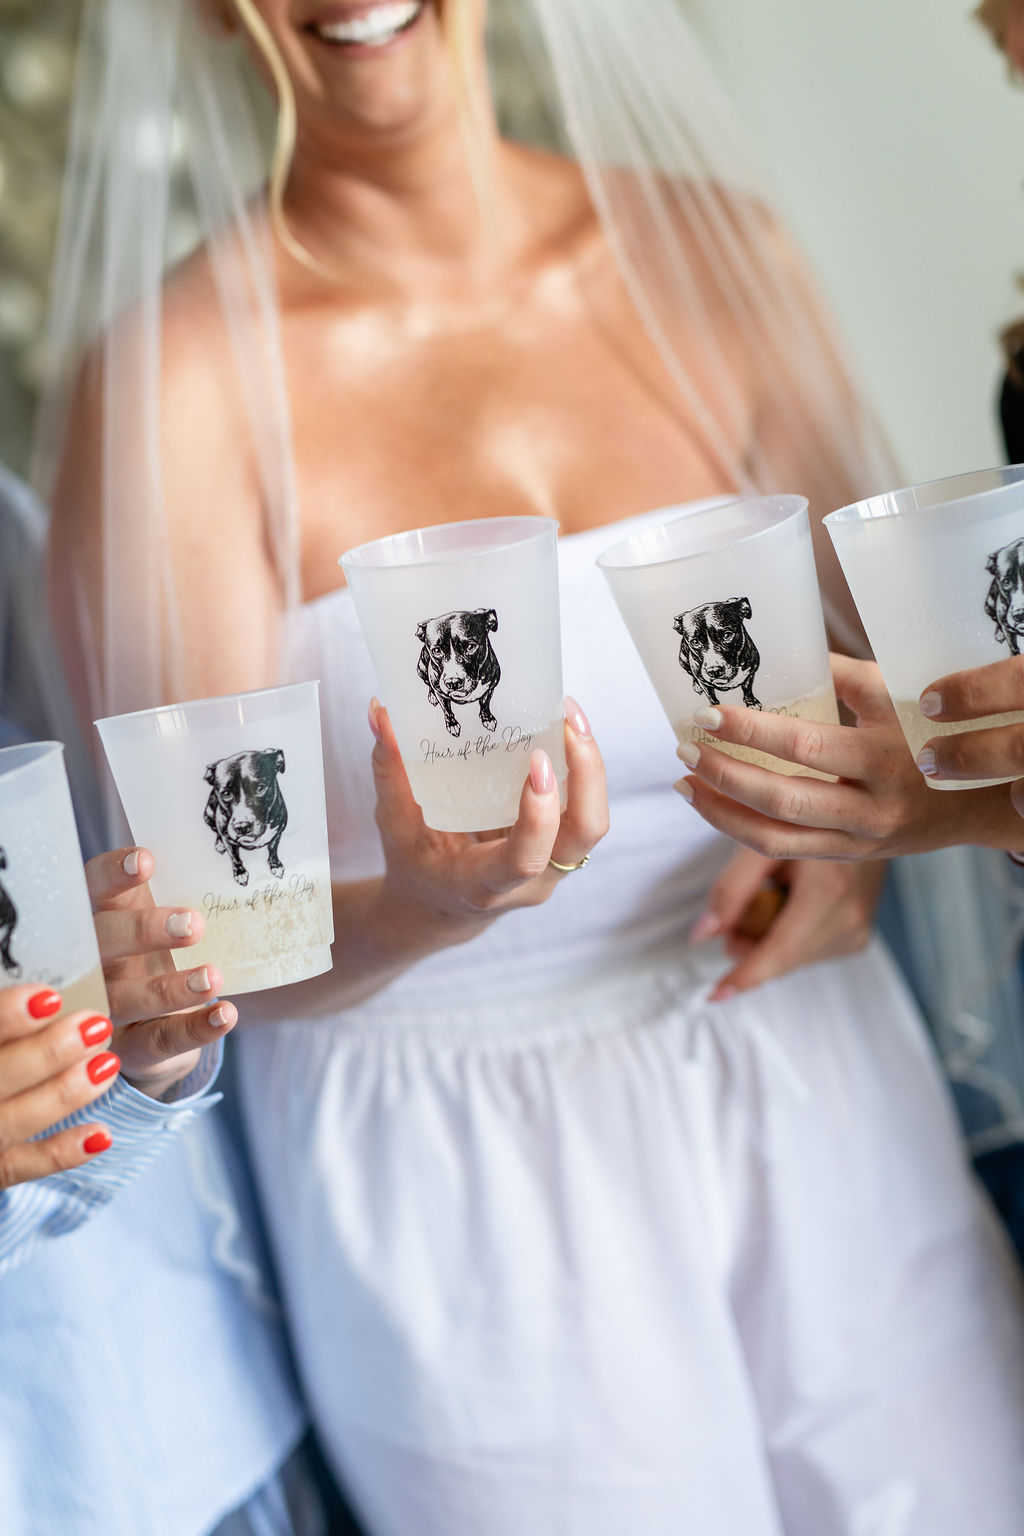
Their beloved dog, Zoey, also made several appearances throughout the wedding décor, appearing on custom cups, the bride's bouquet charm, and other personalized elements that added sweet pup love to the celebration.
The couple also created a DIY mirror sign using a Cricut machine featuring the Bleachers lyric, "You and Forever," adding another meaningful, handcrafted detail to their wedding day.
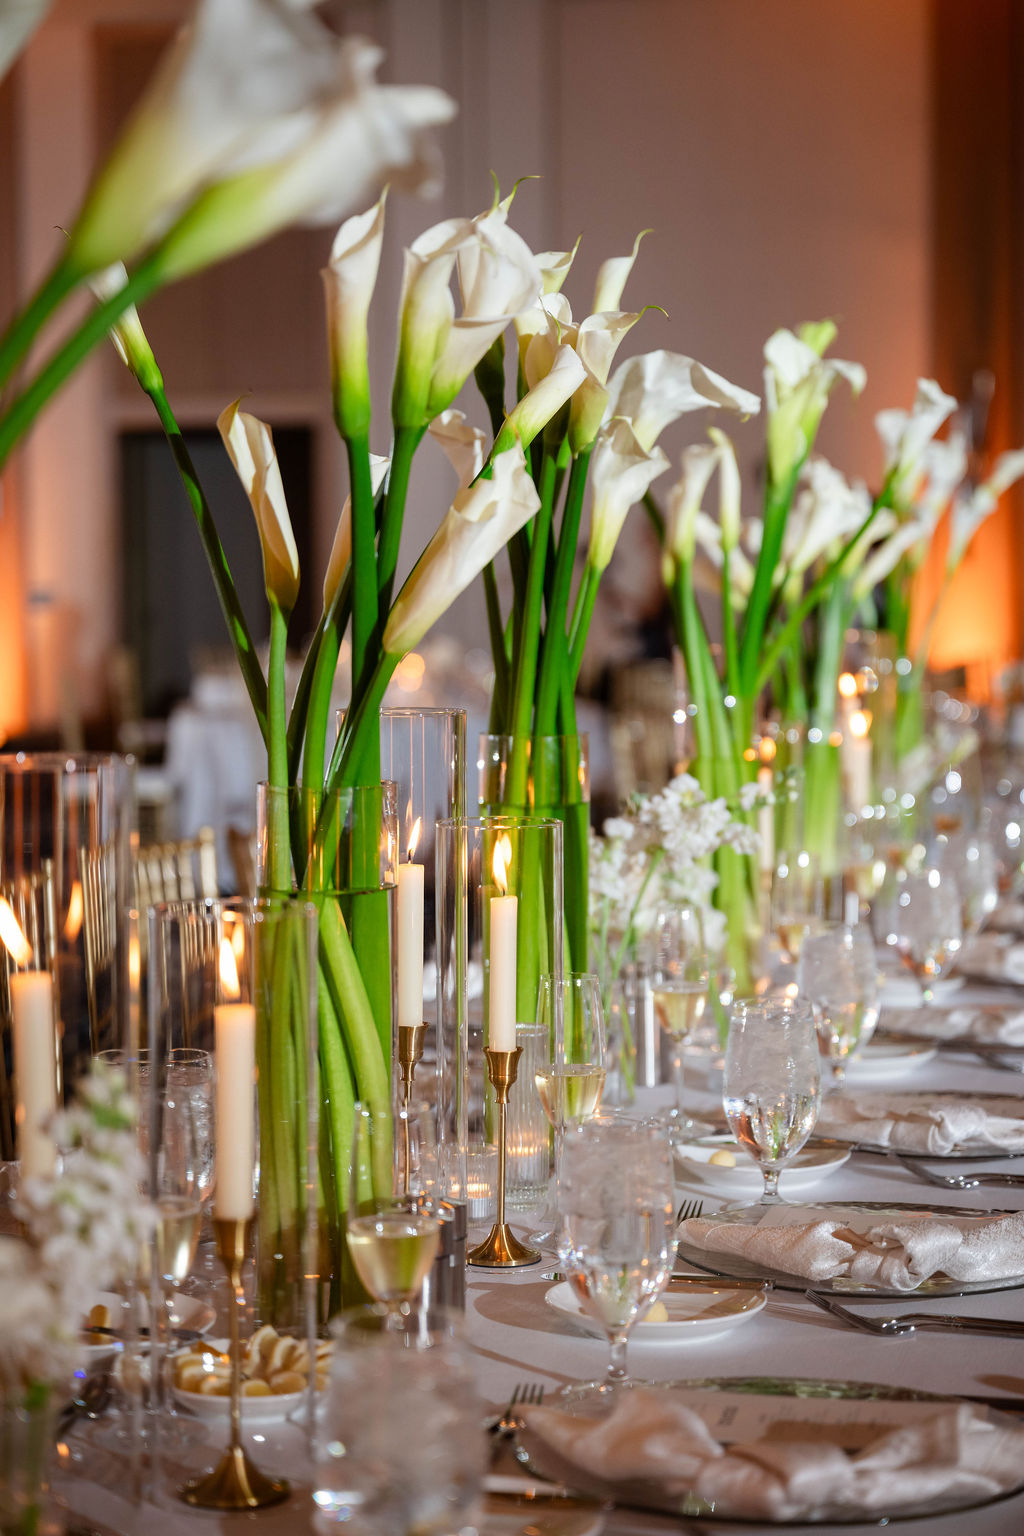

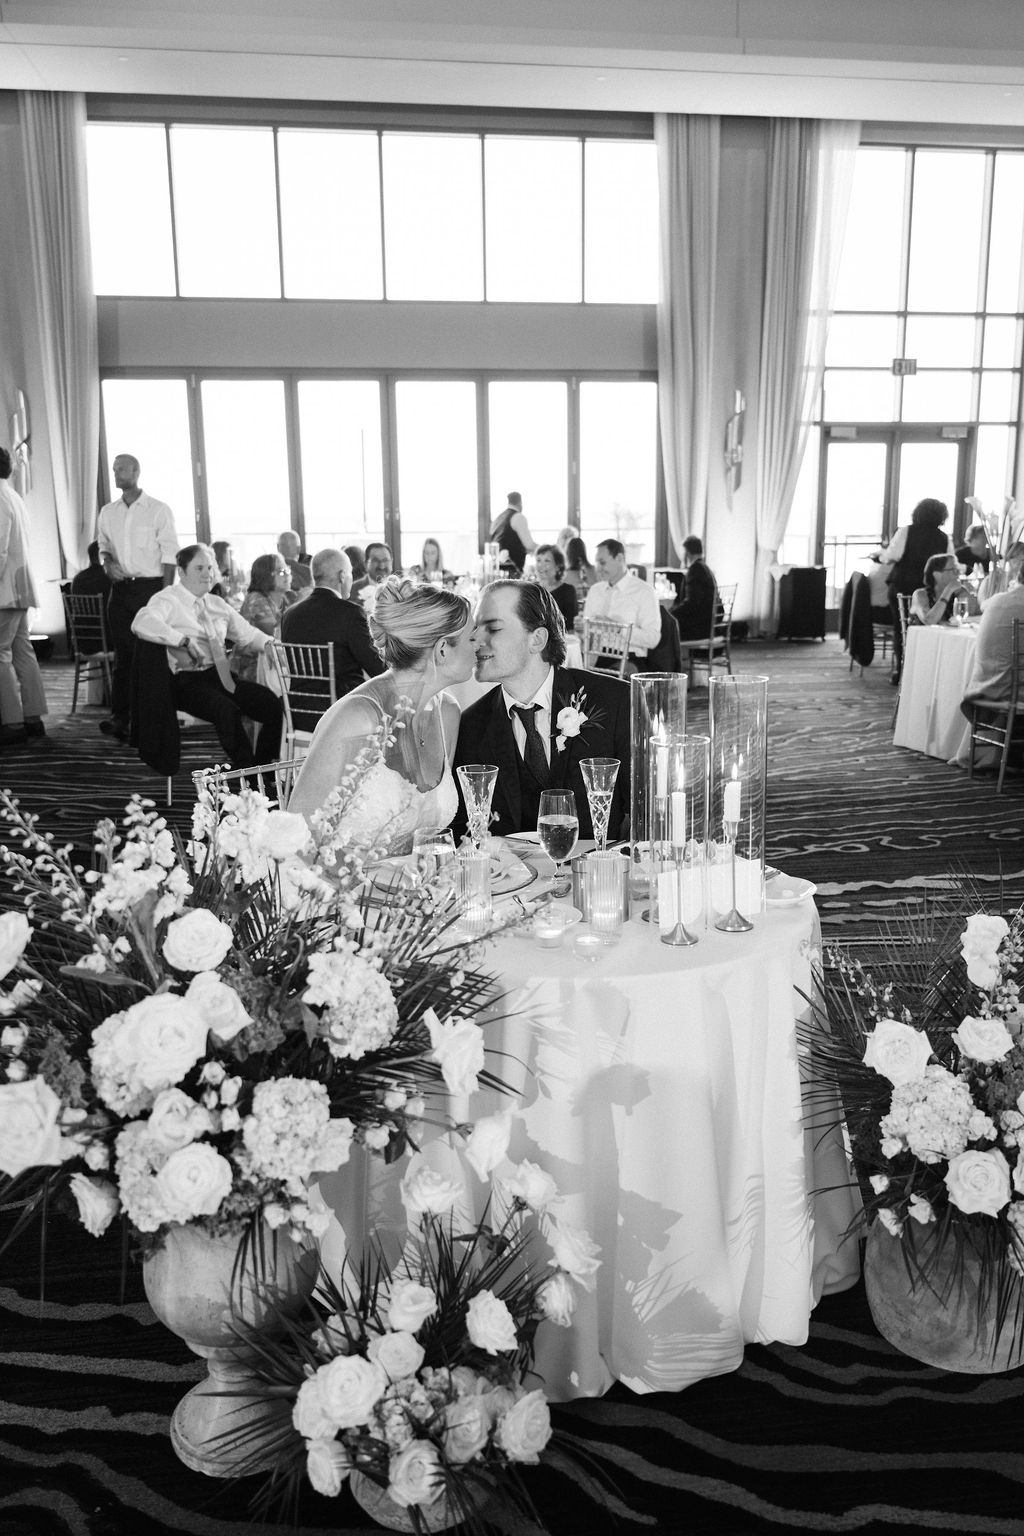
Modern Coastal Reception Design Filled with White Calla Lilies and Candlelight
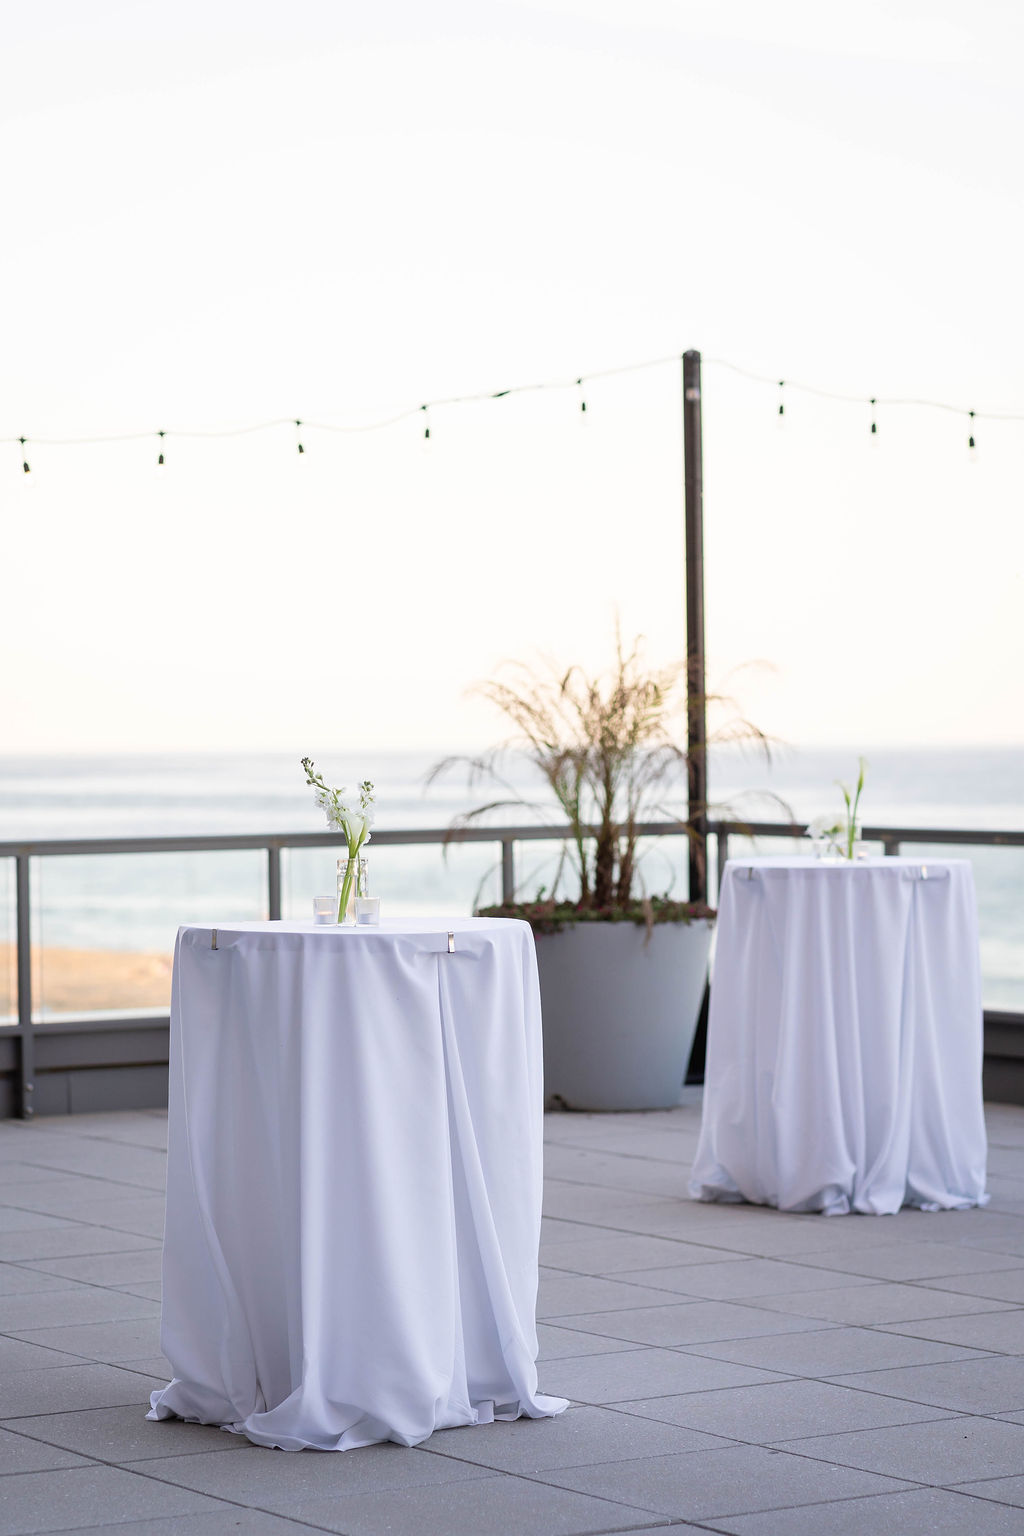
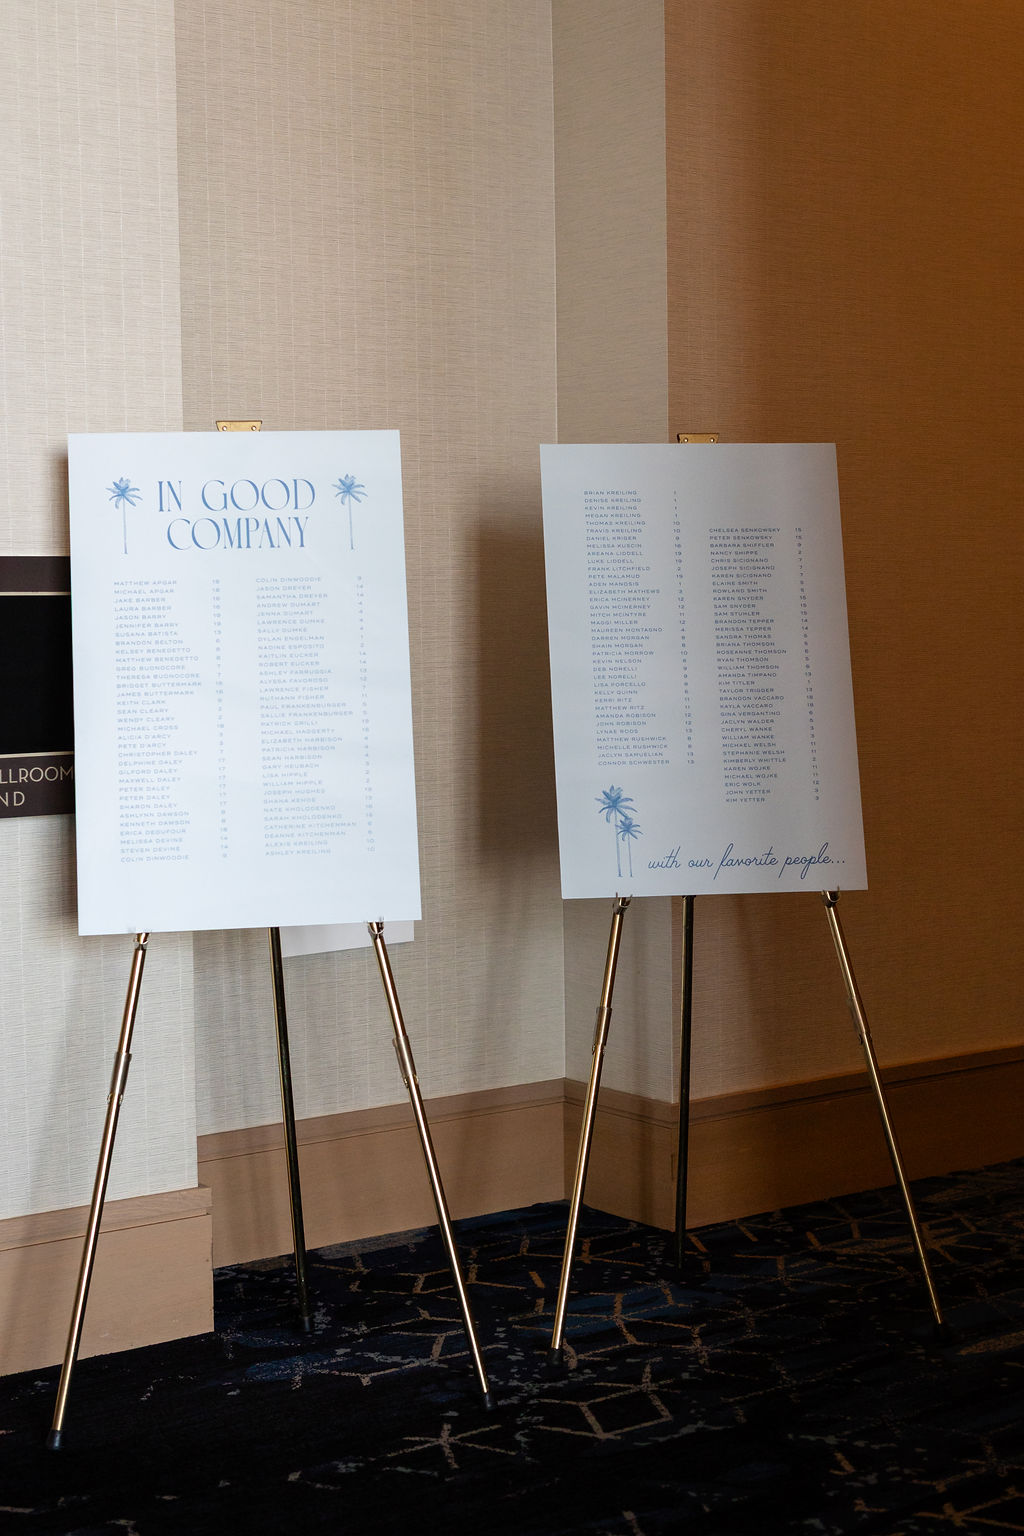
Following cocktail hour on the veranda, guests gathered inside the Seaside Ballroom for an elegant reception that blended modern design with coastal sophistication. Their "In Good Company With Our Favorite People" seating chart mirrored the blue palm tree wedding invites – and yes, we sure do love a cohesive design!
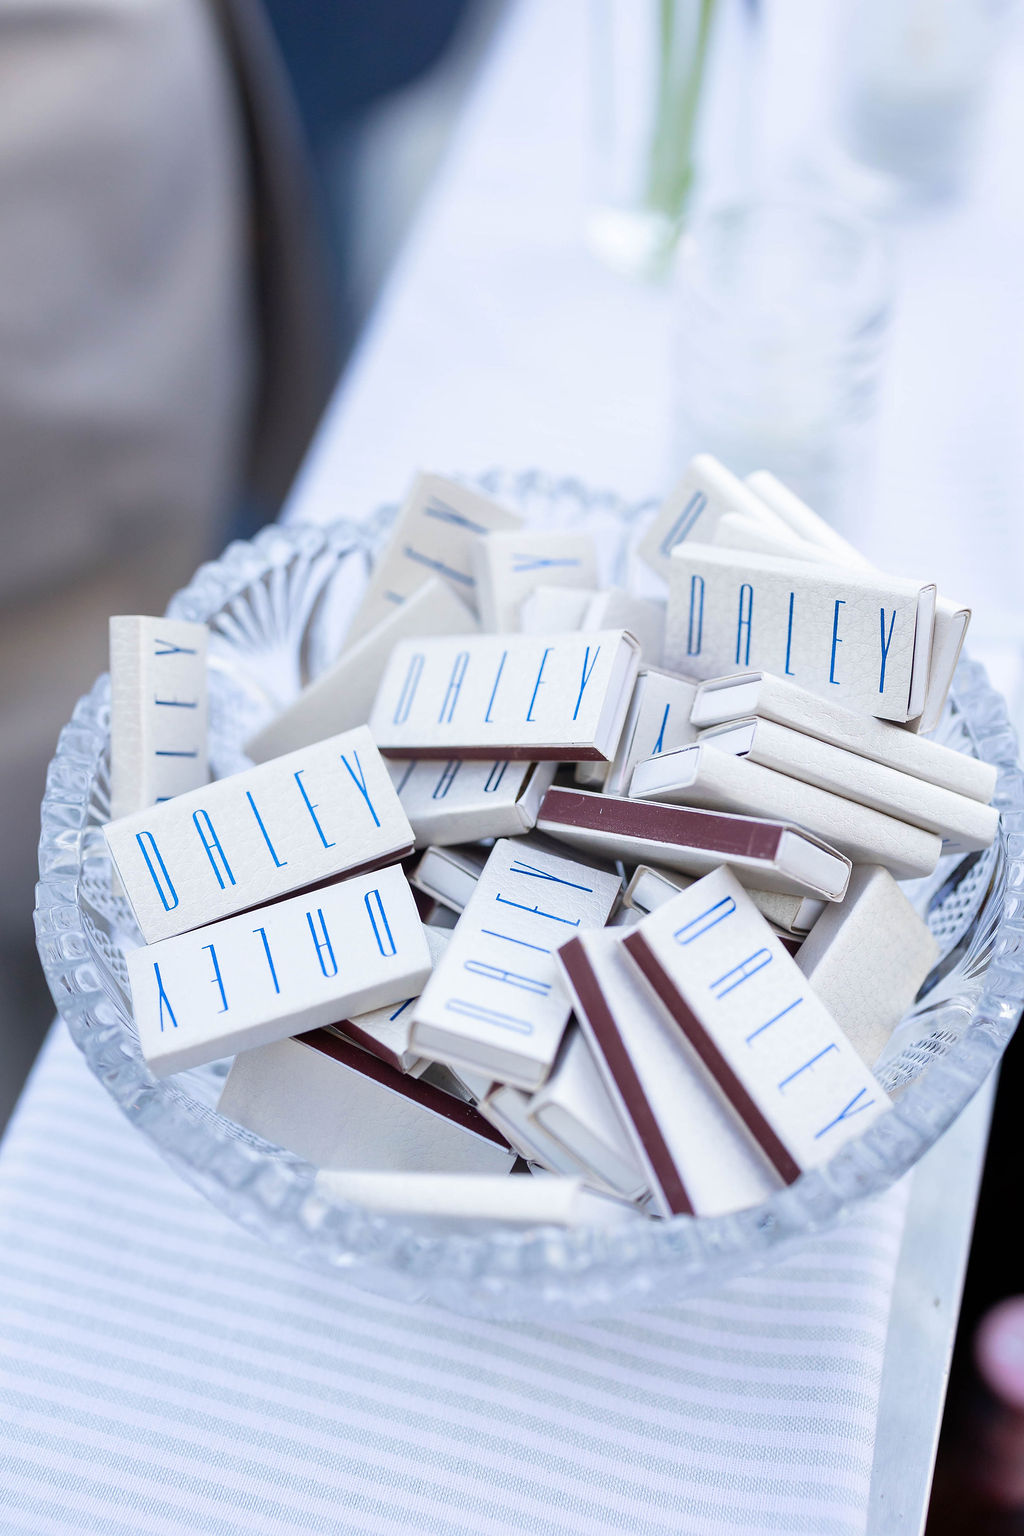
Long reception tables featured abundant white calla lilies paired with tall ivory candlesticks, creating a contemporary aesthetic, and personalized matchbox favors printed with the couple's surname served as a stylish, yet practical keepsake for guests to remember the celebration.
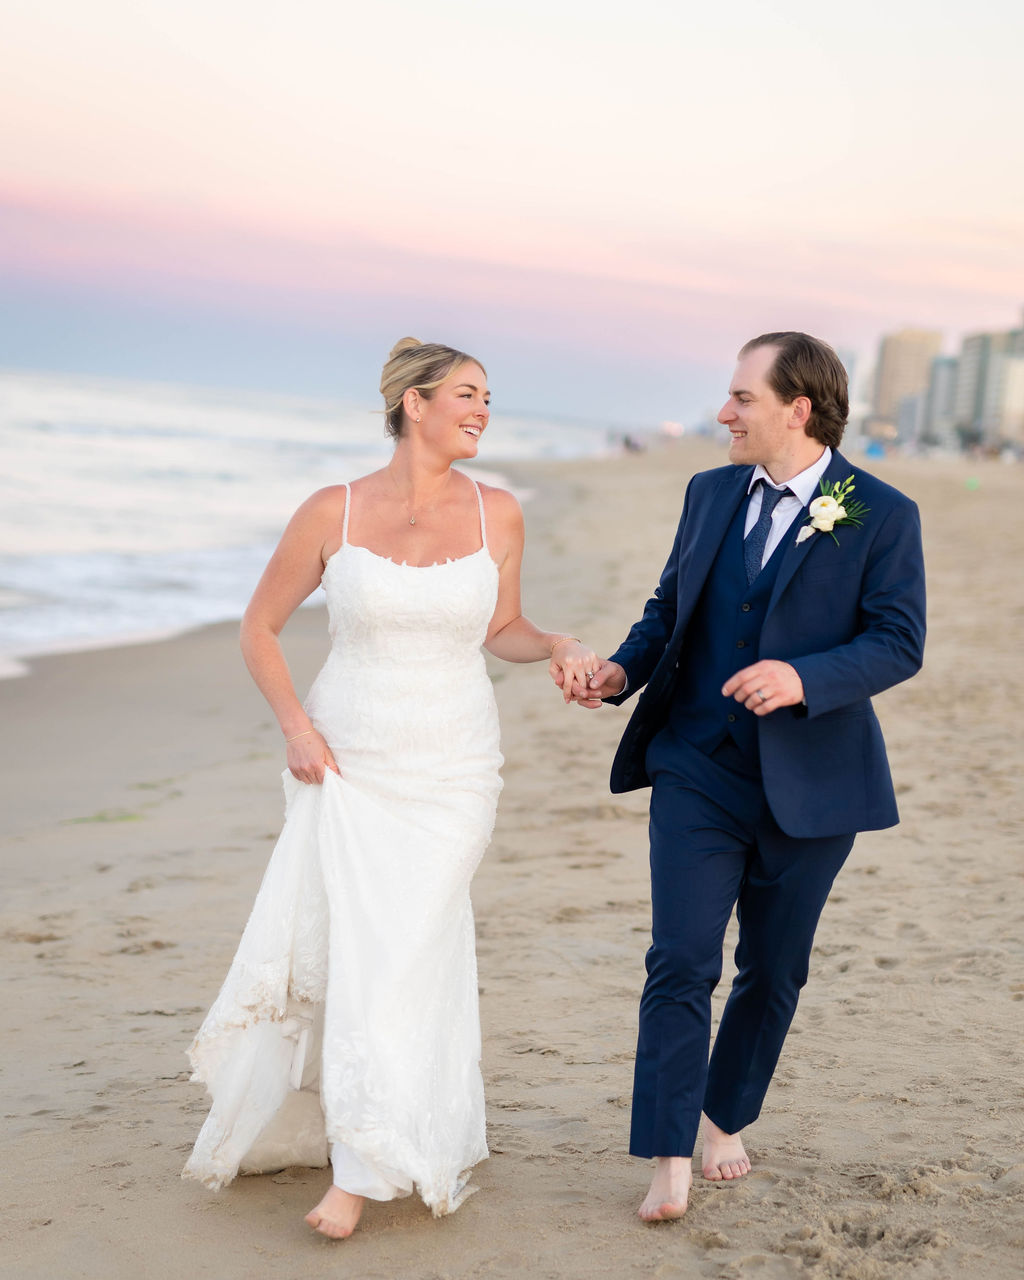
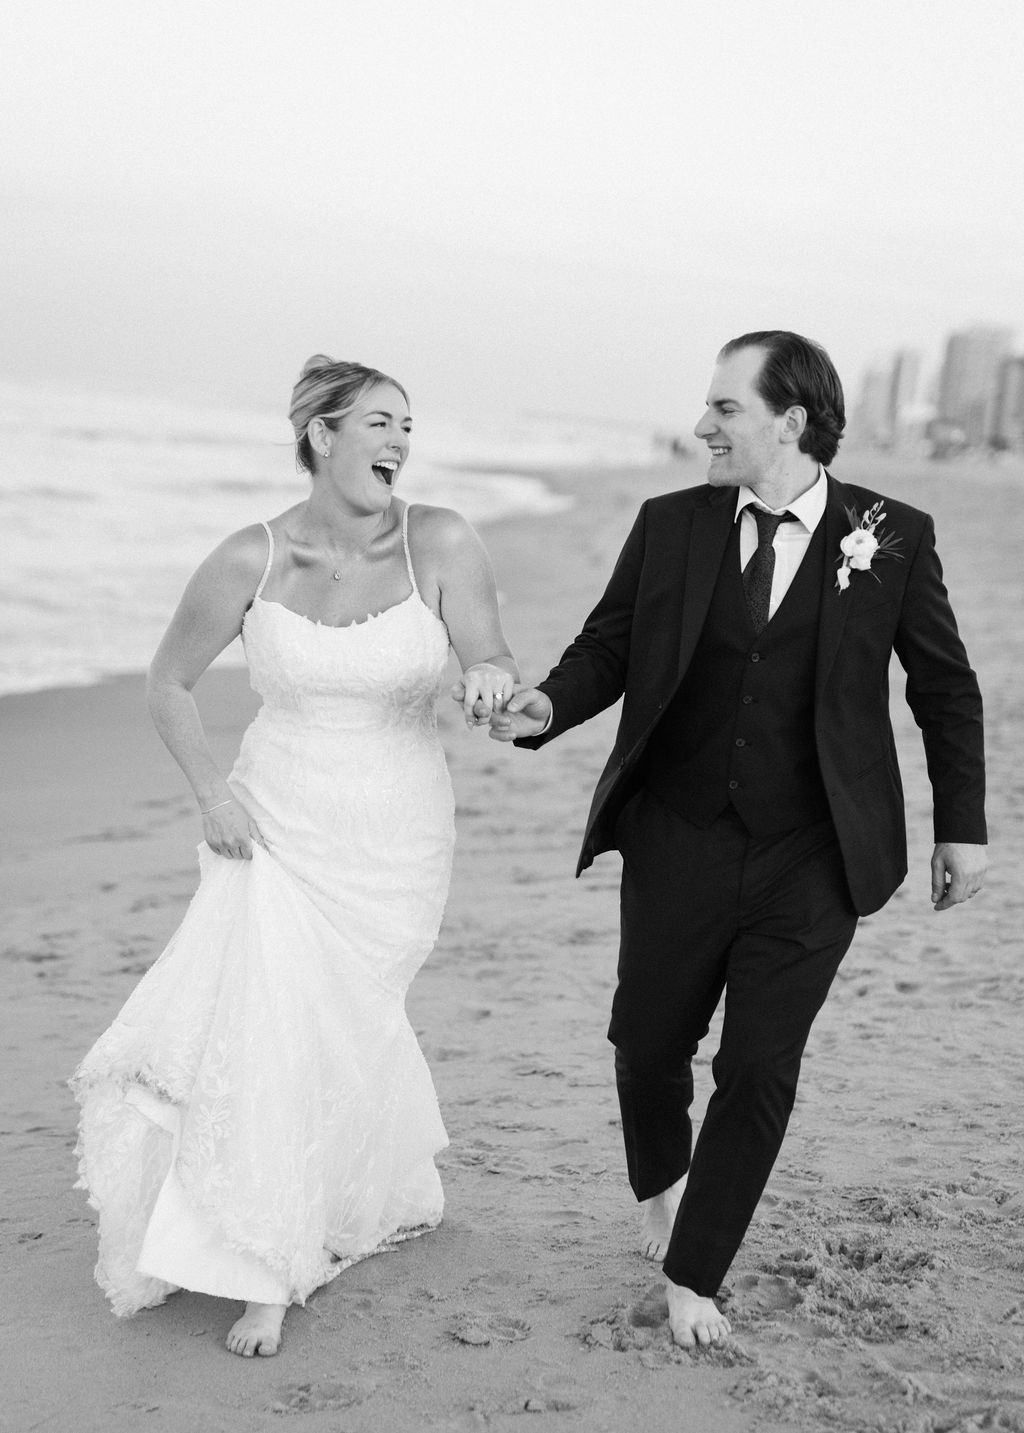
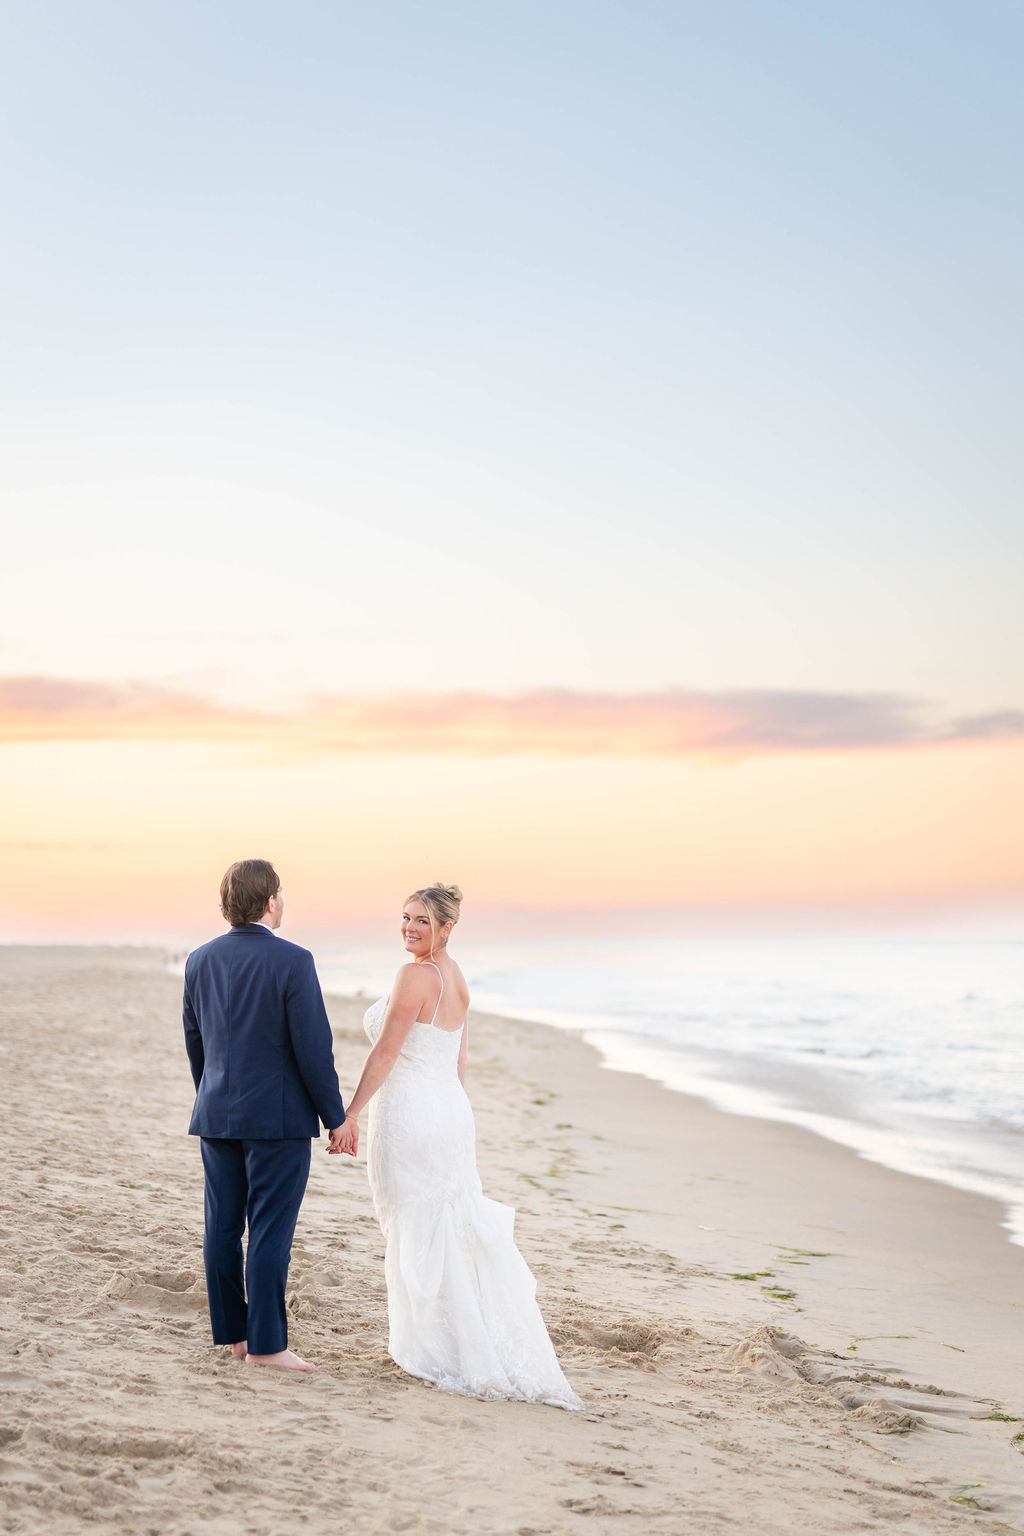
Sunset Beach Wedding Portraits Along the Virginia Beach Shoreline
As the sun began to dip below the horizon, Taylor and Chris slipped away for romantic portraits on the beach just steps from the Marriott. Kicking off their shoes, the newlyweds embraced the carefree spirit of the coast with barefoot sunset portraits that perfectly captured the joy and intimacy of their destination wedding. With Tidewater and Tulle's own Coastal Virginia origins, we'll always say yes to sandy toes on big days!

WRITTEN BY
Tidewater & Tulle Editorial Team
Creative Wedding Inspiration since 2013
Committed to bringing your dream wedding to life through creative, approachable ideas, the Tidewater & Tulle Editorial Team curates real weddings, expert DIY tutorials, and stylish inspiration for couples worldwide. Grounded in decades of collective wedding industry experience and featured in top publications like Martha Stewart Weddings and Southern Living, our mission is to inspire meaningful celebrations.
VENDOR CREDITS
Photography: Brittany Breen Photography | Coordination: The Happy Hour Hostess | Videography: Whitecaps Film | Venue & Catering: Marriott Virginia Beach Oceanfront | Florals: Mann and Wife 757 | Lighting: Blue Steel Lighting | Rentals: Curated Events Chesapeake and Astro Event Company | DJ & Cocktail Music: DJ Nater | Ceremony Music: And I Love Her Violins | Stationery, Seating Chart, and Bar Sign: Swell Press | Linens: BBJ La Tavola | Hair: Highly Recommended Salon | Makeup: Dhalia Edwards | Bridal Salon: La Belle Mariee Bridal | Bride's Shoes: Badgley Mischka | Custom Cups & Welcome Bags: Smith Solutions
Editor's Note: Some above product links may be partner-connected and purchasing through these links means we get a small commission from those brands that helps support this website. You can find our full affiliate disclosure policy here on Tidewater and Tulle.
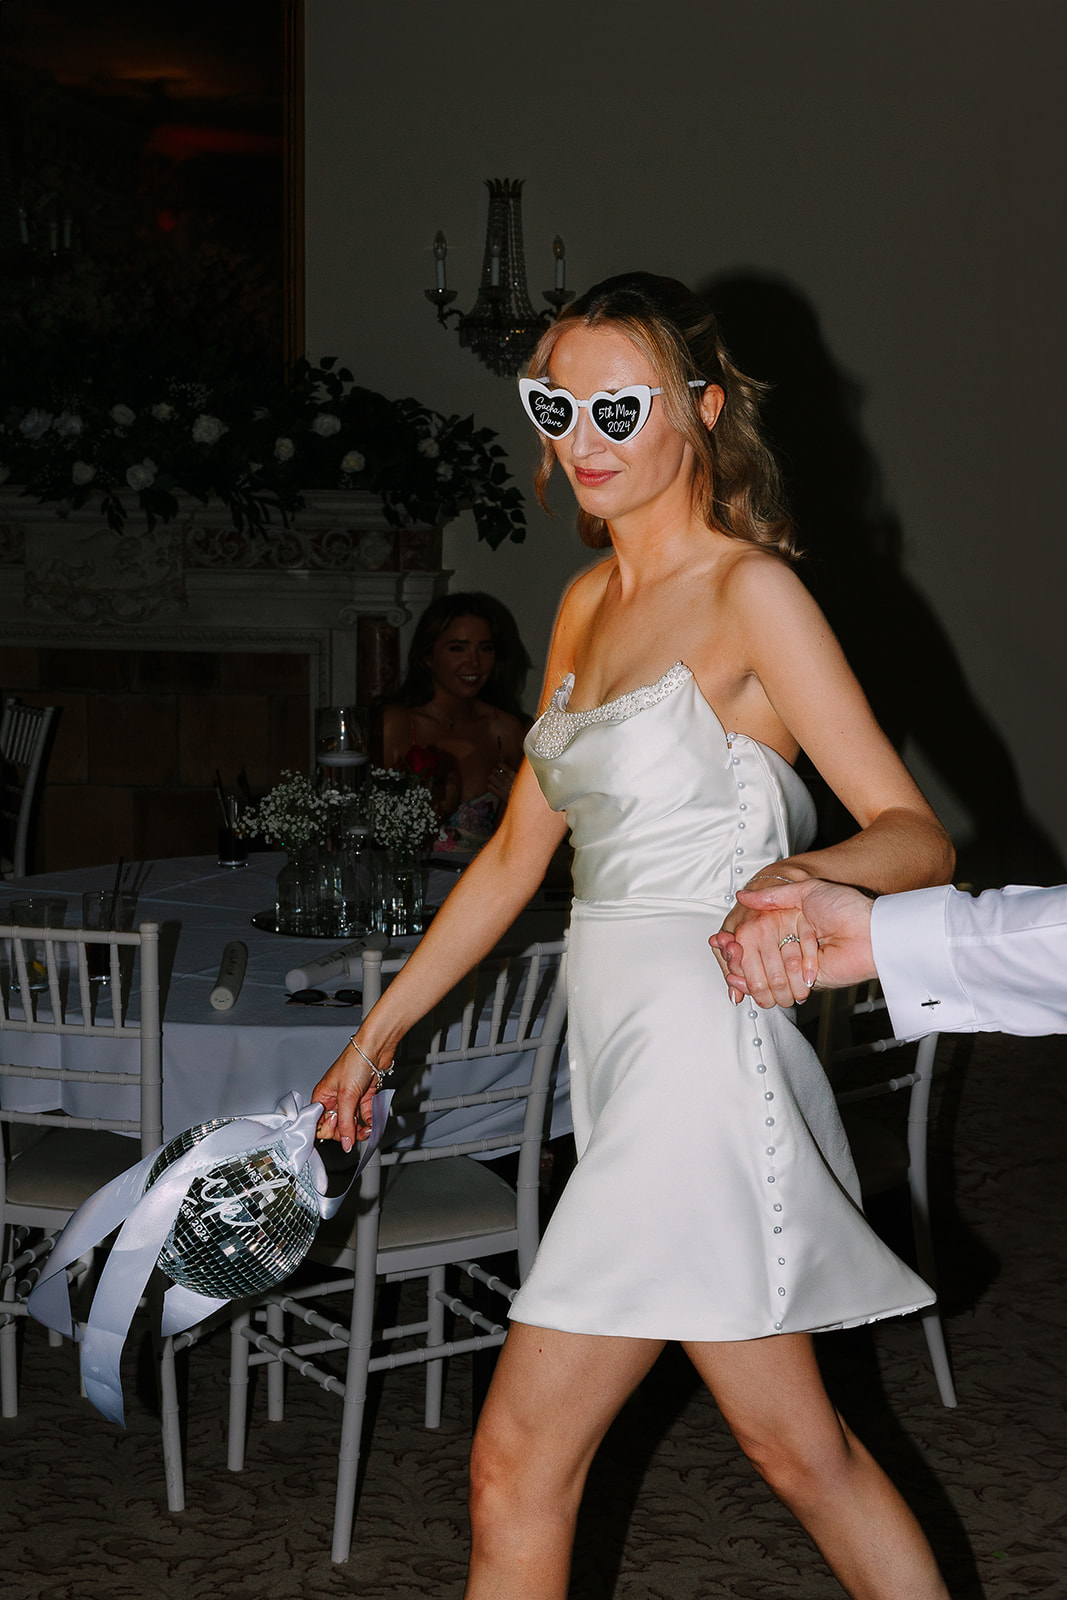
New York Bridal Fashion Week may have put the wedding mini dress firmly back on the runway, but it's real brides who are showing everyone how to wear it w…
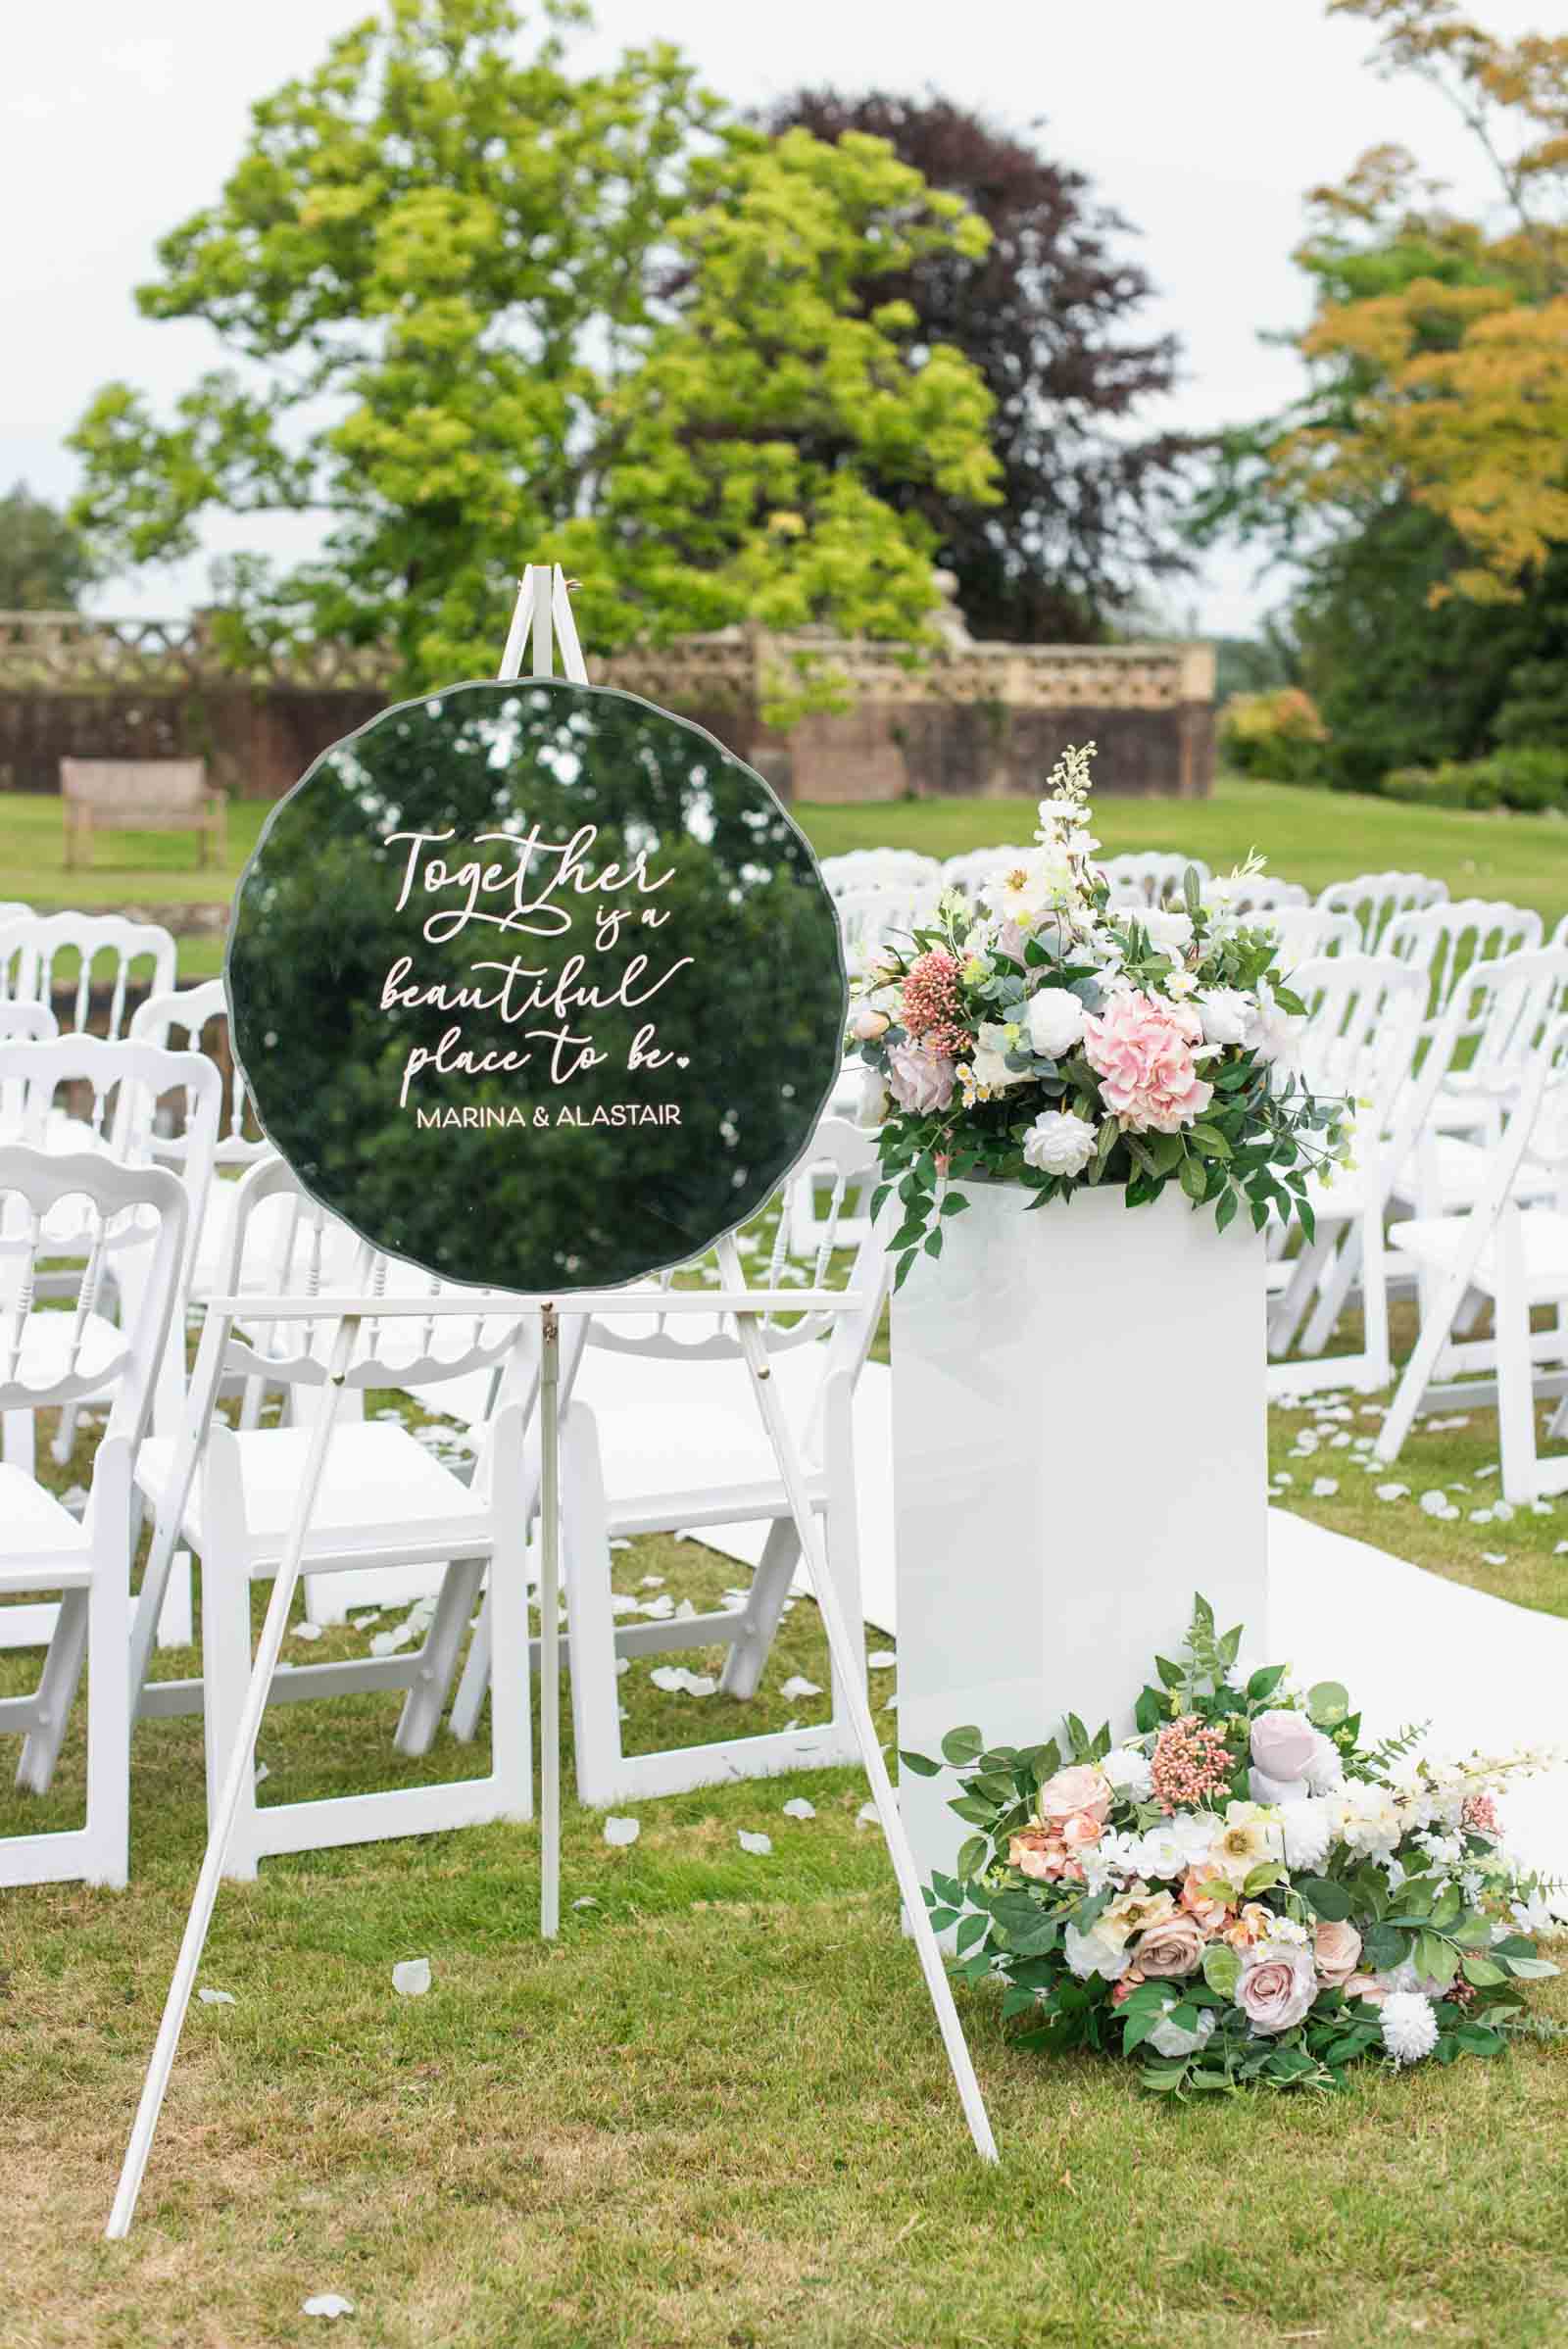
Wedding mirror signs have earned their place as a modern wedding decor staple, effortlessly blending beauty and versatility across nearly every wedding style.…
Subscribe to:
Posts (Atom)

