
So today, we're teaching you how to use adhesive vinyl cut with your Cricut to create a simple screen printing stencil. No traditional photo emulsion or complicated steps with this one! This simple beginner-friendly screen printing method makes it possible to screen print at home as a fun idea for your next DIY wedding project. Maybe it'll even be your next besties' craft night-in!
Once you learn the basics of screen printing with a vinyl stencil, you can easily adapt the technique to create tote bags, welcome bags, bachelorette t-shirts, and any other personalized fabric wedding details. Let's get started!
Common Questions About Screen Printing with a Cricut
Before we get into the tutorial, here are some FAQs that might help you prep your project. We spotted these on Reddit and other online Cricut community groups, so others are asking what you might already be wondering!Can you use Cricut for screen printing?
Yes, you can absolutely use a Cricut machine for screen printing! It’s one of the easiest ways to create custom stencils at home. Instead of 'burning' a traditional screen with photo emulsion, your Cricut cuts your design on adhesive vinyl, which is then applied directly to your screen to be your stencil. This makes the process far more beginner-friendly, especially for small projects like wedding favors, t-shirts, bach/hen party bags, or other personalized details.The key thing to remember is that you’re creating the stencil that controls where the ink passes through the screen, so applying your design is a bit different than a typical vinyl project.
What kind of vinyl should I use for screen printing stencils?
You'll see various methods out there with heat transfer vinyl and adhesive vinyl, but for wedding projects, we prefer adhesive vinyl so you can reuse your screen. Now what kind of adhesive vinyl? You can use either removable or permanent adhesive vinyl for screen printing stencils. We've used removable vinyl in this project only because we had an excess stock of black removable vinyl in our stash!Both types work well because the goal is simply to block out areas of the screen so ink only passes through your design. As long as your vinyl adheres securely to the mesh, you'll get crisp results.
If you’re new to screen printing with a Cricut, use whatever vinyl you already have on hand. It’s a great way to experiment without needing to buy additional materials.
Why do screen printing rather than just using heat transfer vinyl for my design? Isn't that an extra step?
In short, it's just a different, fun technique to try out (and why we've graded this tutorial with a Beginner-Intermediate skill level)! Screen printing and heat transfer vinyl (HTV) each have their strengths, but screen printing offers a few advantages like a smooth, soft finish. Screen printing lays ink directly onto fabric, so your design blends with the material instead of sitting on top like HTV which gives a more fabric-like touch.Beyond tactile results, screenprinted designs tend to be more durable for repeated use. After properly heat-setting screen printing ink, it can last through many washes without cracking or peeling, which is especially handy for bags and items that get handled a lot.
Both materials essentially do the same thing though! You could take this project and recreate it with HTV, sublimation sheets, or Cricut's sublimation solution Infusible Ink. Choose your own adventure!
How to Screen Print with Cricut Vinyl
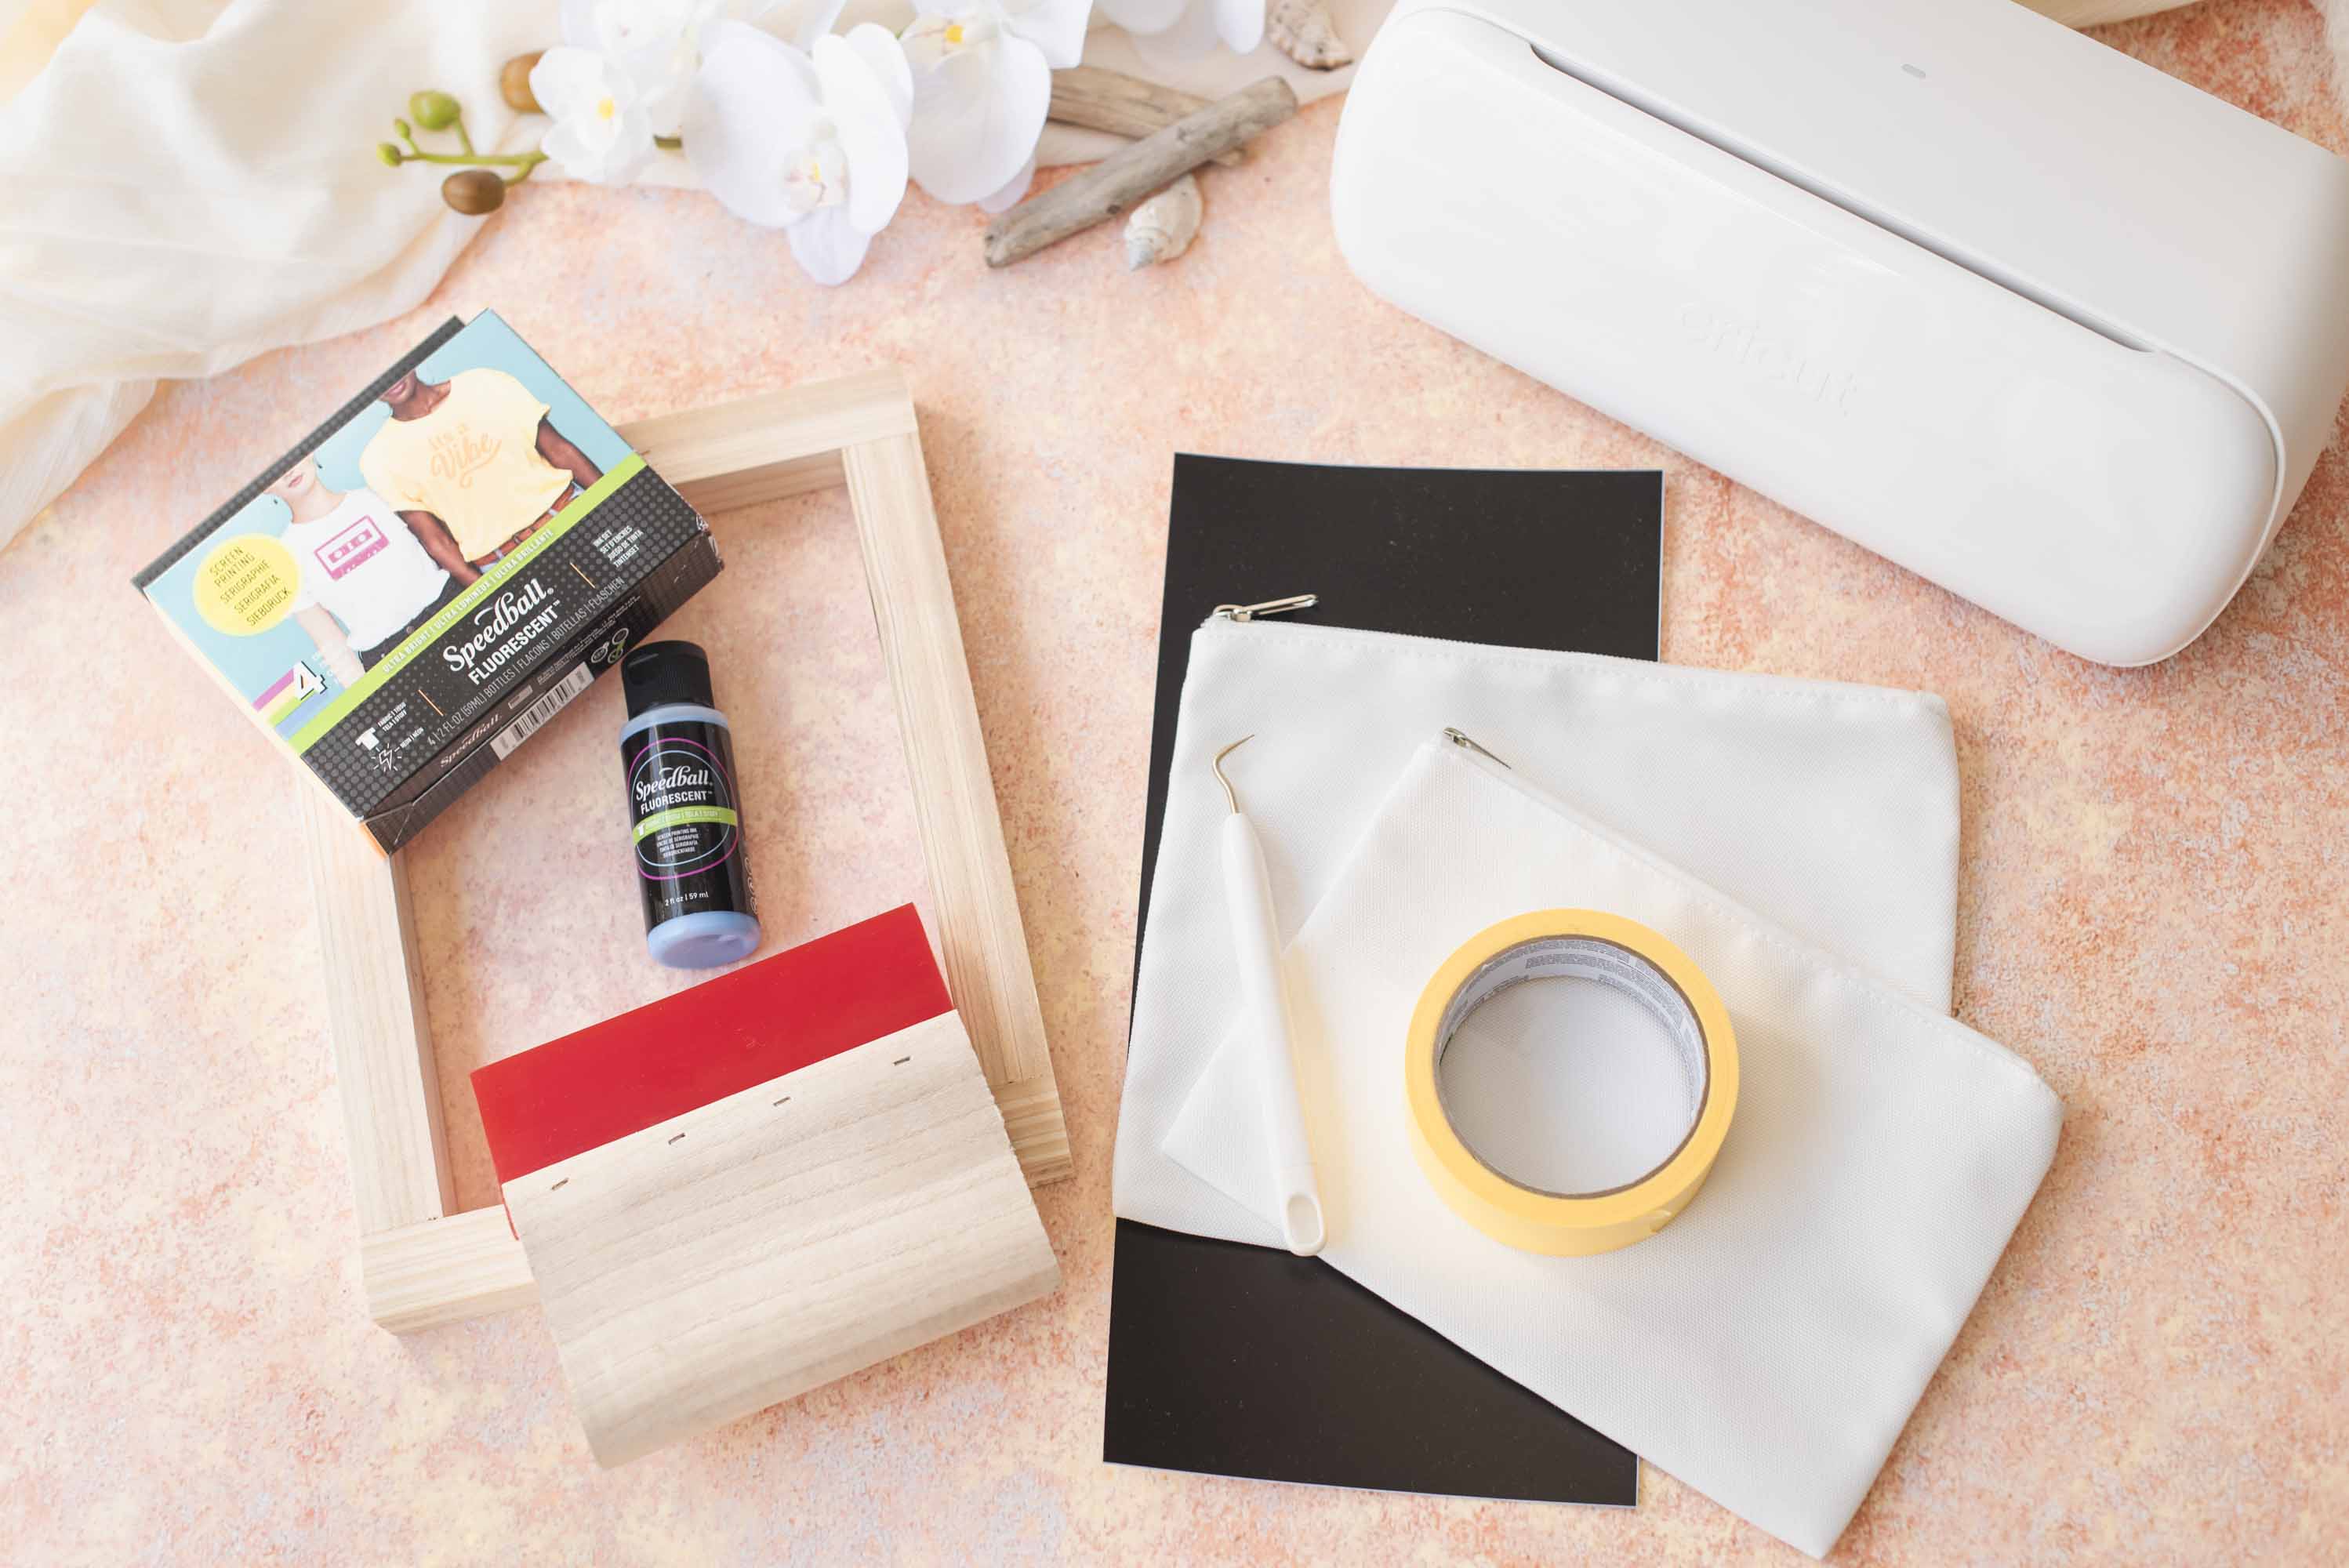
Skill Level: Beginner-IntermediateProject Materials
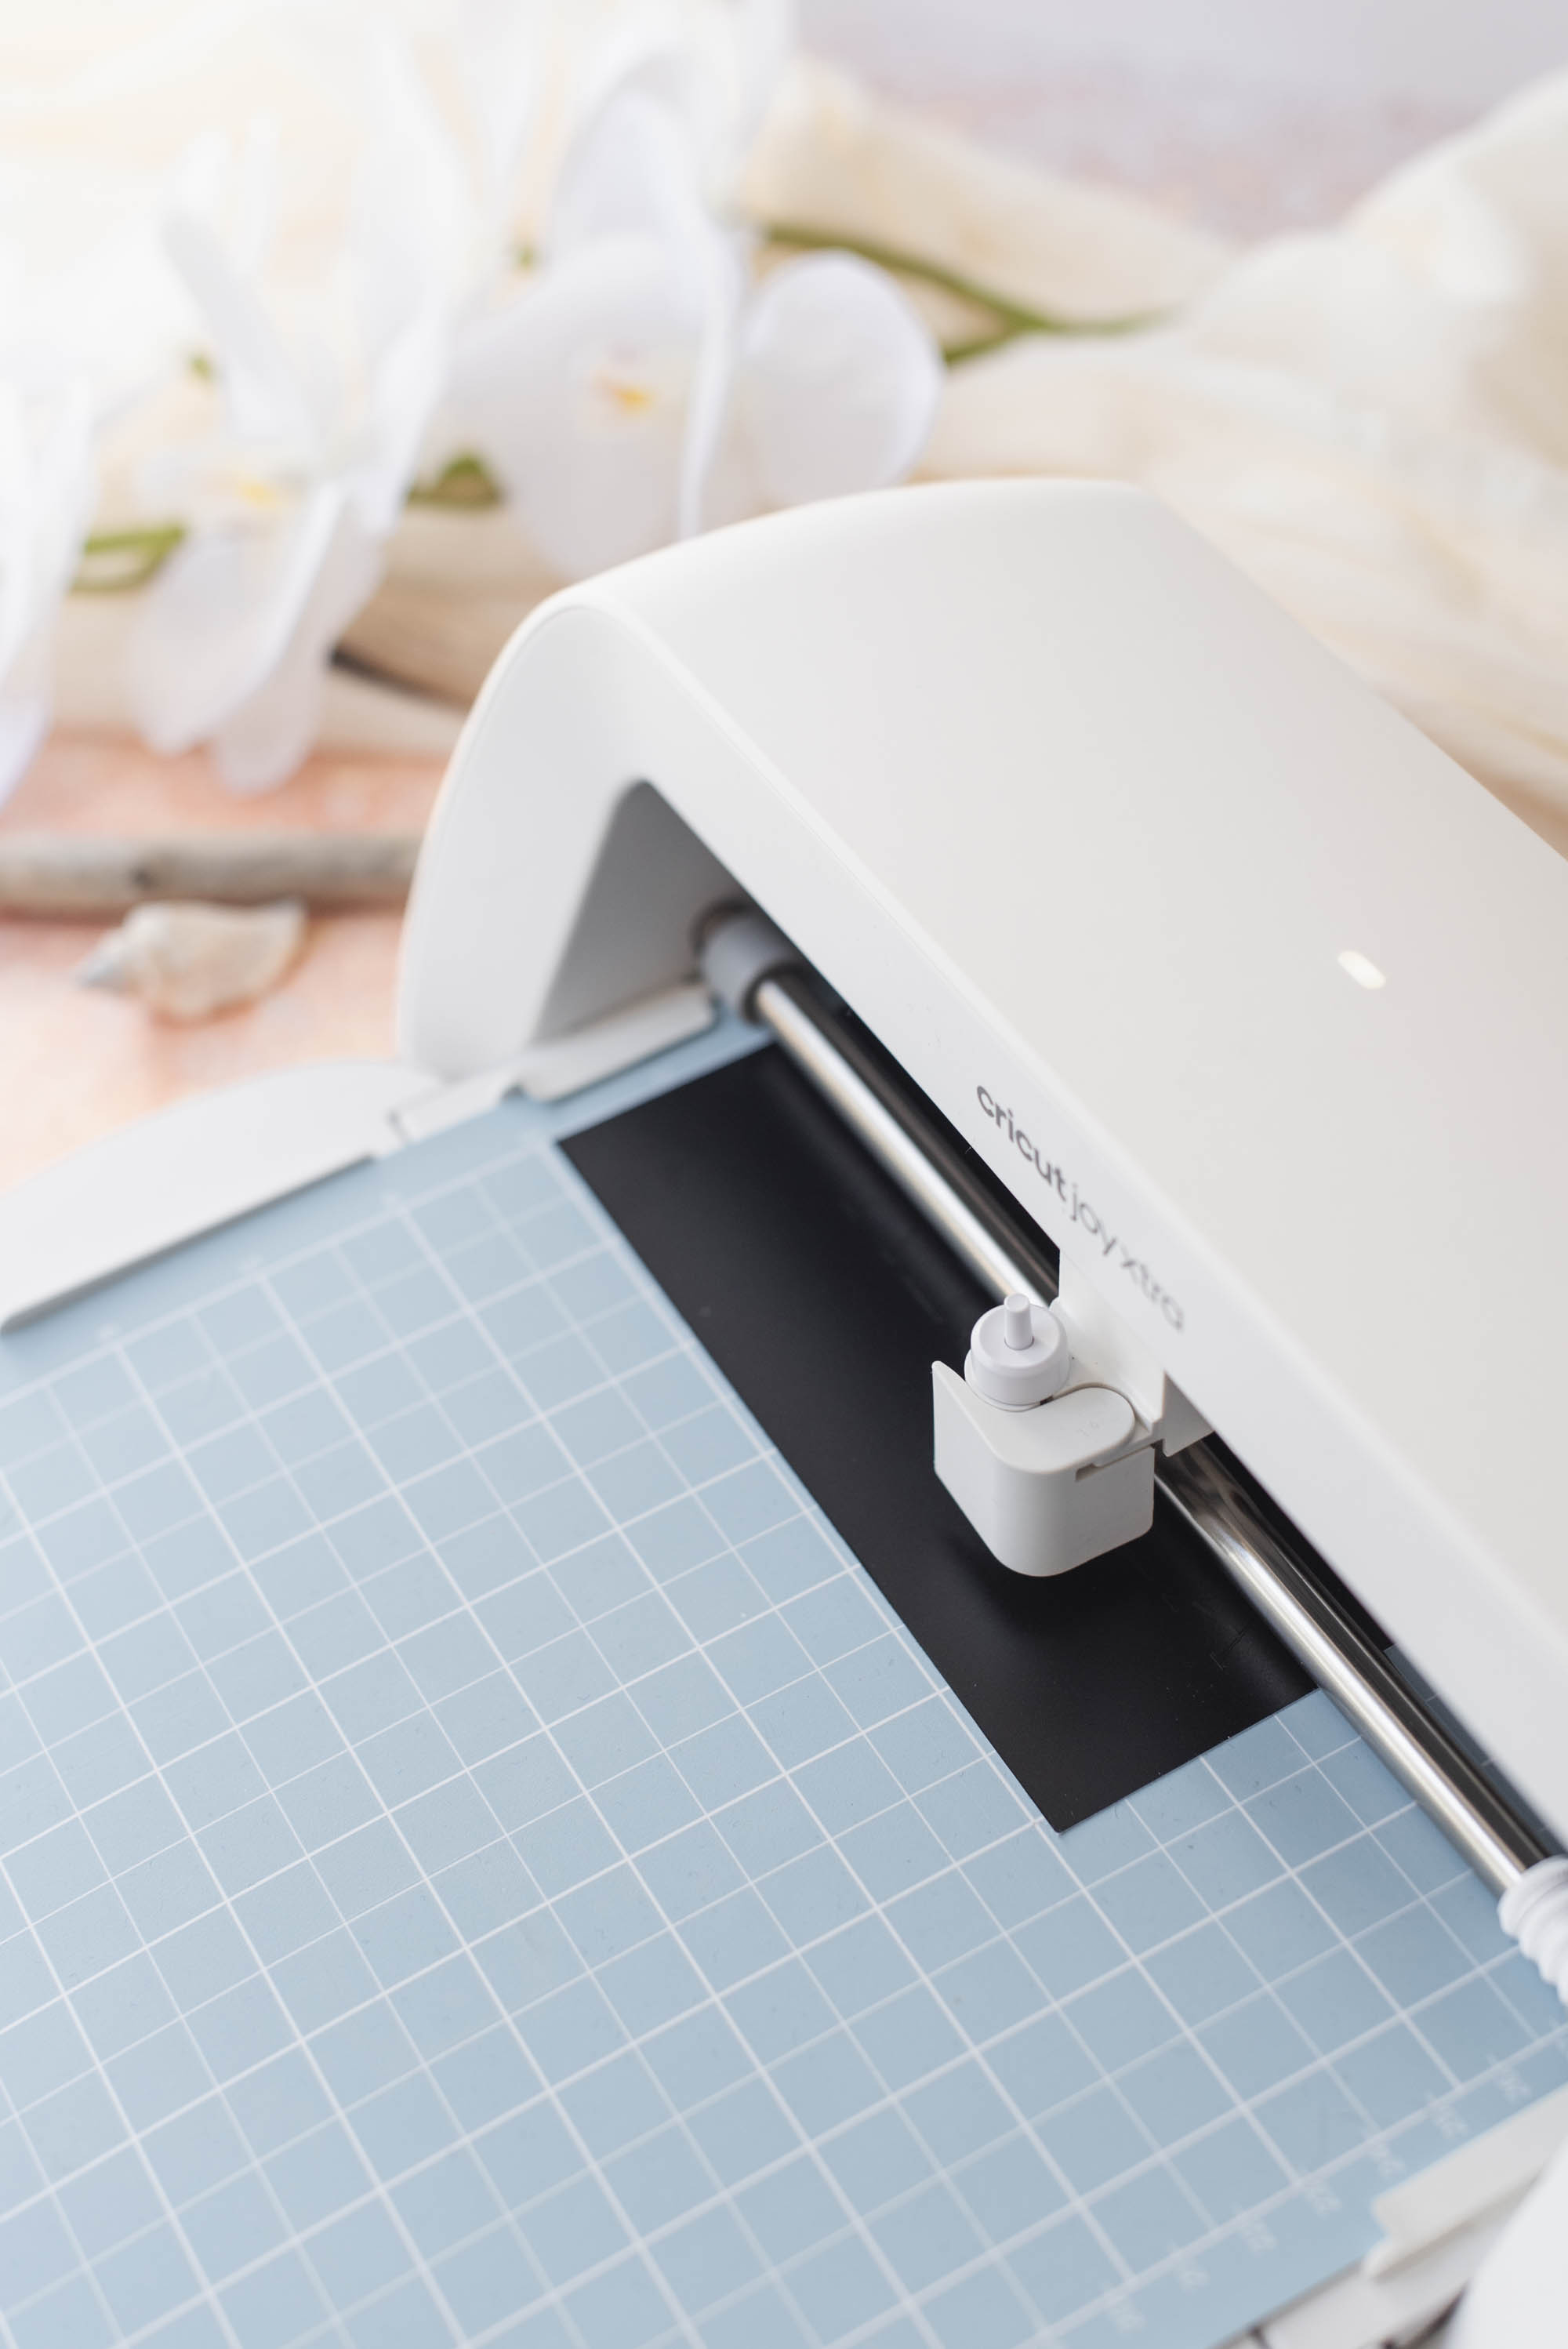
- Cricut cutting machine + fine-point blade
- Adhesive vinyl
- Weeder tool, scraper, + scissors
- Transfer tape
-
StandardGrip cutting mat (if using non-Smart Material vinyl or vinyl scraps)
- For Cricut Joy
- For Joy Xtra
- For Explore/Maker family
- Masking tape
- Spoon or paint knife for ink
- Printer paper or cardstock for test prints
- Household iron or EasyPress for heat setting
- Measuring tape
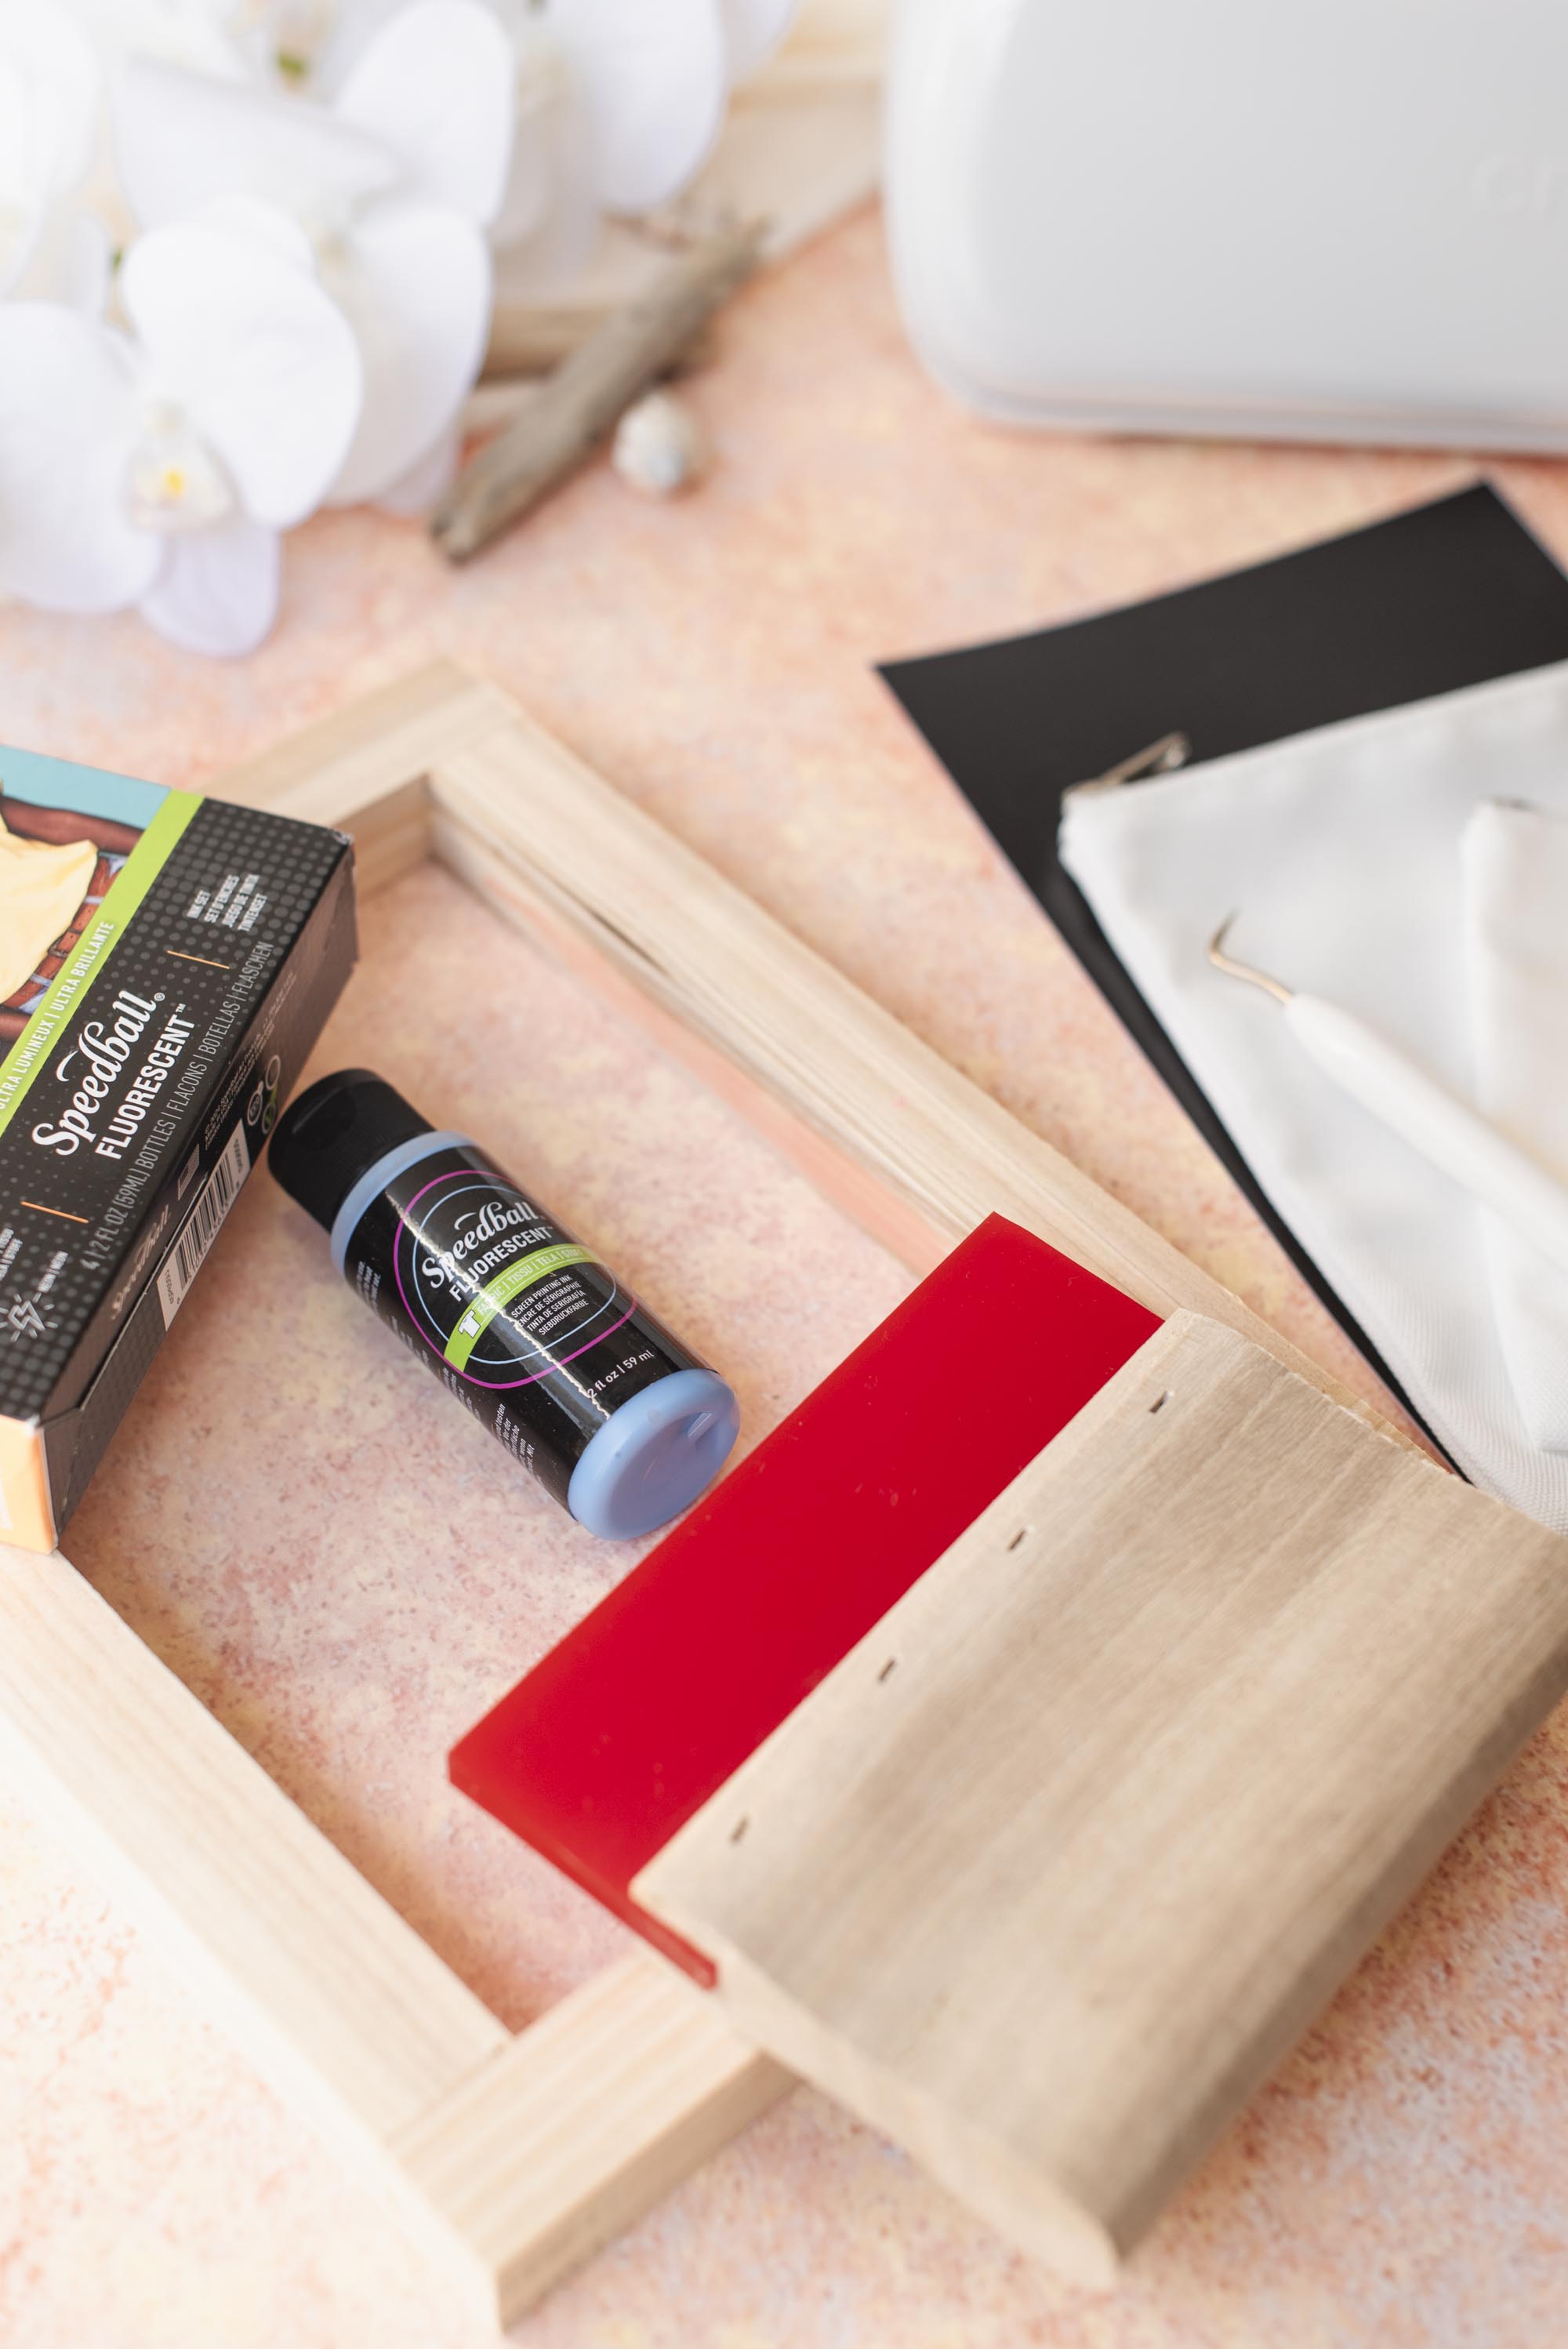
- Screen printing mesh screen + squeegee
- Screen printing ink
- Zipper cosmetic bag
- Smooth scrap cardboard or thick cardstock (to go inside your bag when printing)
- Our Cricut Design Space project (bookmark or make it right now!)
DESIGN NOTES: We used a free-to-use image + a Cricut Access font which means you will need a Cricut Access subscription or purchase the font as a one-off to make as is. You can swap out and use your own font as you wish.
Compatible Cricut Machines
• Joy family• Joy Xtra
• Explore family
• Maker family
• Venture
Step-by-Step Instructions
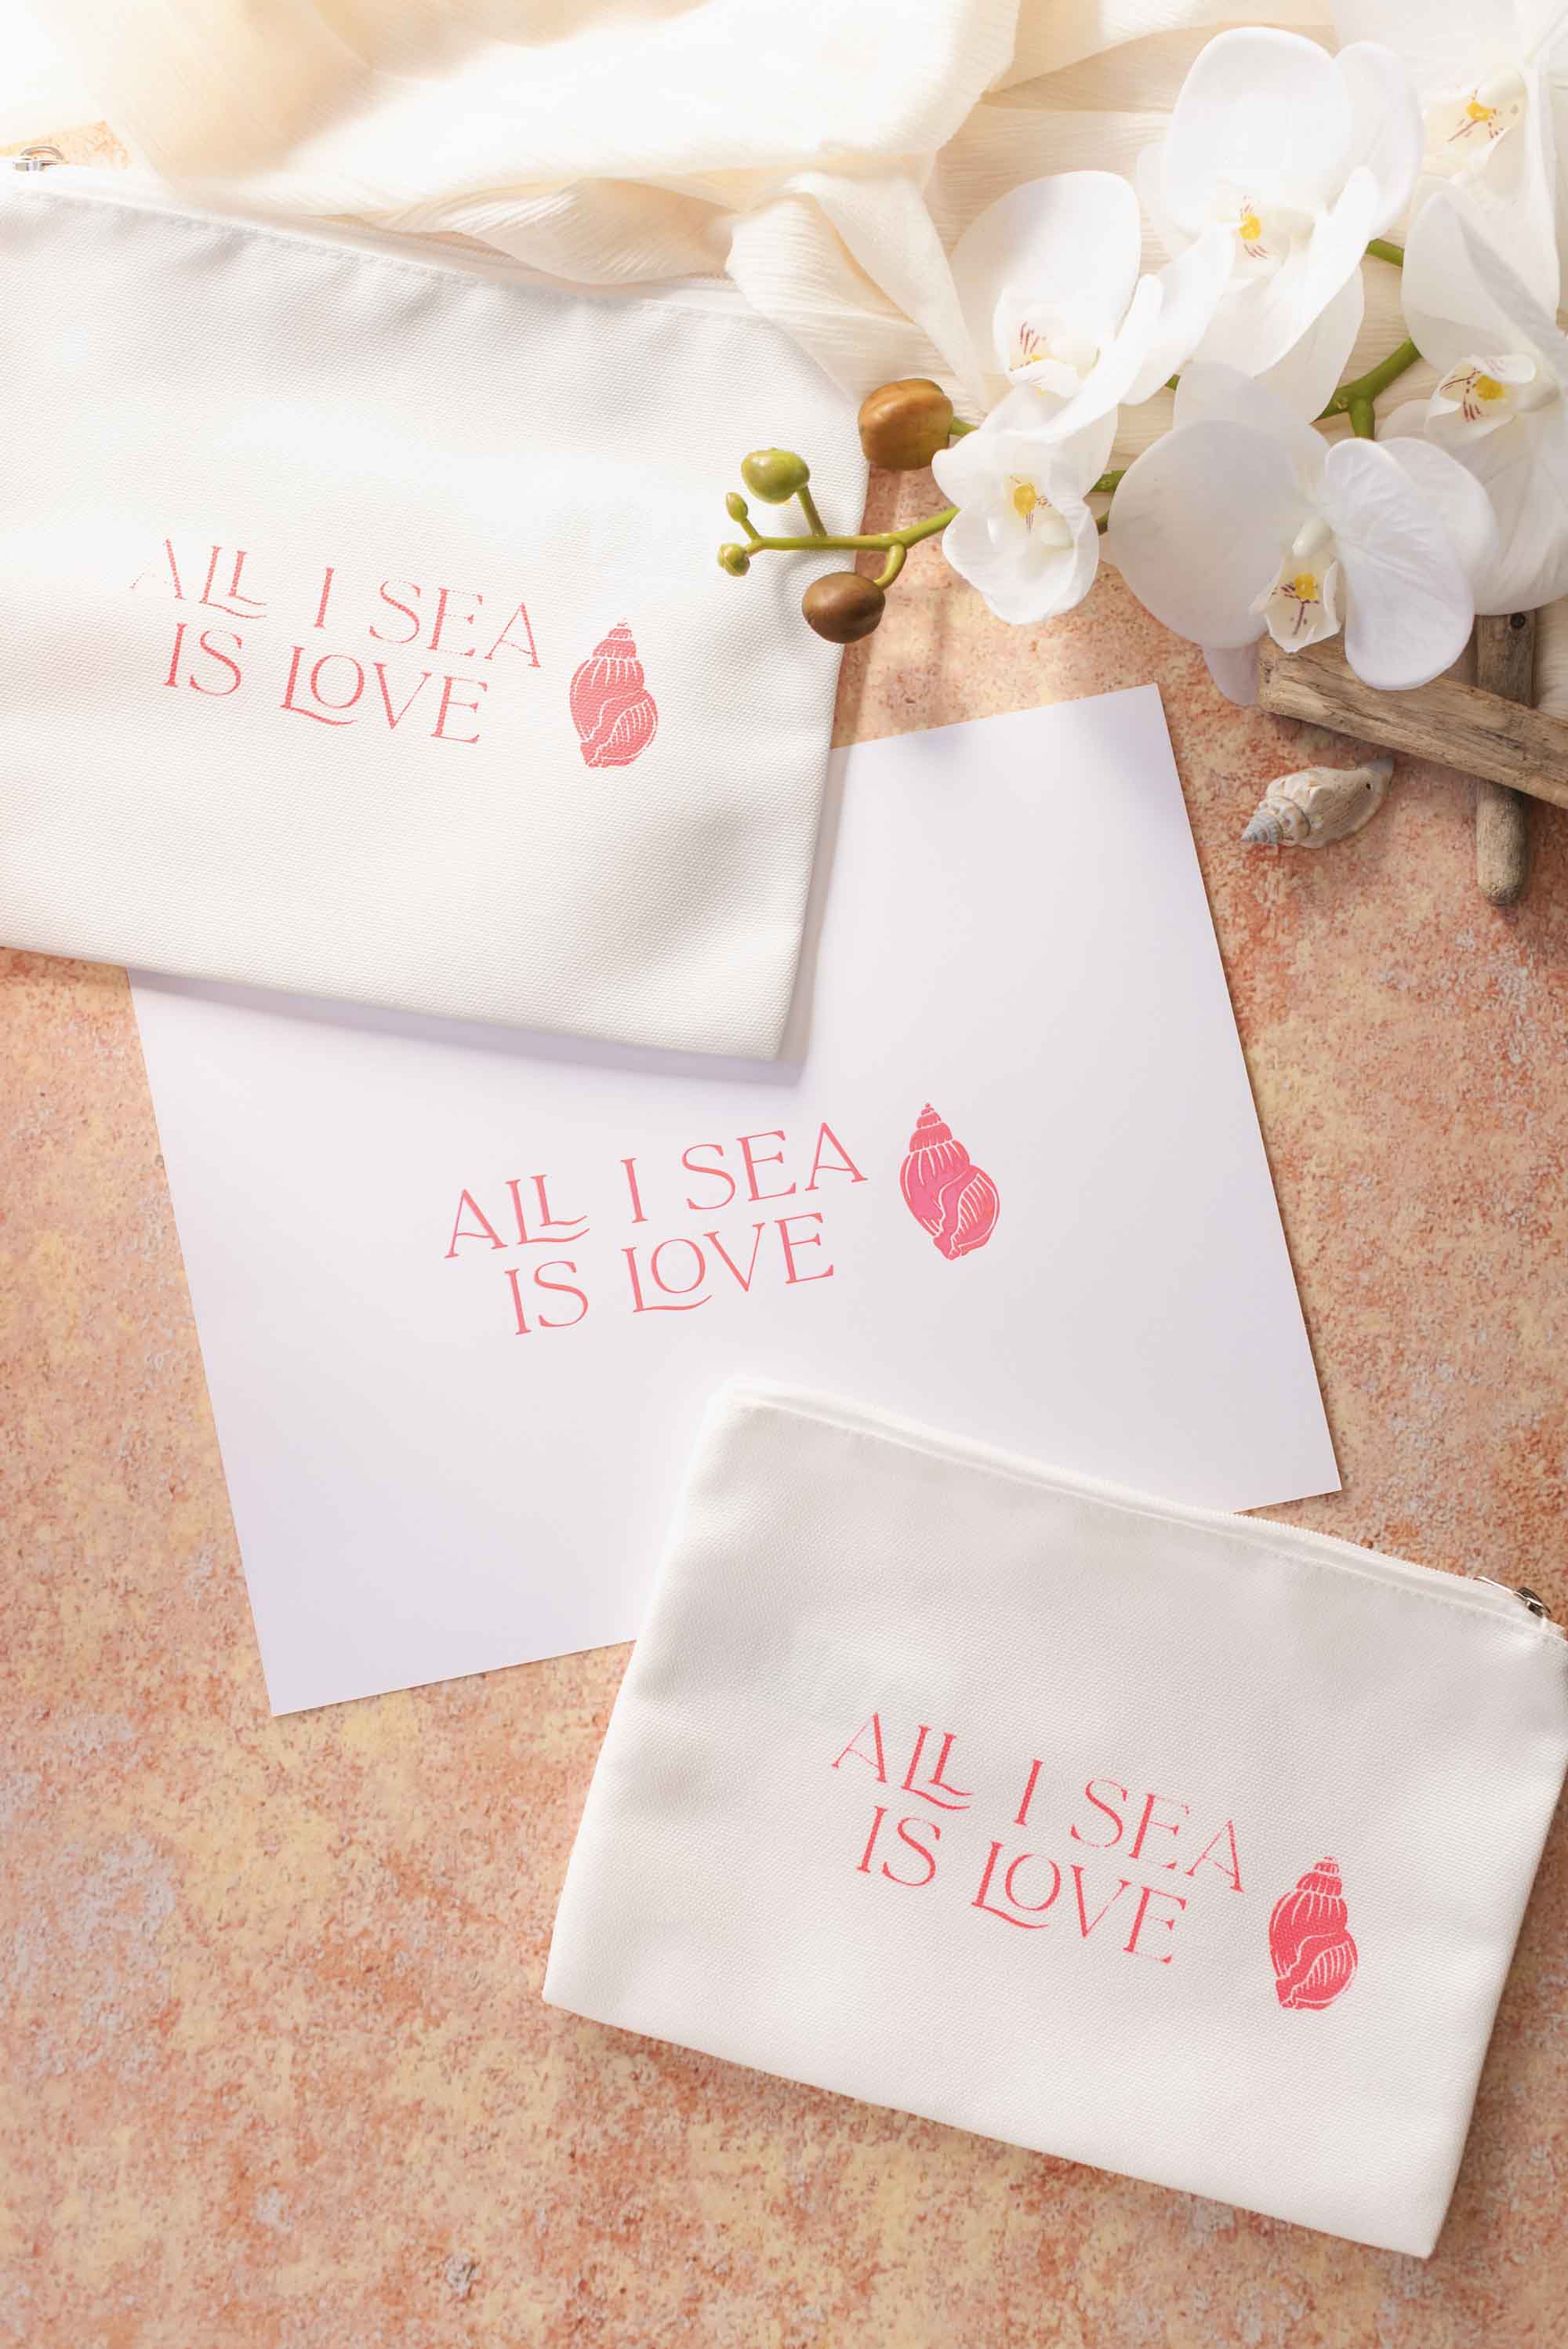
1. Prep your project. Set out all of your materials and prep your computer, tablet, or mobile phone with Cricut Design Space. Using a measuring tape, measure your cosmetic bags' height and width so you can determine what's the best proportion size of your stencil. If using our pre-made Design Space project, resize as needed. We've used small and large Cricut branded cosmetic bags, so the size of our stencil is 5.46 x 1.57" (about 13.8 x 4cm) which suits both.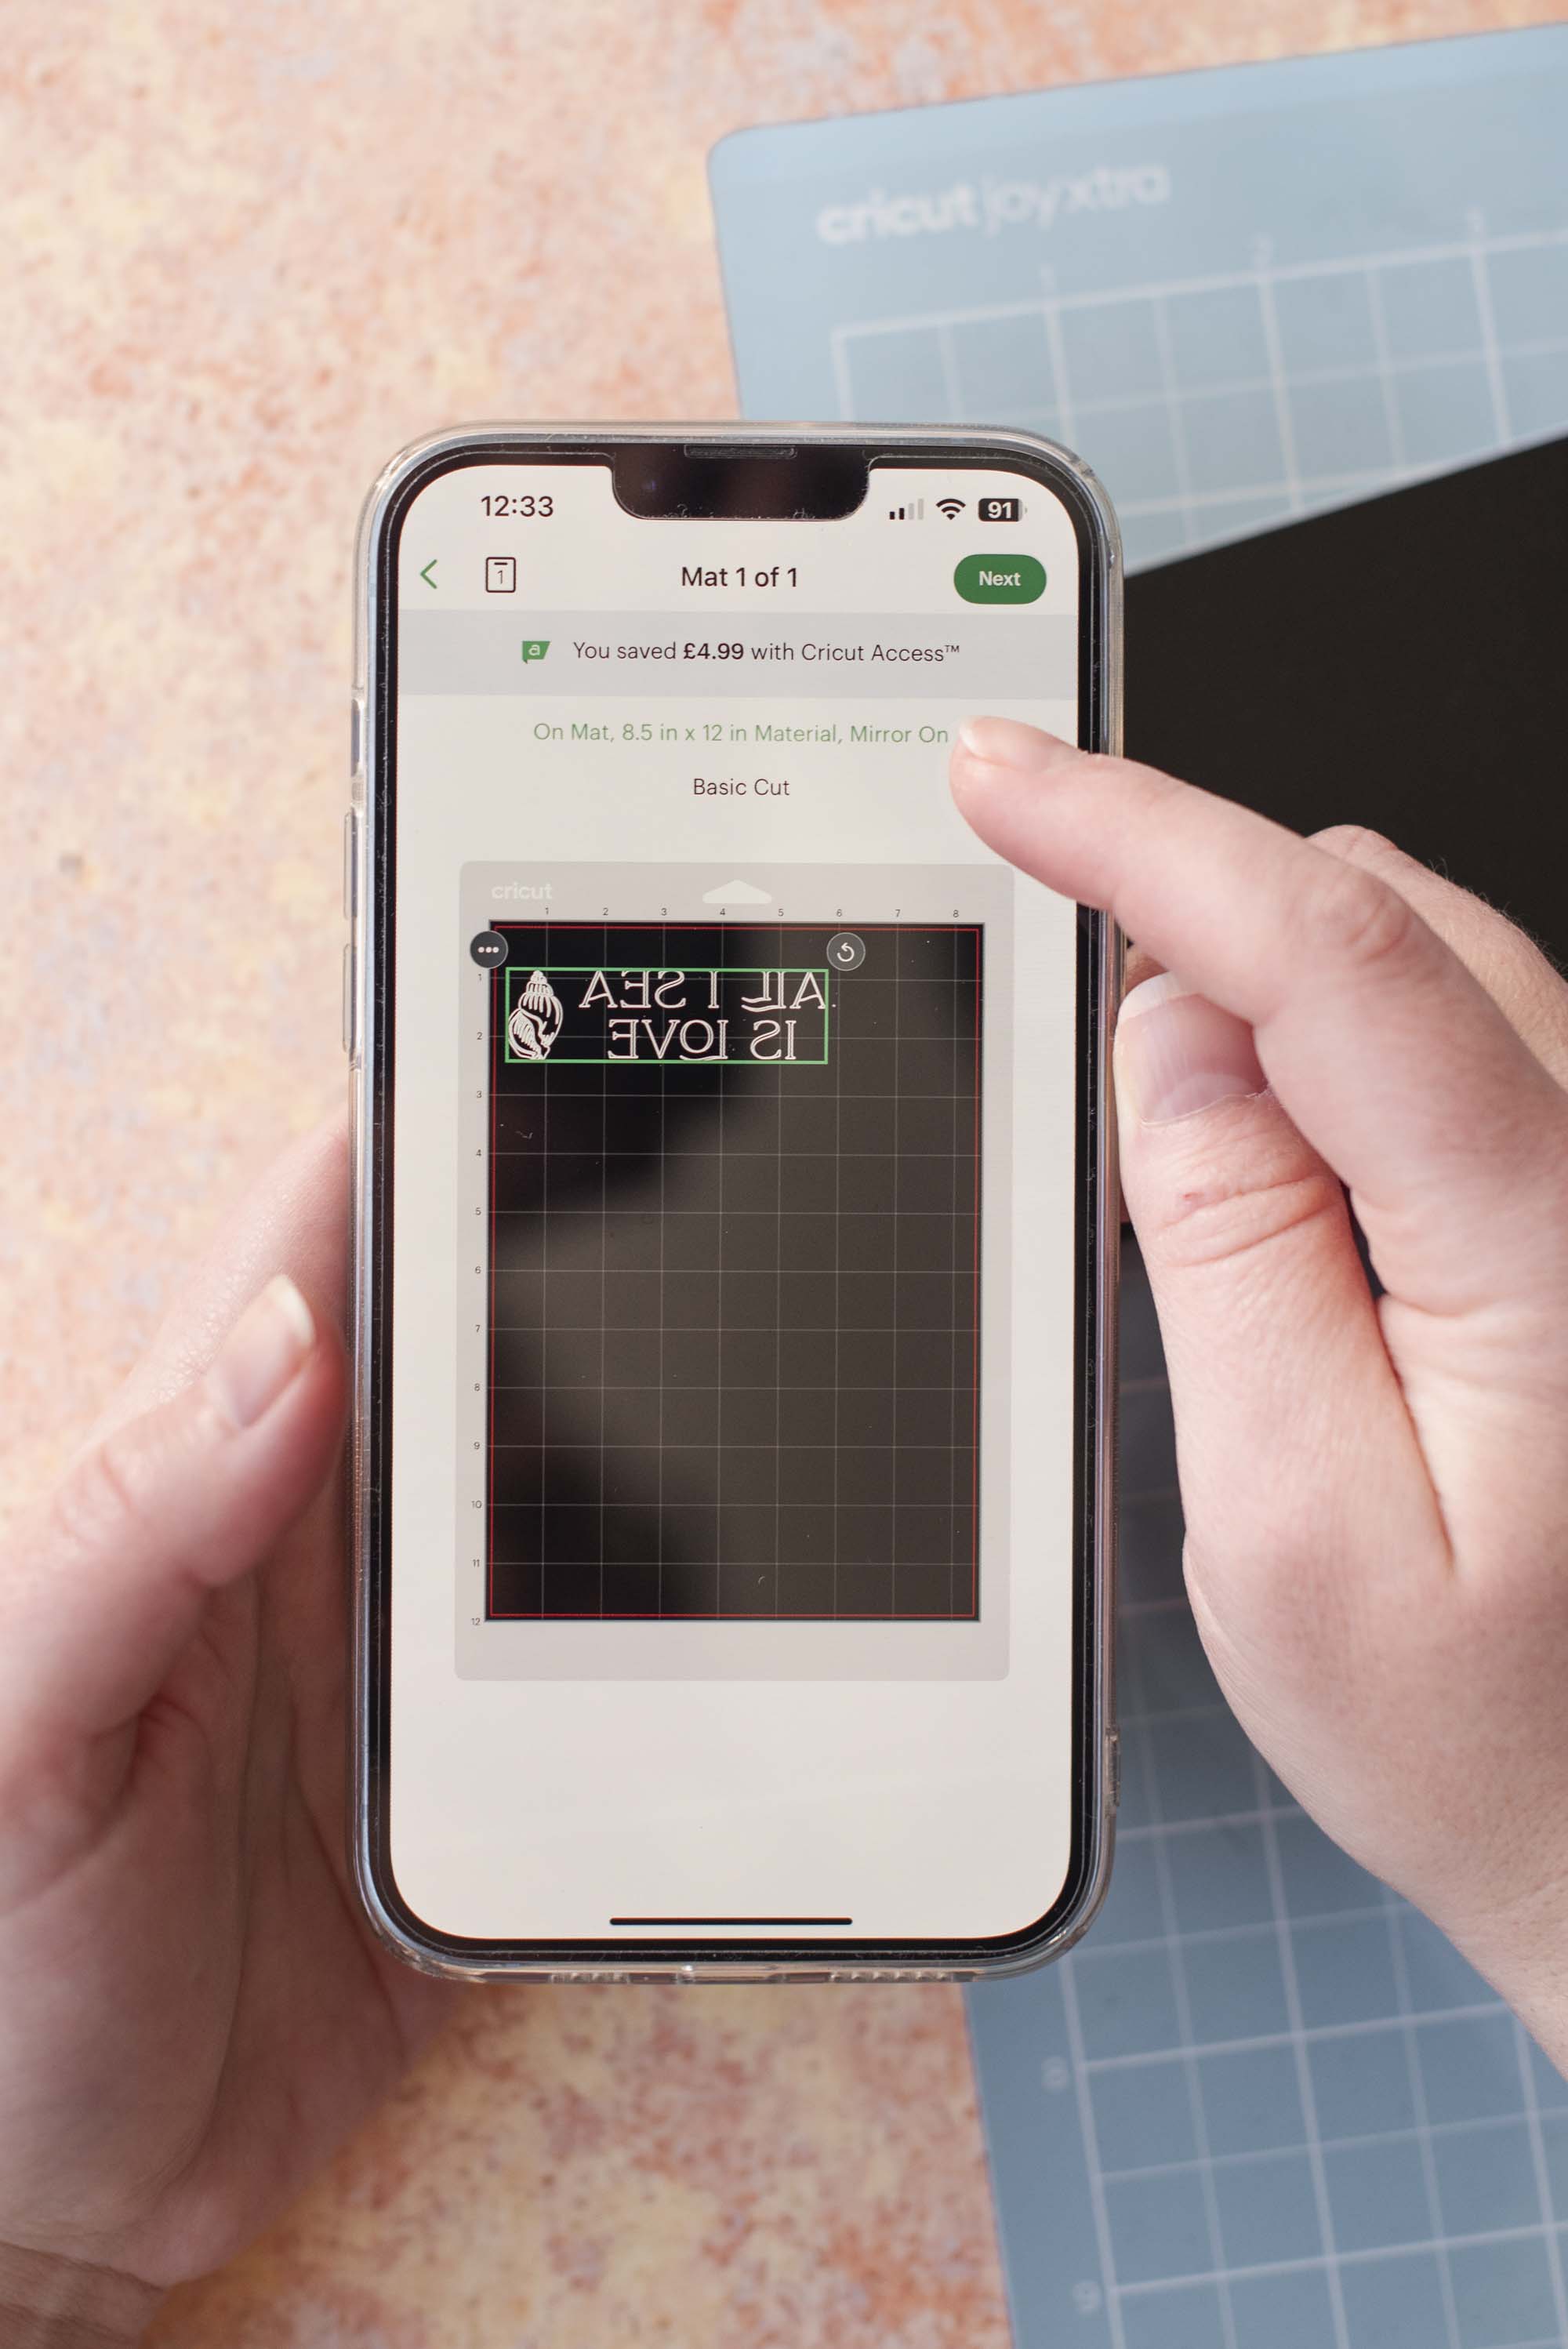
2. Now Make. Once happy with your sizing, click Make. Move your design on the screen so it will cut slightly lower on your vinyl. This gives you some blank space on the top and will be important when you screen print. In order for your design to screen-print the correct way, you also need to have your vinyl cut in reverse. Turn on "Mirror" and click Continue to get your design cut.
IMPORTANT NOTE: Design Space will not automatically mirror your design as you're going to choose normal vinyl for your material. So don't forget to Mirror your design!
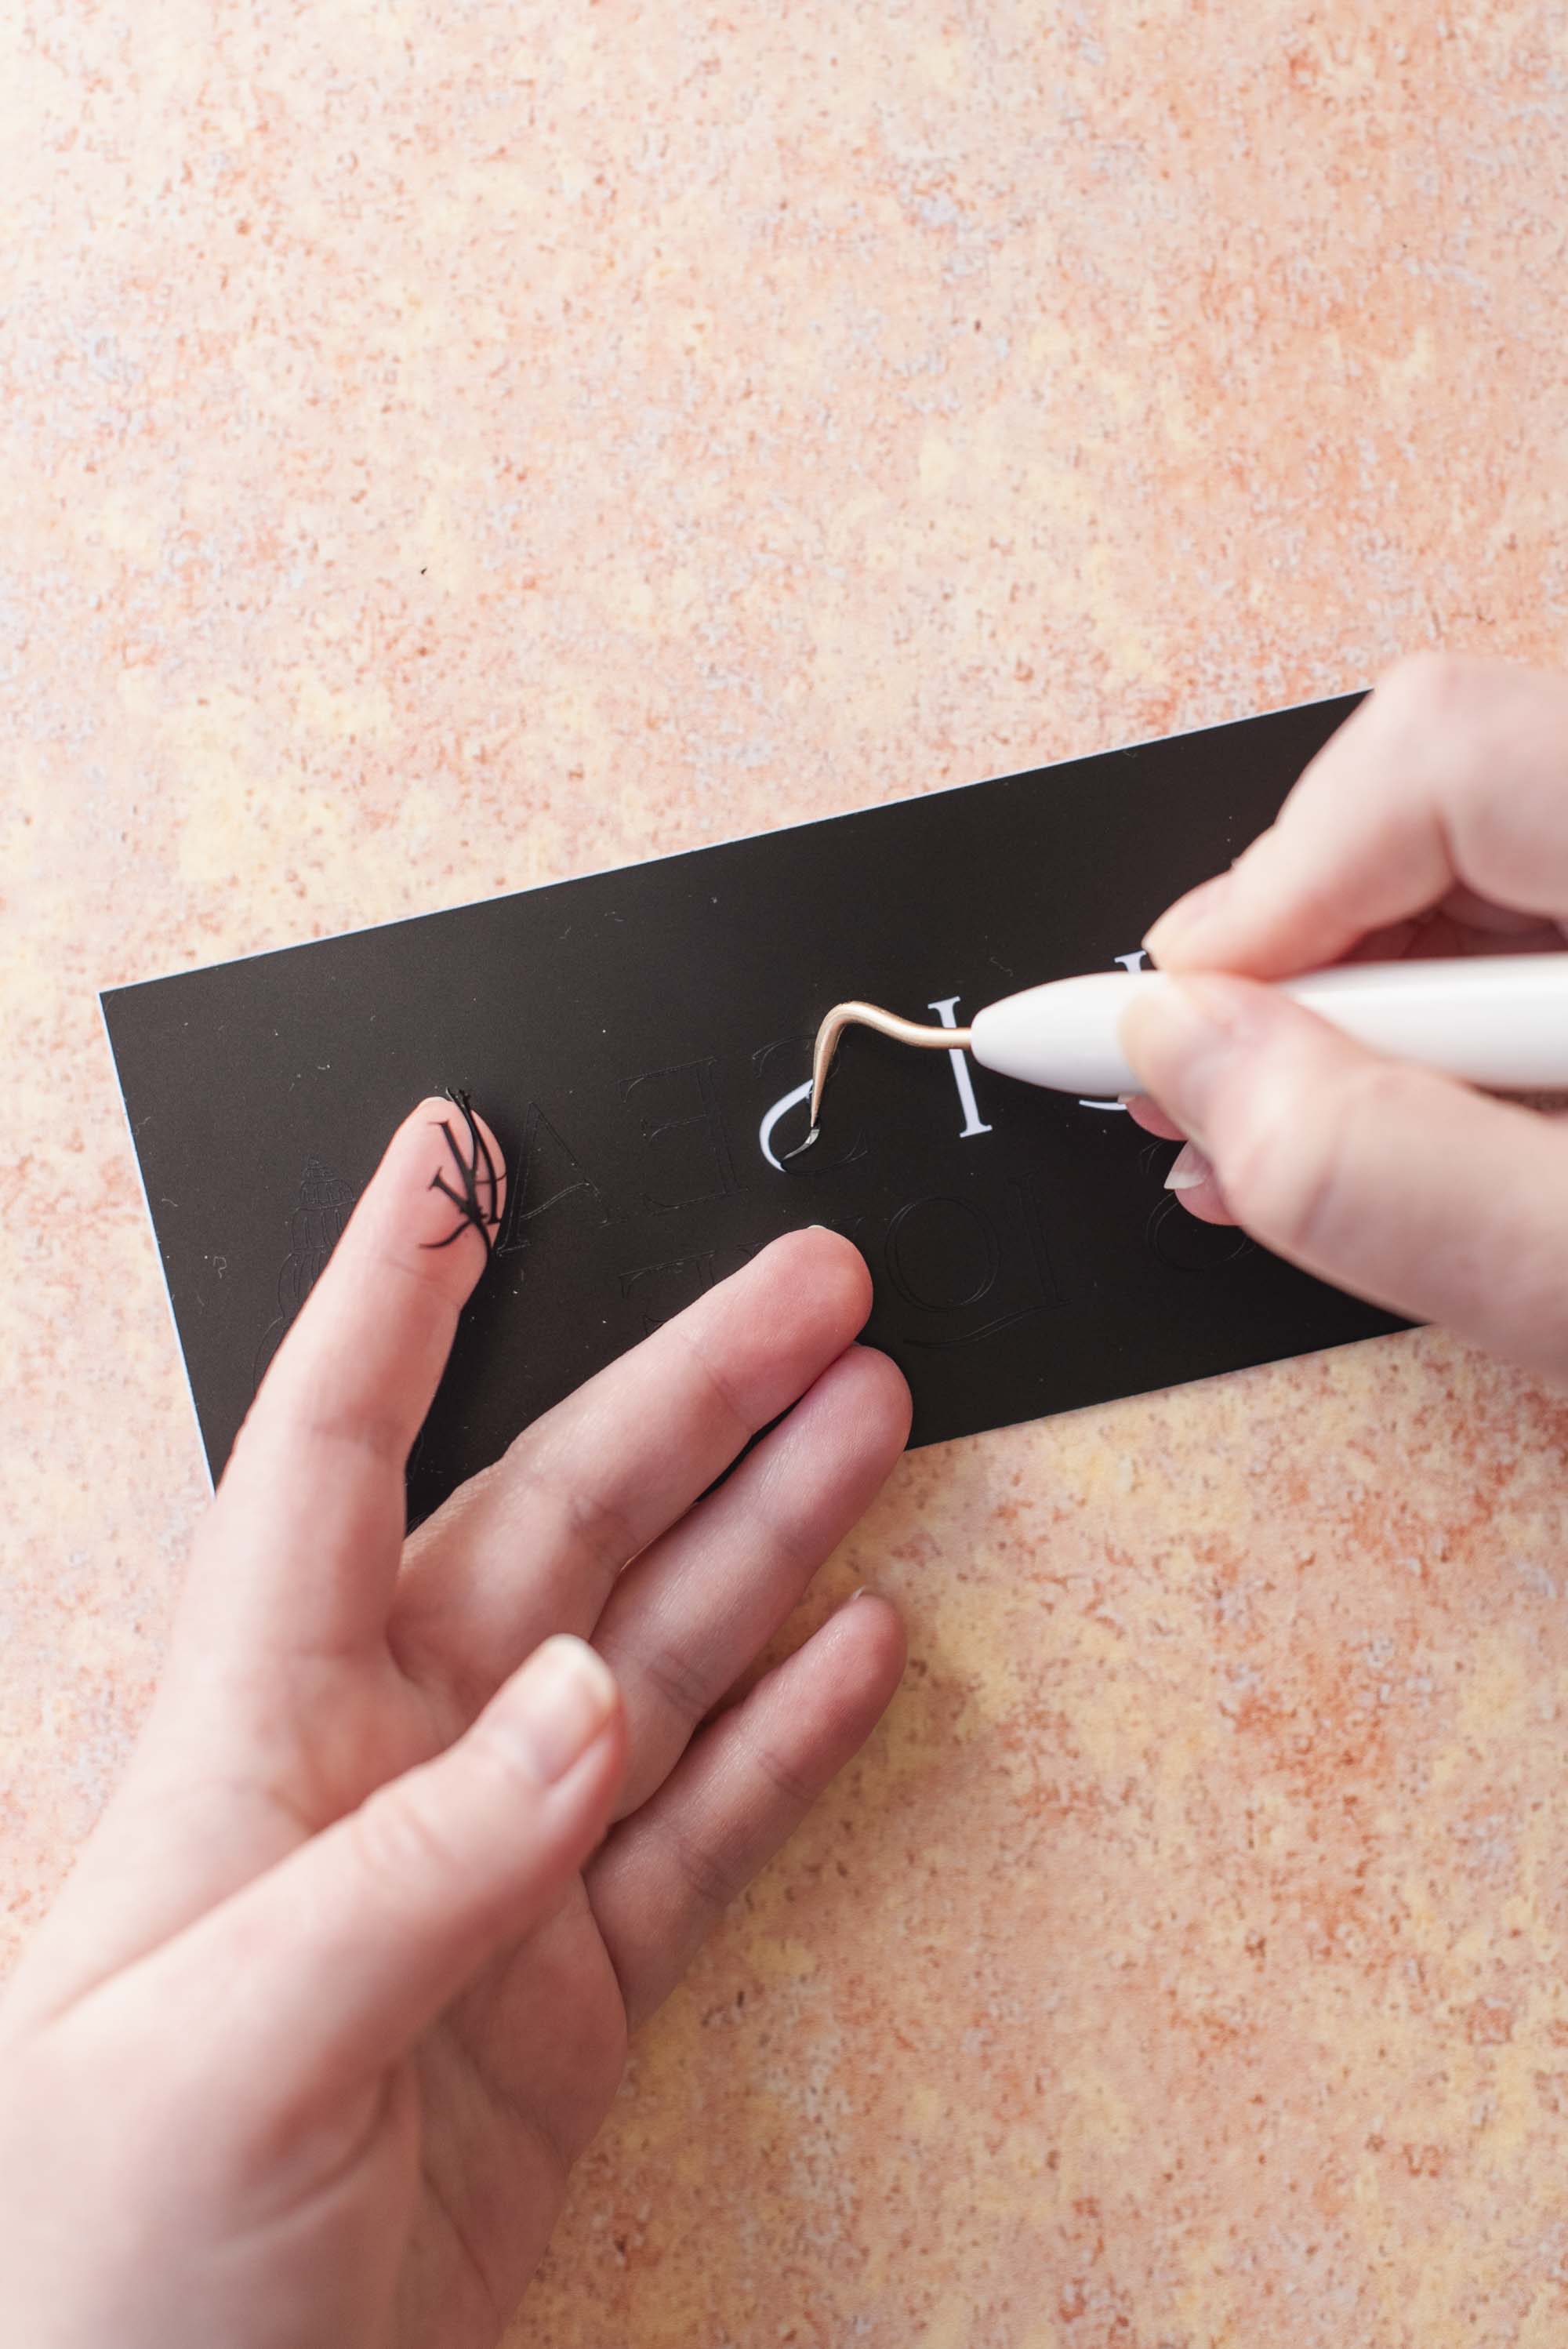
3. Weed. If you didn't pre-cut your vinyl to size before making, with scissors, cut generously around your cut design so it looks like a long rectangle. You should leave ample space around the edges if possible as this (and masking tape) will help block out ink. With your weeder tool, weed away your letters and seashell so the "background" remains.
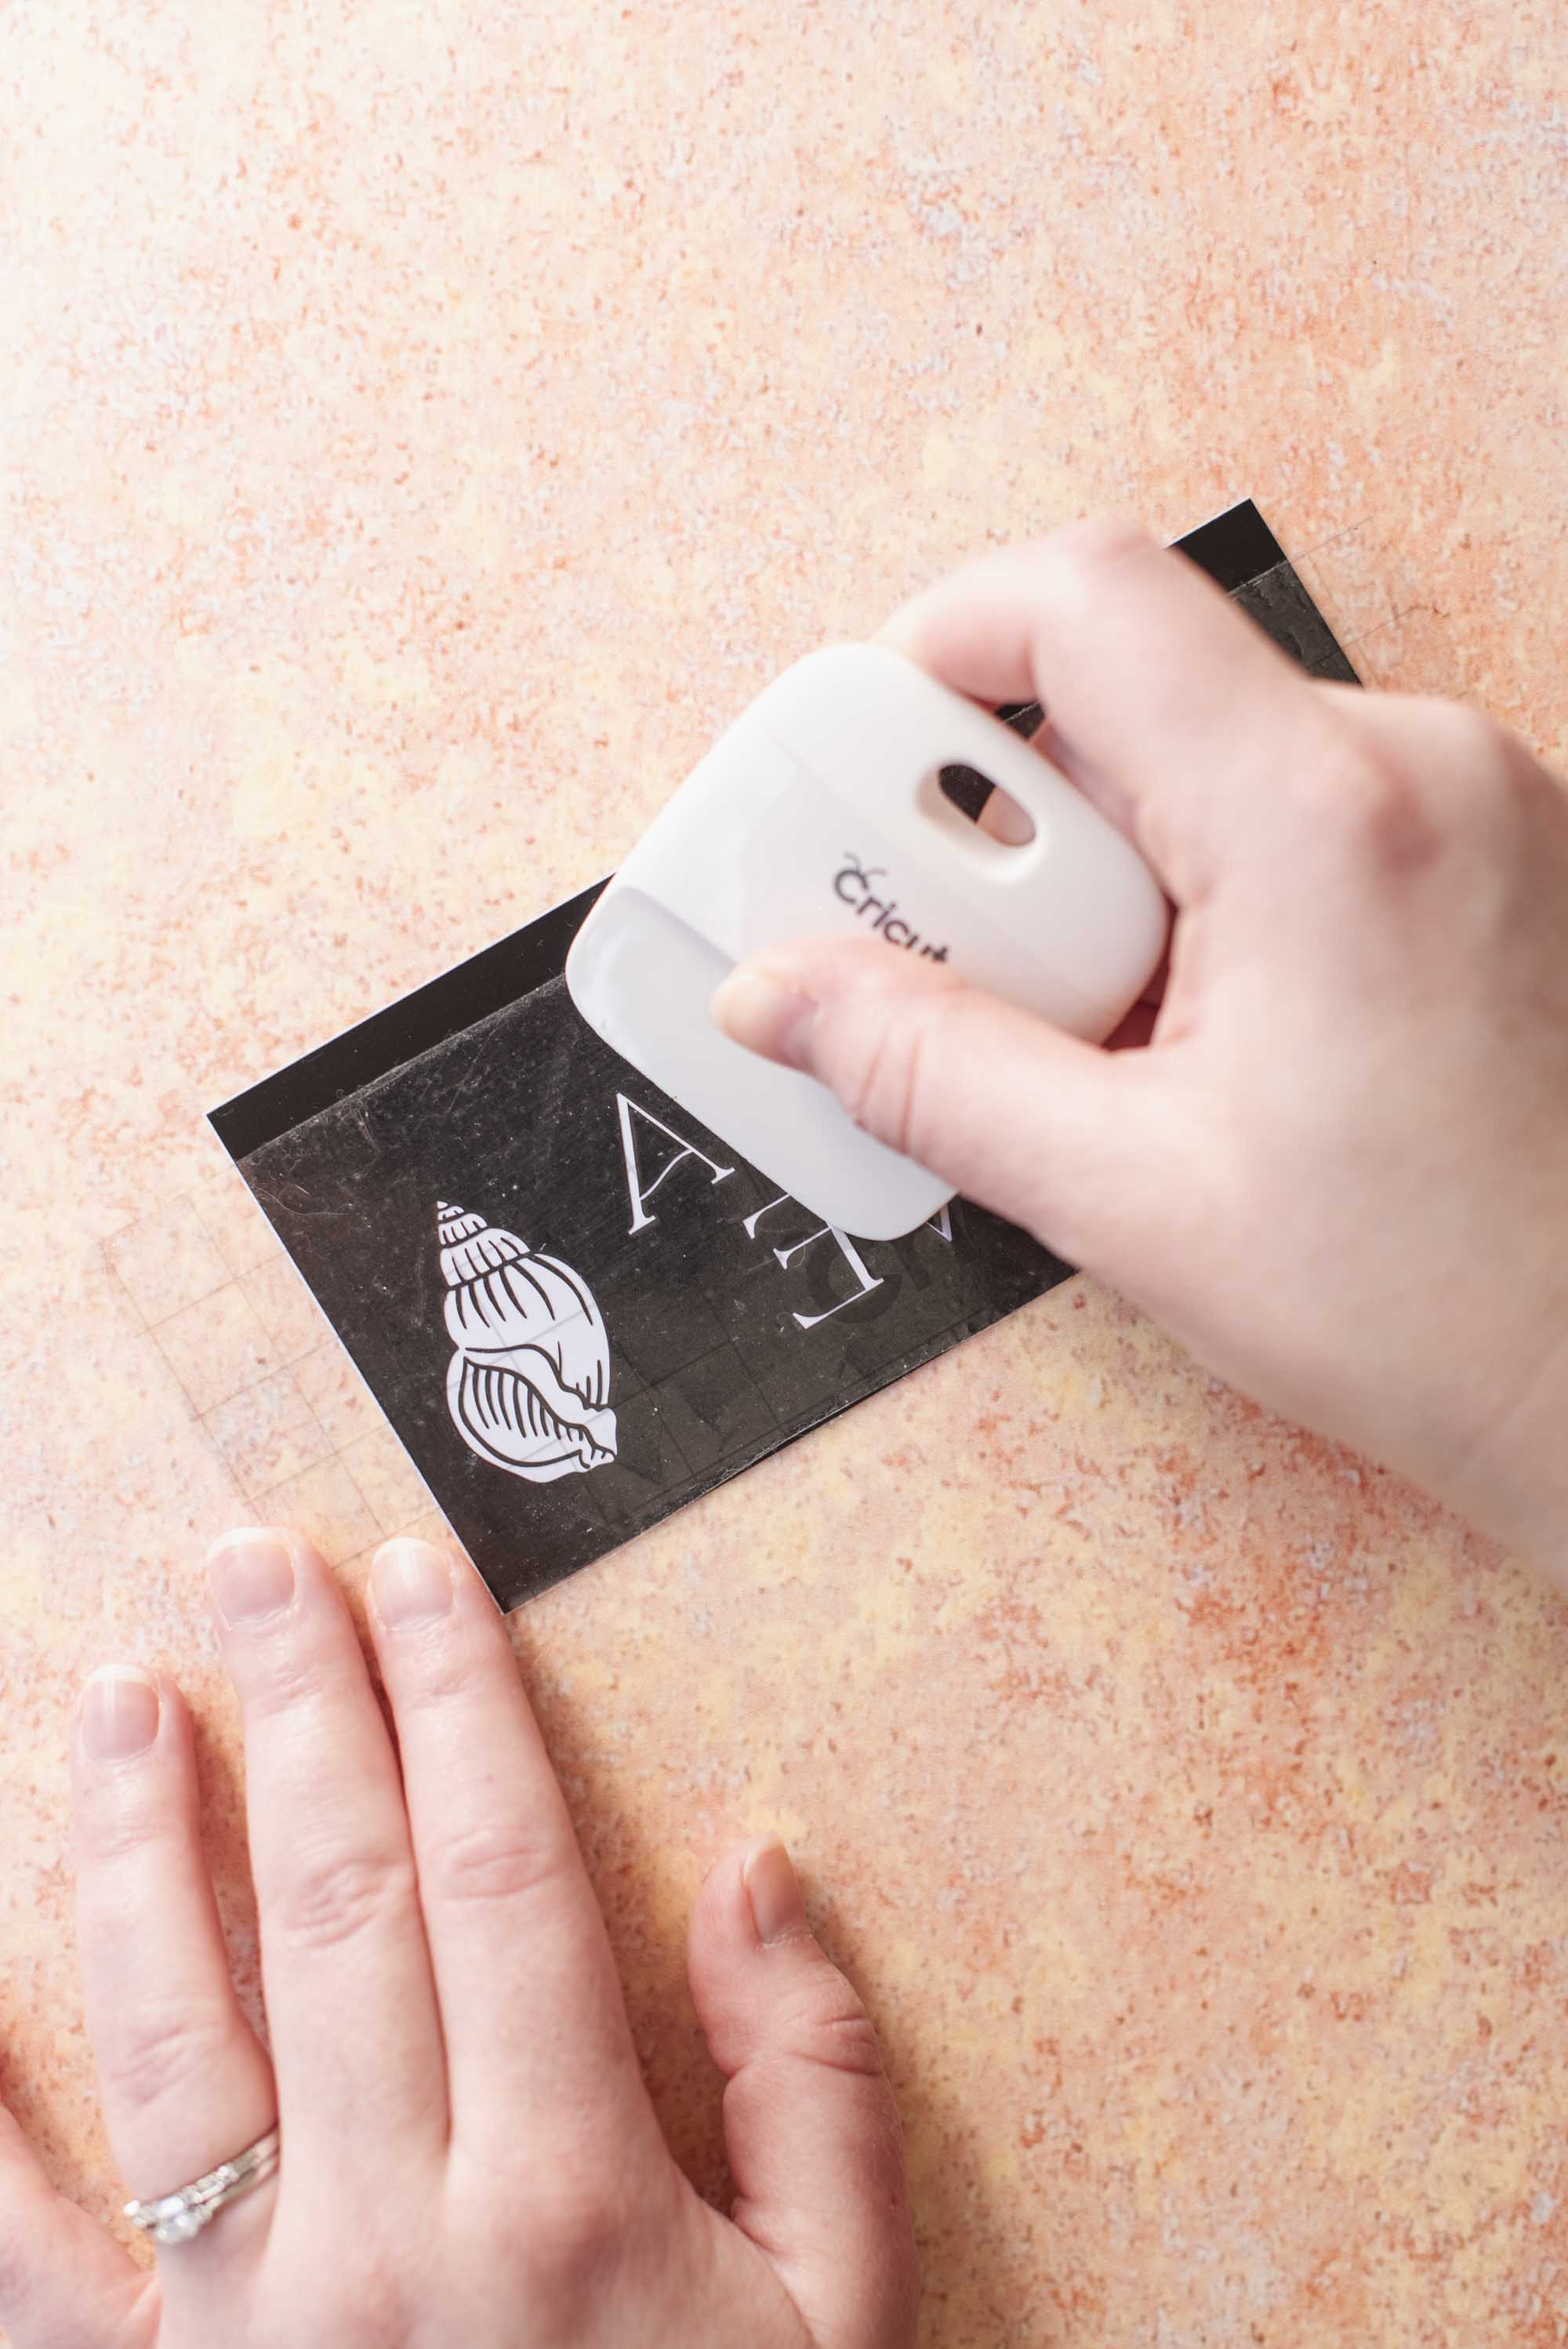
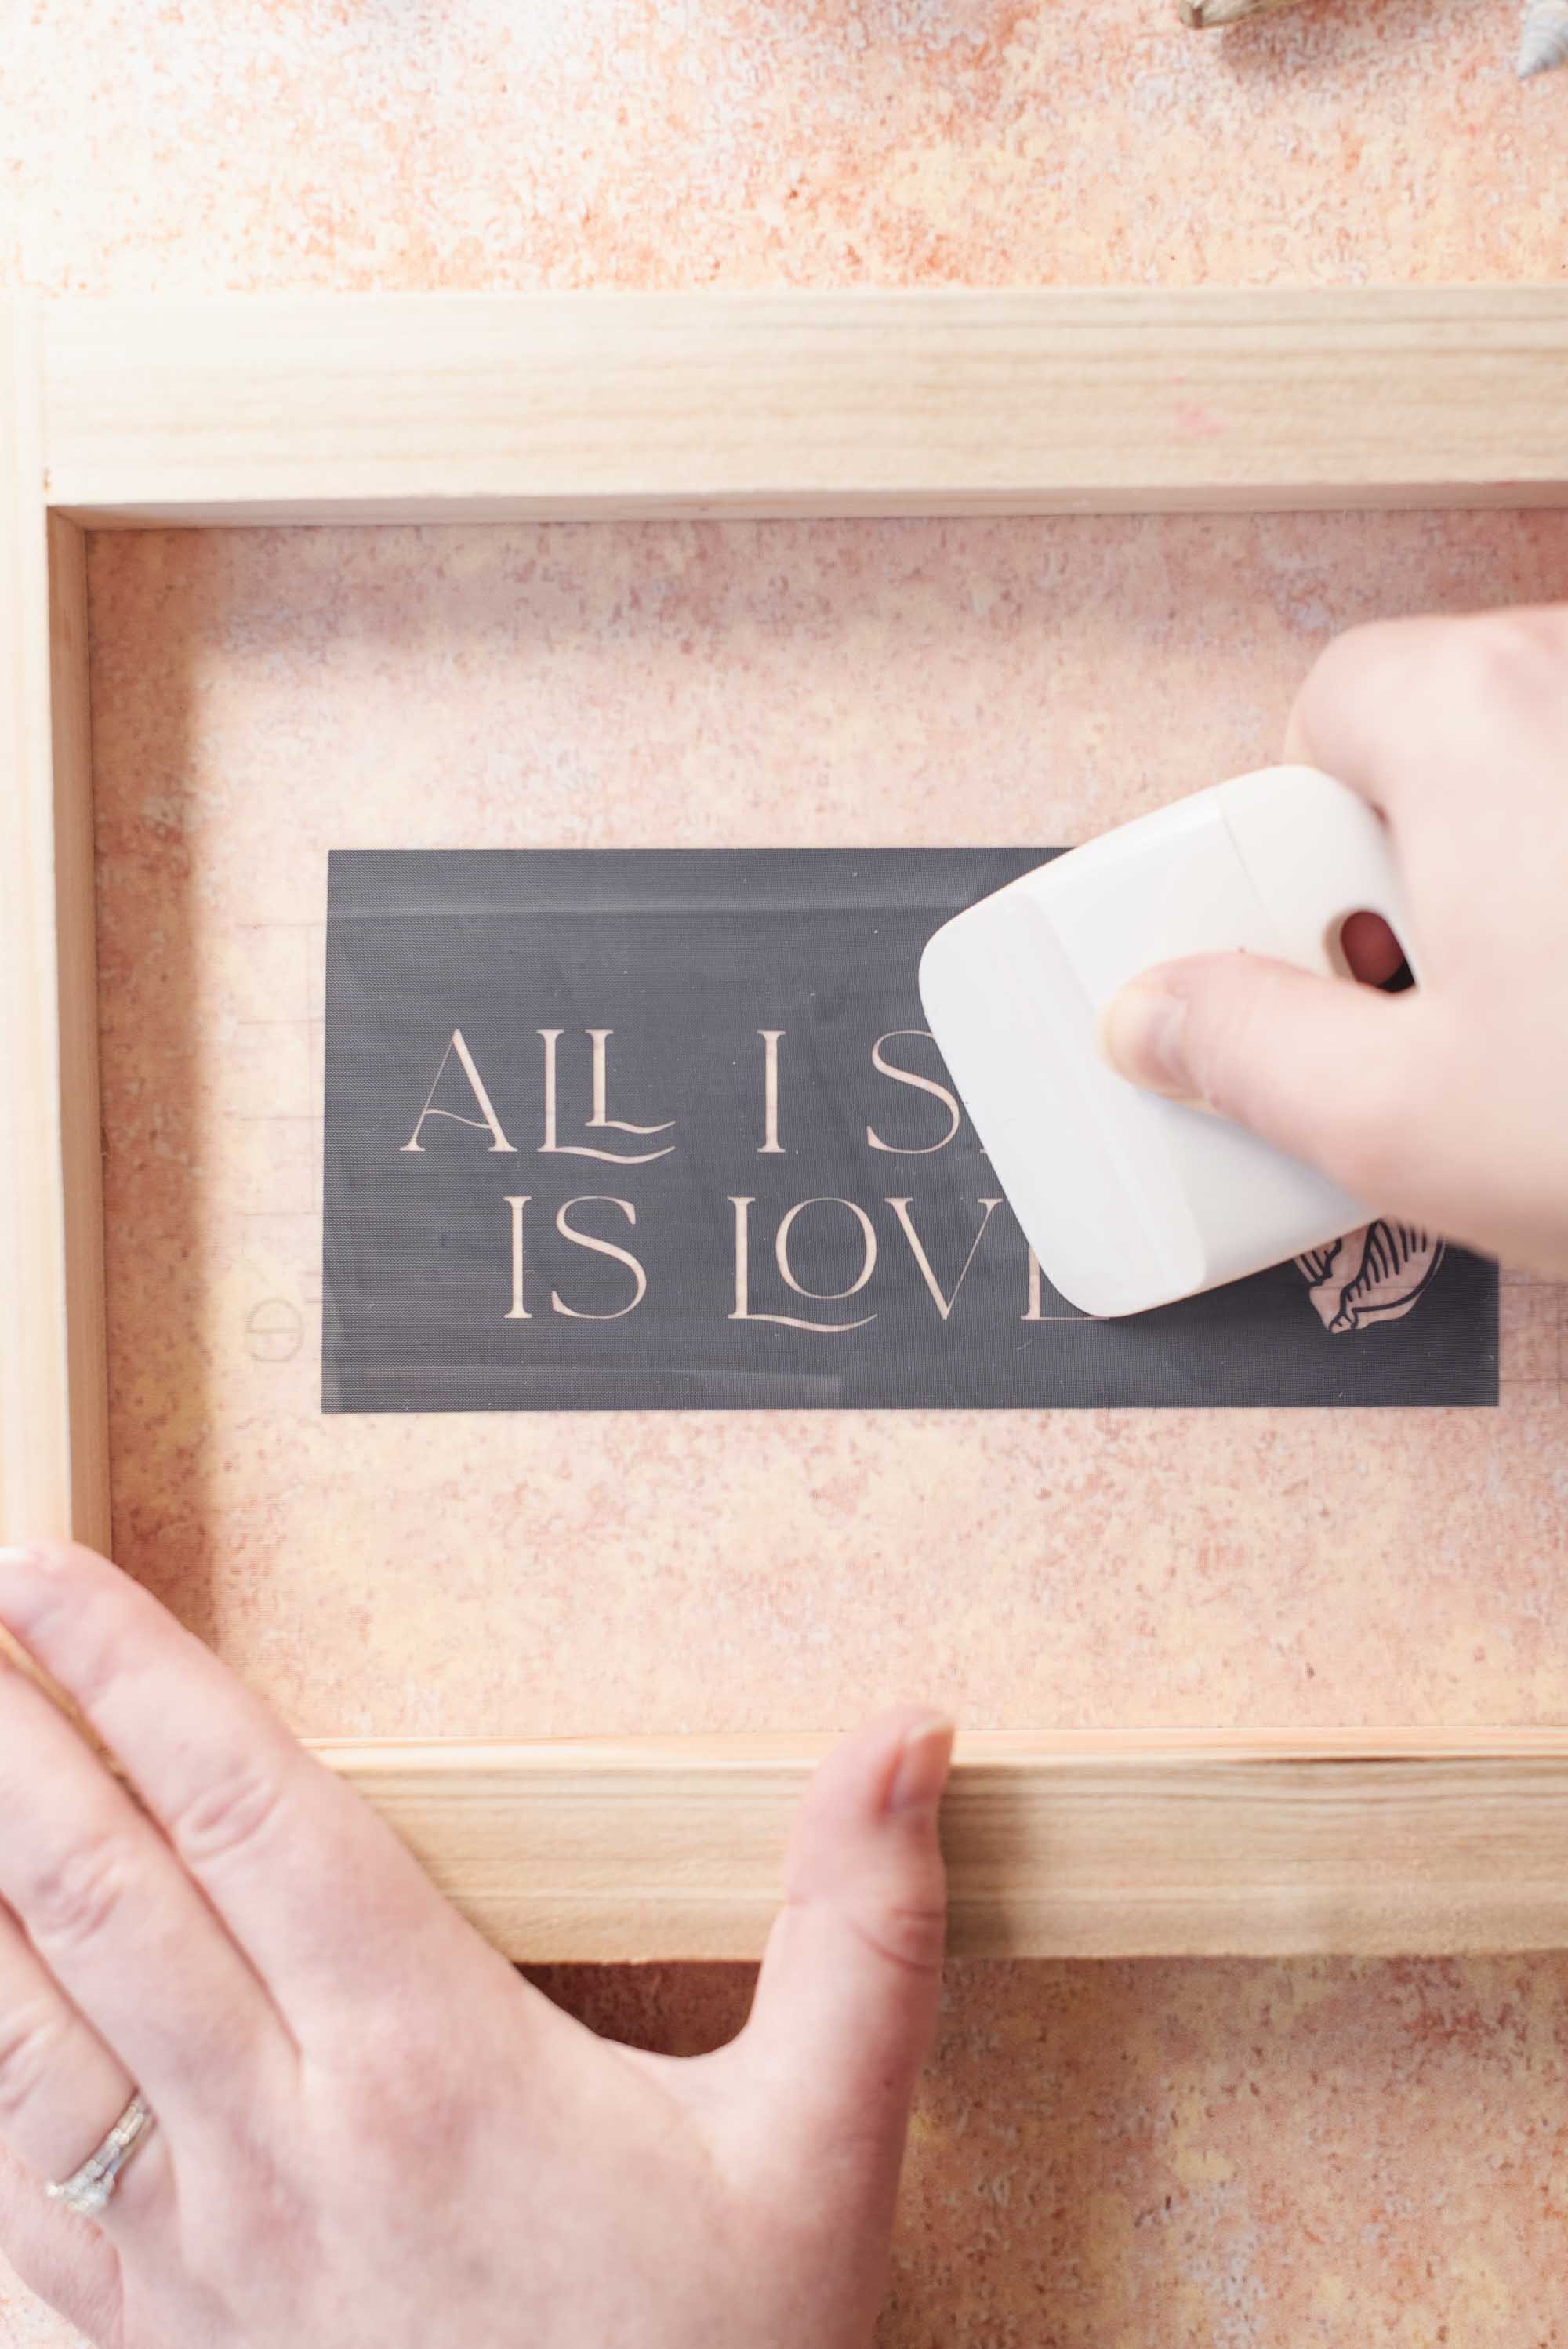
Cut the amount of transfer tape you need to cover your design and place on top of your weeded vinyl design. Use your scraper tool and burnish across the transfer tape to give a good connection to the vinyl underneath. This will help you move your design over to your mesh screen!
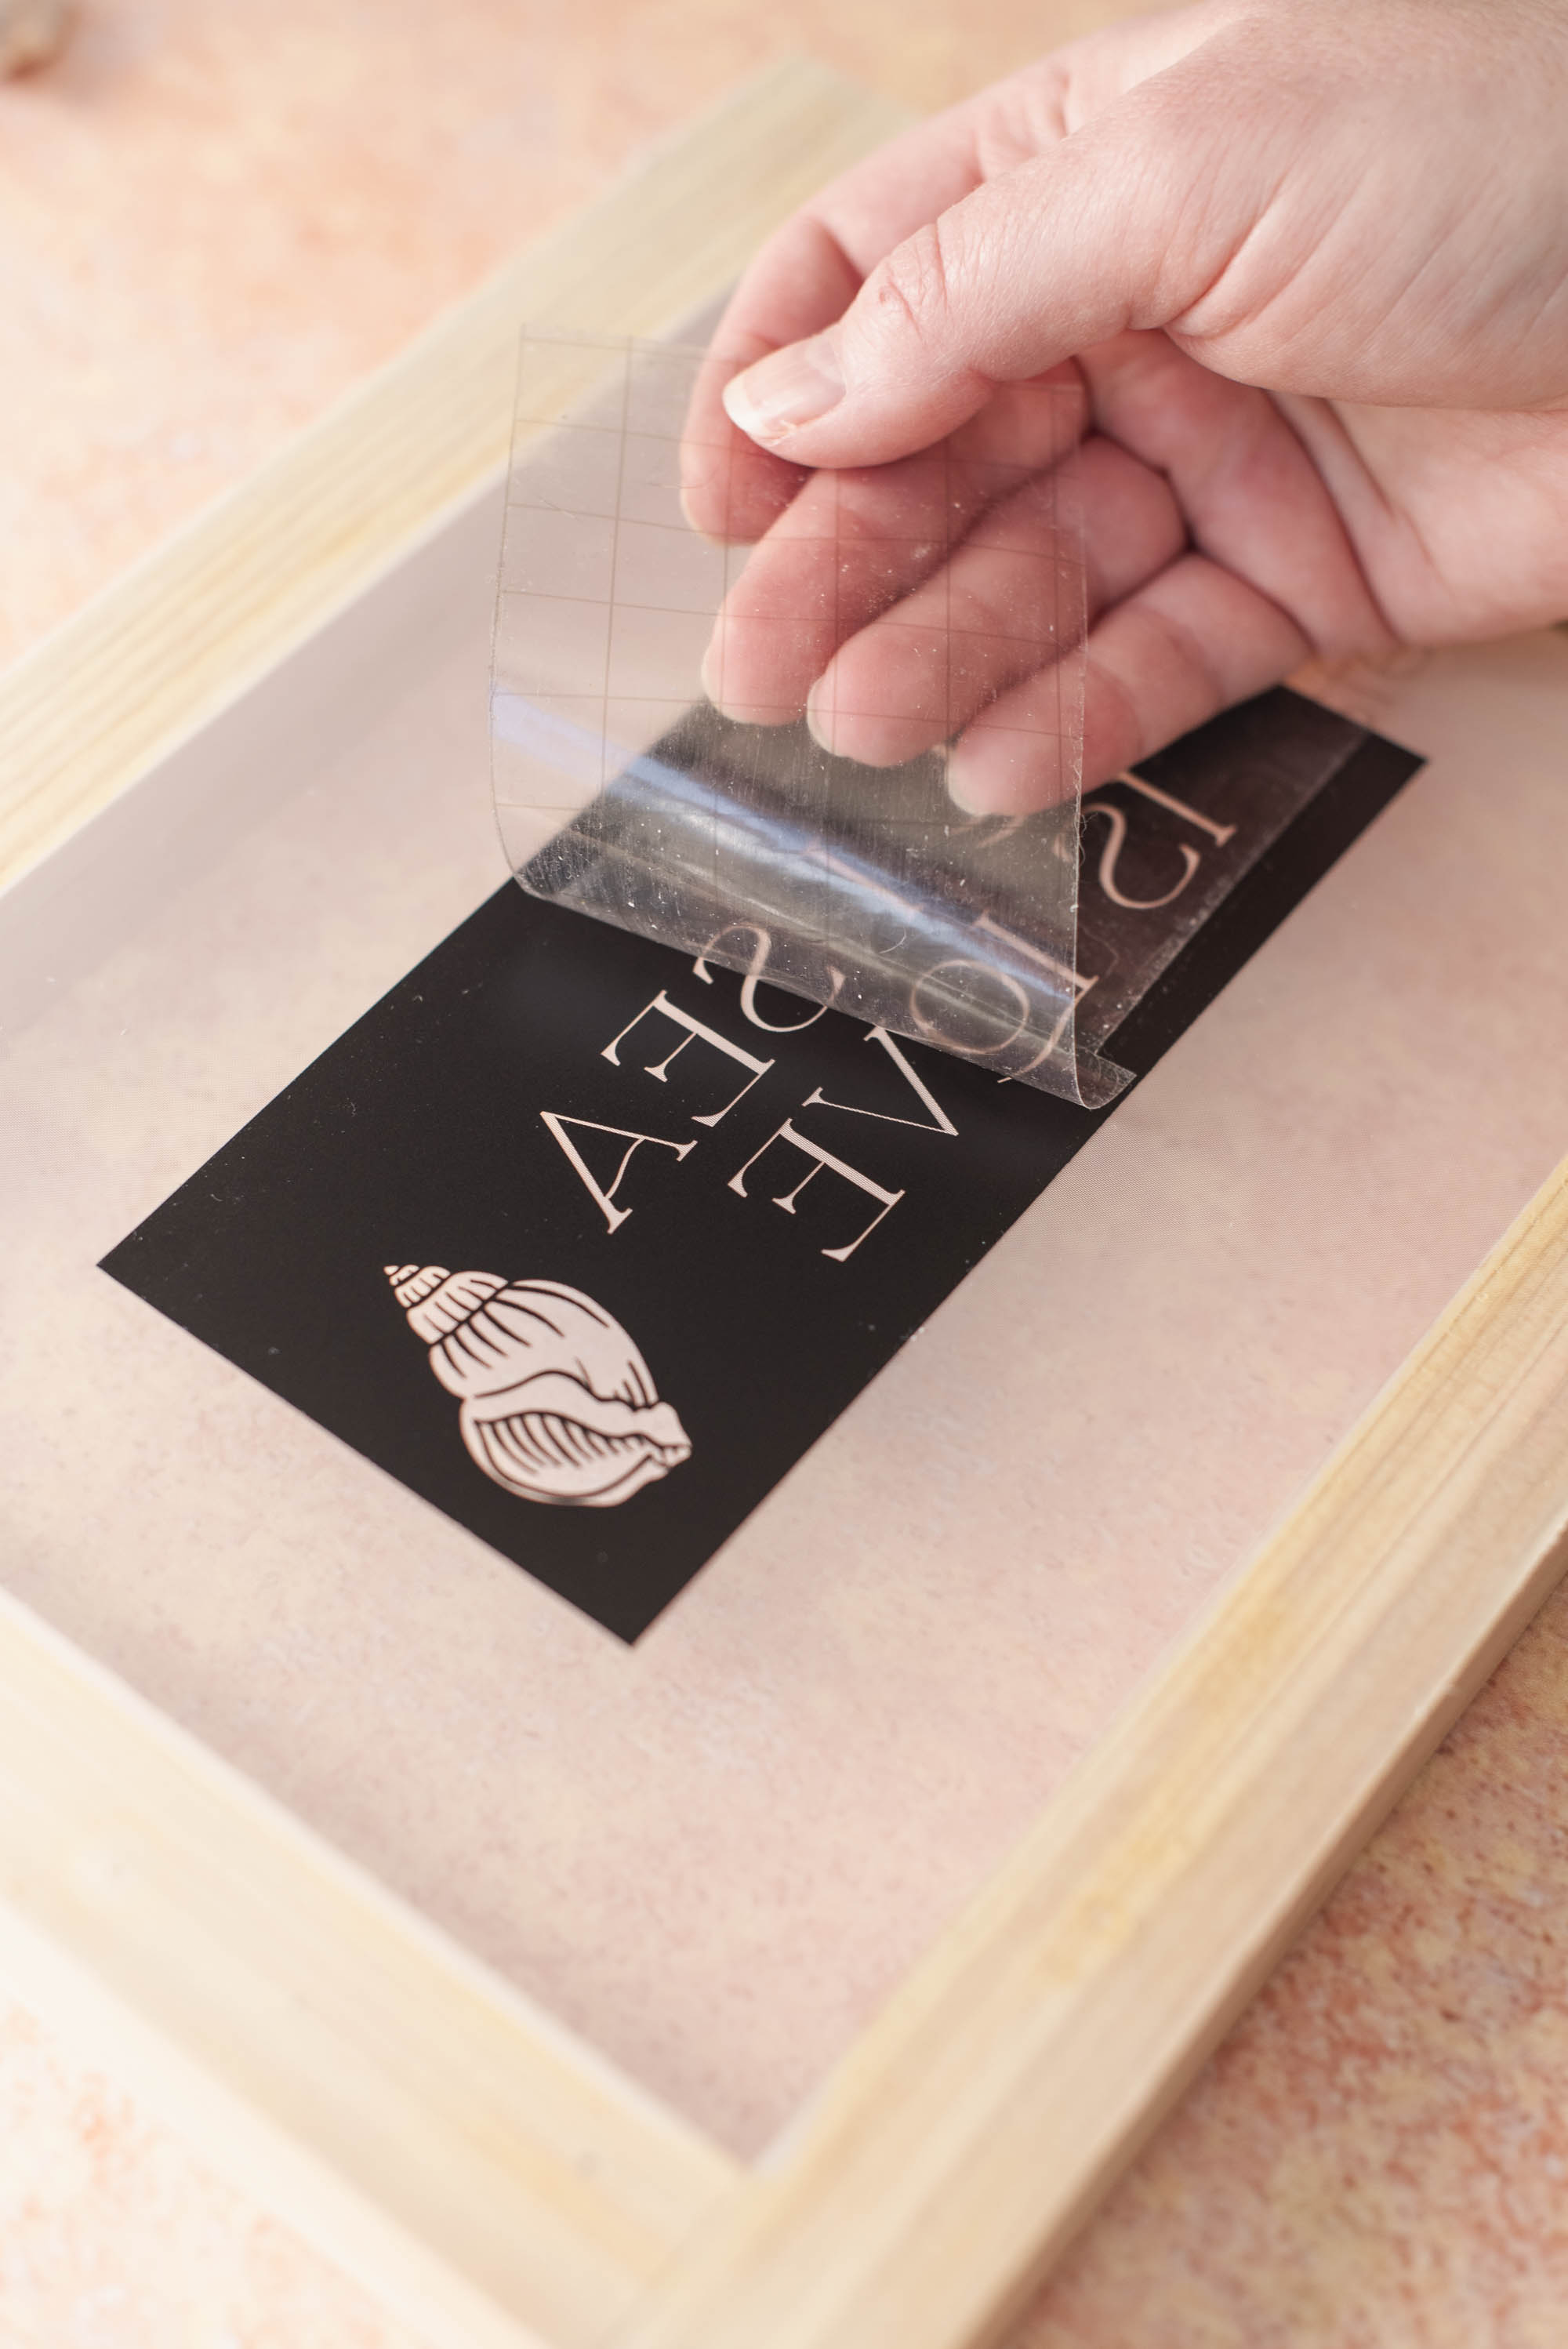
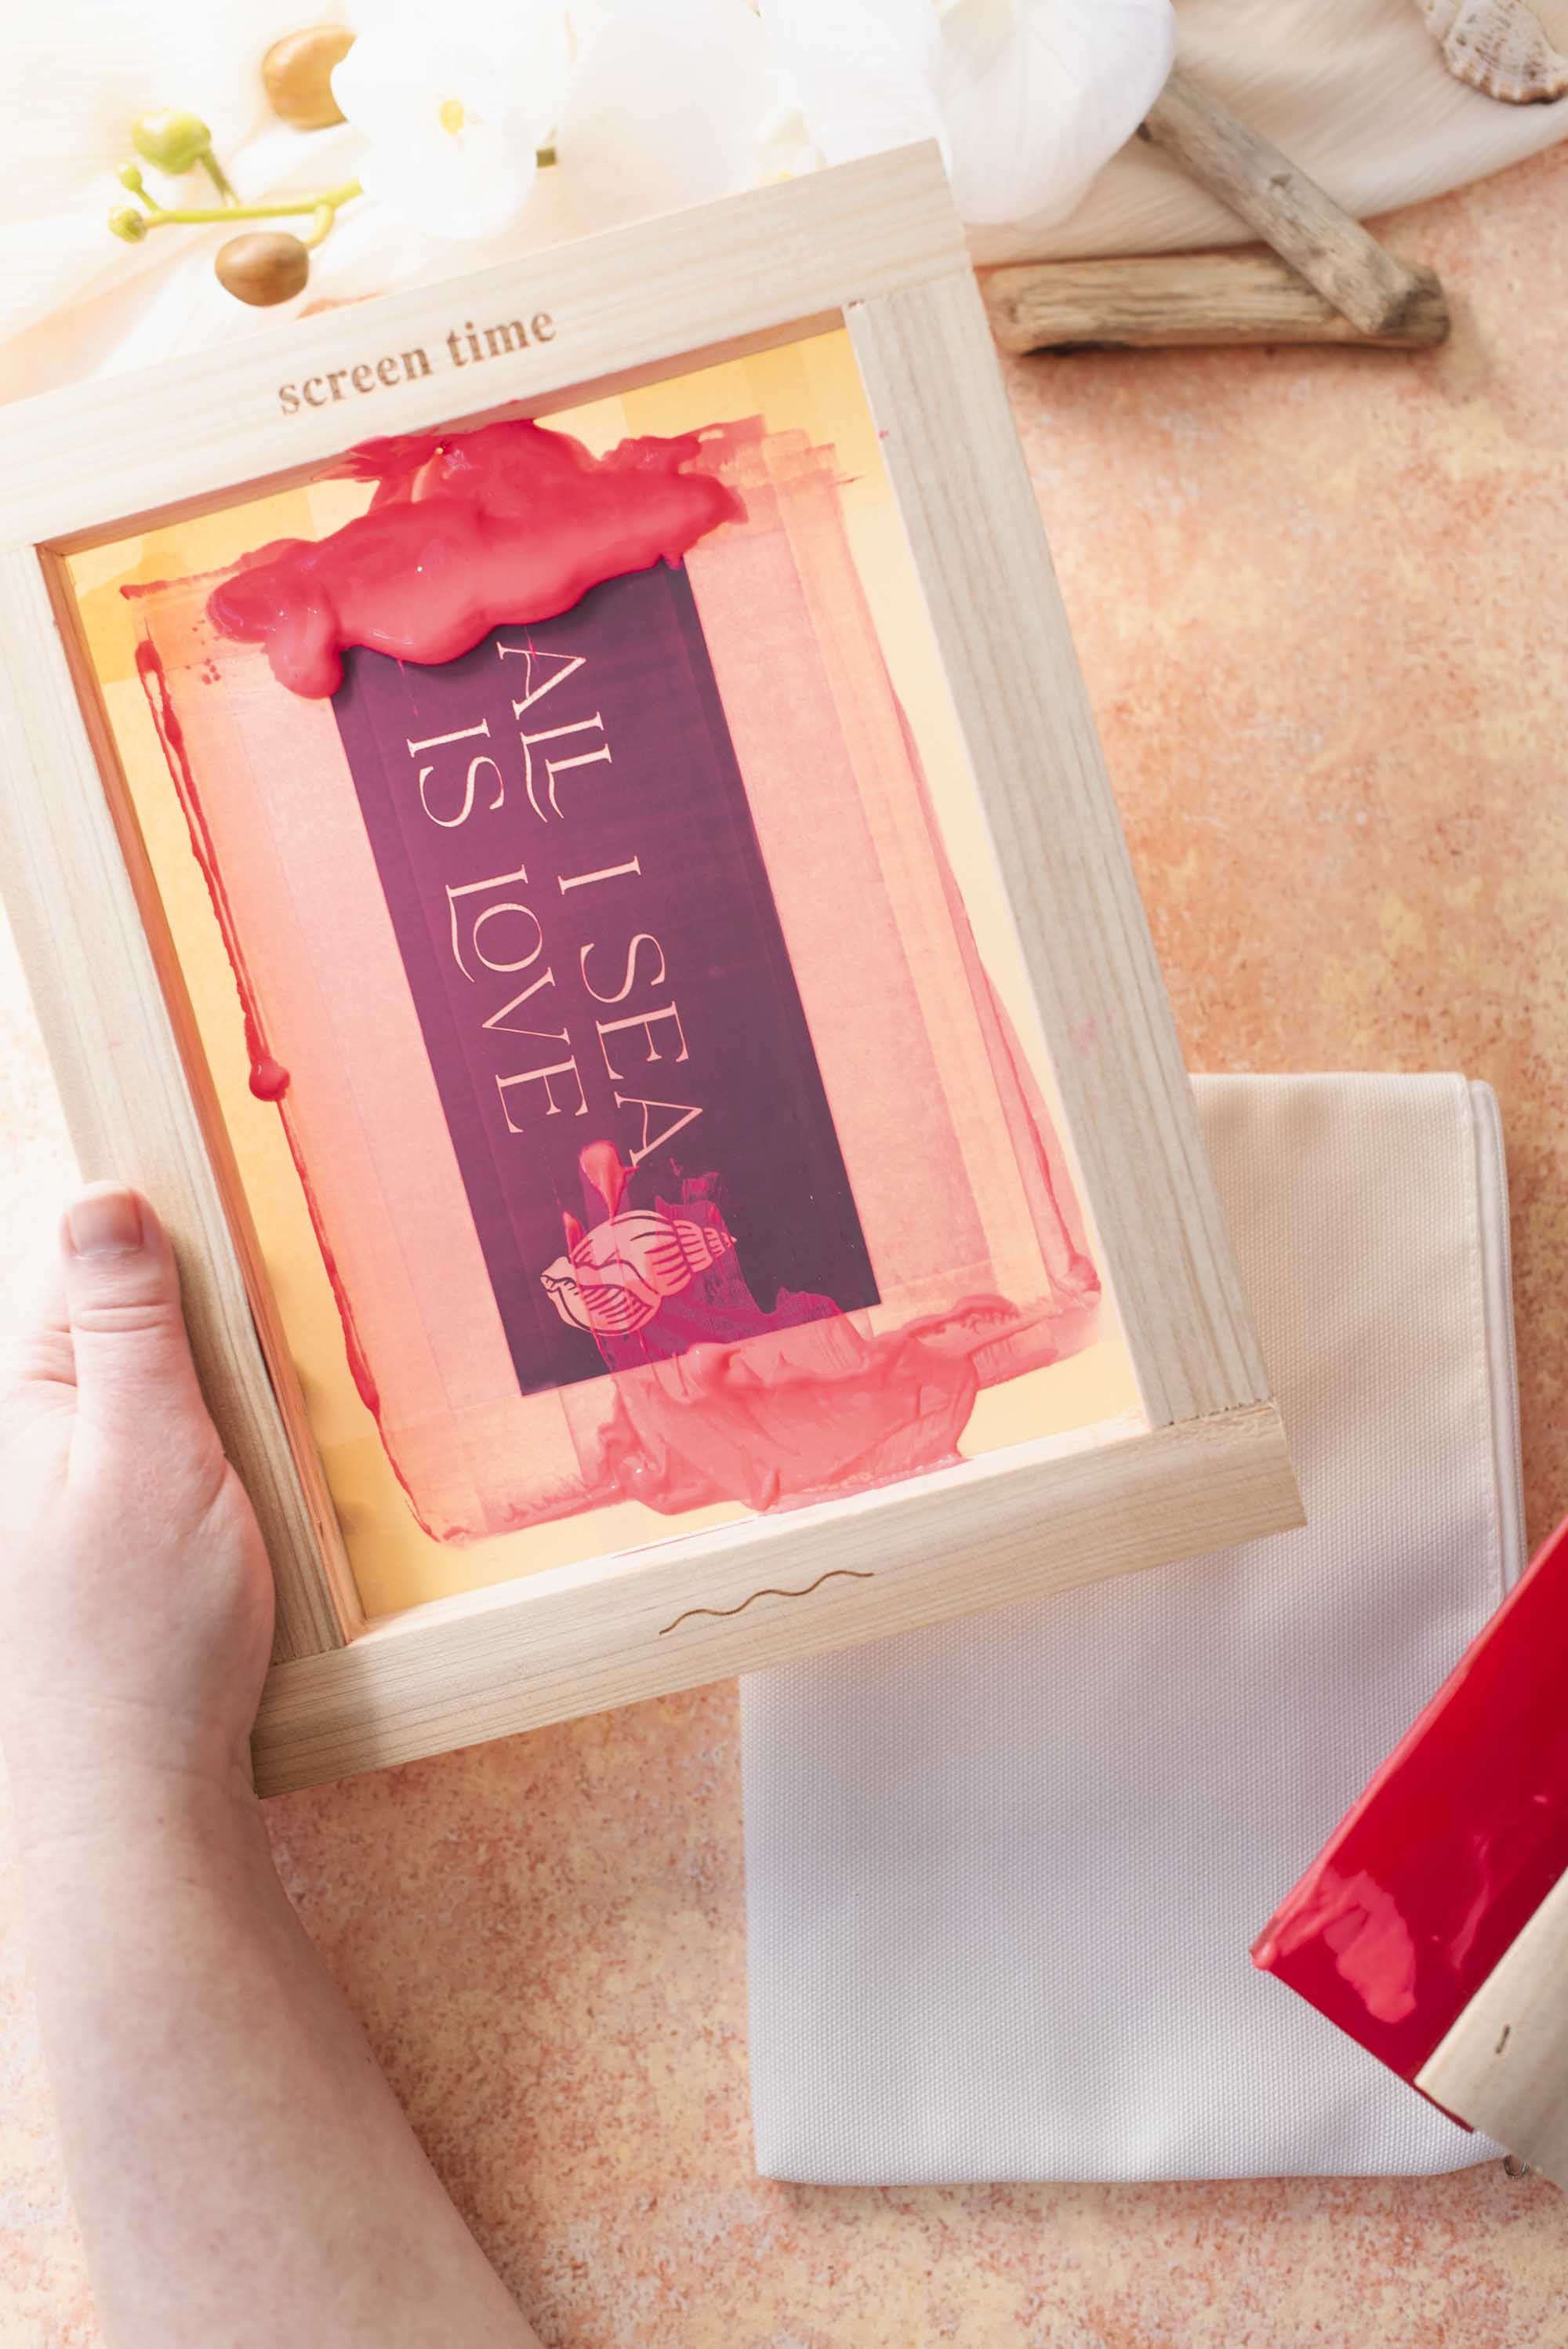
4. Apply to printing screen. Peel your transfer tape away from the vinyl's carrier sheet, making sure everything transferred on the sticky transfer tape. Apply your vinyl to the underside of the printing screen (the side that your squeegee will not directly pull across). Your design should be the correct orientation – not mirrored. Use your scraper tool and scrape over the transfer tape to adhere. Remove transfer tape, flip screen over, and give a good burnish one more time to make sure the vinyl has created a proper seal to prevent any ink bleeding. Now you're almost ready for screen printing!
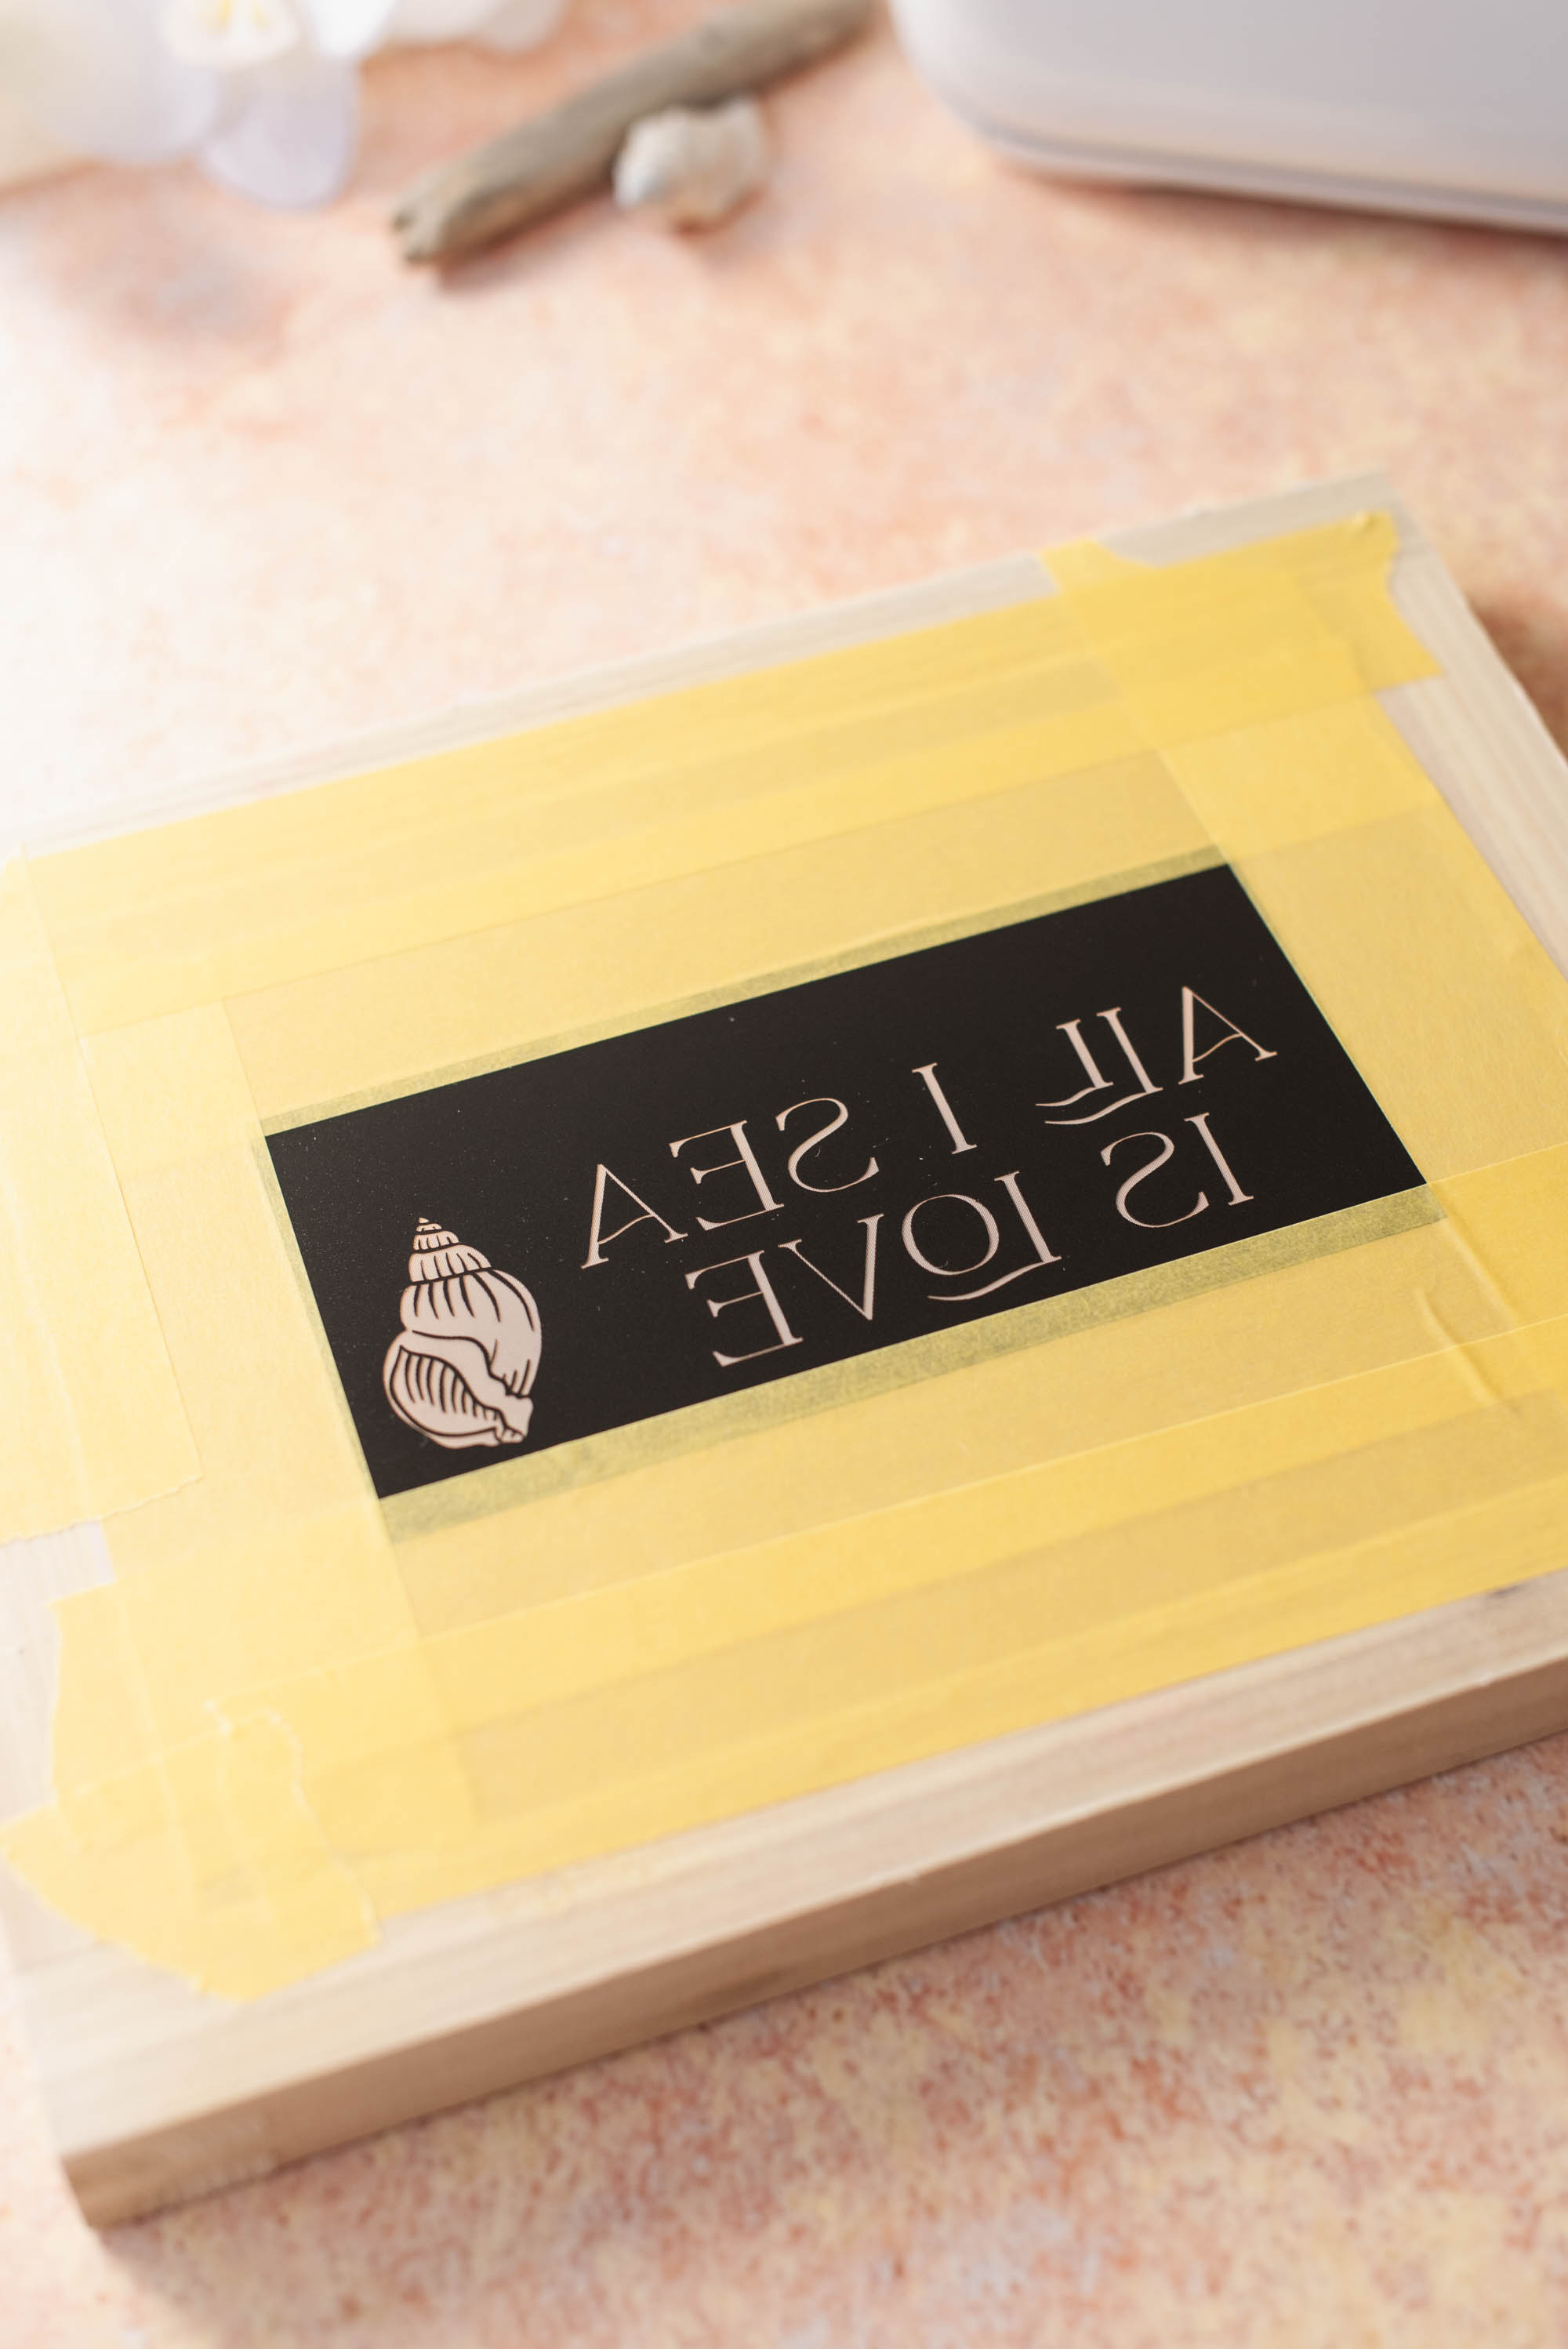
5. Block off screen. Using masking tape on the underside of your screen (where your vinyl was applied), tape around the edges of your vinyl rectangle so stray ink won't accidentally get pulled onto your bag. If you have a large t-shirt sized screen, the entire screen doesn't need to be taped – just the area where your squeegee and ink might interact. Since we have a small screen, we've taped off everything as ink spreads with our size squeegee!
6. Prep your ink and do a test print. Place a piece of printer paper, cardstock, or scrap fabric underneath your screen. Either with your squeezy bottle or palette knife, put enough screen printing ink directly to the screen in a line above your design that is about 1-2 inches thick and the length of your vinyl. Prop your screen up so it is not touching the printing surface at this stage.
With your squeegee, spread a thin layer of ink across the screen by gently pulling the squeegee toward you at about a 45-degree angle. (This is called flooding the screen.) Use light pressure as you're simply coating the mesh screen with ink rather than pushing it through the fabric yet. The squeegee should stay at a low angle and glide across the screen without bending, which helps evenly load the mesh with ink for printing.

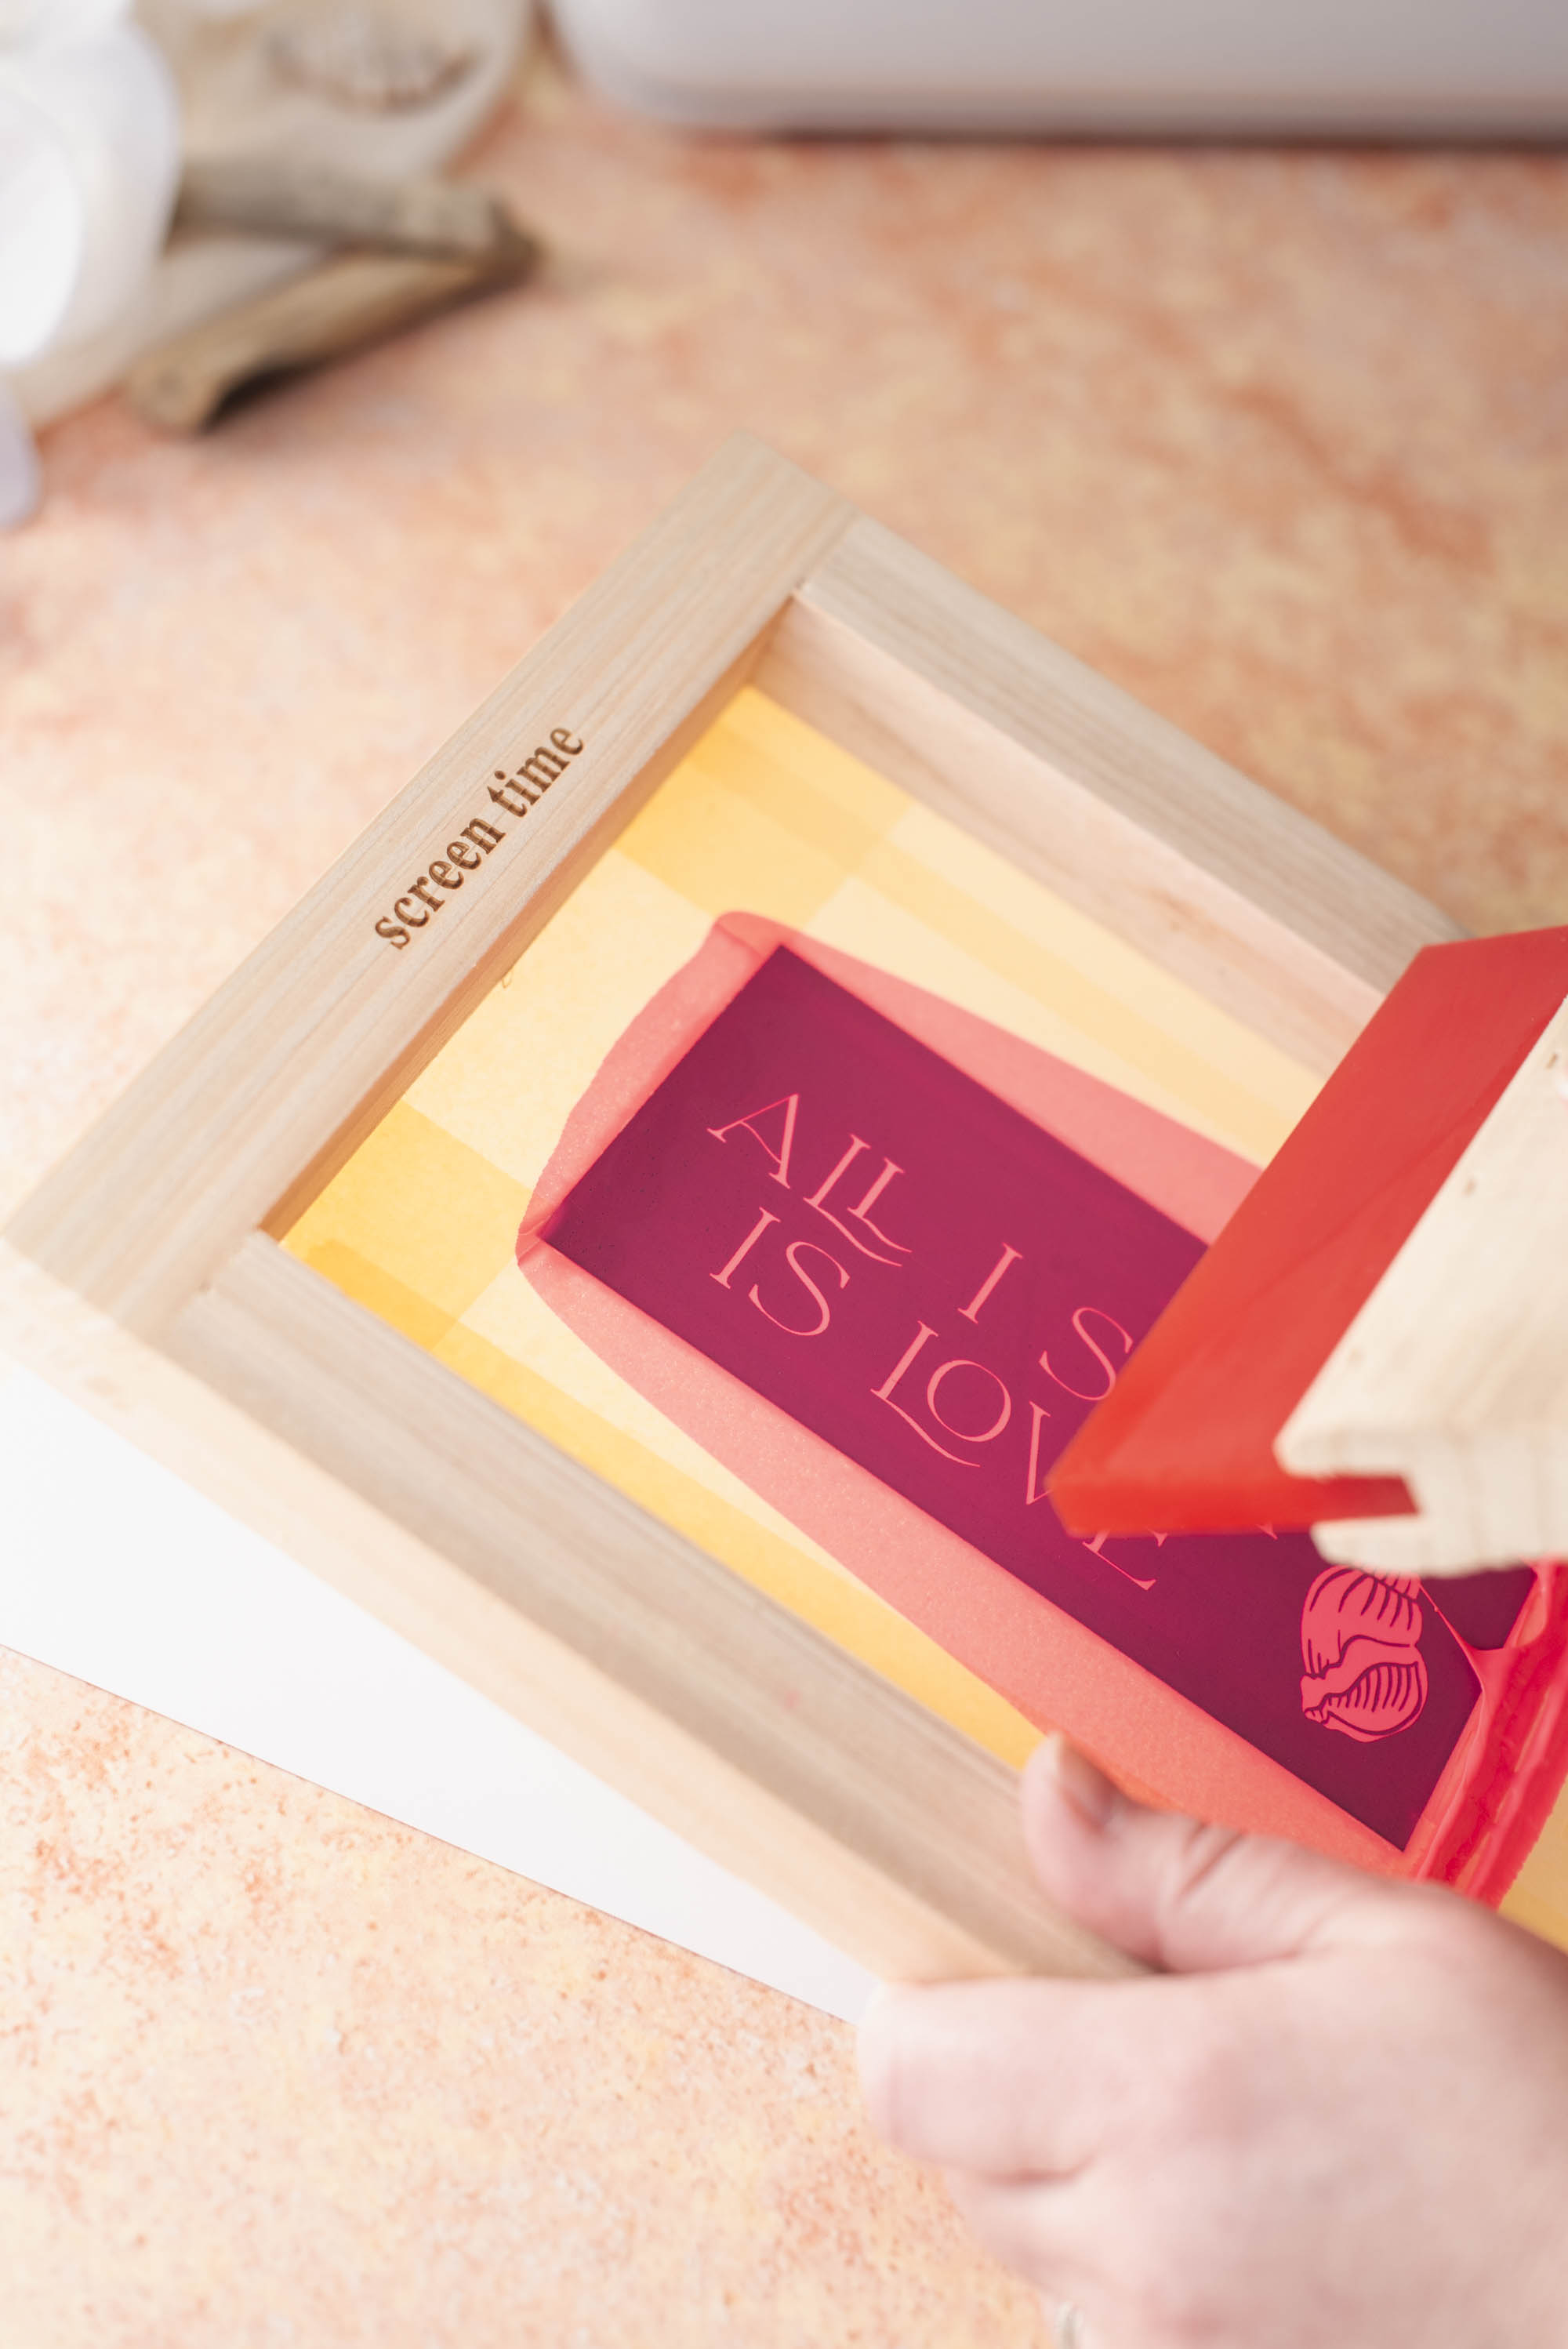
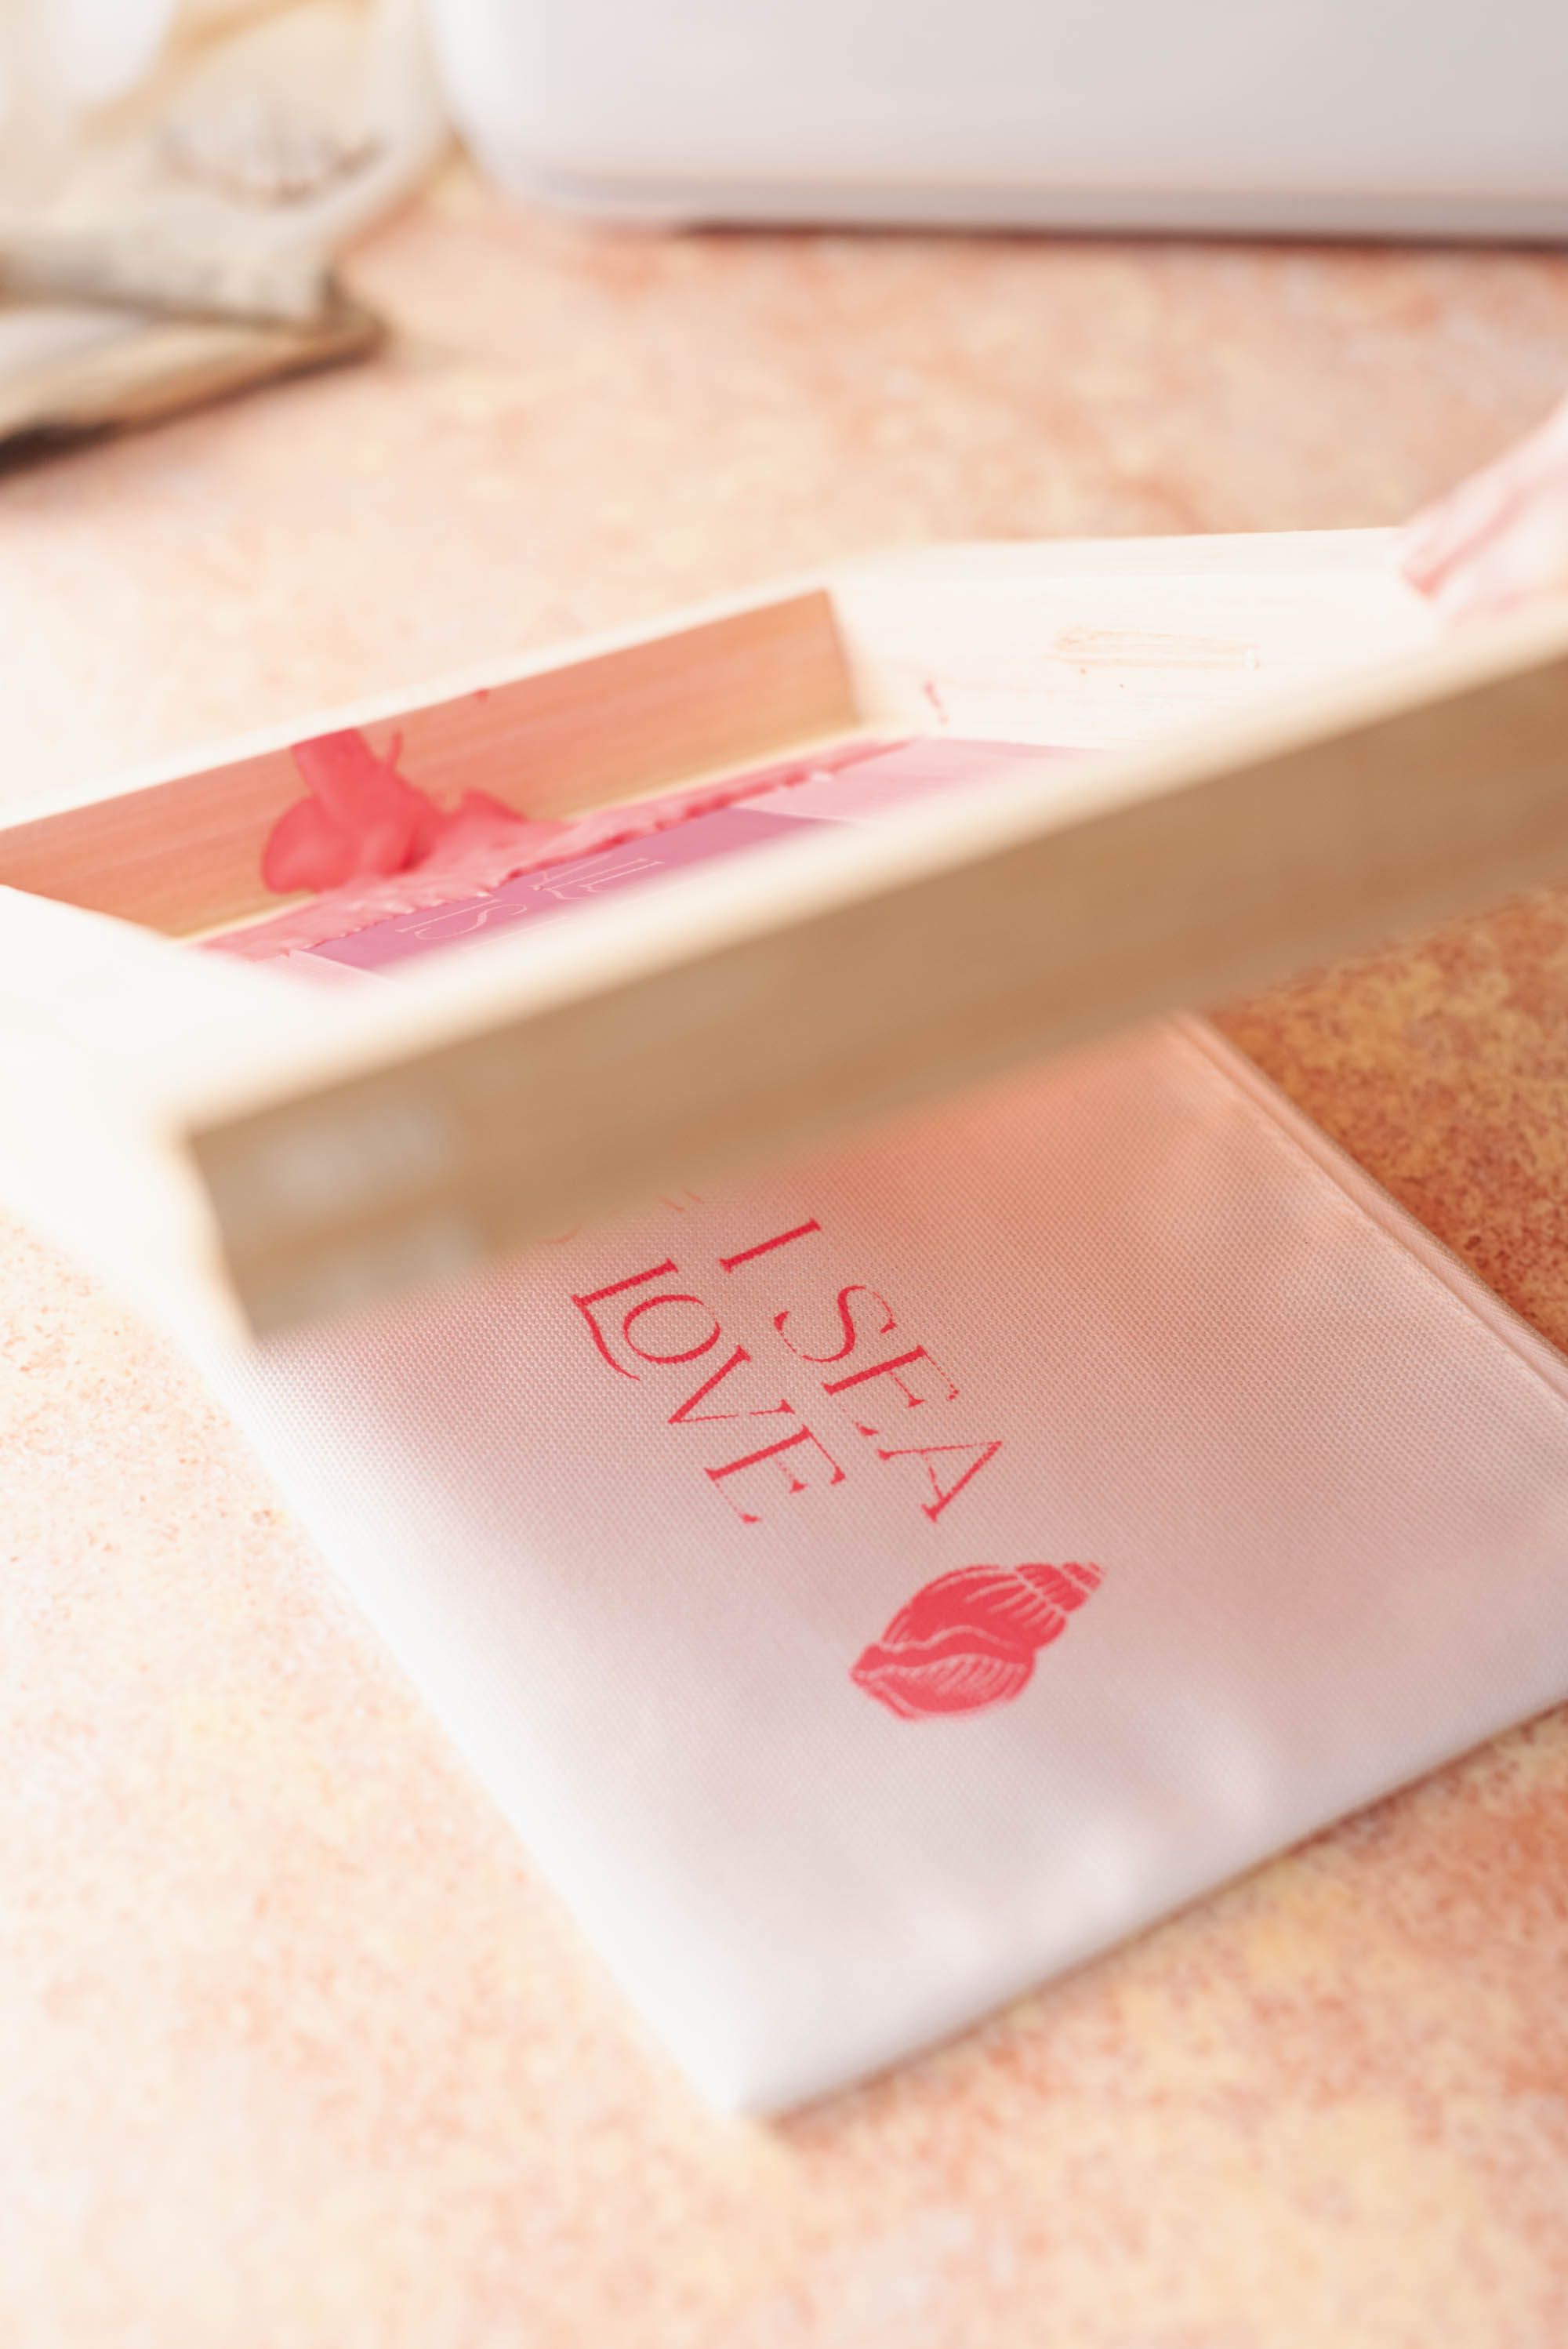
Next comes the official make step called the print stroke. Now place your screen down on top of your test surface. This time, hold the squeegee at a steeper angle (closer to being upright) and apply firmer pressure as you pull it across the screen. This pushes the ink through the mesh and onto the fabric. As you move the squeegee, ink will spread, so after the stroke, gather up any excess and "tap" back onto the top of your design for your next stroke. If needed, you can do a second print stroke to make sure the ink has fully passed through the mesh for an even print. Slowly lift your screen off of the paper to check out your results. Repeat as many times as you need on paper until you're confident.
PRESSURE TIP: On smooth fabrics, firm, even pressure is usually enough for a clean print. On more textured materials (like these bags), you may need to apply slightly more pressure so the ink reaches into the fabric’s weave. We found that 2–3 print strokes gave the most consistent results.
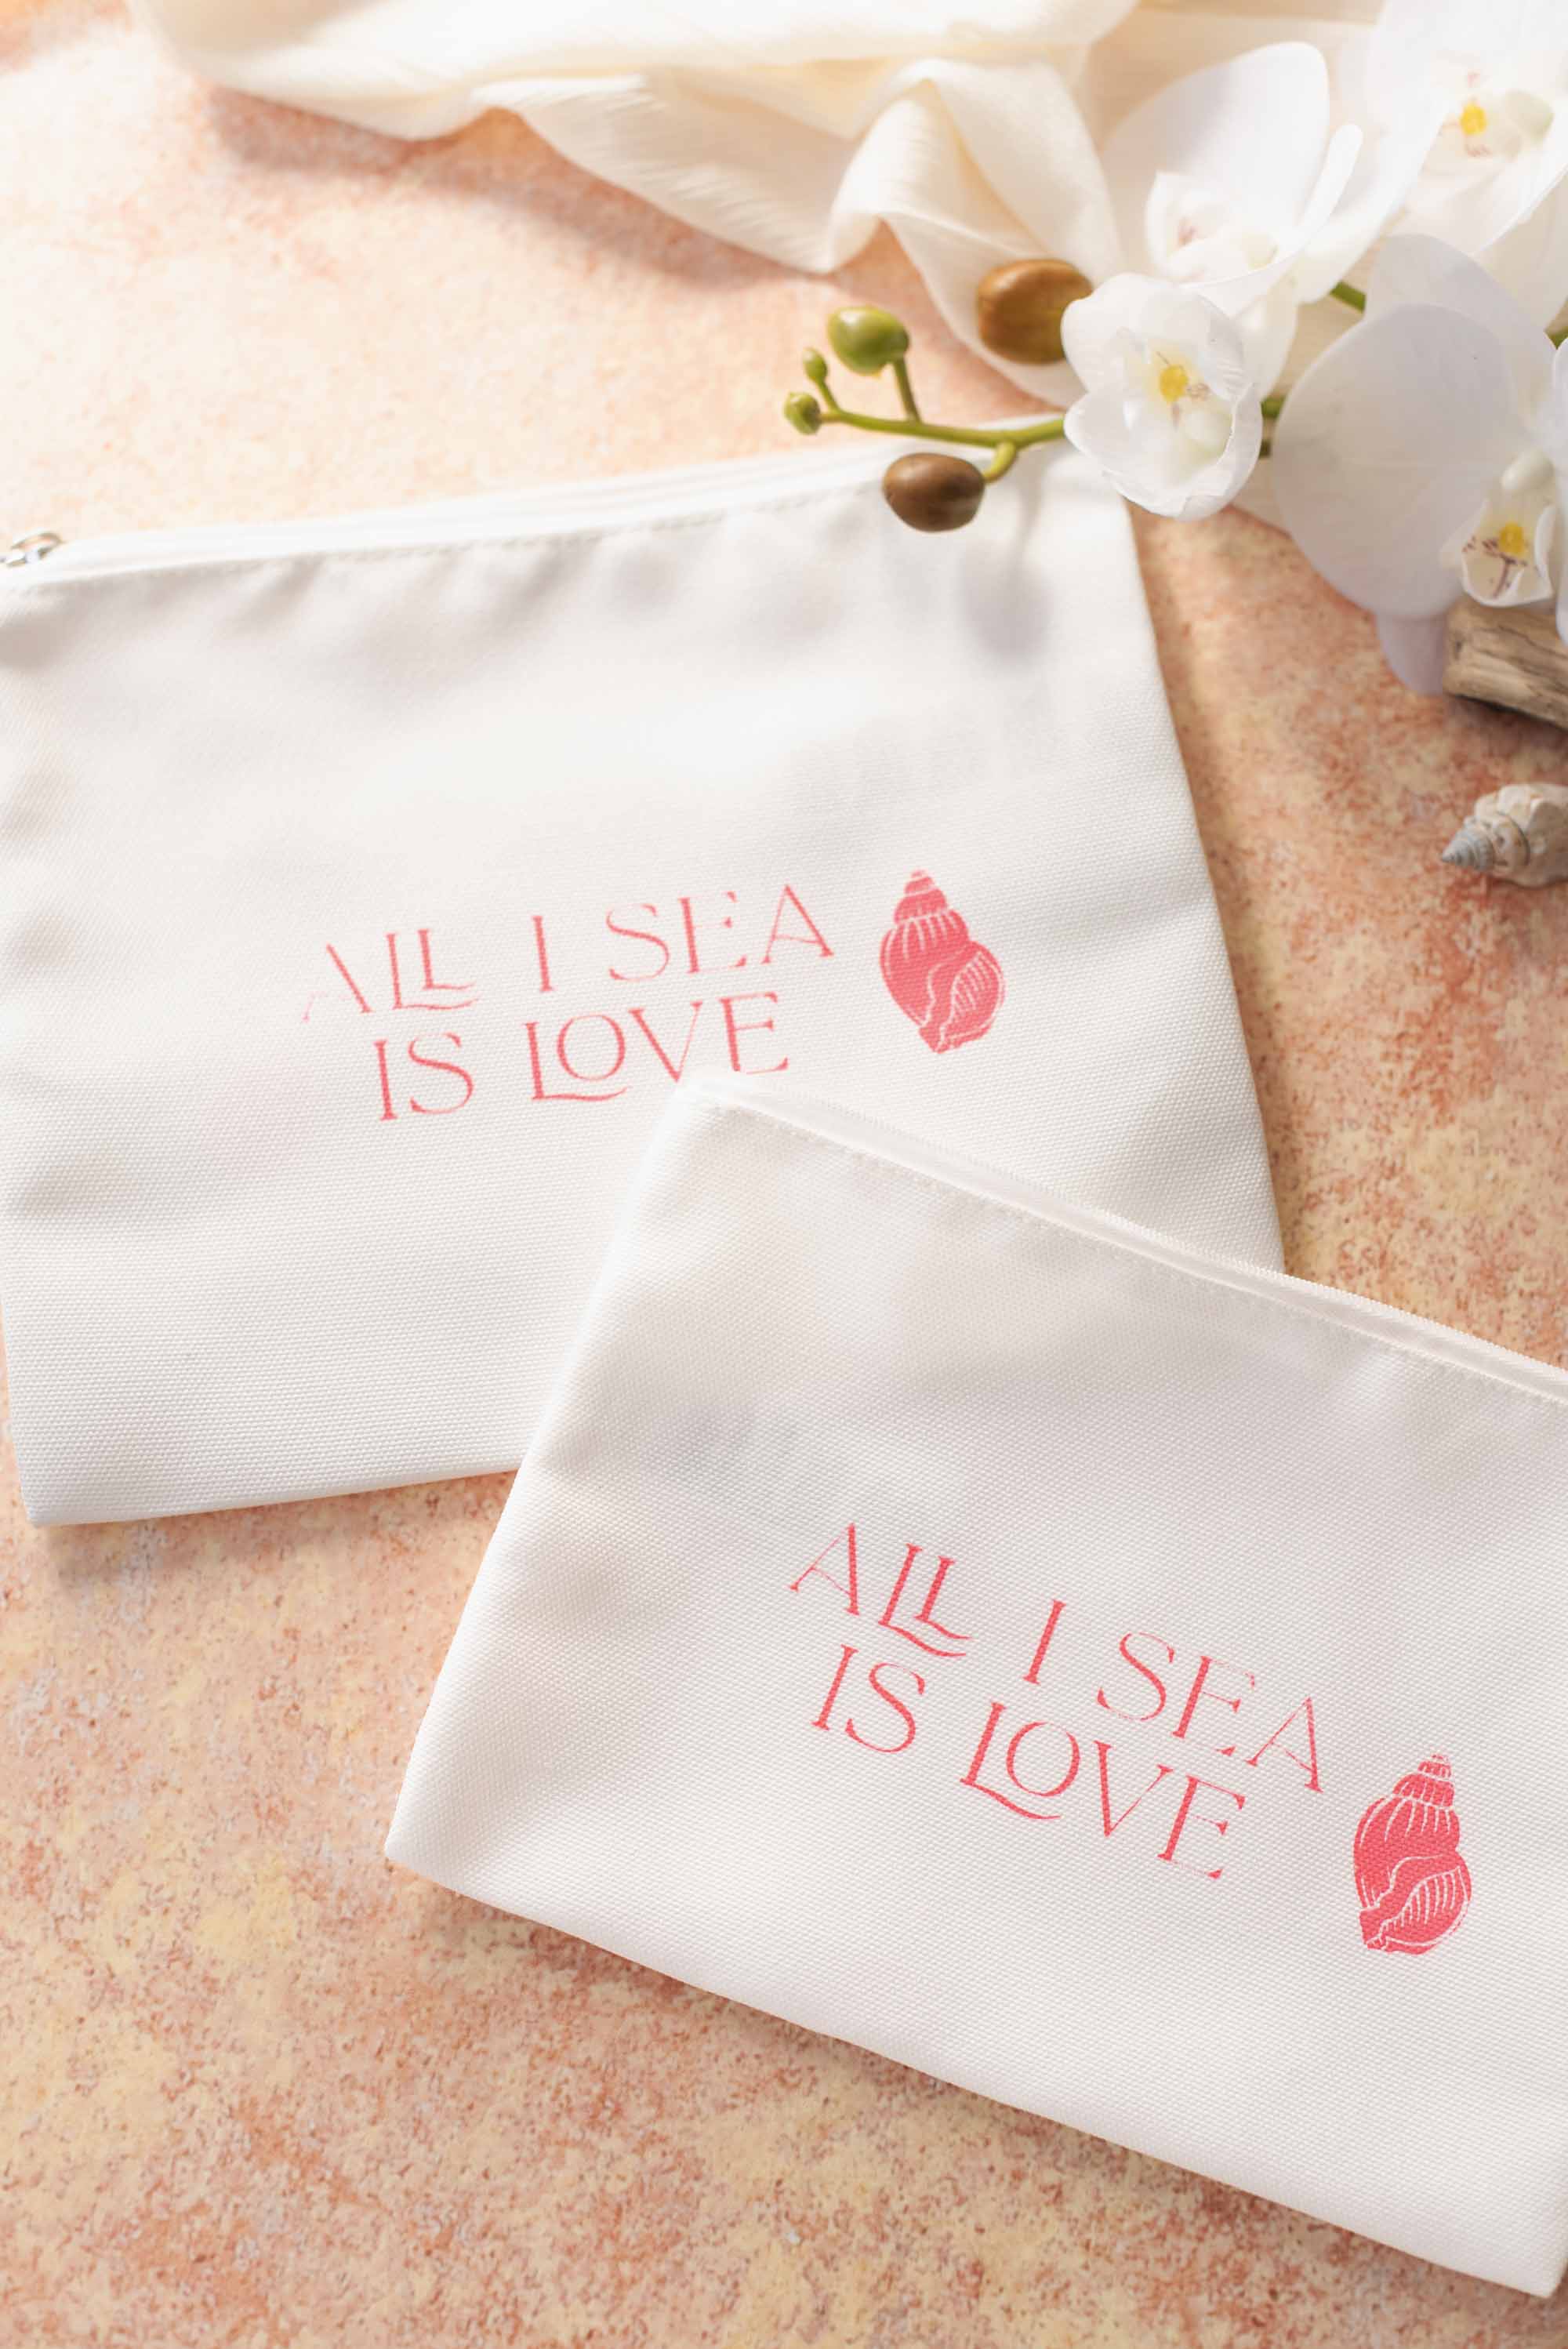
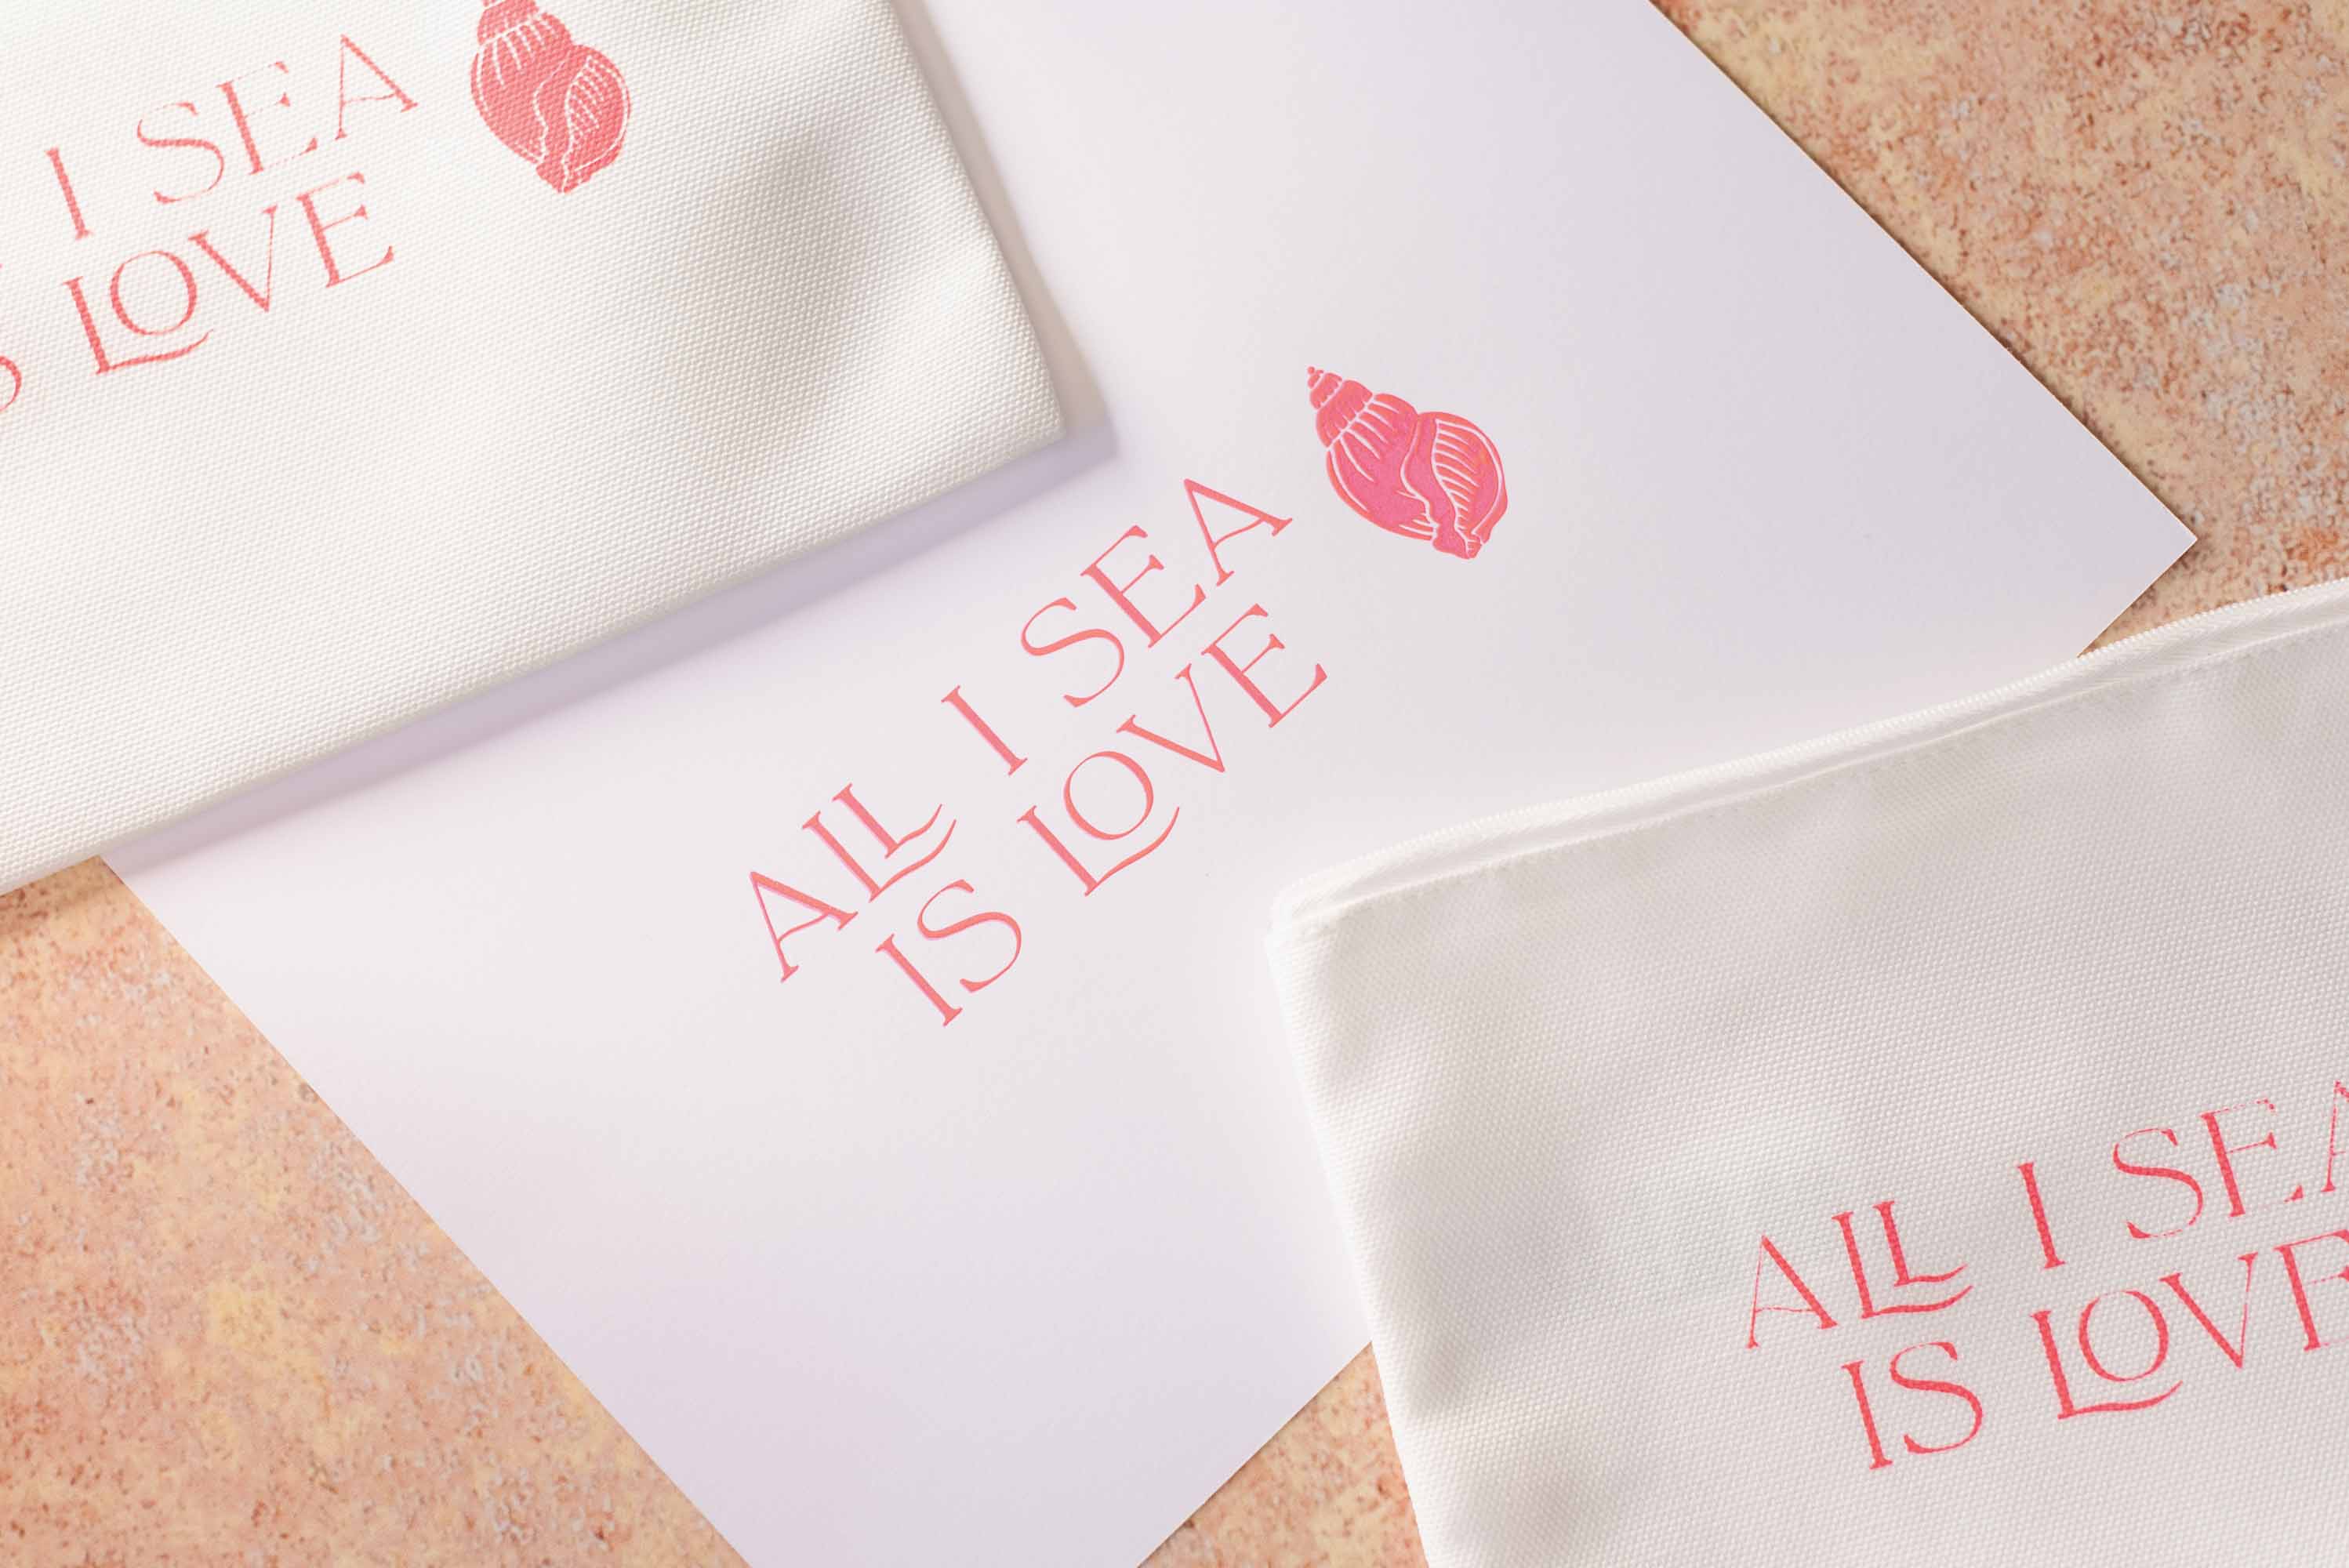
If your bag has a zipper, try to position your design on the flattest area possible before printing. Uneven surfaces can affect how evenly the ink transfers. As you'll see from our results, a mix of pressure and zipper placement can create slight variations, but that’s part of the charm of handmade pieces! Embrace the variety!
7. Make your bags. Once you're happy with your technique and results, place a piece of smooth cardboard inside your bag and then place your bag underneath your screen, reapply ink as needed, and repeat Step 6. Allow your bags to completely dry. While you're waiting, scrape any excess ink back into its container and wash your screen with tap water, some dish soap, and a scrub brush. Our ink is water-based, so it's a very easy clean up!
8. Optional, but Recommended: Heat set your ink. If you'd like to make your design washable, you'll need to heat set your bag once the ink is totally dried. You can do this with a household iron or an EasyPress. It's best to use the ink manfacturer's instructions to figure out heat settings. For Speedball inks like we've used, place a piece of copy paper, butcher paper, or pressing sheet (whichever one you have on hand) over top of your printed design and cure with your heat press or hot iron for 1-2 minutes.
TEMPERATURE RECOMMENDATIONS: For a Cricut EasyPress, Jennifer of Pigskins and Pigtails recommends 320°F (160°C) for 40 seconds. If using a household iron, use on the highest heat setting available and your ink's recommended time.
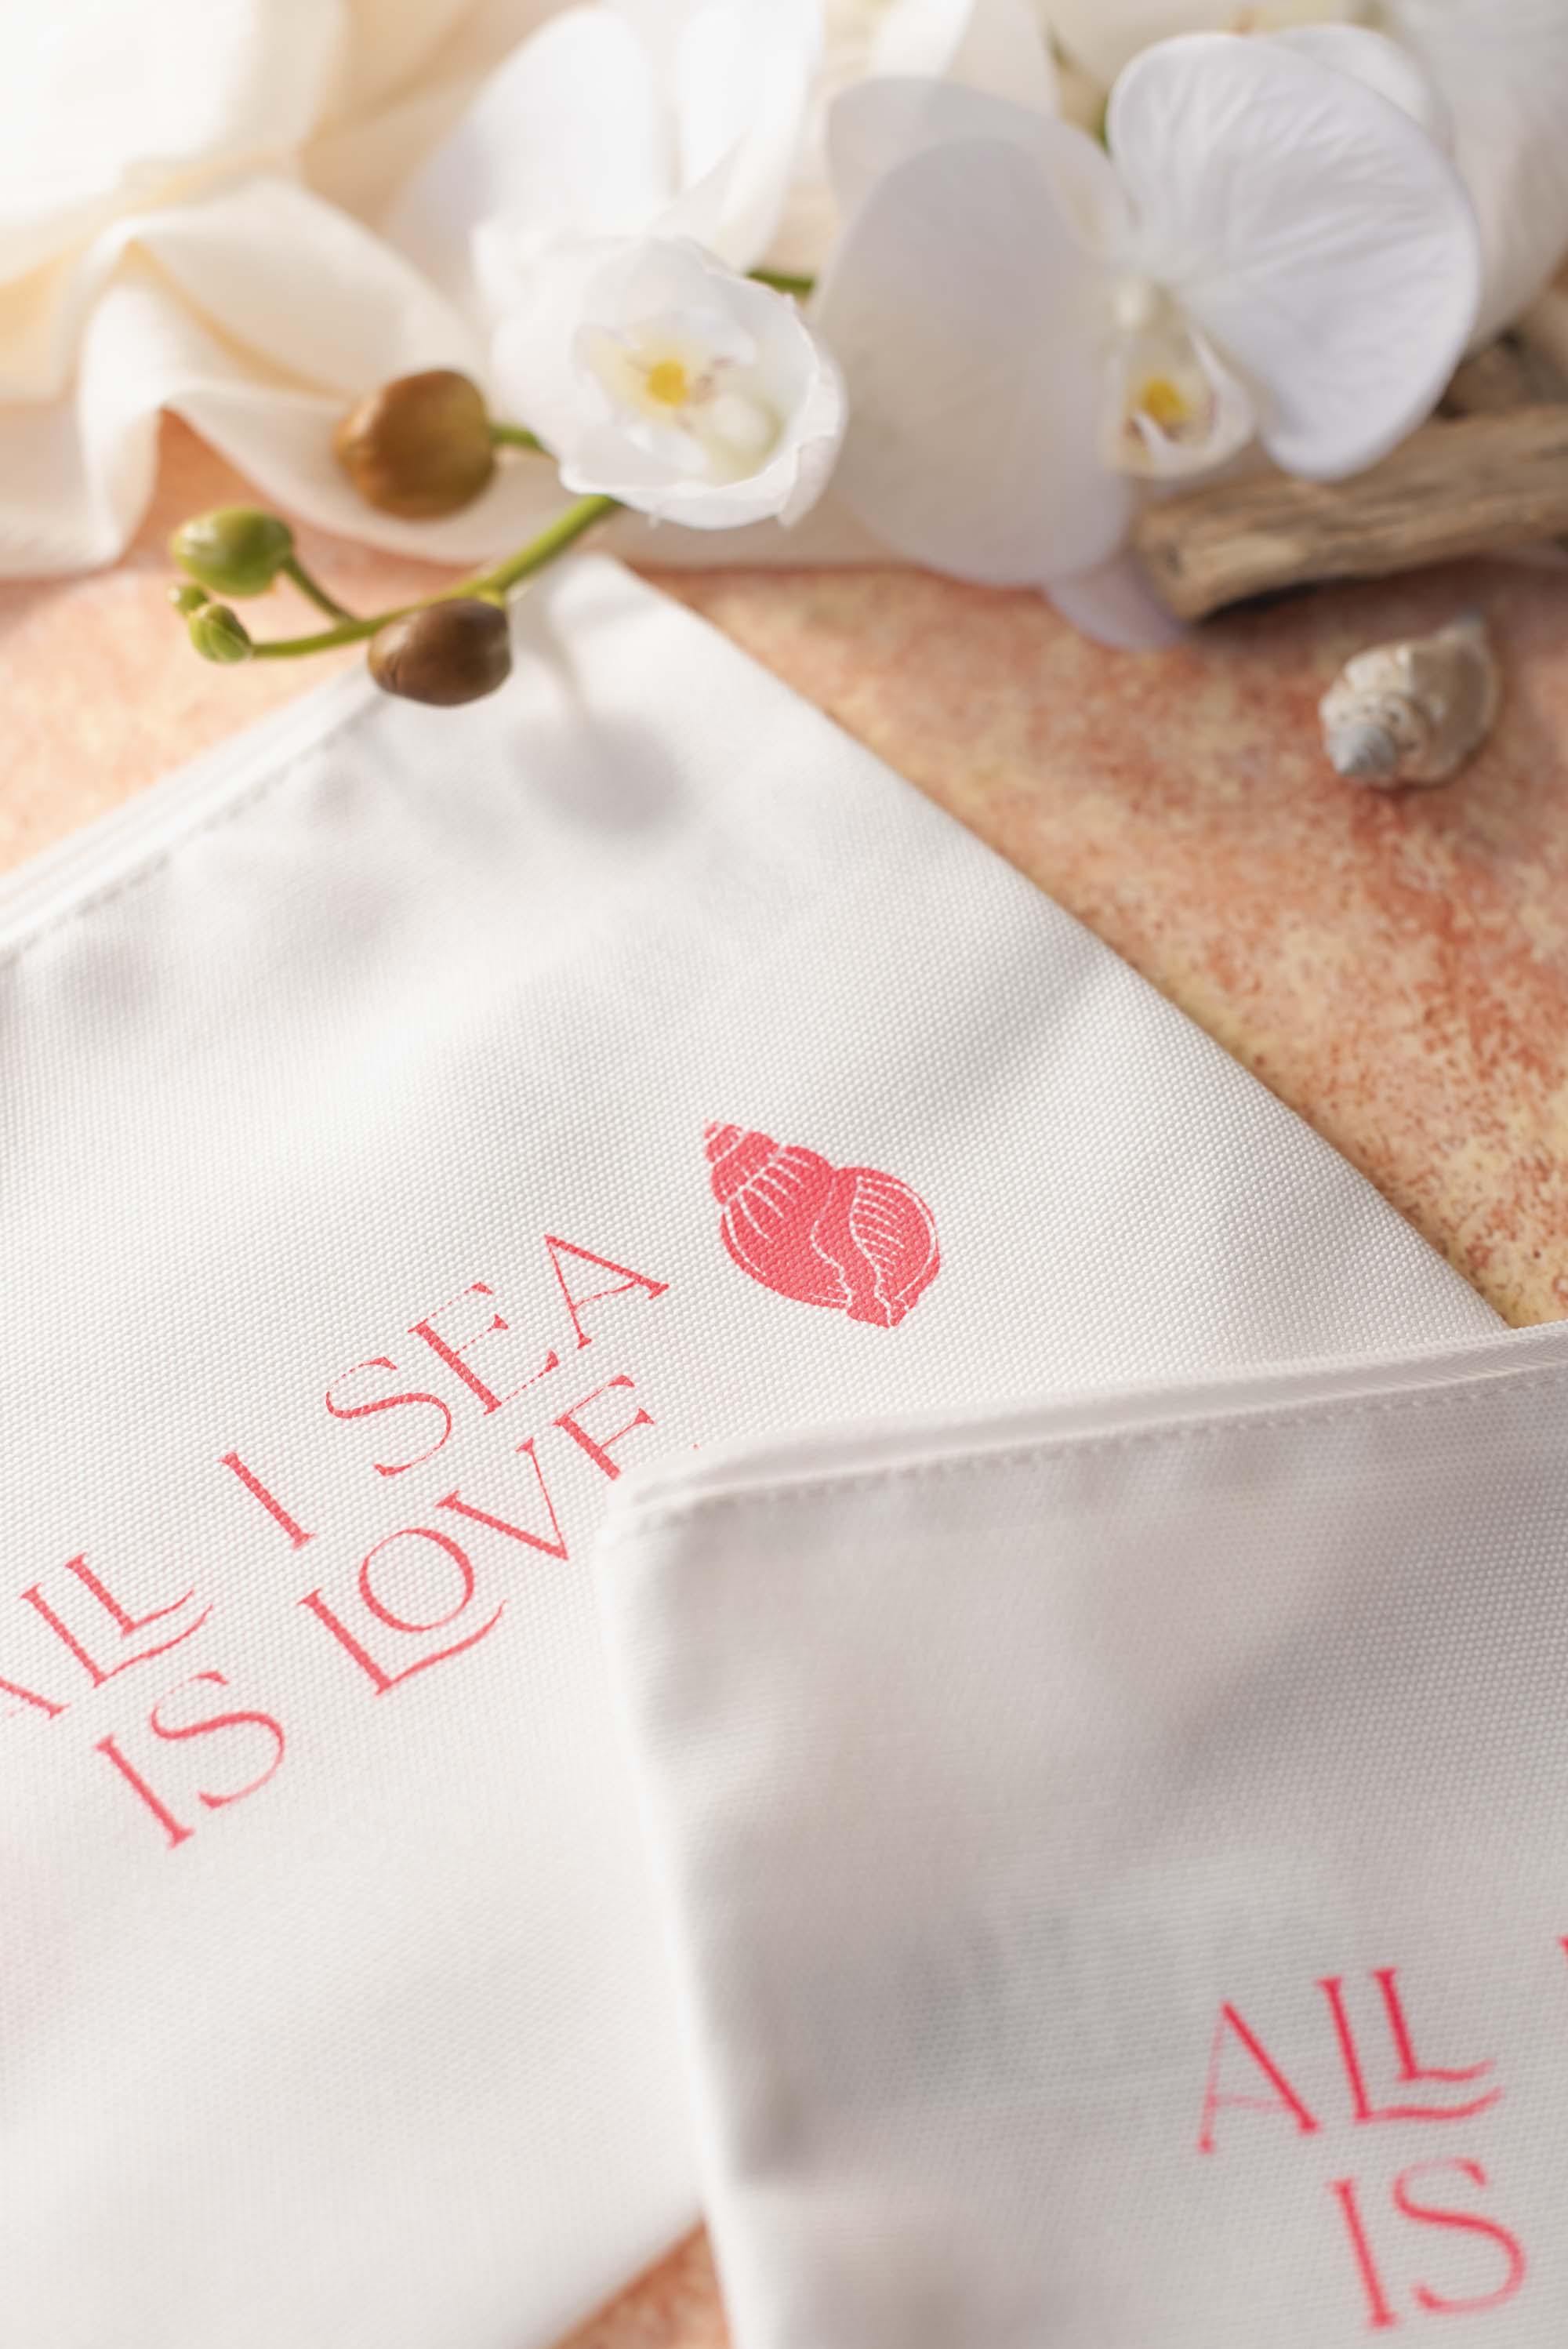
9. Enjoy! Fill your bags with goodies, more personalized treats, or just give as is. It's ready for a coastal or beach-themed bachelorette party away!
Cricut Screen Printing Troubleshooting: Common Issues and Fixes
Why is my screen printed design blotchy or spreading?
Blotchy prints usually happen when the ink is not the right type or you’re using too much pressure. Place cardboard inside the bag and smooth the fabric before printing. Use a light, steady stroke with your squeegee for flooding and a firm stroke for your print. Also make sure your ink is for formulated for fabric as this will be a thicker ink.Why is my screen print faint or incomplete?
A faint print means the ink isn't fully passing through the mesh. Coat (or flood) the screen lightly first with more ink, then use a slightly steeper angle and firmer stroke for the print. A second print pass often ensures a clean, even design. The texture of your bag also can affect your print. See our tips for this in Step 6!Why is ink bleeding under my vinyl stencil?
Ink bleeds when the stencil edges aren’t fully sealed. Press vinyl firmly to the mesh and use smooth, controlled one-way squeegee strokes. Avoid dragging the ink back and forth, which can force it under the edges.
TUTORIAL CREDITS
Photography and DIY Tutorial: Chelsea Barton
Editor's Note: Specially curated by us, the above product links may be partner-connected and purchasing through these links means we get a small commission from those brands that helps support this website. You can find our full affiliate disclosure policy here on Tidewater and Tulle.

