

1. Bedazzle or Add Embellishments to Your Wedding Shoes
Nothing says “wow factor” like a little sparkle. Adding rhinestones, pearls, or sequins to your shoes is an easy way to make them uniquely yours. You can create patterns on the toe, along the straps, or even scatter them across the entire shoe for a fully glam look. We adore how real bride Vienna bedazzled her Converse as seen above!DIY TIPS:
• Use a strong adhesive designed for fabric or shoes to ensure embellishments stay put.
• Start with a clean, dry surface for the best results.
• For a uniform look, consider using a template or sticker guide to plan your design.
2. Paint Your Shoes
Want a pop of color or a custom design? Painting your shoes is an easy way to match your wedding palette or create a whimsical look. You can go bold with metallics, pastels, or even hand-paint floral designs. As always, do a test on a similar material or fabric before transforming your official wedding shoes.DIY TIPS:
• For leather shoes, look for a leather-specific paint for best results.
• For canvas shoes, acrylic paint mixed with a fabric medium can work well.
• Tape off sections to create clean lines or geometric patterns.
• Let your shoes dry completely for at least 24 hours before wearing them.
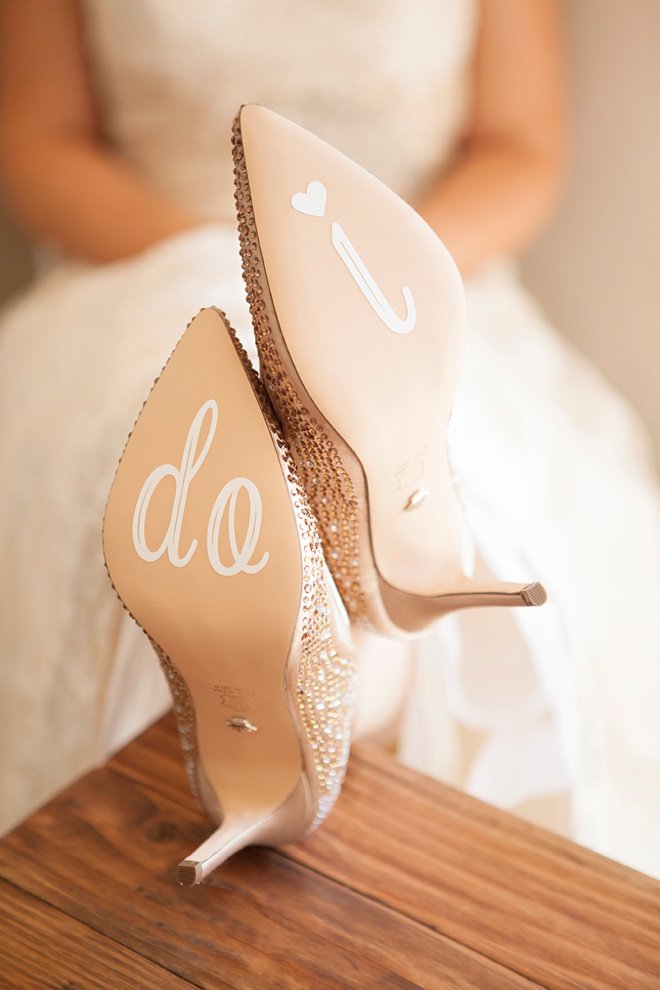
Photo: Jenni Kidder from this DIY wedding shoe sticker tutorial on Something Turquoise
3. Personalize with a Cricut Machine
For brides and soonlyweds who love a modern crafting twist, a Cricut machine is a game-changer. You can cut vinyl decals, create monograms, or even make custom quotes to stick on your shoes. The result is a highly personal and professional-looking design.DIY TIPS:
• Use heat transfer vinyl (or iron-on) for fabric shoes and permanent adhesive vinyl for harder surfaces like the soles.
• Test your design on scrap material before applying to your shoes.
• Layer colors and textures for a standout effect.
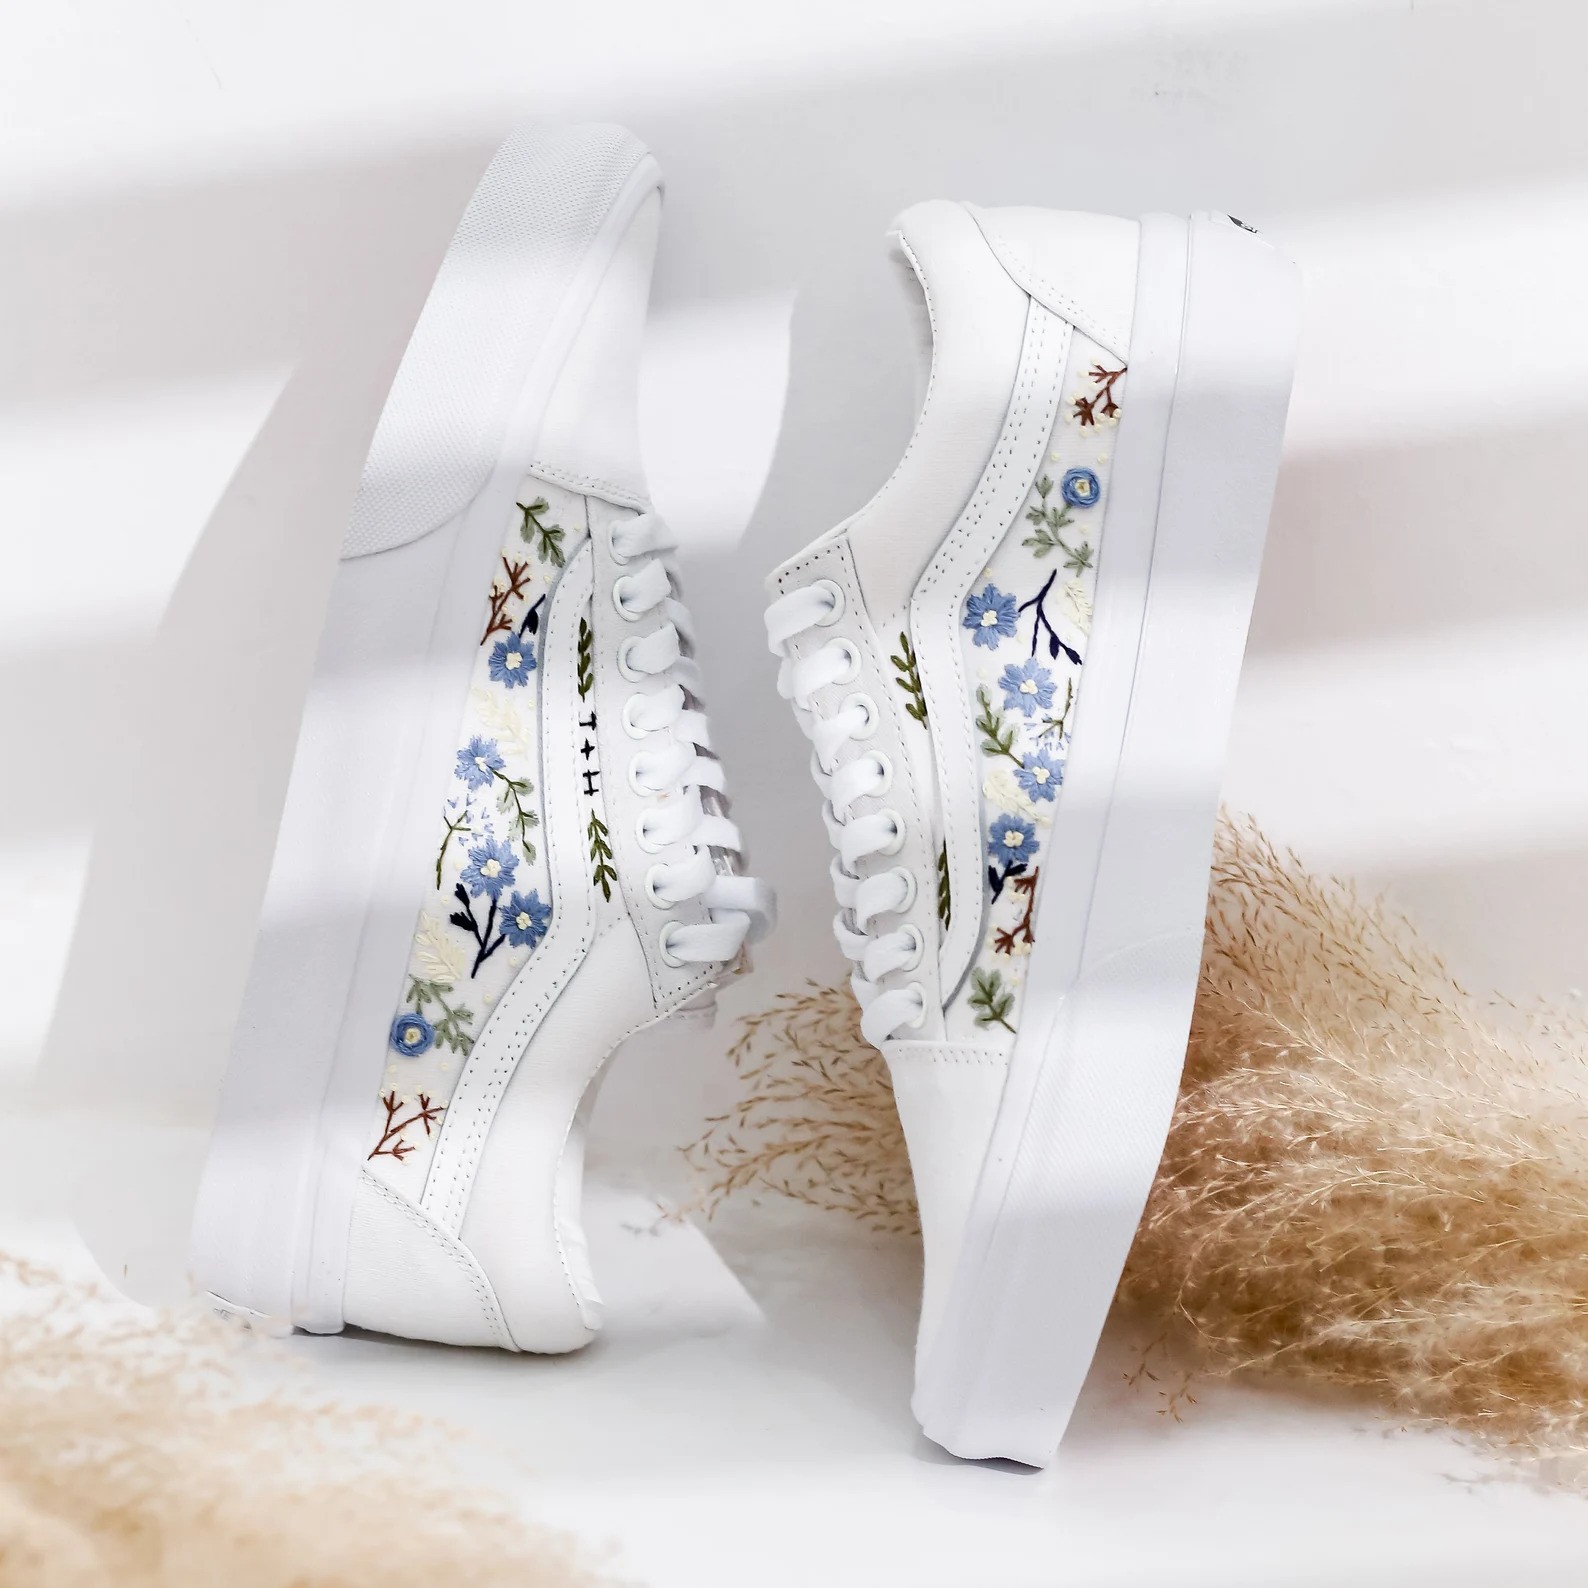
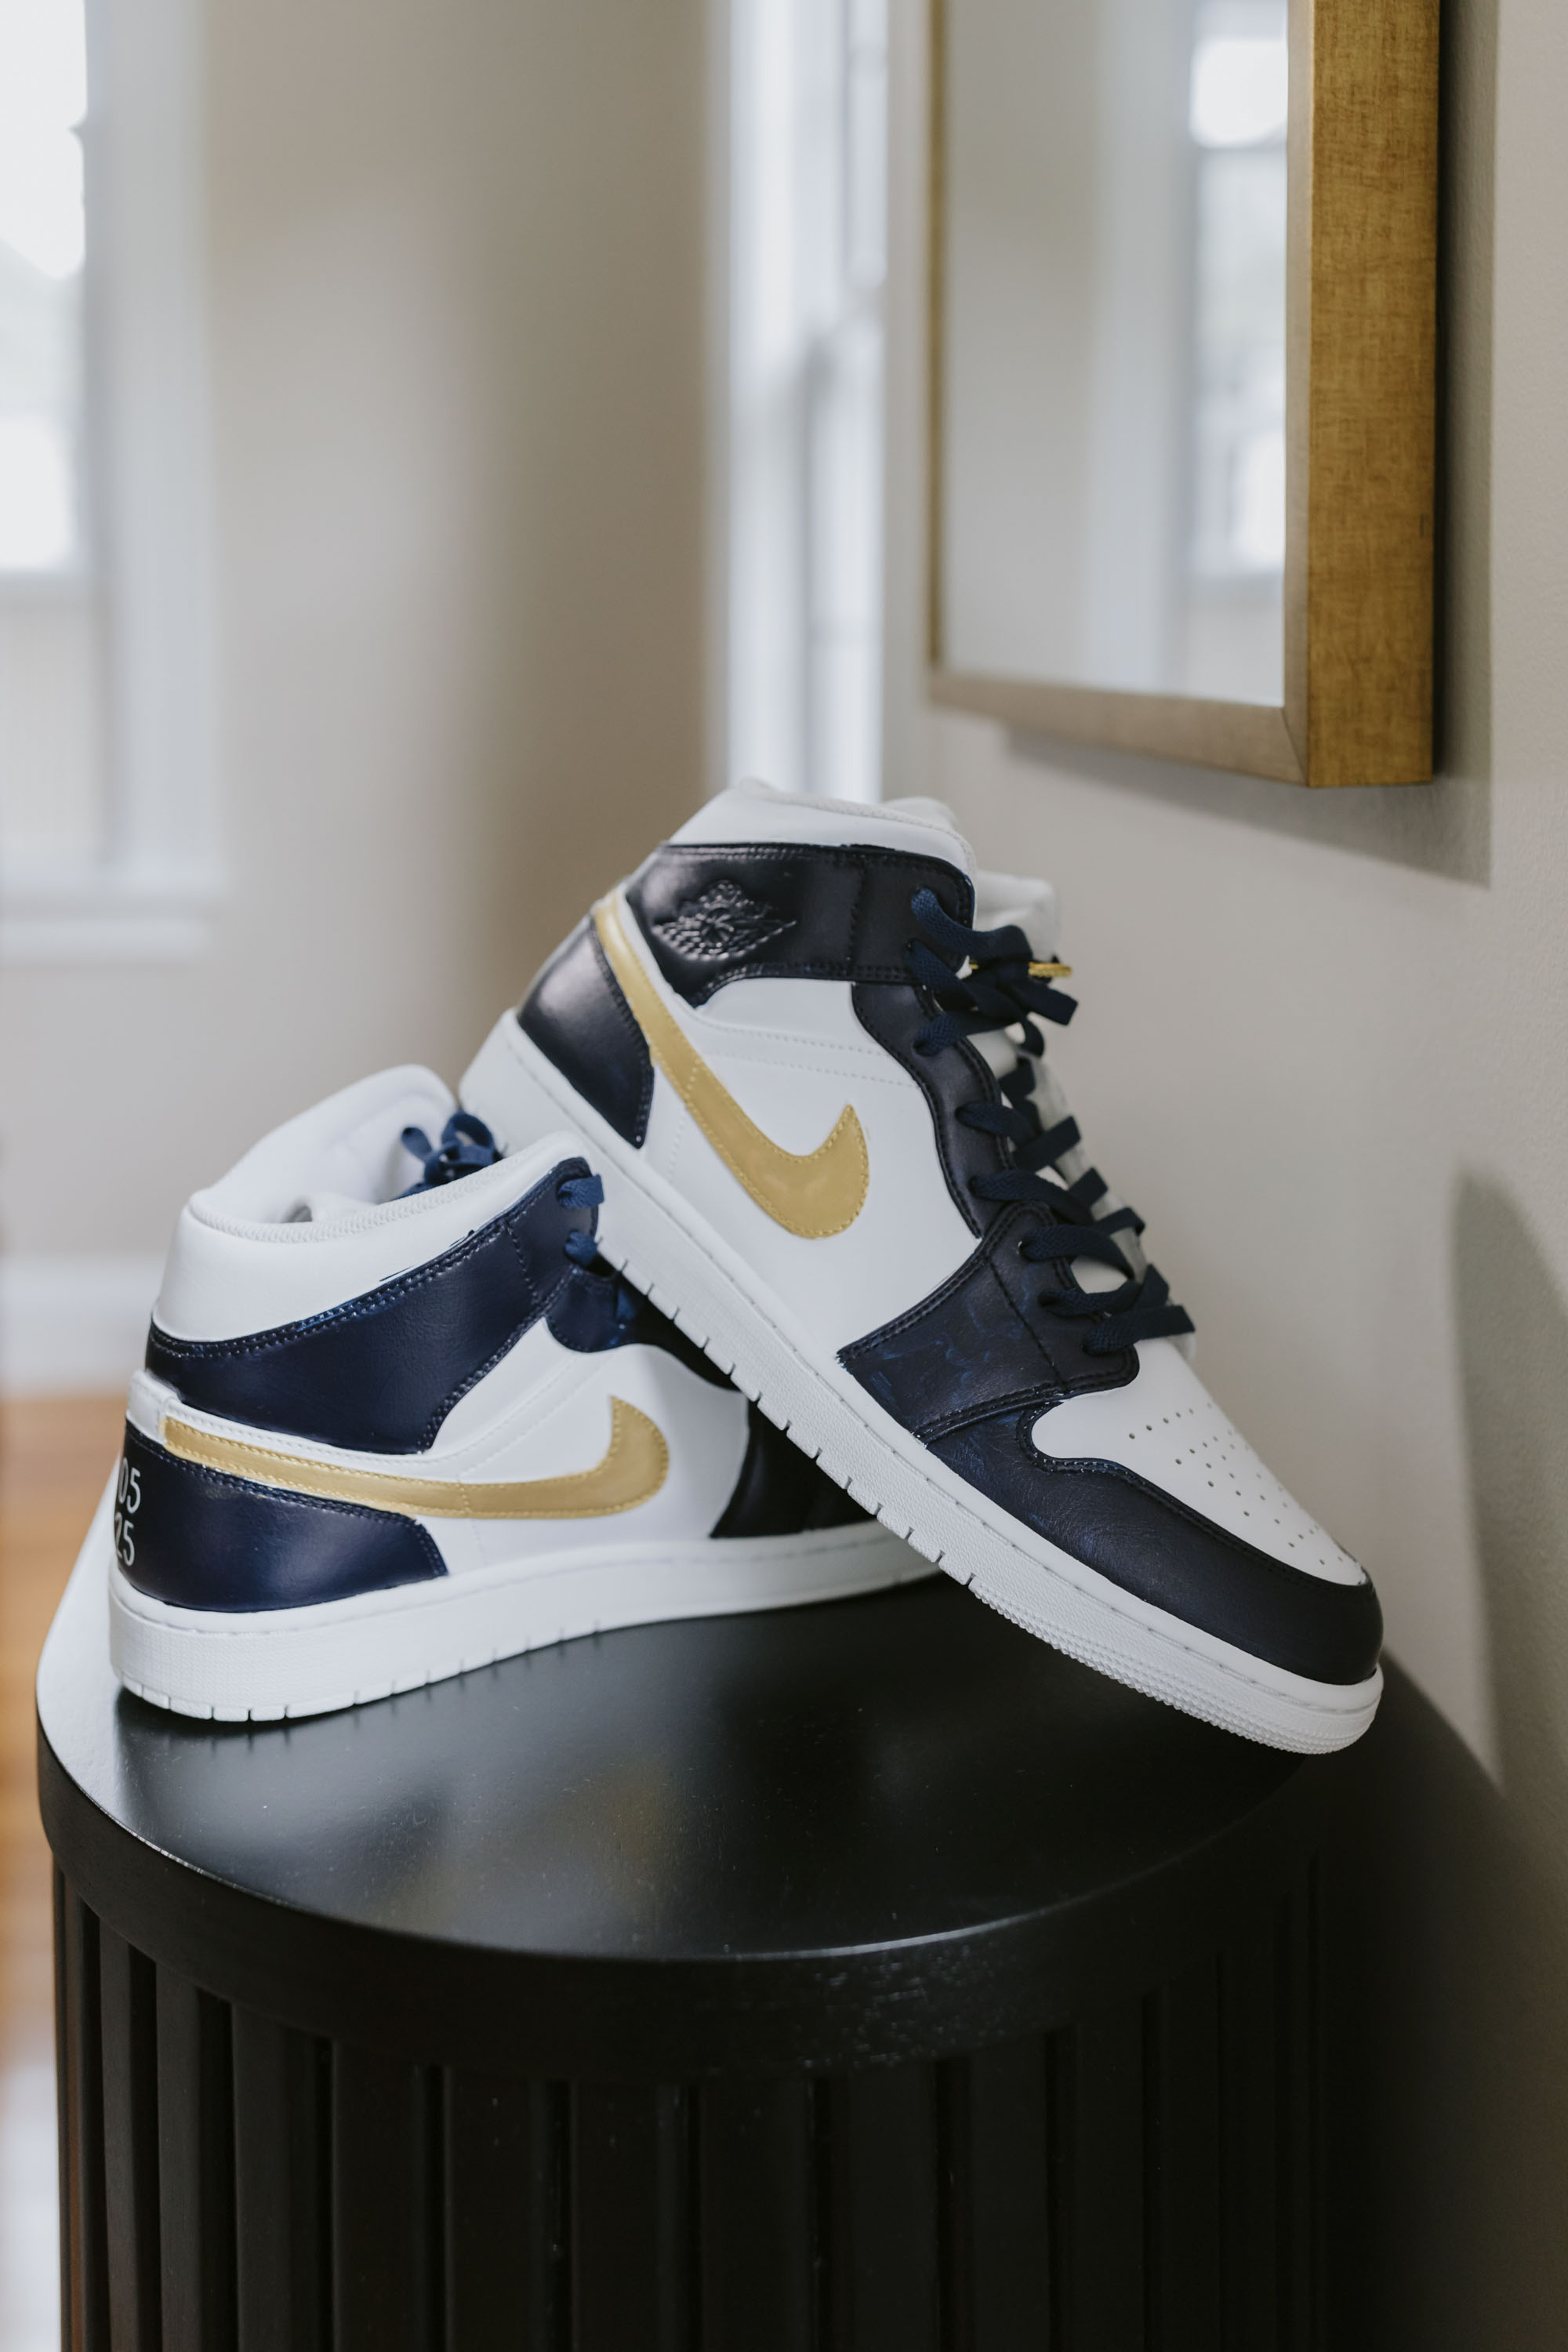
Photo: Hana Tran from her custom Vans MonoStoreVN Etsy shop
4. Decorate with Embroidery
If you love the idea of a delicate, handcrafted touch, embroidery is perfect. You can stitch lace, metallic threads, or even small floral designs directly onto your shoes. This option adds a romantic, heirloom-quality detail.DIY TIPS:
• Use a needle and thread suitable for your shoe material to avoid damaging the fabric.
• Consider using pre-embroidered appliqués if freehand stitching feels intimidating.
• Keep your stitches small and consistent for a polished finish.
PRO ADVICE: Adore this look but don't have the time or resources to make your own? Look for an embroidery artist on Etsy who specializes in shoe stitching. The above photo is from Hana Tran, and you can purchase her embroidered shoes for a professional handmade option.
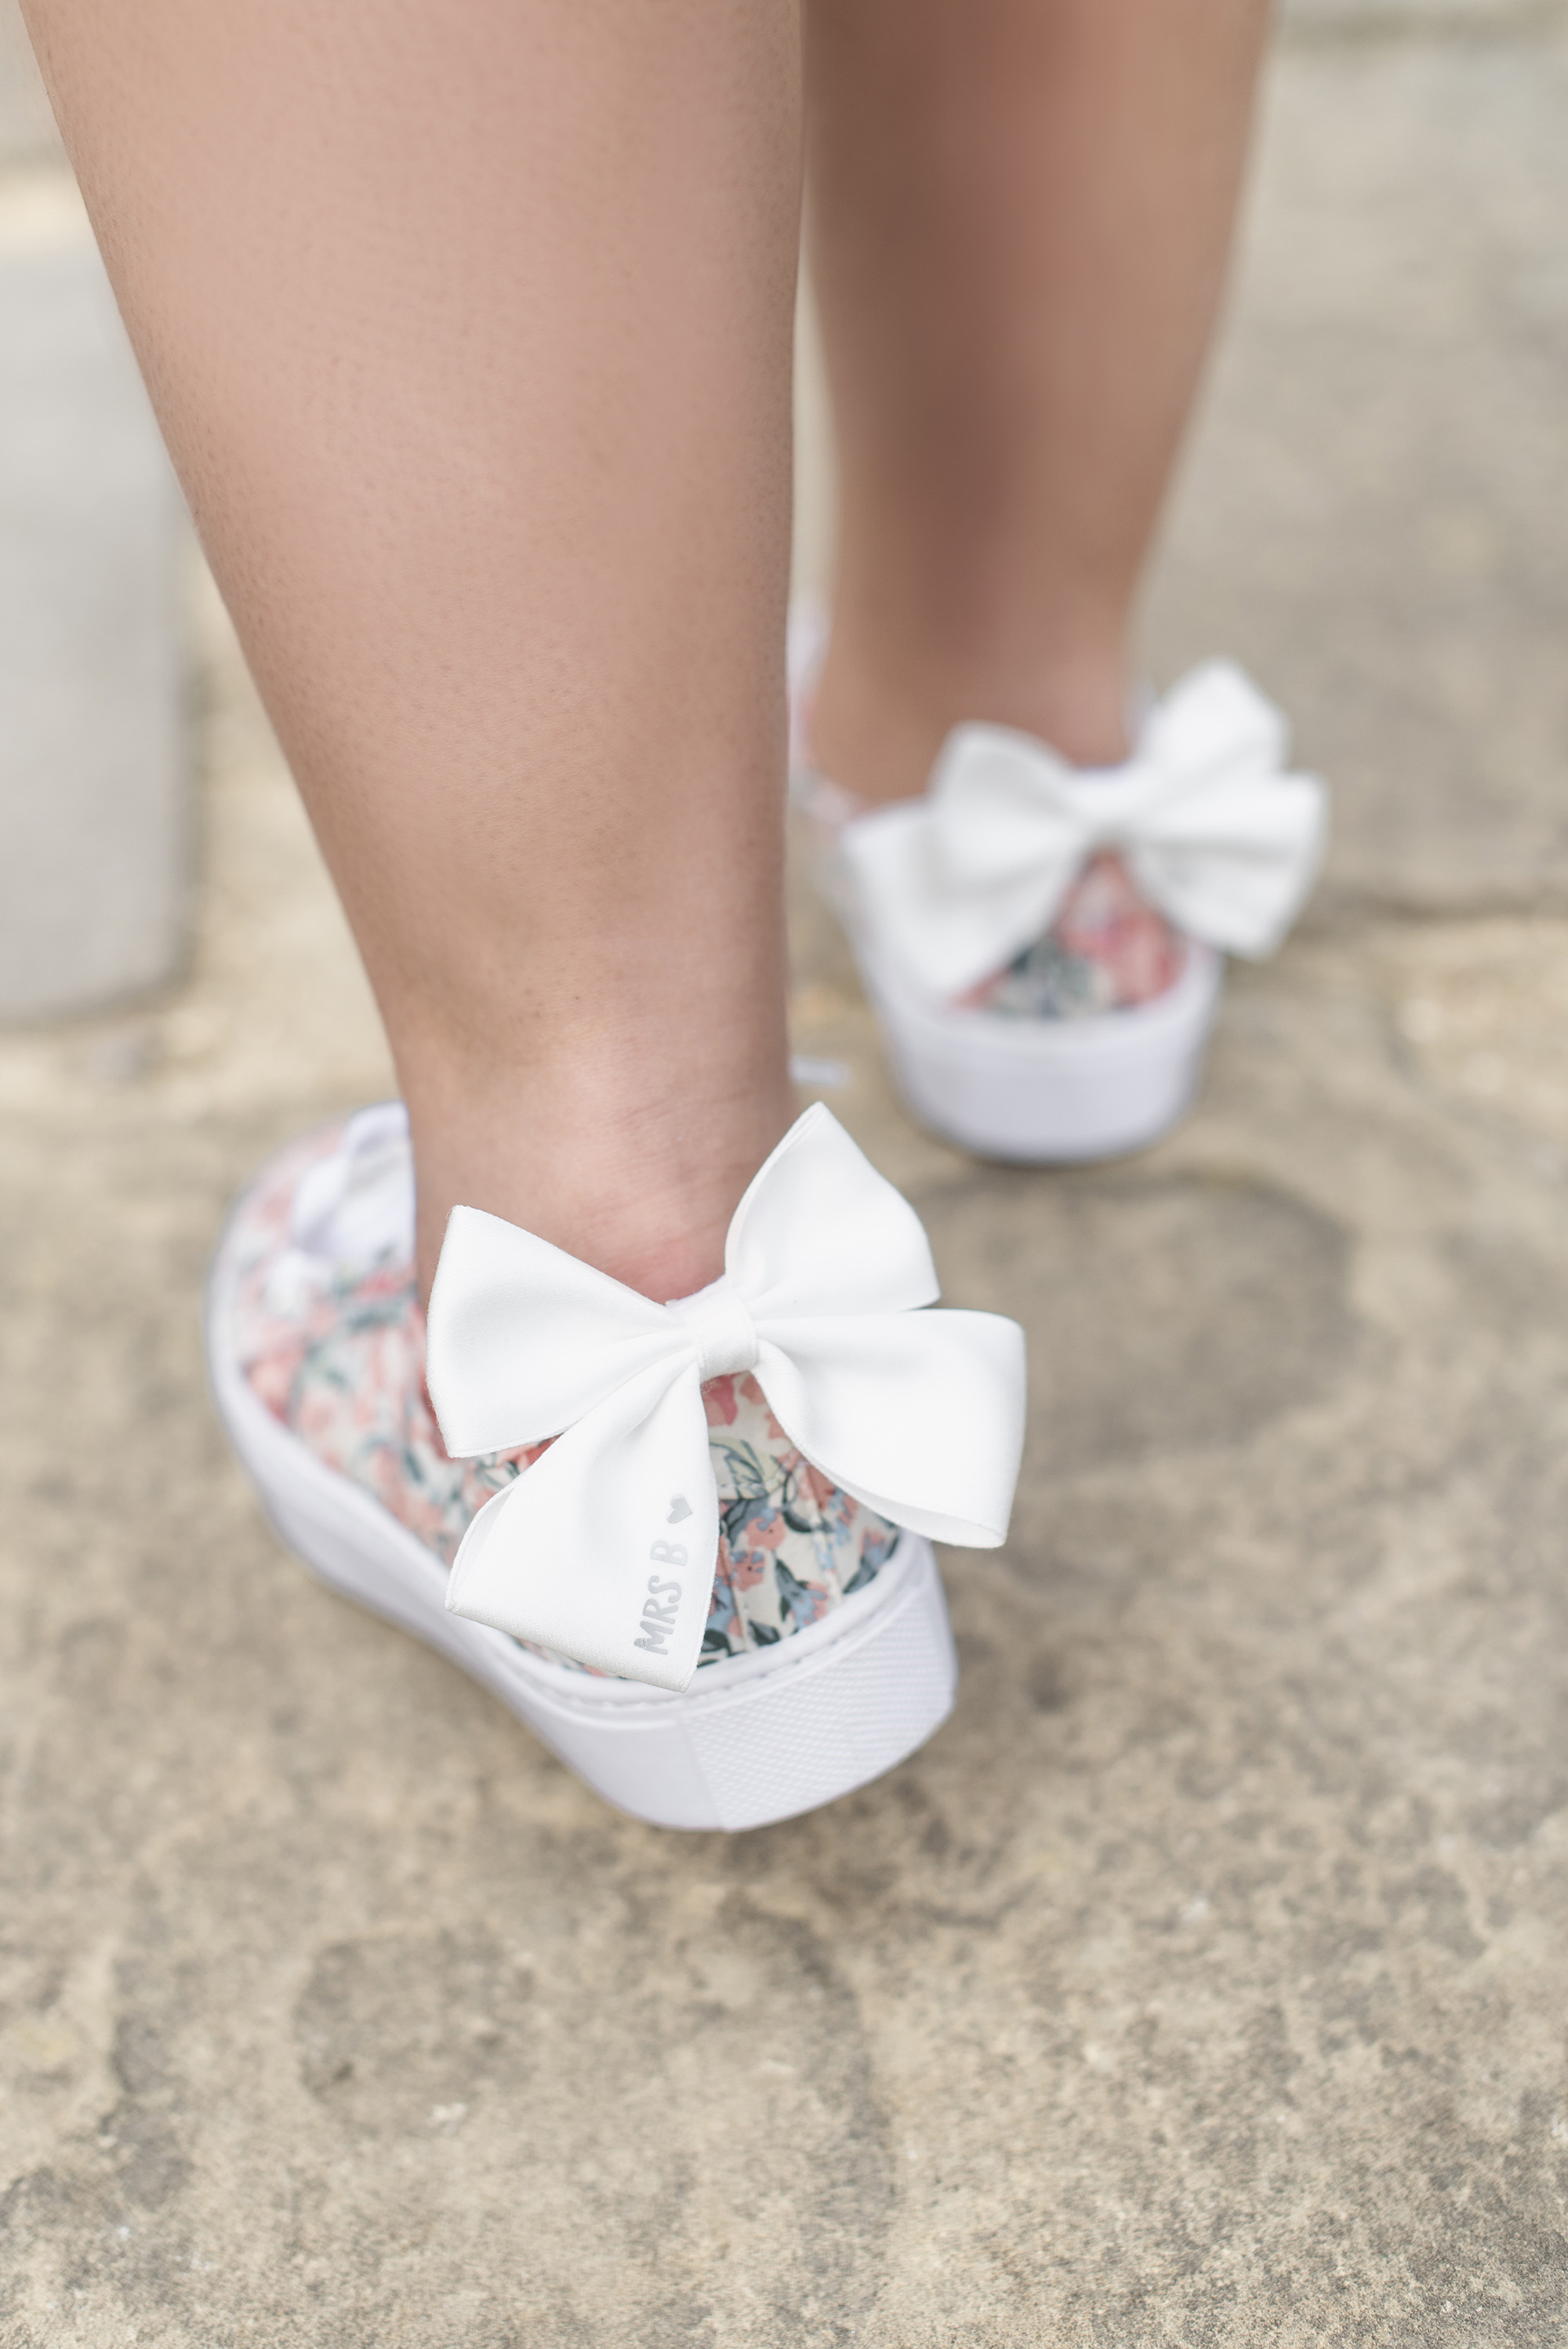
5. Use Detachable Accessories
Detachable shoe accessories are a versatile and stress-free option. Think clip-on bows, straps, fun shoelaces, or shoe jewelry that can be added and removed as you please. This is perfect if you want to switch up your look between the ceremony and the reception.DIY TIPS:
• Look for accessories that won’t slip or damage your shoes.
• Mix and match different pieces for multiple looks. You can even personalize clip-on bows with your Cricut and heat transfer vinyl (as seen above)!
• Sparkly clips or elegant ribbons can completely transform simple heels.
LEARN MORE: The super cute personalized shoe bow clips is an easy project from the new Cricut Weddings book, available worldwide online and in-store wherever books are sold. The book also features other fabulous wearable DIY ideas to get you inspired for the big day! Read all about it at www.cricutweddings.com or order online today.

Your wedding shoes are literally the perfect canvas to let your creativity shine. Whether you’re adding a little sparkle, a bold splash of color, or a personal touch, DIYing them is an easy way to make your bridal look uniquely yours. So go ahead, get crafting, and step into your wedding day with shoes as beautiful and unique as your love story.
Want to protect your gorgeous new shoes? Make a no-sew wedding shoe bag for your new, customized kicks with our easy DIY tutorial.
Editor's Note: Specially curated by us, the above product links may be partner-connected and purchasing through these links means we get a small commission from those brands that helps support this website. You can find our full affiliate disclosure policy here on Tidewater and Tulle.

