
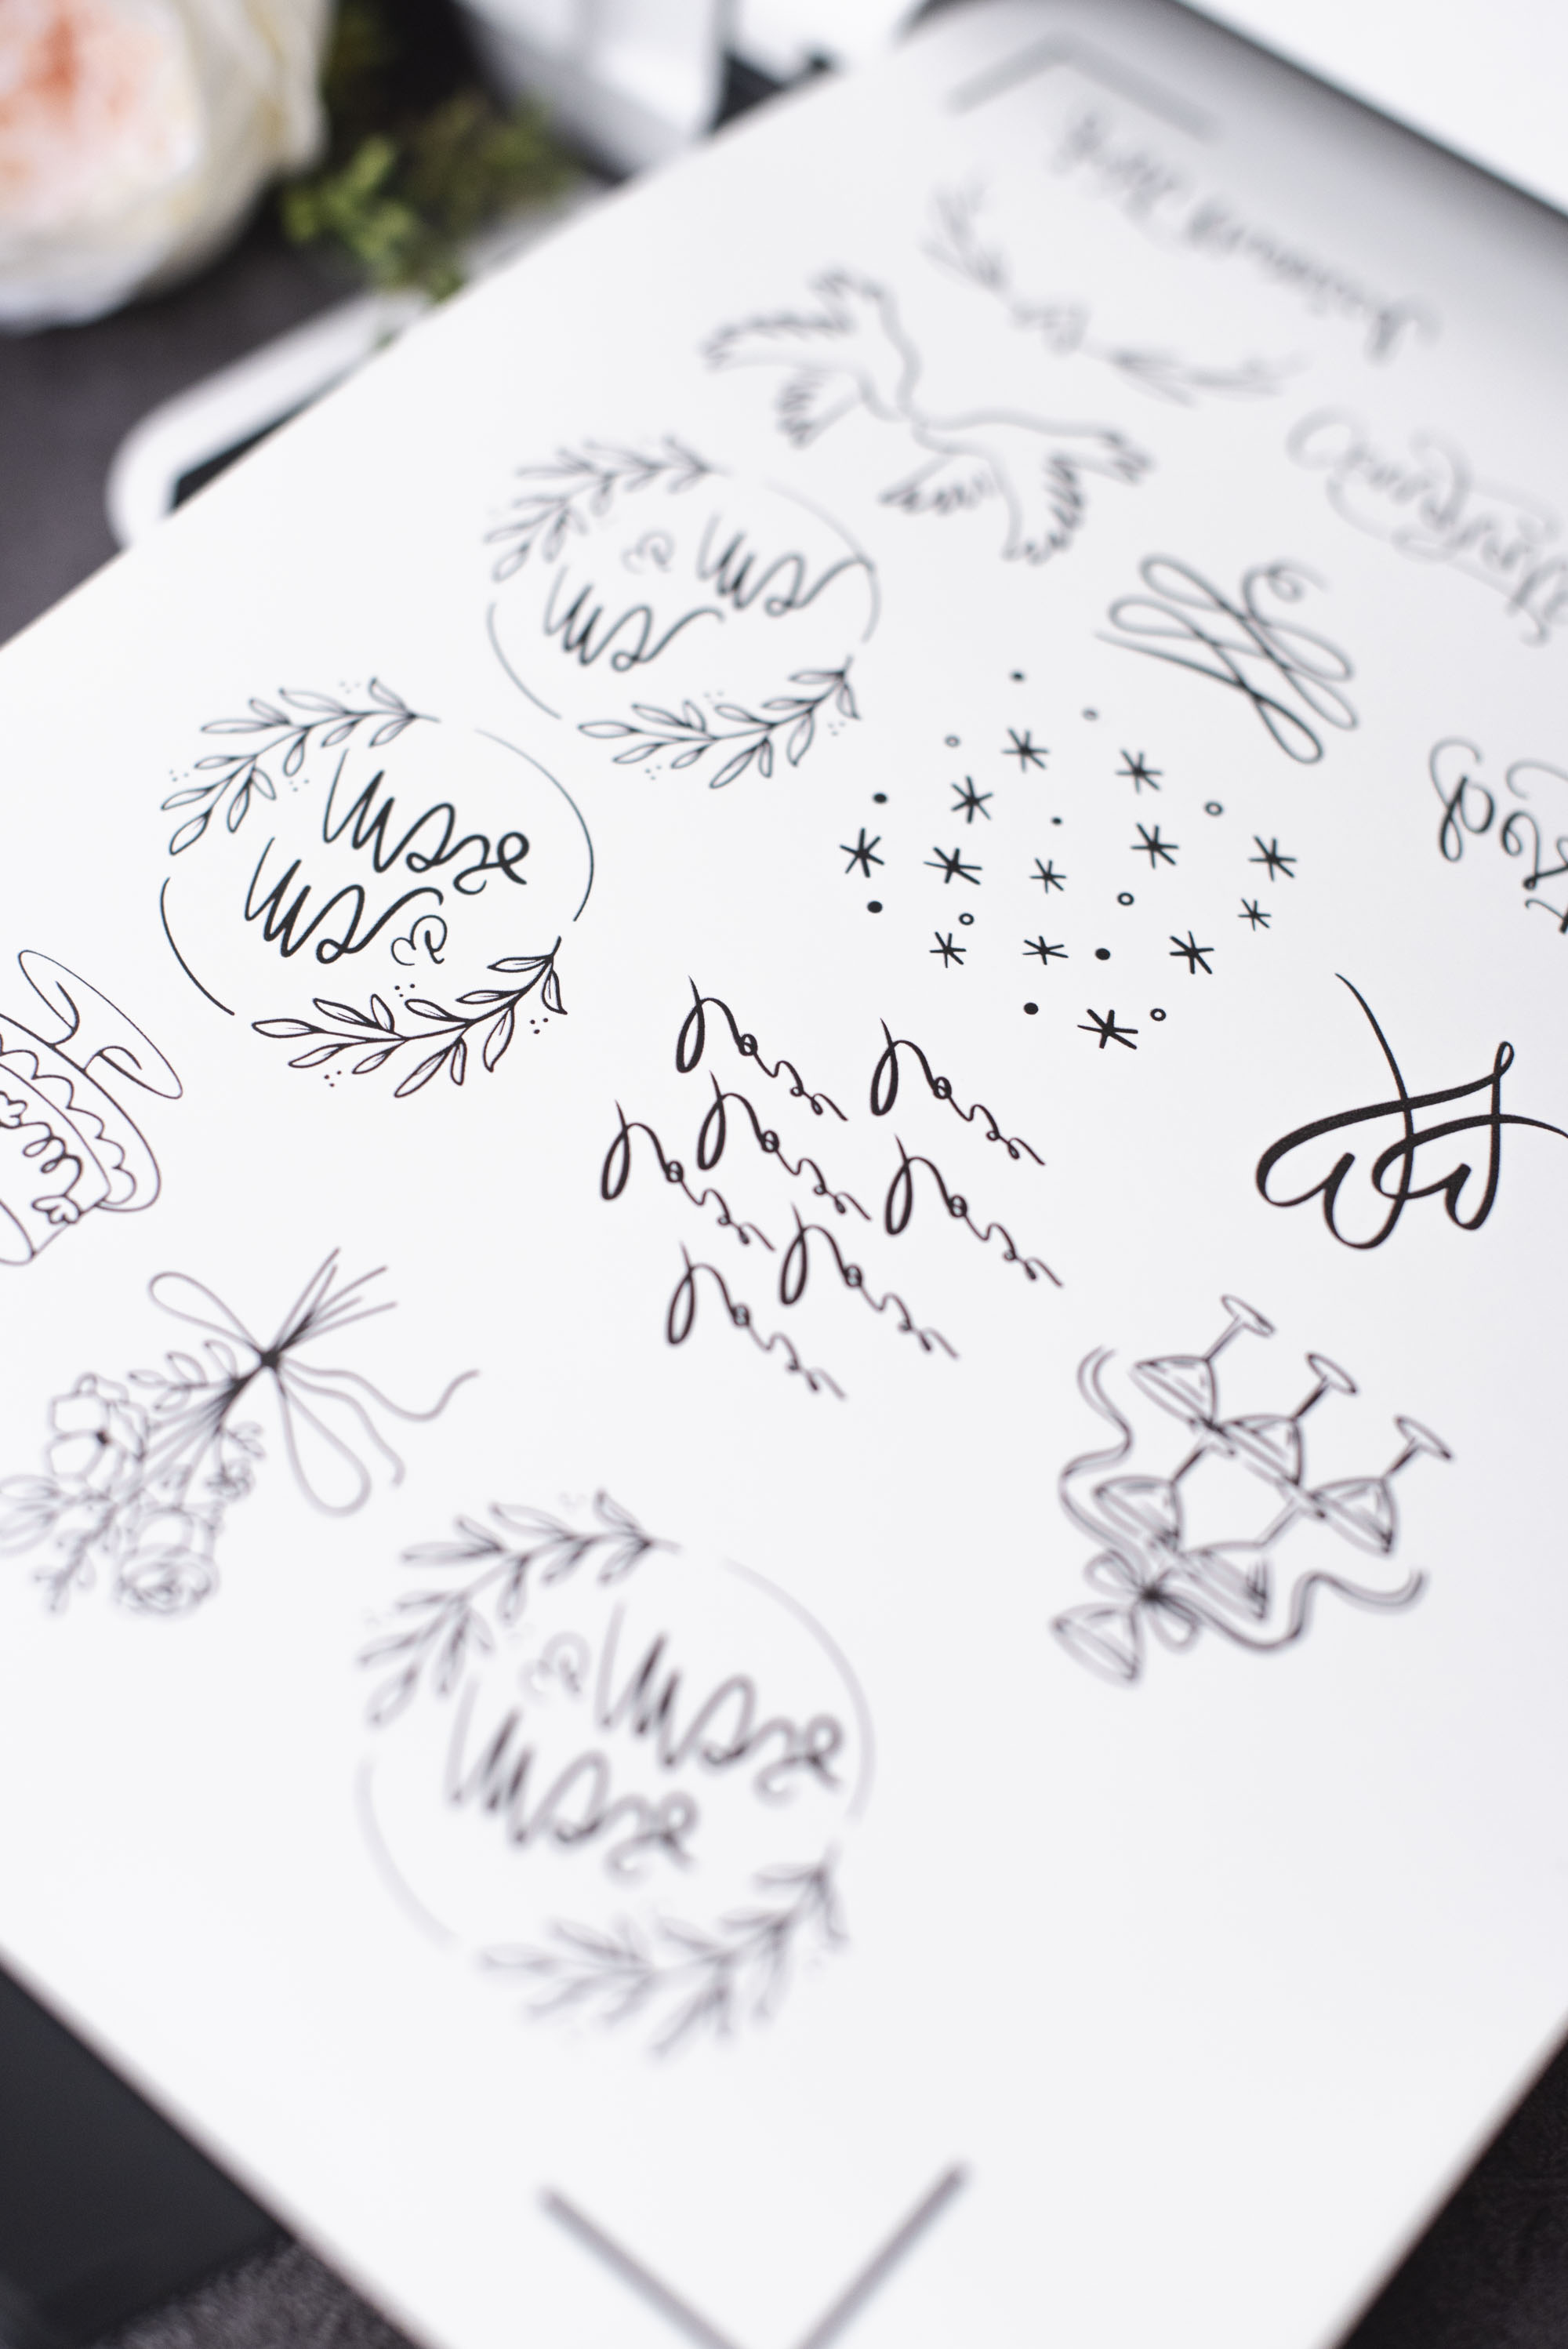
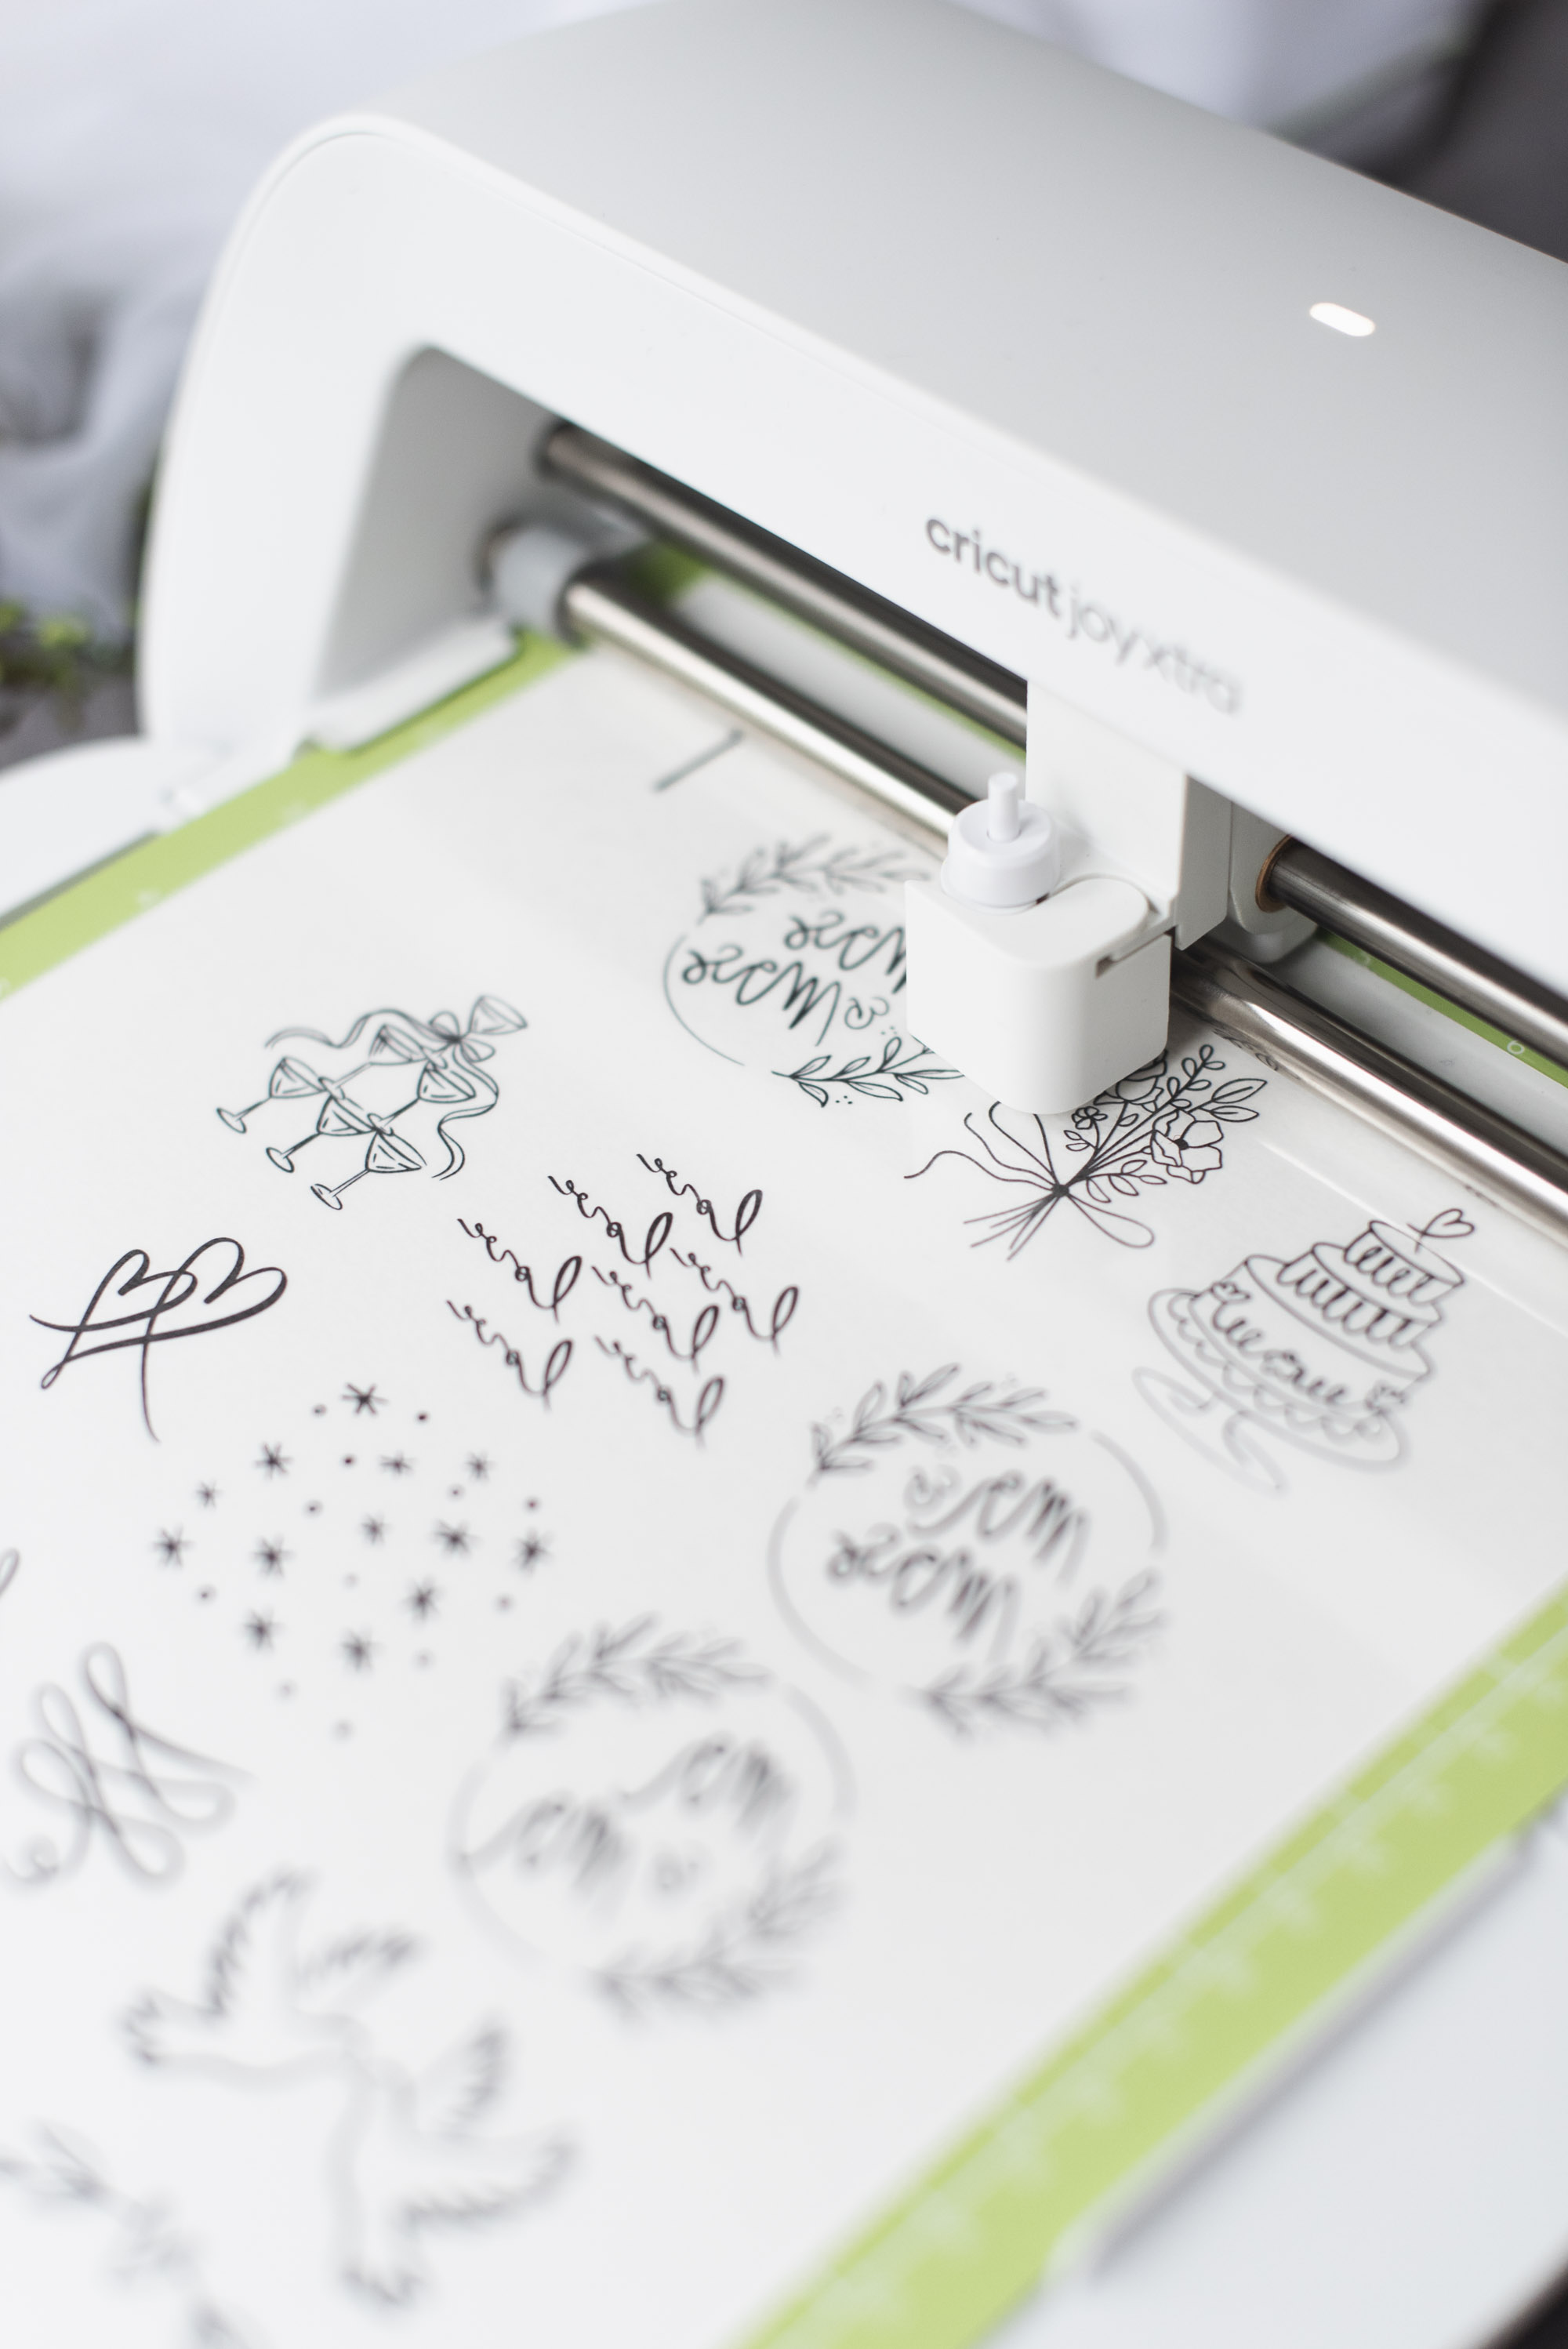
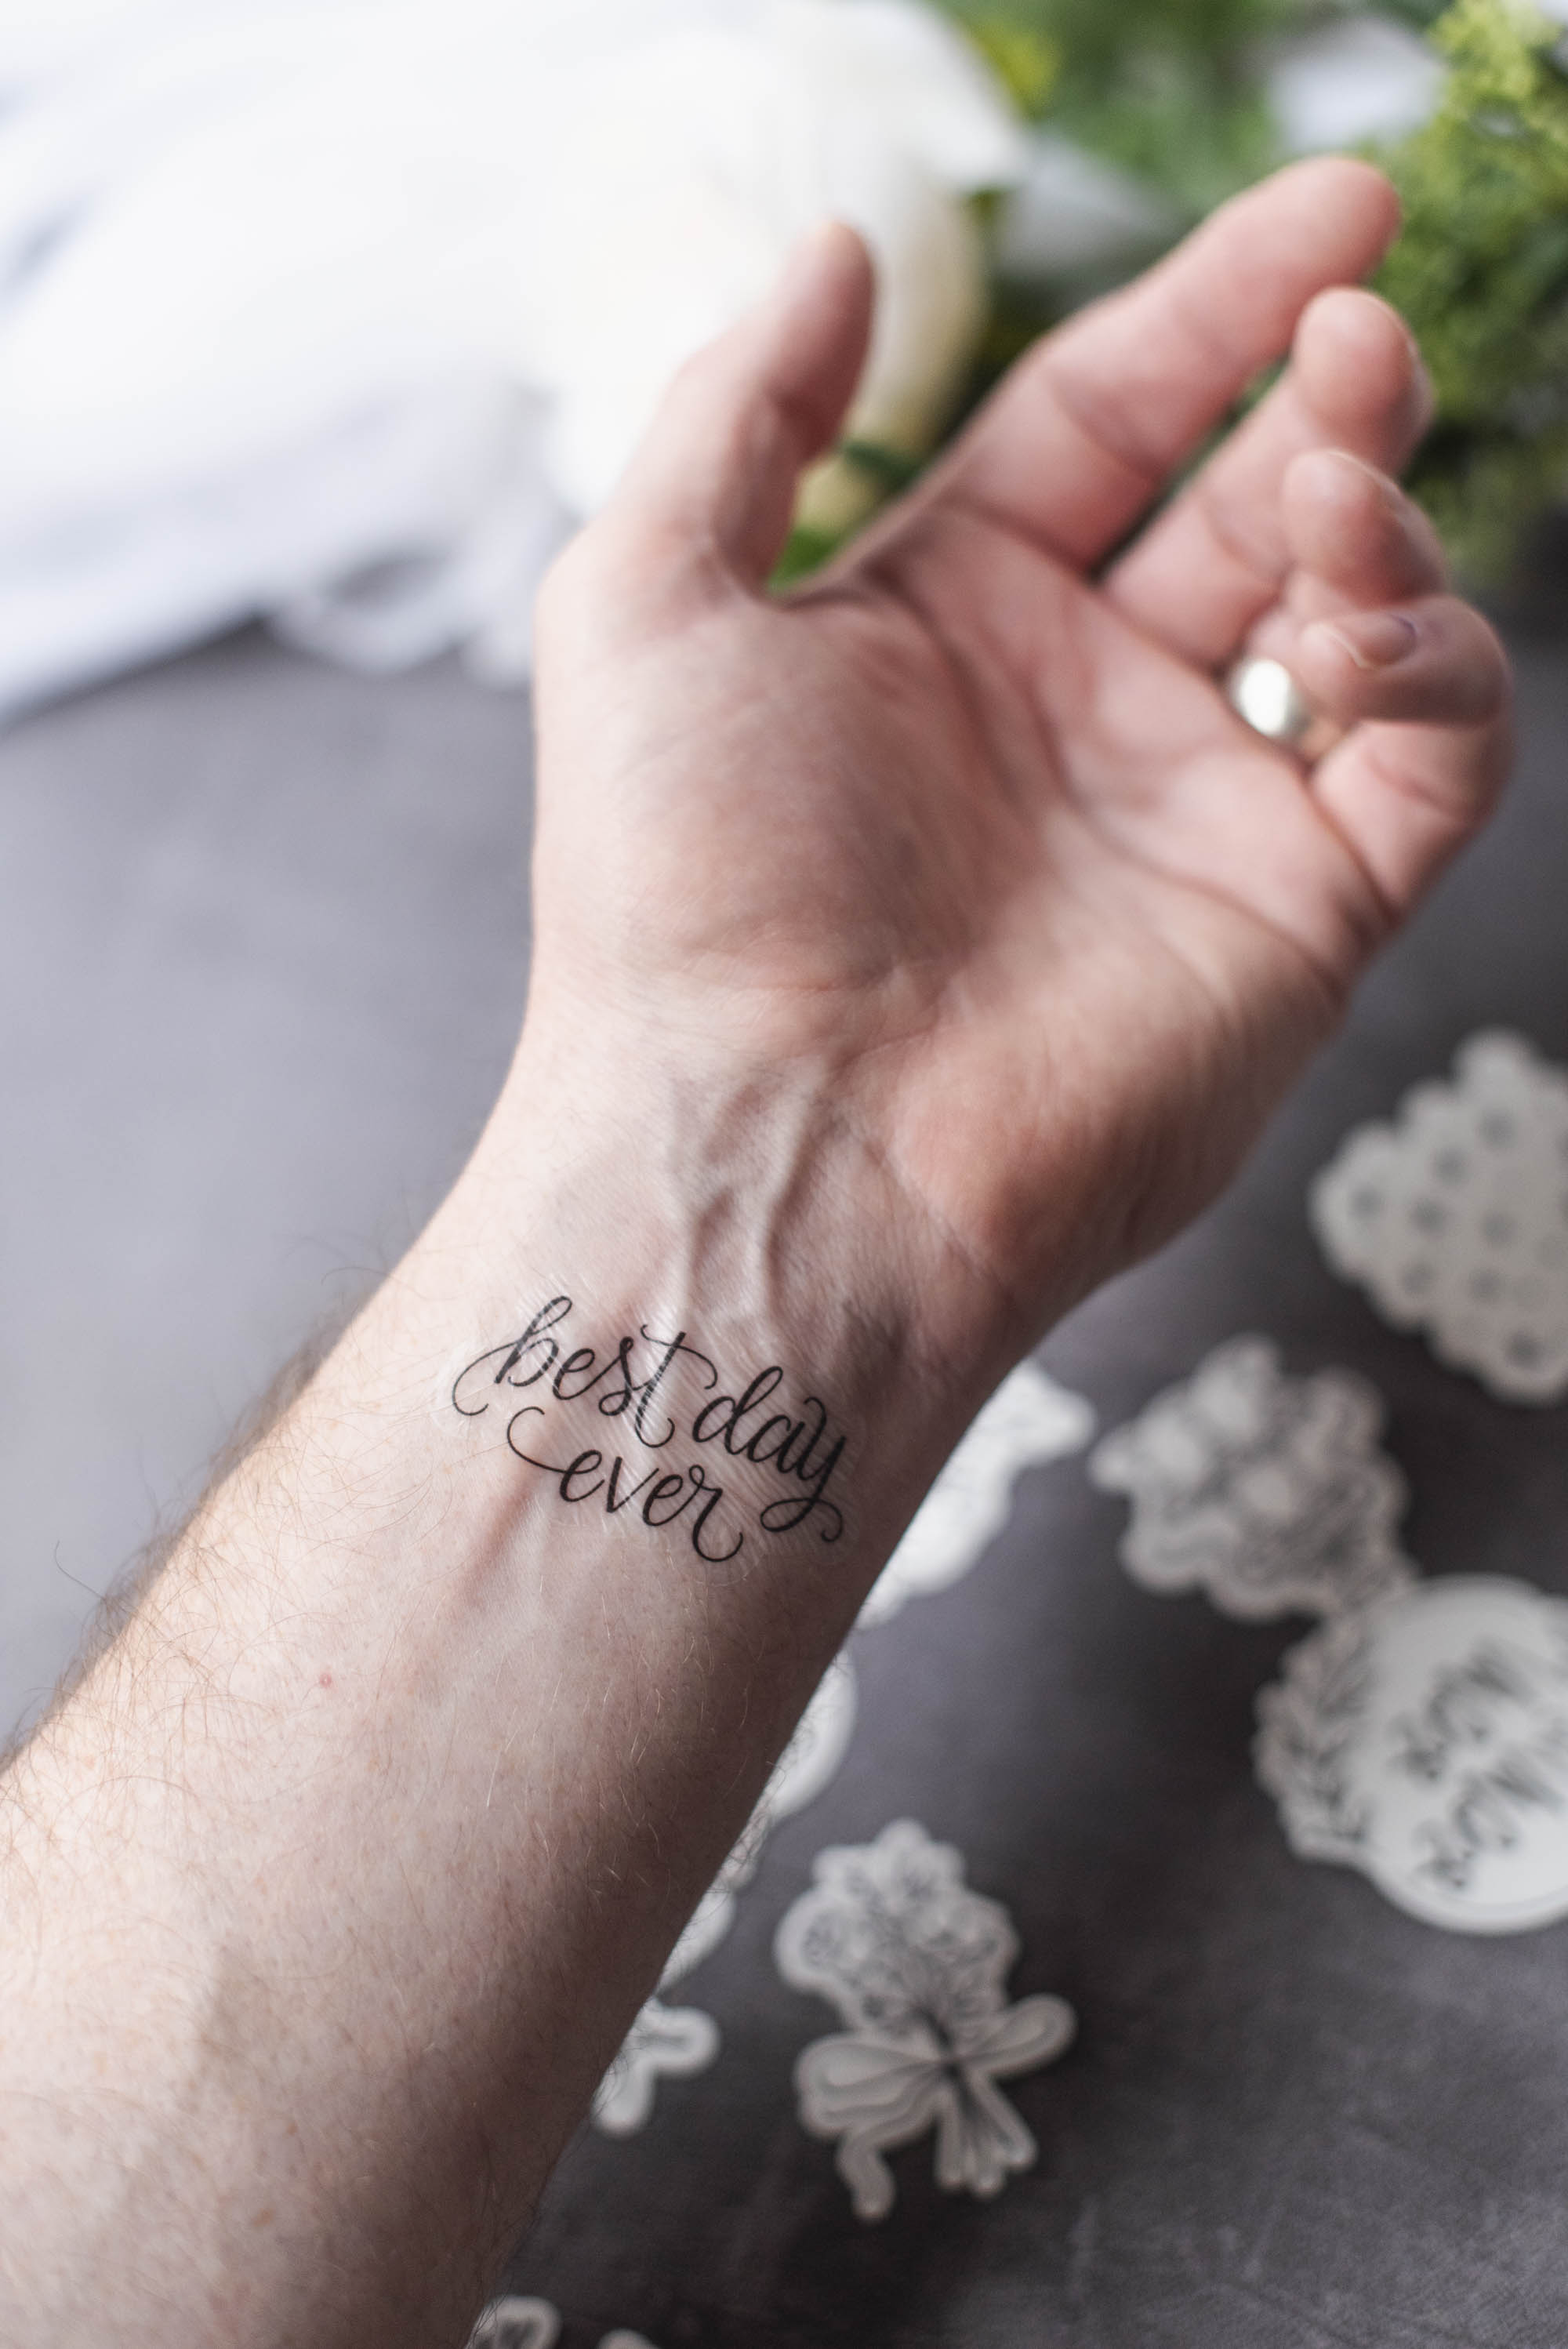
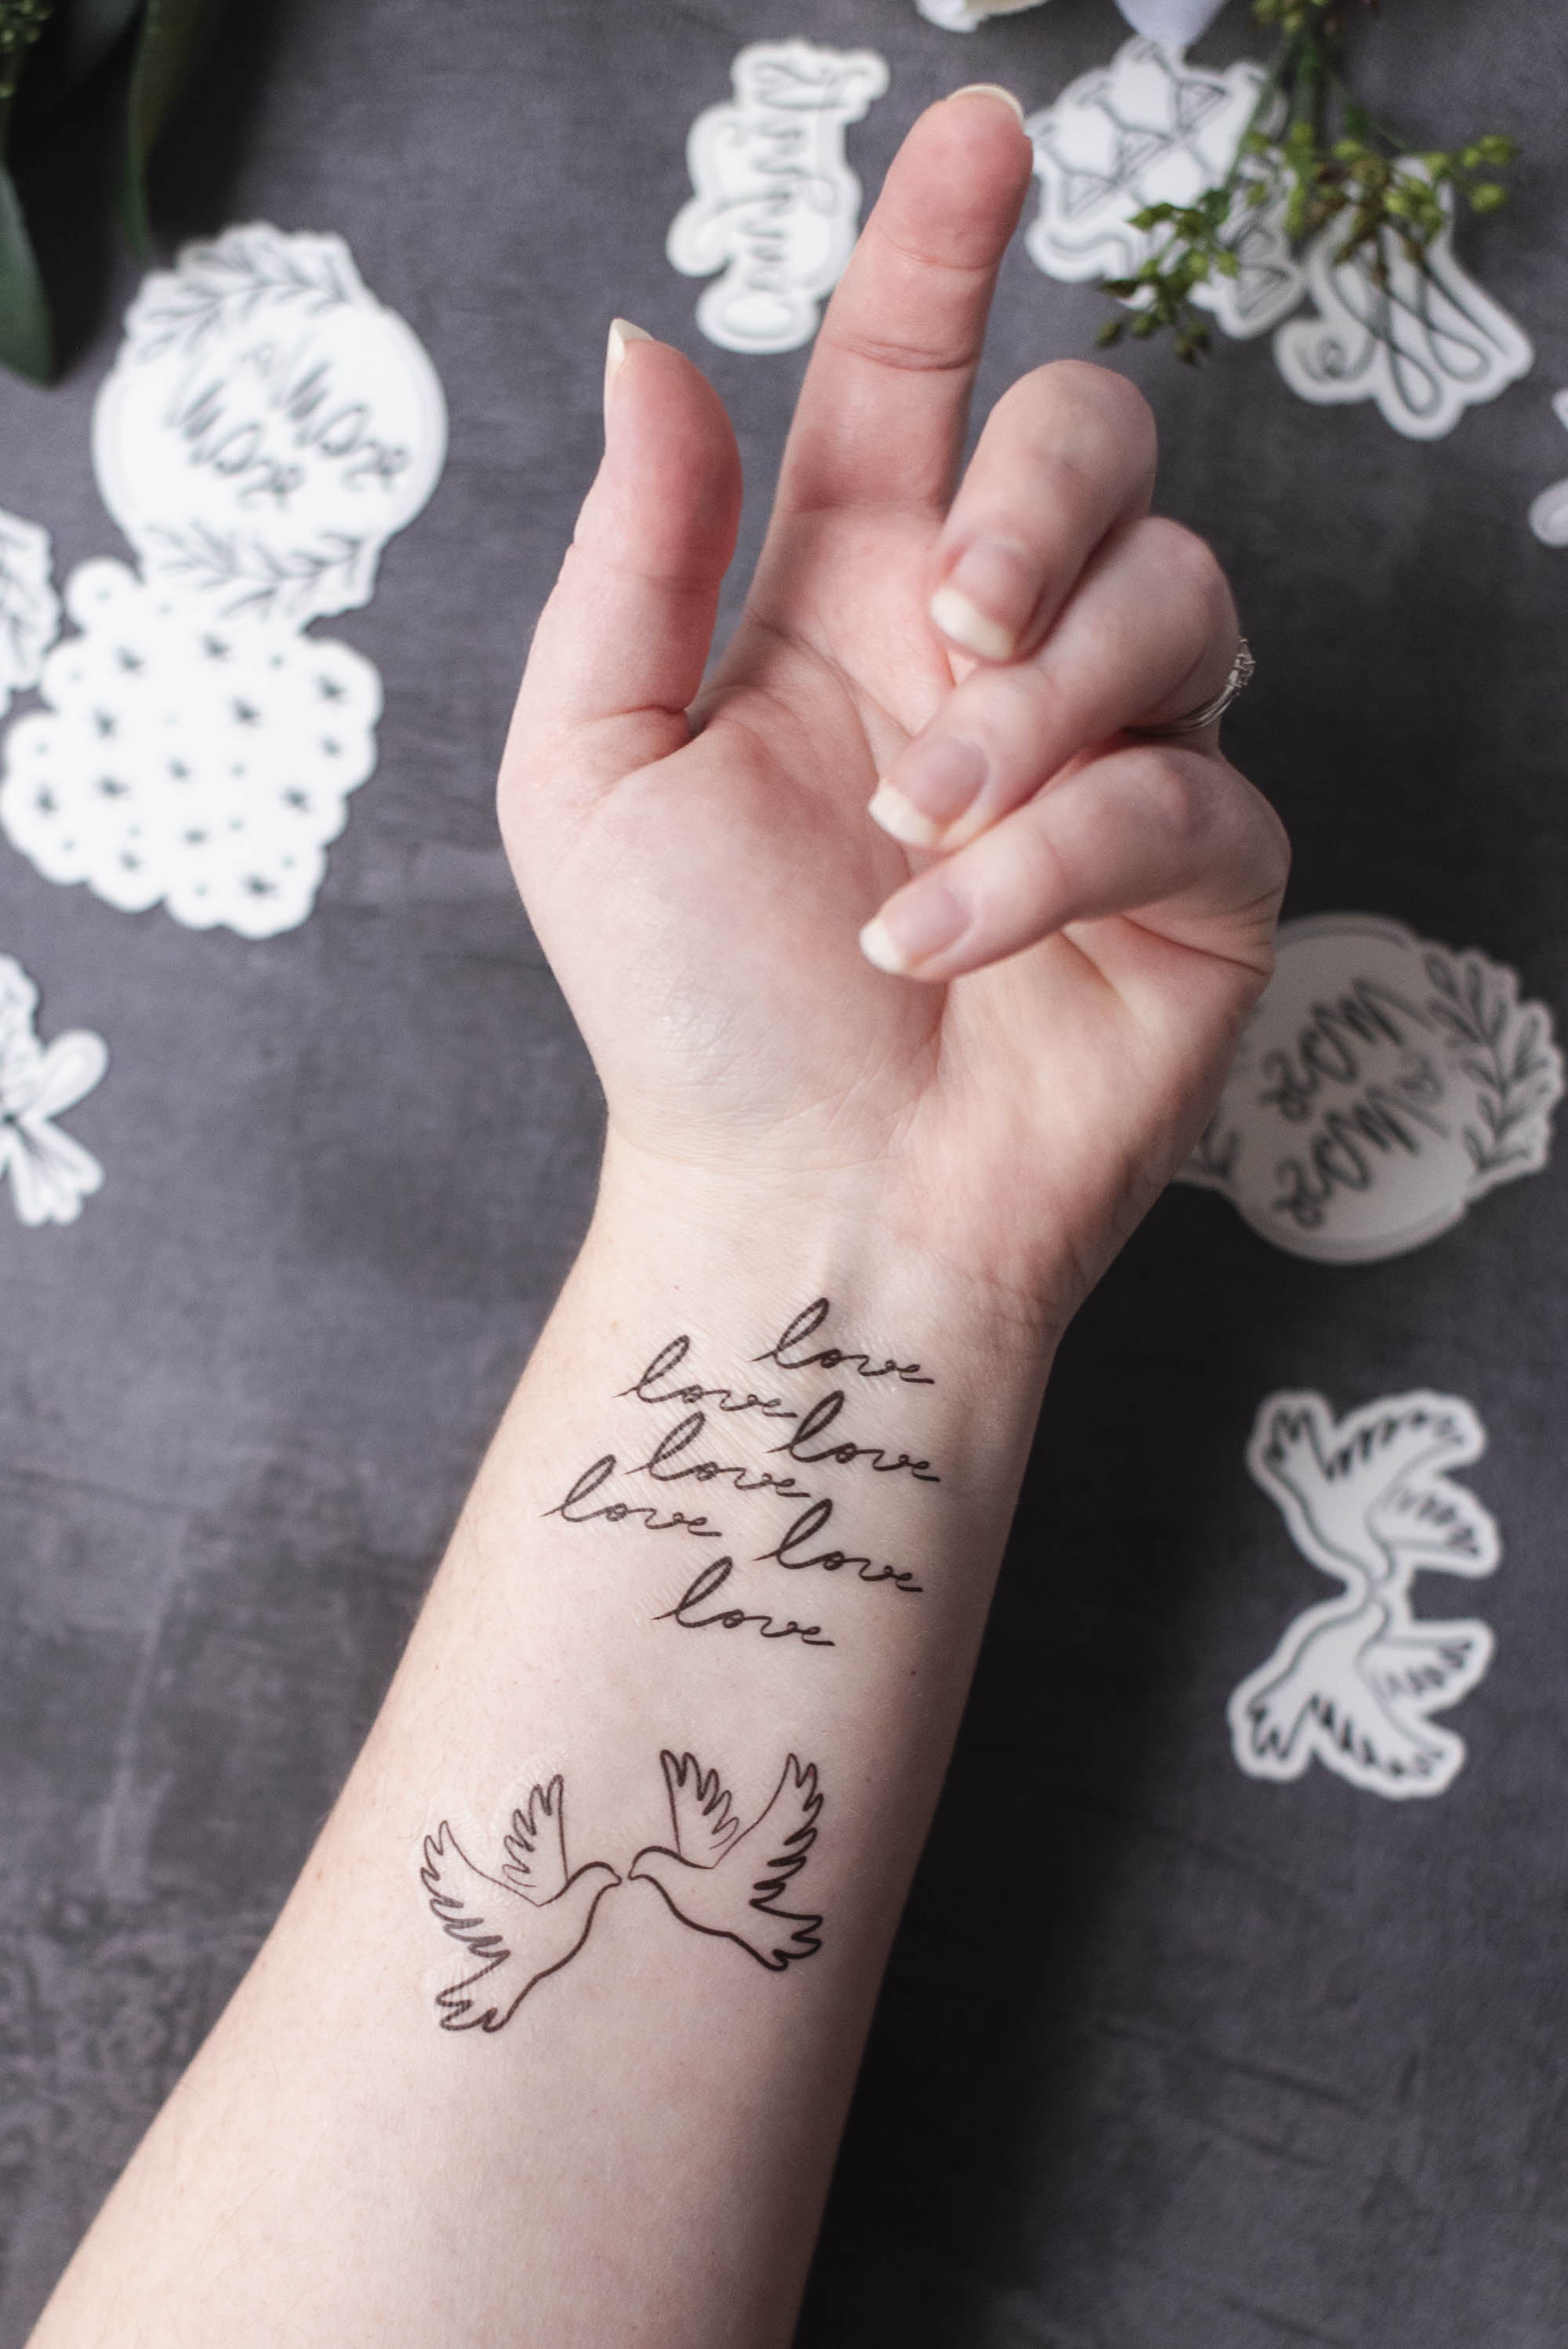
Designed with timeless wedding motifs like hand-illustrated doves, champagne, wedding cake, and other symbols of love, these tattoos are endlessly adaptable to whatever your wedding theme is. We give you the starting point so you can then tailor to your own big day. (We recommend adding a stylish monogram of the couple's initials, wedding date, or even a beloved pet's face!)
In our tutorial, you'll learn exactly how to create, apply, and style custom temporary tattoos – guaranteed to be a crowd pleaser for your wedding guest entertainment. Bonus: We also share how to set up your own wedding tattoo station along with other uses for printable temporary tattoo paper, so read on!

You Asked, We Answer: Popular Questions on How to Make Temporary Tattoos
Before we get into the tutorial, here are some FAQs that might help you prep your project. We spotted these common questions on online Cricut community groups, so hopefully they'll be helpful to you, too!Which Cricut machine do I need to make temporary tattoos?
Most any machine will do! Cricut Joy 2, Joy Xtra, Explore family, Maker family, and Venture all can cut printable tattoo paper. The original Cricut Joy machine (which is white and turquoise-colored) is incompatible as it lacks the necessary Print Then Cut sensors.Is it easy to make DIY temporary tattoos for a wedding?
Absolutely! You technically don't even need an electronic cutting machine as you can just put the printable temporary tattoo paper through your inkjet printer, print images of your choice, and hand cut afterwards. But because we love tidy cuts and easy bulk making for weddings, we're using our Cricut cutting machine for this one.Do I need special ink to make custom tattoos?
All you need is your normal home inkjet printer. Literally that's it!
How to Make Stylish Temporary Tattoos for Your Wedding
Skill Level: BeginnerPROJECT MATERIALS
• Electronic cutting machine (e.g., Cricut)
• Printable tattoo paper
• Inkjet printer
• Hair dryer (if using Cricut-branded tattoo paper)
• Scraper tool (optional)
• Brayer tool (optional)
• Damp paper towel, sponge, or cloth
• LightGrip or StandardGrip cutting mat
• Cricut TrueControl Knife or craft knife (optional)
• Self-healing mat (optional)
• Our Cricut Design Space project that you can click, bookmark, or make right now!
DESIGN NOTES: We used images designed by Cricut Contributing Artists on Cricut Design Space for this project which means you will need a Cricut Access subscription to make as is. You can also do a one-time purchase for each image you choose to include. Alternatively, you can either illustrate and upload your own or upload different SVG designs from another online marketplace. Choose your own sourcing adventure!
Our project as is has also been specifically designed to be "die cut" (e.g., it cuts all the way through the liner to create individual tattoos) and to fit on both US Letter and A4 Cricut tattoo paper with Cricut's current Print Then Cut dimensions. Everyone can make no matter which size paper you use!
COMPATIBLE CRICUT MACHINES
• Joy 2
• Joy Xtra
• Explore family
• Maker family
• Venture

BASE MATERIAL SETTING FOR TATTOO PAPER
Printable Temporary Tattoo Paper
Note: If you don't see tattoo paper as a material option when you go to cut in Design Space, select "Printable Waterproof Sticker Set - Transparent" with More Pressure instead as an alternative.
As with all Cricut wedding crafts that utilize Print Then Cut, we recommend always doing a test print on regular printer paper first to make sure everything looks as you want it before using your more expensive materials. If you haven't done so already or are prompted by Design Space, be sure your machine is also calibrated to ensure accurate cuts around your tattoos.

INSTRUCTIONS
1. Prep your project. Set out all of your materials and prep your computer, tablet, or mobile phone with Cricut Design Space. If using our ready-to-make Design Space project, keep, delete, add, or duplicate the images that are relevant to you and your love story. Use the project's Guide layer(s) to help you visualize how many you can fit on your sheet of tattoo paper.
PRO TIP: If adding or creating new designs for your tattoos beyond our ready-made project, be sure to use the Create Sticker function for each image you upload or choose. Select Die Cut in addition to any desired offset borders. This will tell your machine to cut out each design as you see in our photos.
2. Resize your images (optional). Though everything has already been thoughtfully sized to go on wedding guests' wrists and arms, you can always resize to get more or less on your printable tattoo sheets if desired. Keep in mind that tattoos larger than 2" (5cm) wide or tall might not suit your guests depending on their attire or preferences. Proportion is everything with this one!

3. Now Make. Once your tattoo designs are finished, click Make, select "Mirror" (as your tattoos need to be printed in reverse), and follow the on-screen instructions. It's advisable to 'Turn Off Bleed' as well as it's not needed for this particular project. Your printer will be prompted to print from Design Space, so all you need to do is insert the tattoo paper into your printer so that it prints on the blank, unbranded side. (See your printer's manual for further details if needed.)
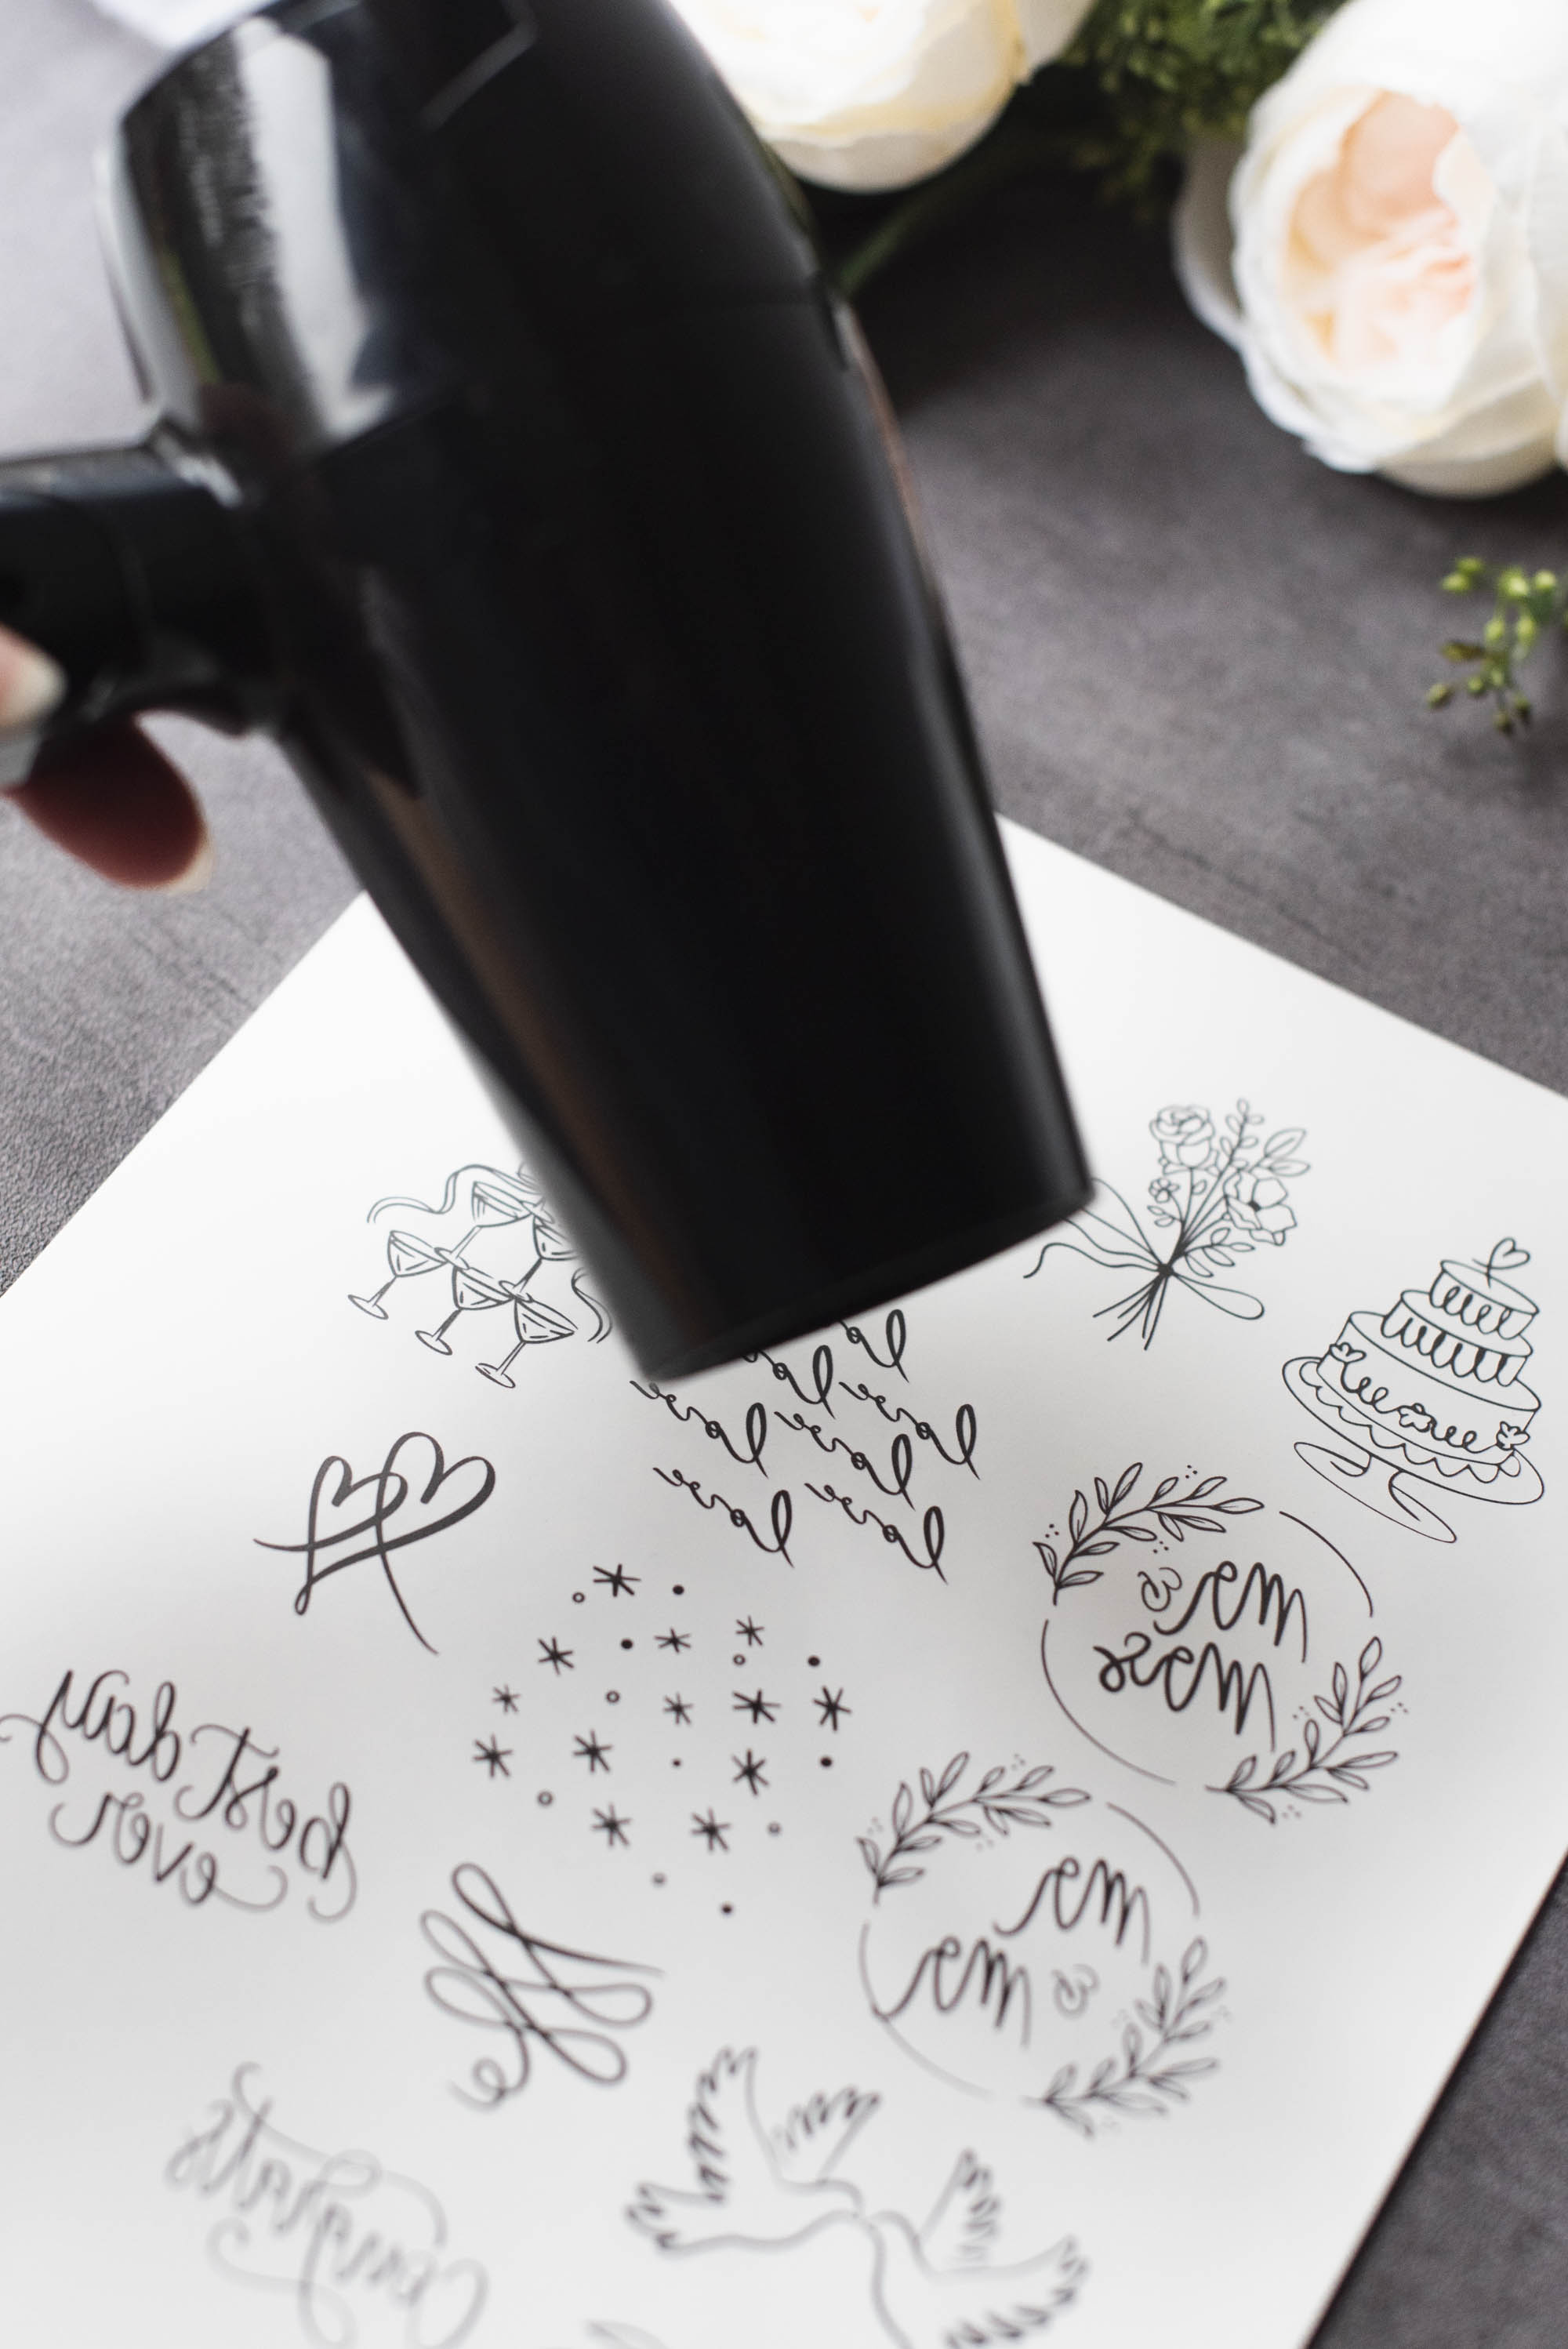
Once your tattoos are printed, allow to dry completely and then apply your clear protective film sheet that came with your printable tattoo sheets! This film sheet has an adhesive on it that makes sure your tattoos transfer to your skin. If using Cricut-branded tattoo paper, before you apply this film, you may need to blow dry your tattoo paper for 2-3 minutes using a hair dryer.
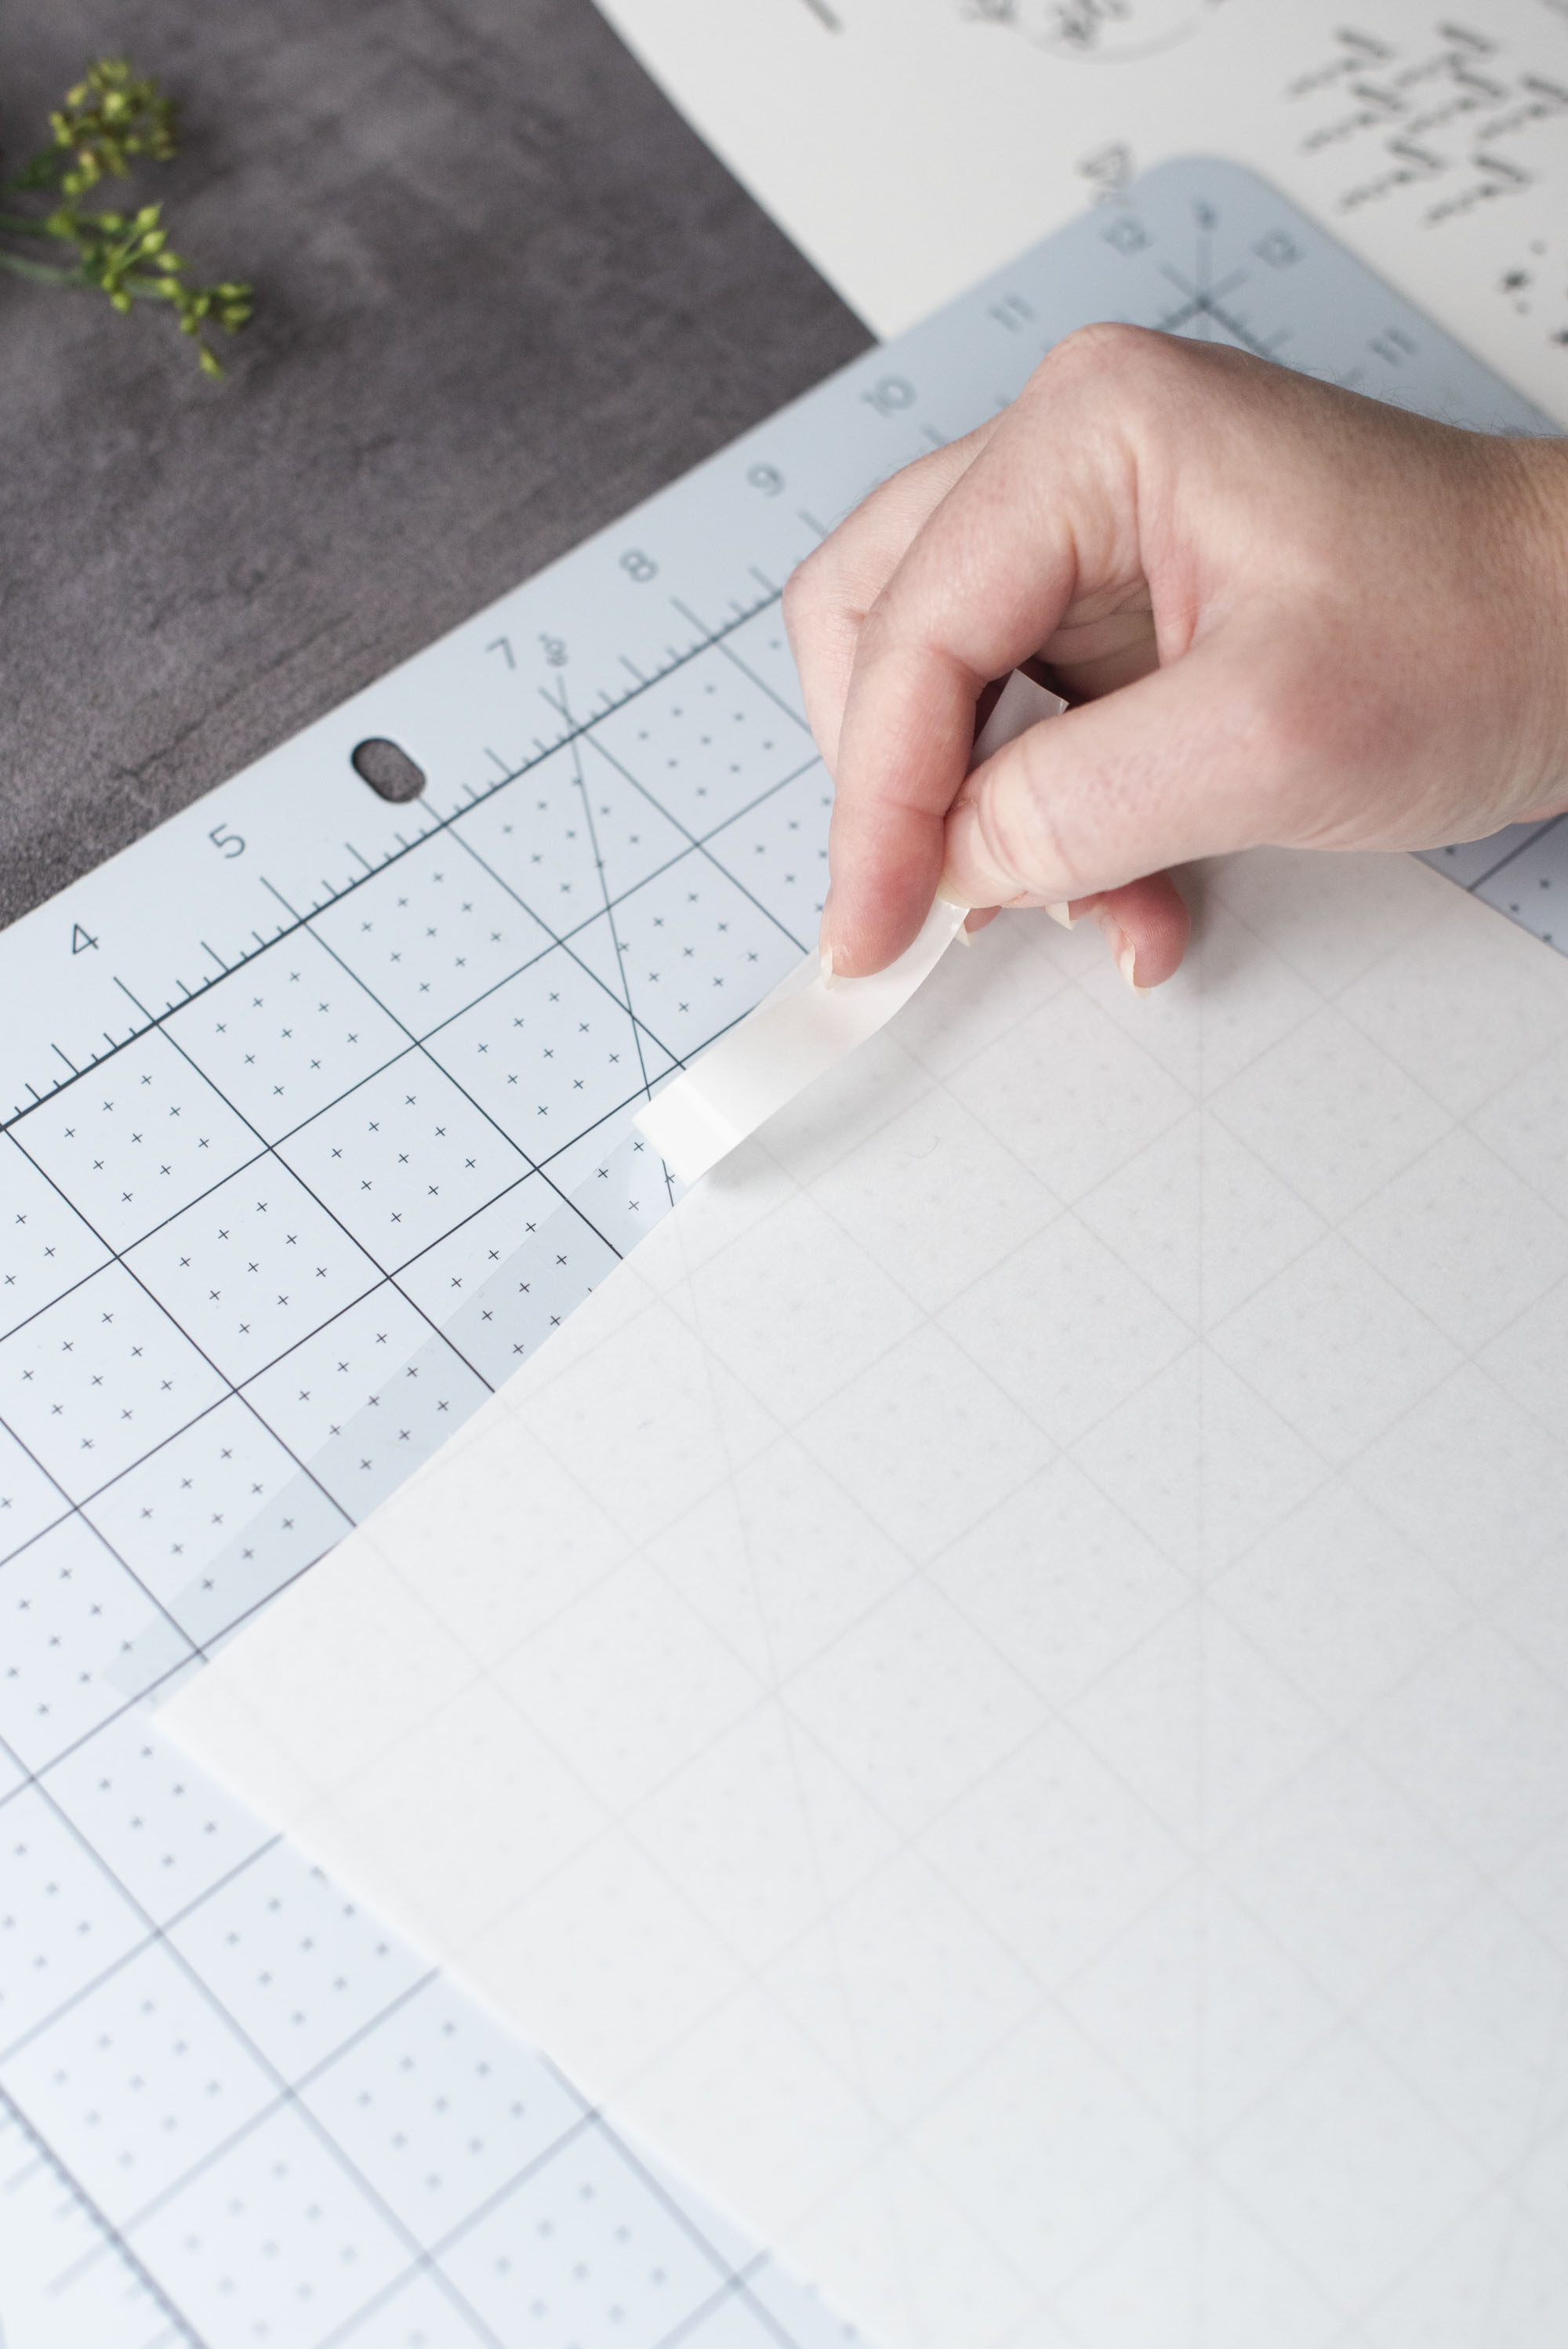
APPLICATION TIP: To help you apply your clear protective film sheet cleanly on your printed tattoos, flip your film sheet so the white liner side is up. On a self-healing cutting mat, use a TrueControl knife or craft knife to cut a thin strip from the top of the sheet. Cut just enough through the white liner layer only and then remove this paper strip so that there is a clear, sticky strip revealed. Place this sticky strip at the very top of your printed tattoo sheet and fold some of the backing liner to help you apply.
Slowly peel the white liner away (from underneath) as you smooth it down the tattoo sheet. Use your scraper tool or hands to remove any bubbles if needed. It doesn't matter if the film is completely straight or if some sticky adhesive is hanging off the edges as you will still get clean cuts as long as the film covers all of your designs. To protect your Cricut machine cutting mat, rub off or trim any adhesive from the hanging film before the next step.

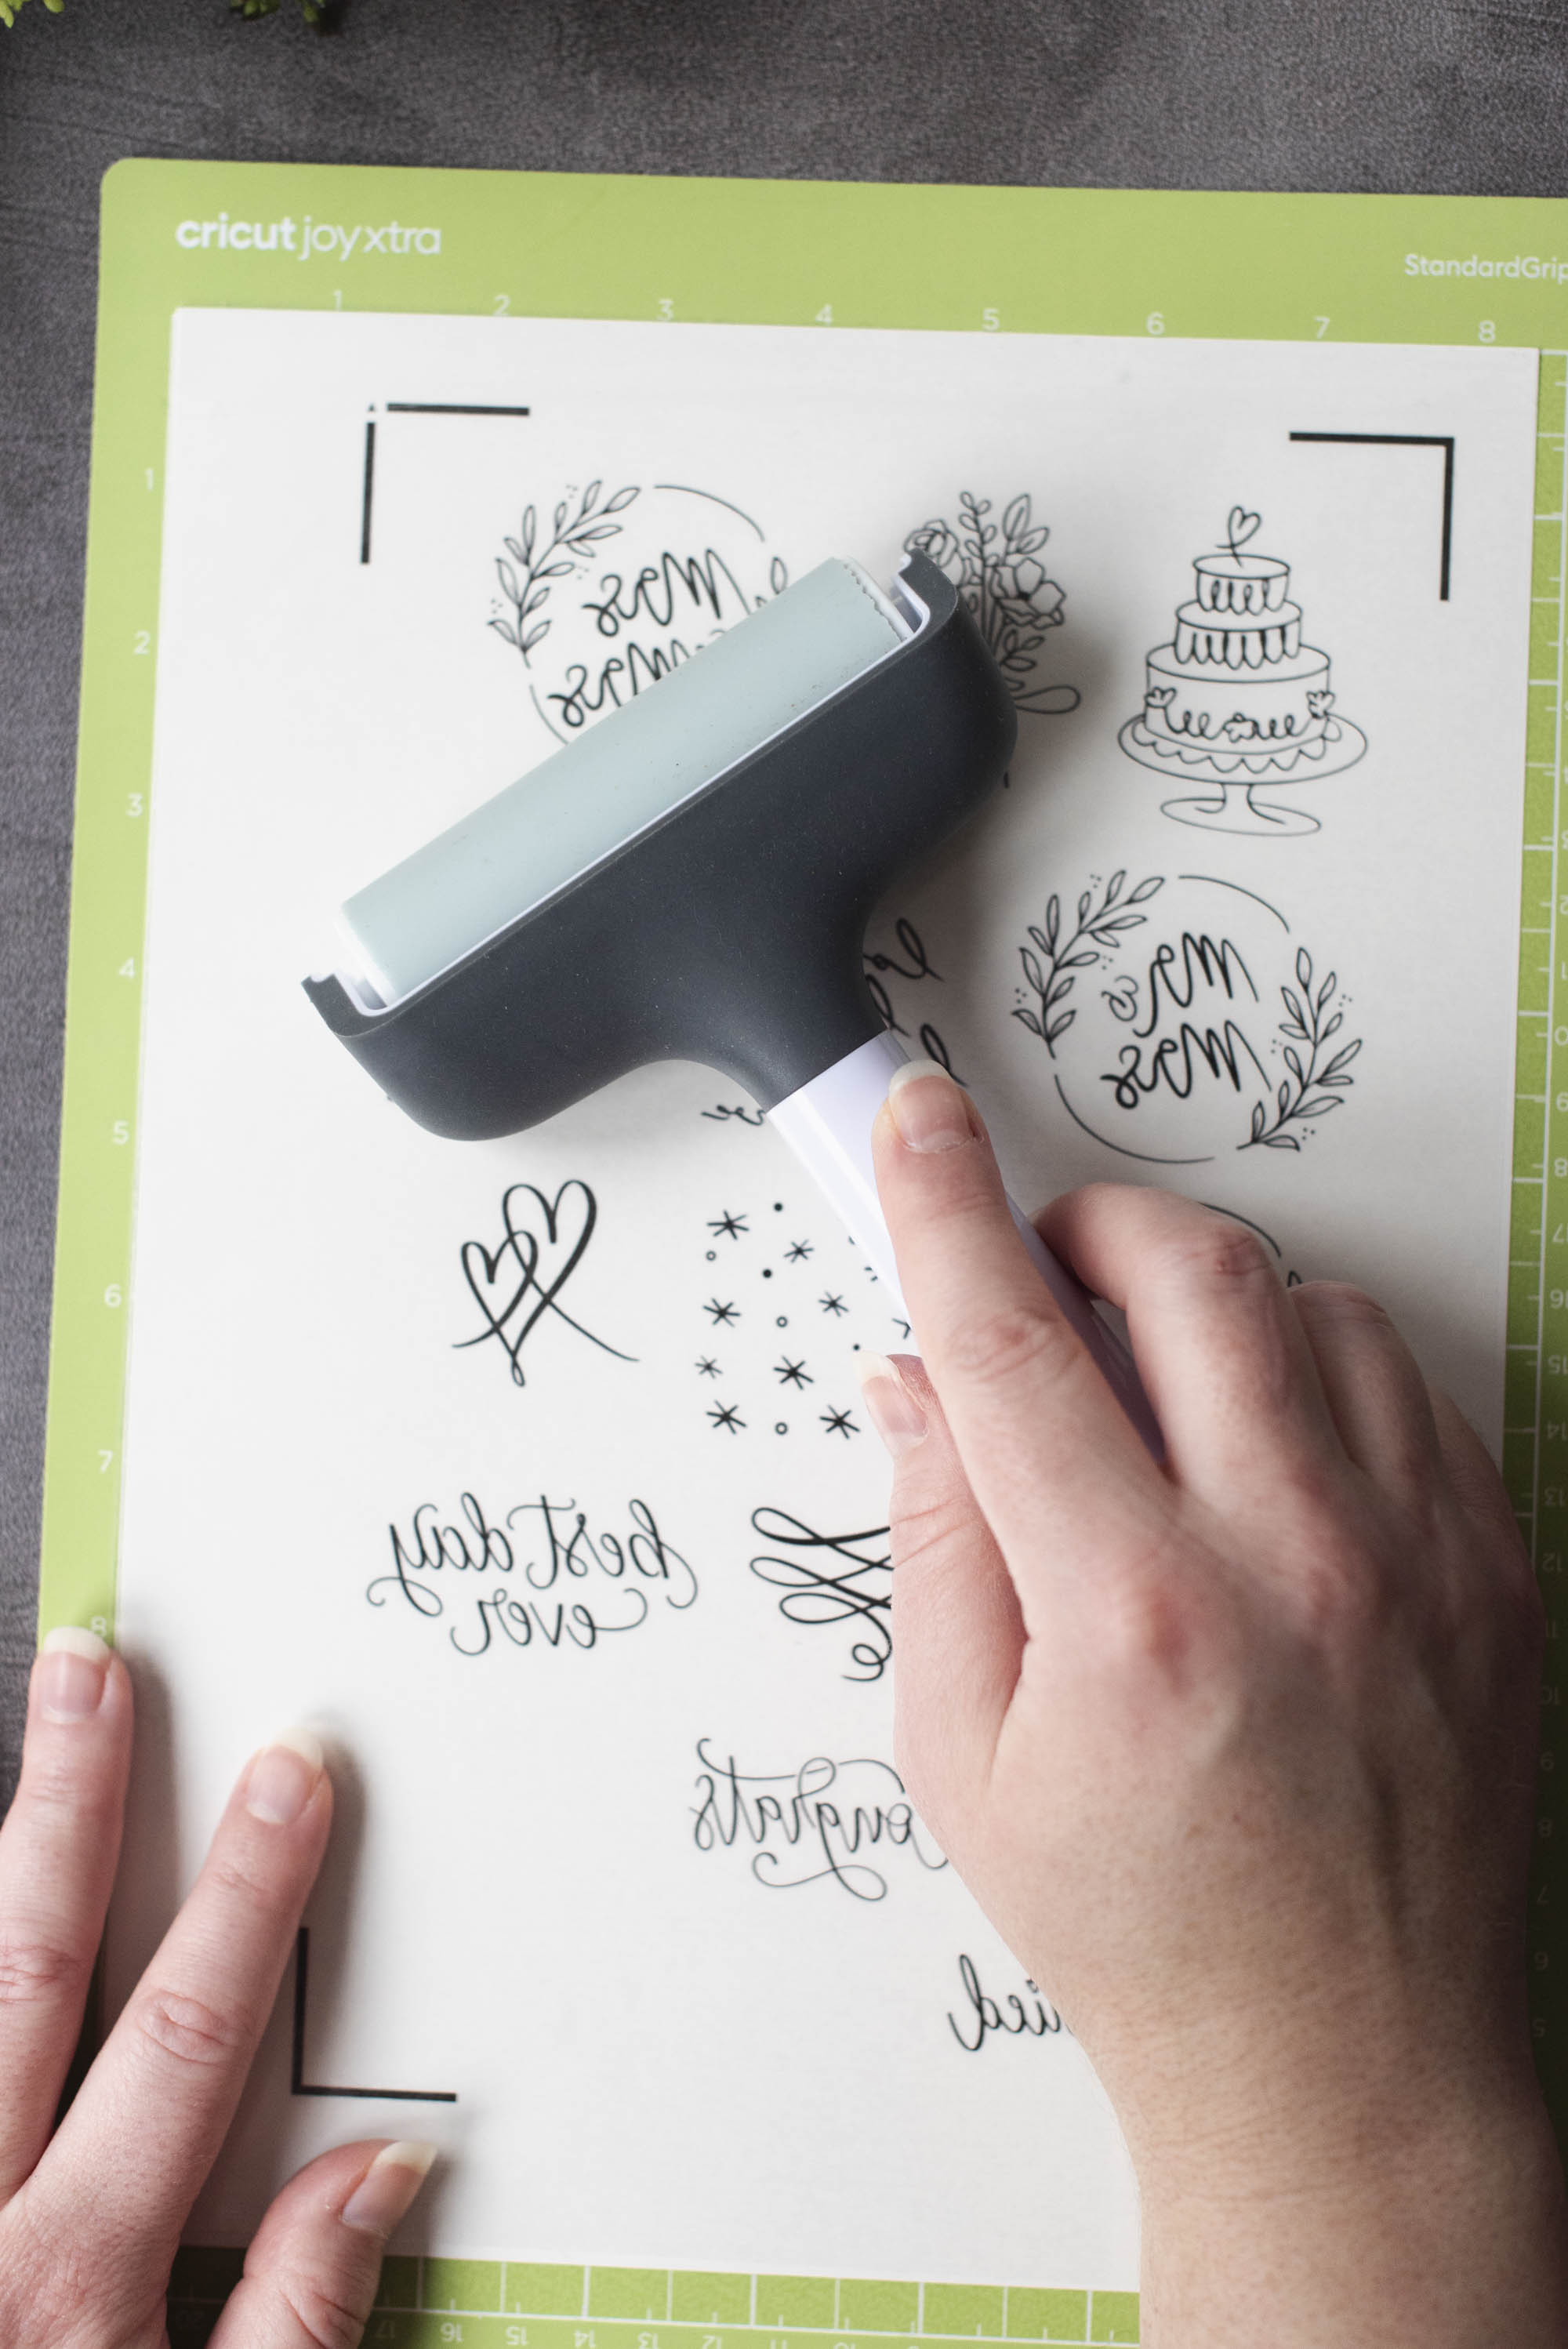
4. Cut. Place your glossy tattoo sheet set on a LightGrip or StandardGrip cutting mat and use a brayer or your hands to smooth out any air bubbles. Double check its mat position matches what's seen on your screen for accurate cuts. Follow on-screen instructions to get it cut! Peel away your individual tattoos from the cutting mat when done.

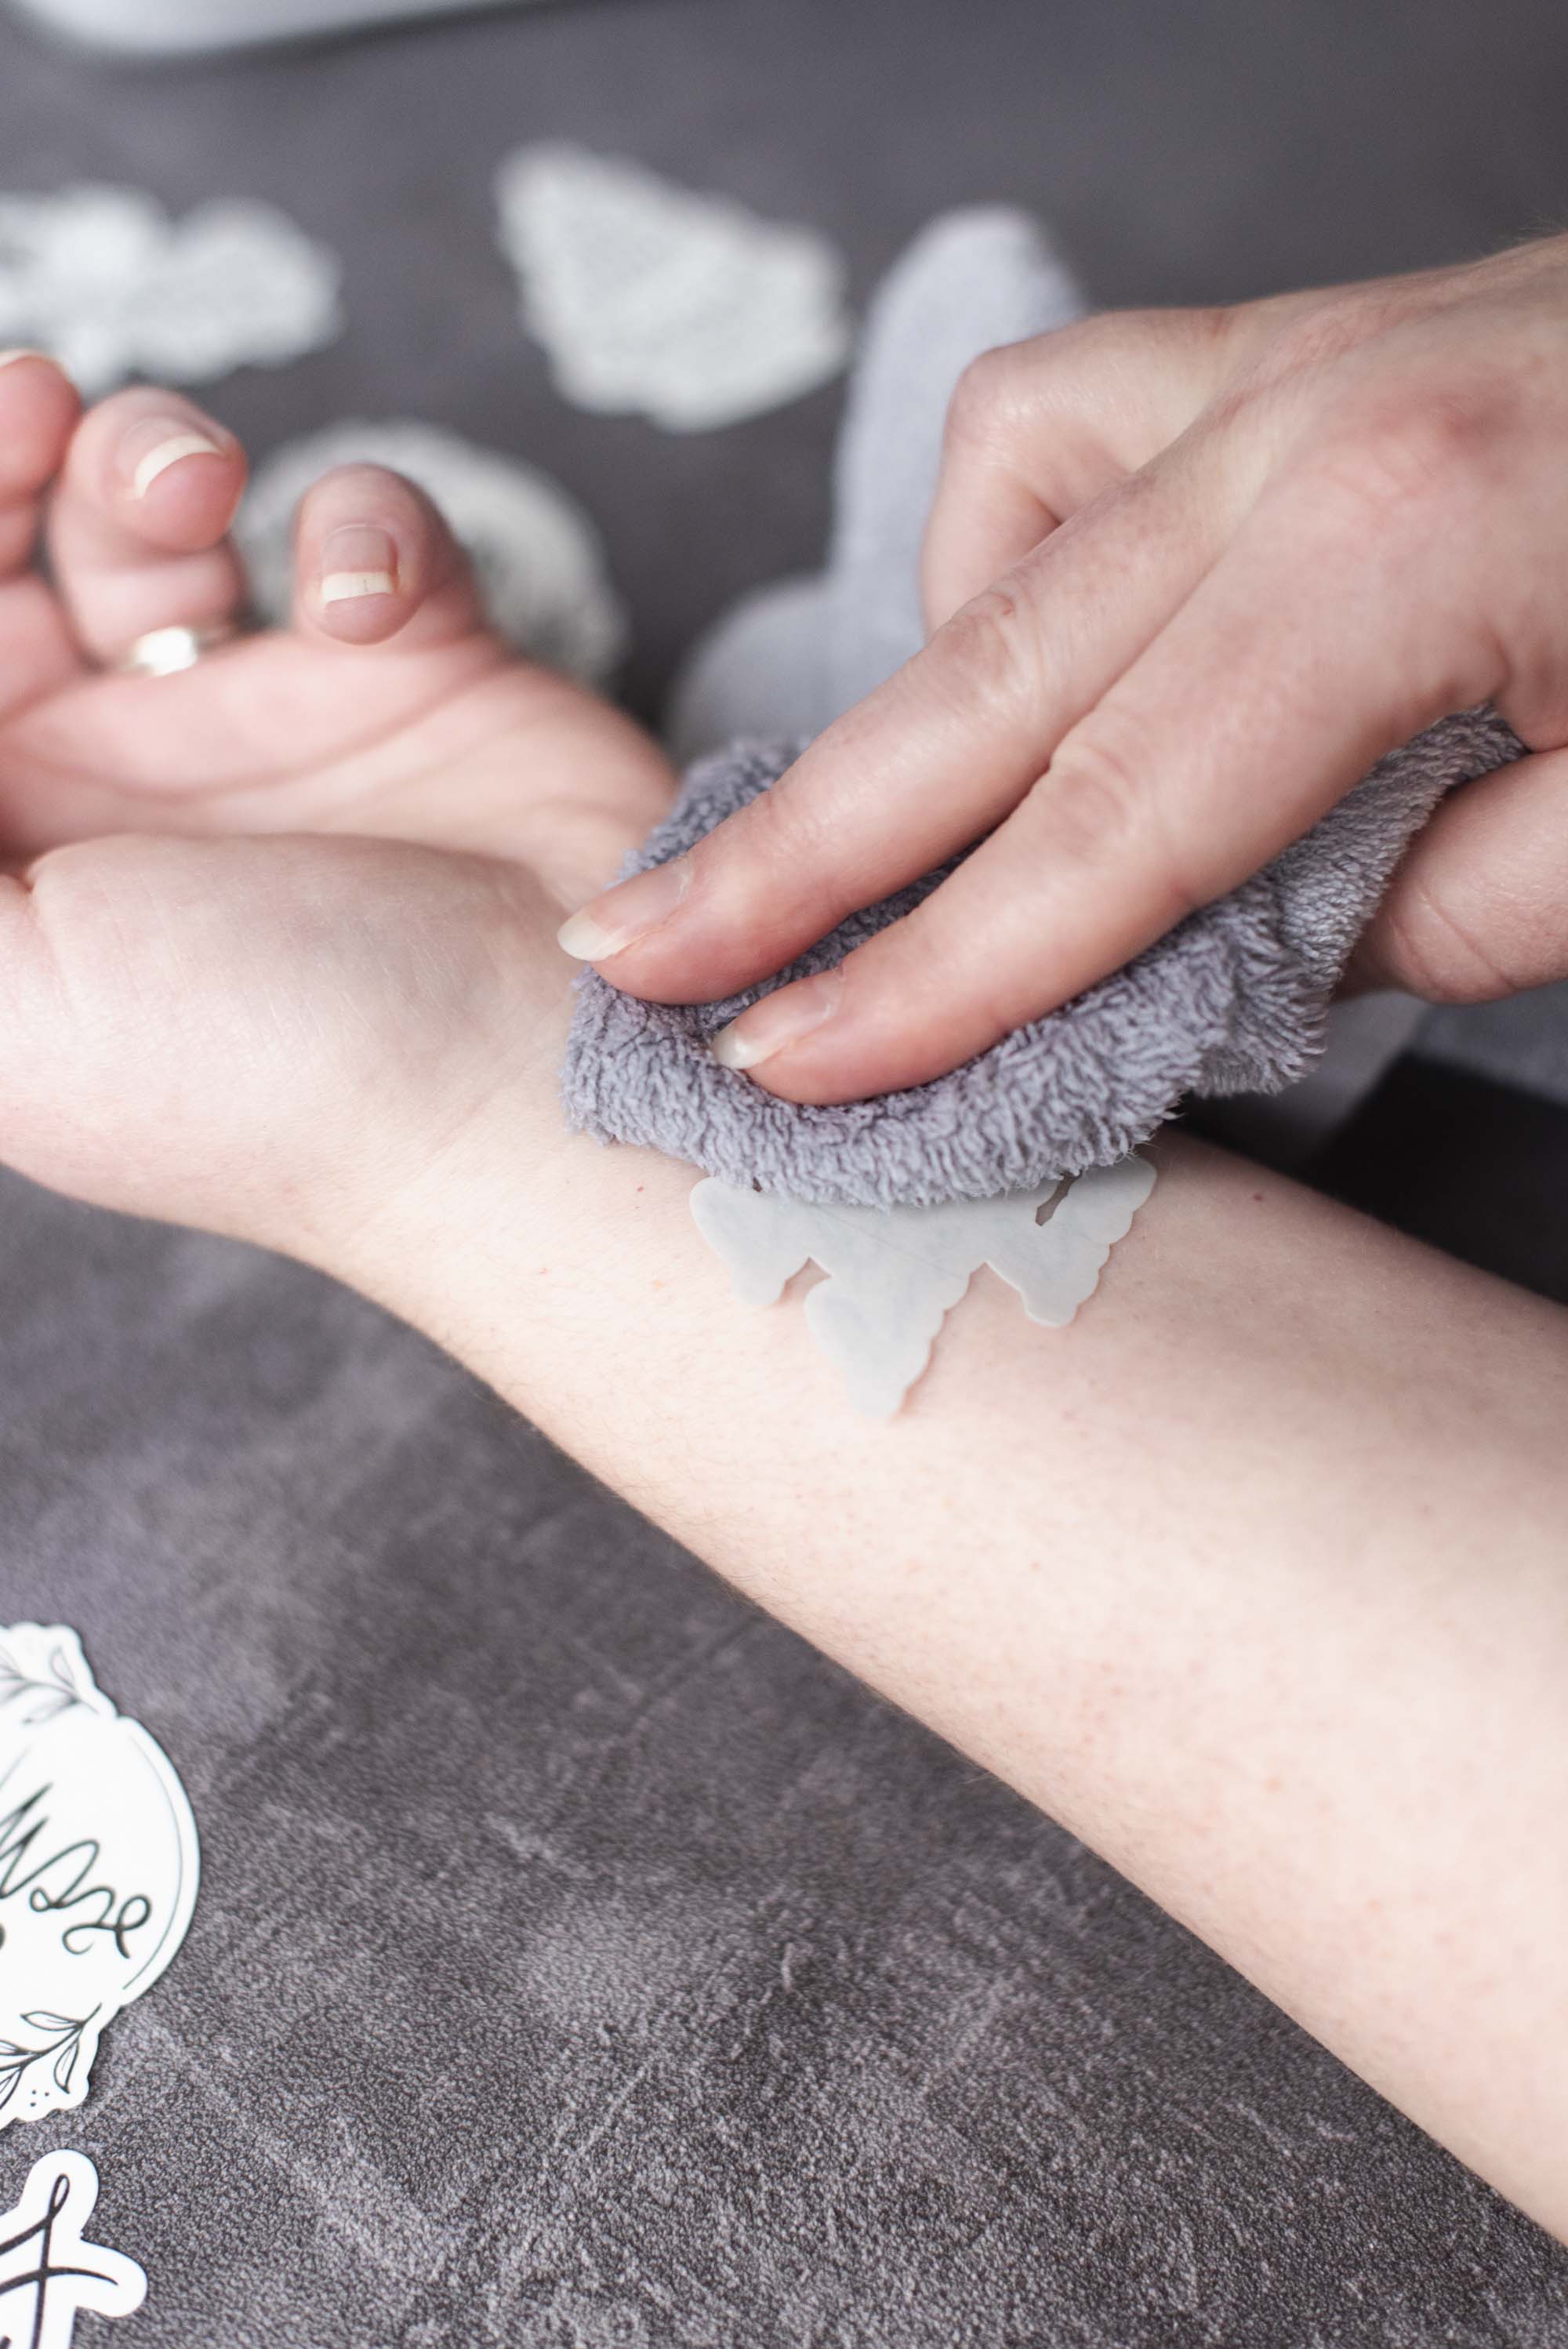
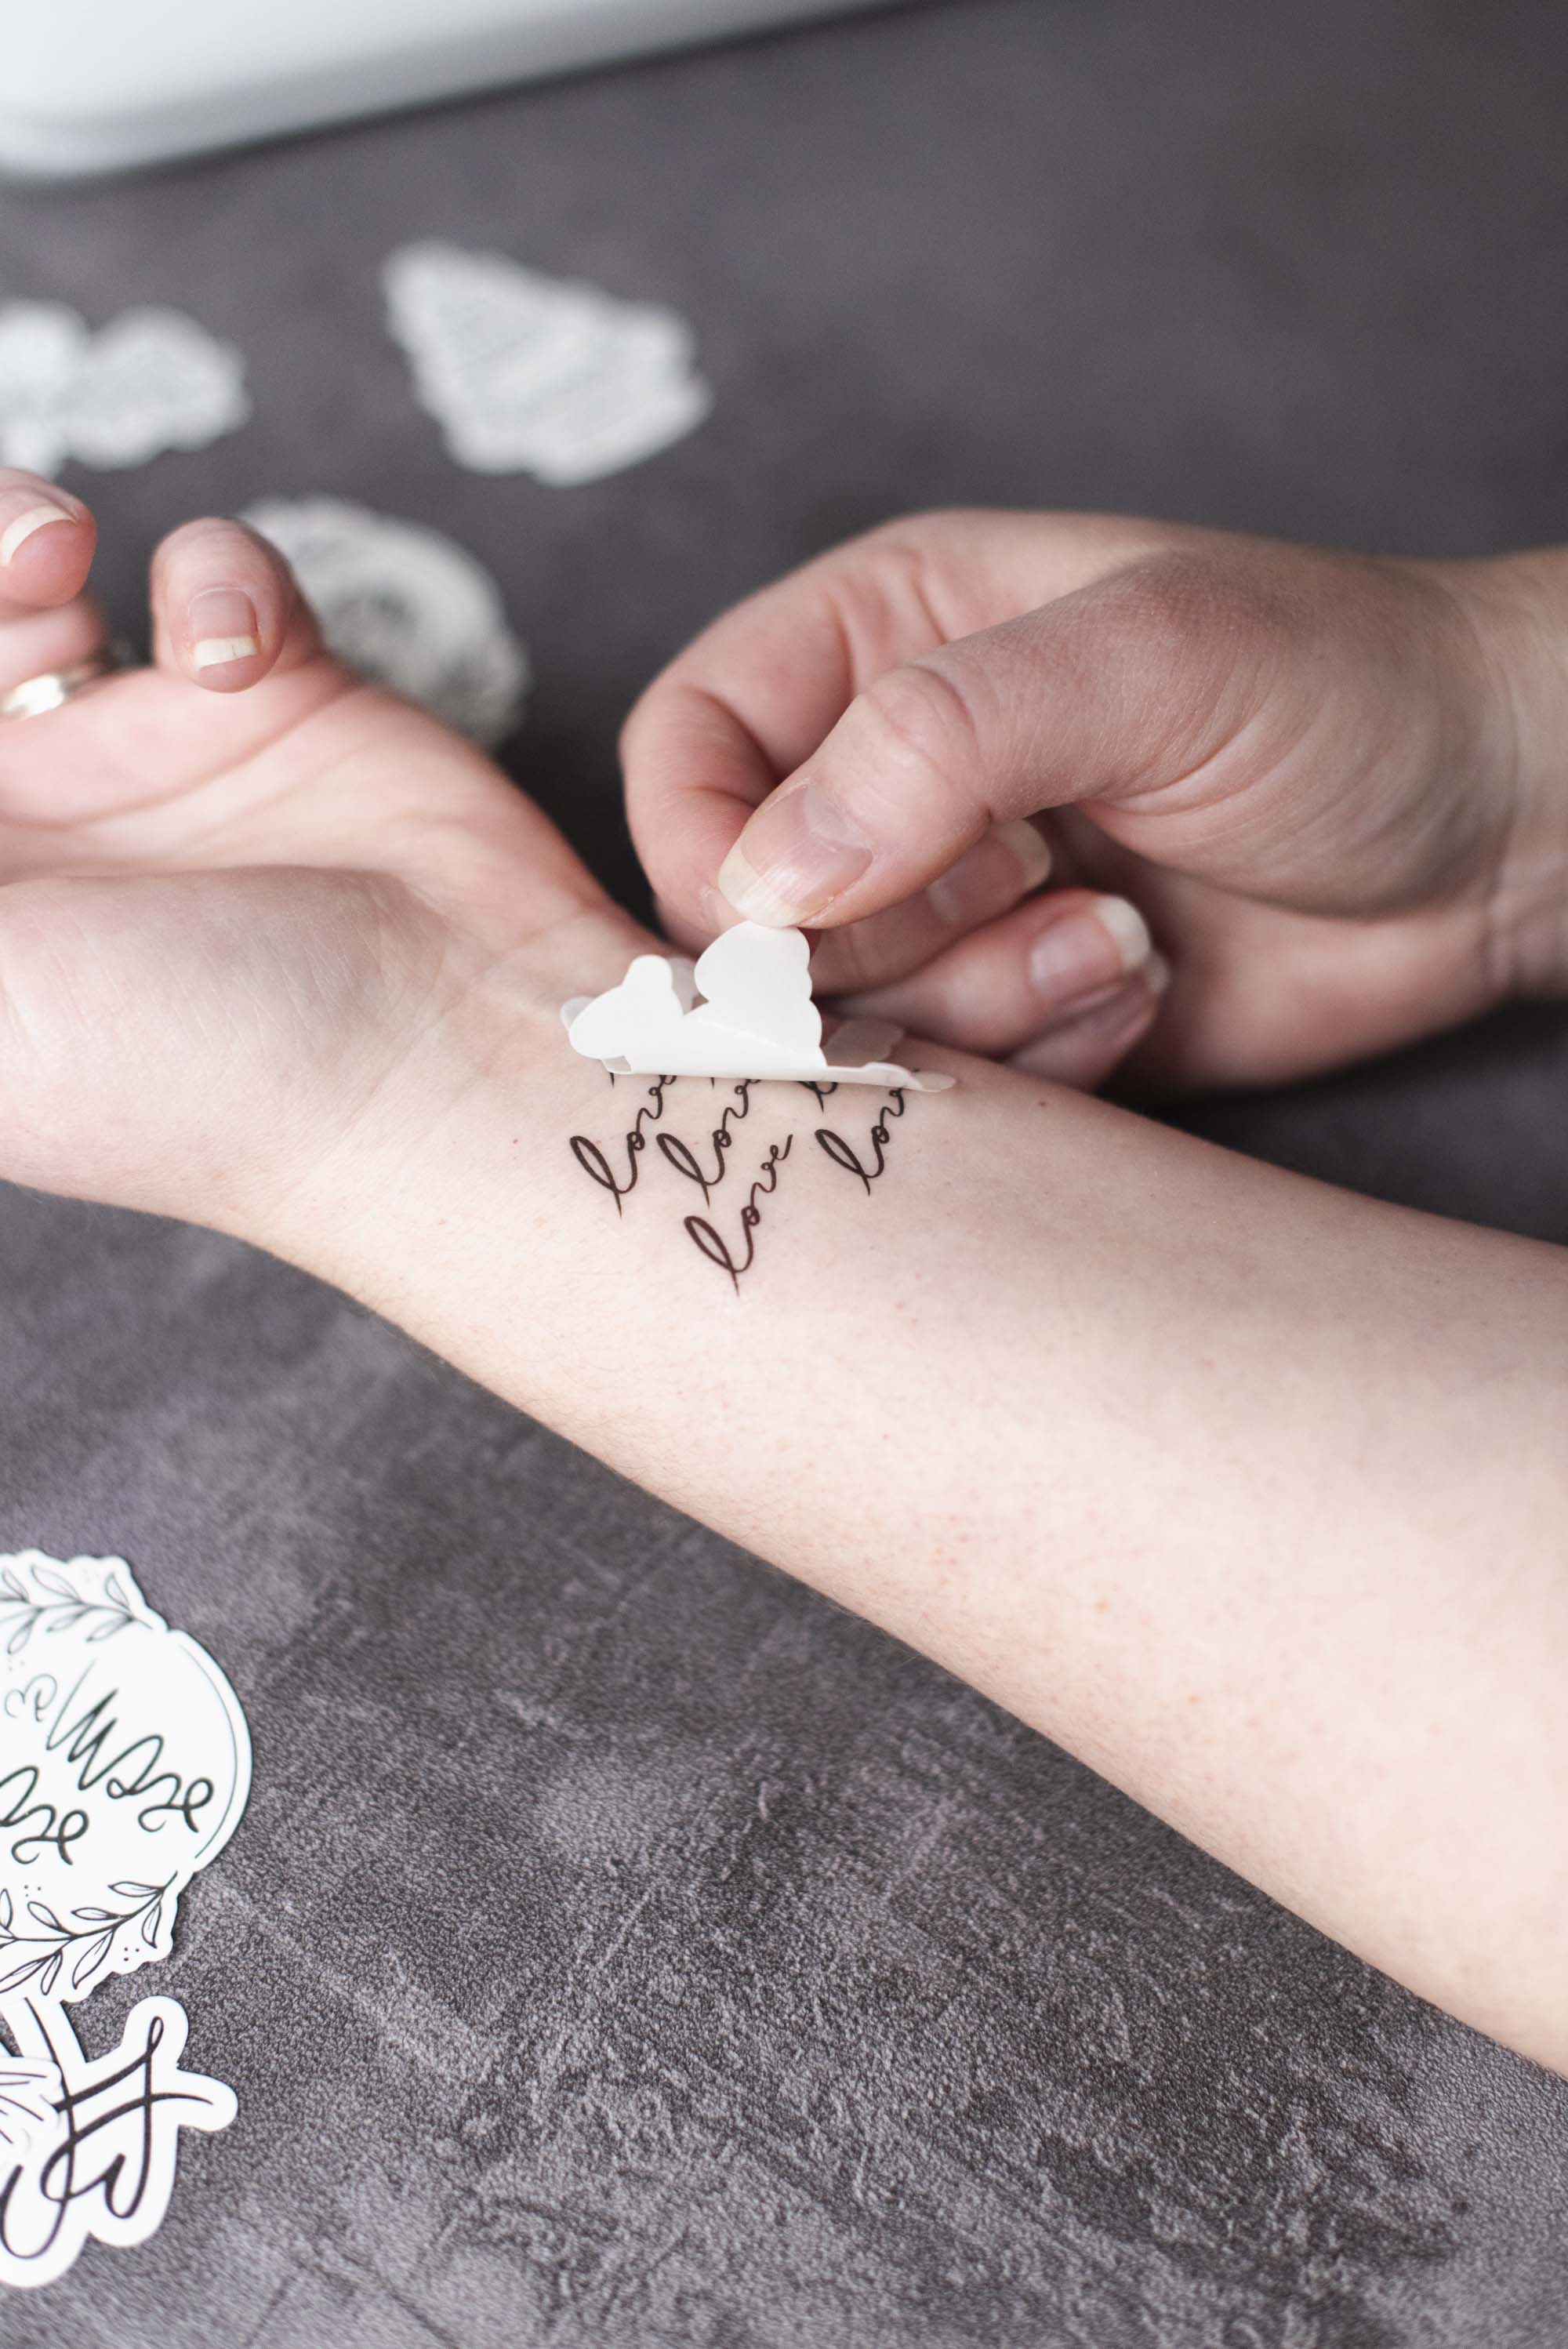
5. Do a test tattoo before the big day. To make sure your guests have an easy application, try one yourself! Choose a tattoo, remove its protective plastic layer, and place face down on your skin. Using a damp cloth, sponge, or paper towel, dab and soak until the design is completely transfered. Avoid rubbing against clothing or accessories for 30 minutes after applying for best results. To remove the tattoo from your skin, just gently wash off with mild soap. These would be important instructions to include on your tattoo station sign!

How to Set Up a Wedding Tattoo Station
A temporary tattoo station is a playful and memorable way to delight guests, but a little planning goes a long way! So after you've made your tattoos, organize the setup.Our top advice from working real weddings in the past:
➤ Choose a convenient spot at the cocktail hour or reception and request a sturdy table and a couple of chairs. Enlist the help of your venue or wedding coordinator!
➤ Gather all the essentials: your tattoos, paper towels, water, and a small garbage bin. For crowd hygiene, we recommend putting water in a spray bottle that guests will then spray onto their paper towel to dab accordingly.
➤ Add simple signage with instructions and after-care tips.
➤ Style the station so it feels intentional and reflects your event. You can add a small floral centerpiece or table linen that coordinates with your overall wedding theme.
Other Uses for Tattoo Paper
Temporary tattoo paper isn't just for skin! This special water slide-like sticker can add a personalized touch to all kinds of wedding details! You can apply printable designs to textured fabric favor bags, LED waxy candles, wood signage, glass vases, or ceramic decor for a unique look. These DIY accents can help elevate your wedding decor with supplies you already have!All in all, wedding details don't have to be complicated to feel customized. Whether guests wear them for the evening or tuck them into their purses or pockets for later, themed temporary tattoos are a small detail that adds charm and a little fun to any celebration.
TUTORIAL CREDITS
Photography and DIY Tutorial: Chelsea Barton
Editor's Note: Specially curated by us, the above product links may be partner-connected and purchasing through these links means we get a small commission from those brands that helps support this website. You can find our full affiliate disclosure policy here on Tidewater and Tulle.

