
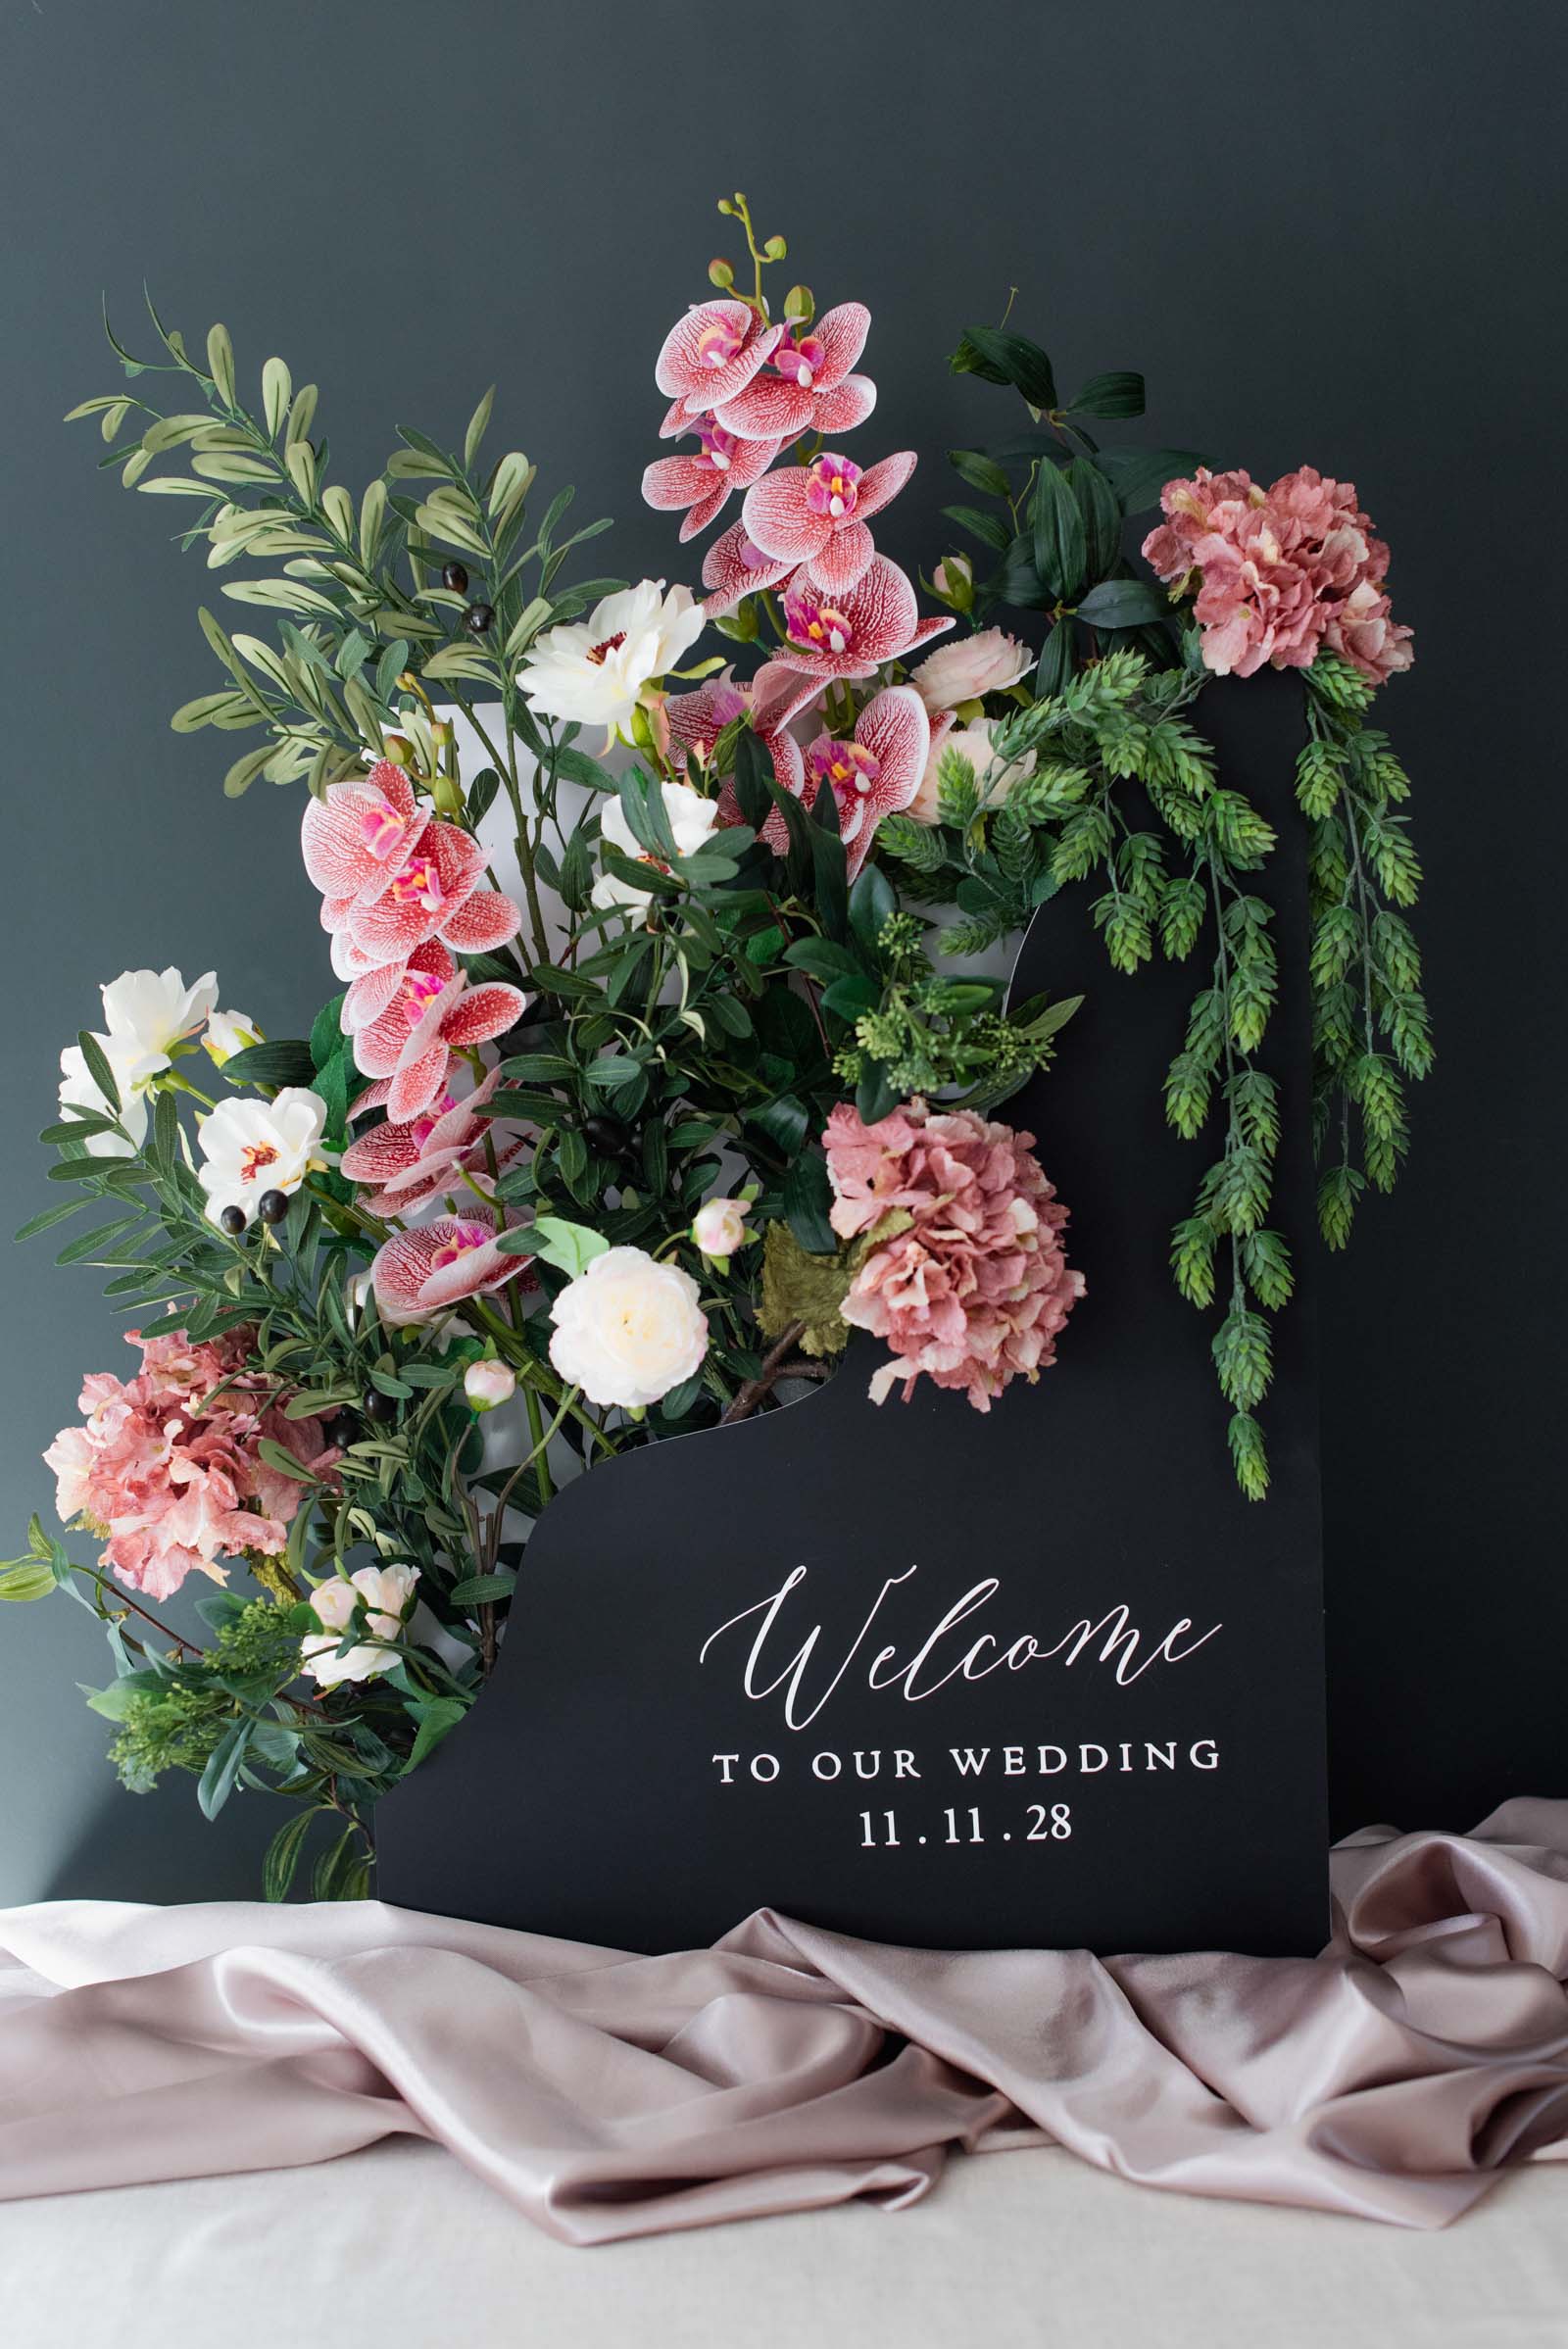
Did you know you can make large wedding signs with small cutting machines? You sure can! While compact machines like the Cricut Joy family look humble on your kitchen table, they bring a mighty punch when crafting stunning DIY wedding welcome signs, reception seating charts, and pre-wedding party signage. And we're putting the Cricut Joy 2 to work to show you how to bring big, romantic designs to life using a smaller machine!
We've partnered with our lovely friends at Craft Market, the UK's newest online destination for arts and crafts lovers, to share how a little machine can make a massive impact on your wedding day aesthetic. (And if you're unboxing a brand new machine for your big day, don't miss our complete setup guide for the Cricut Joy 2!)
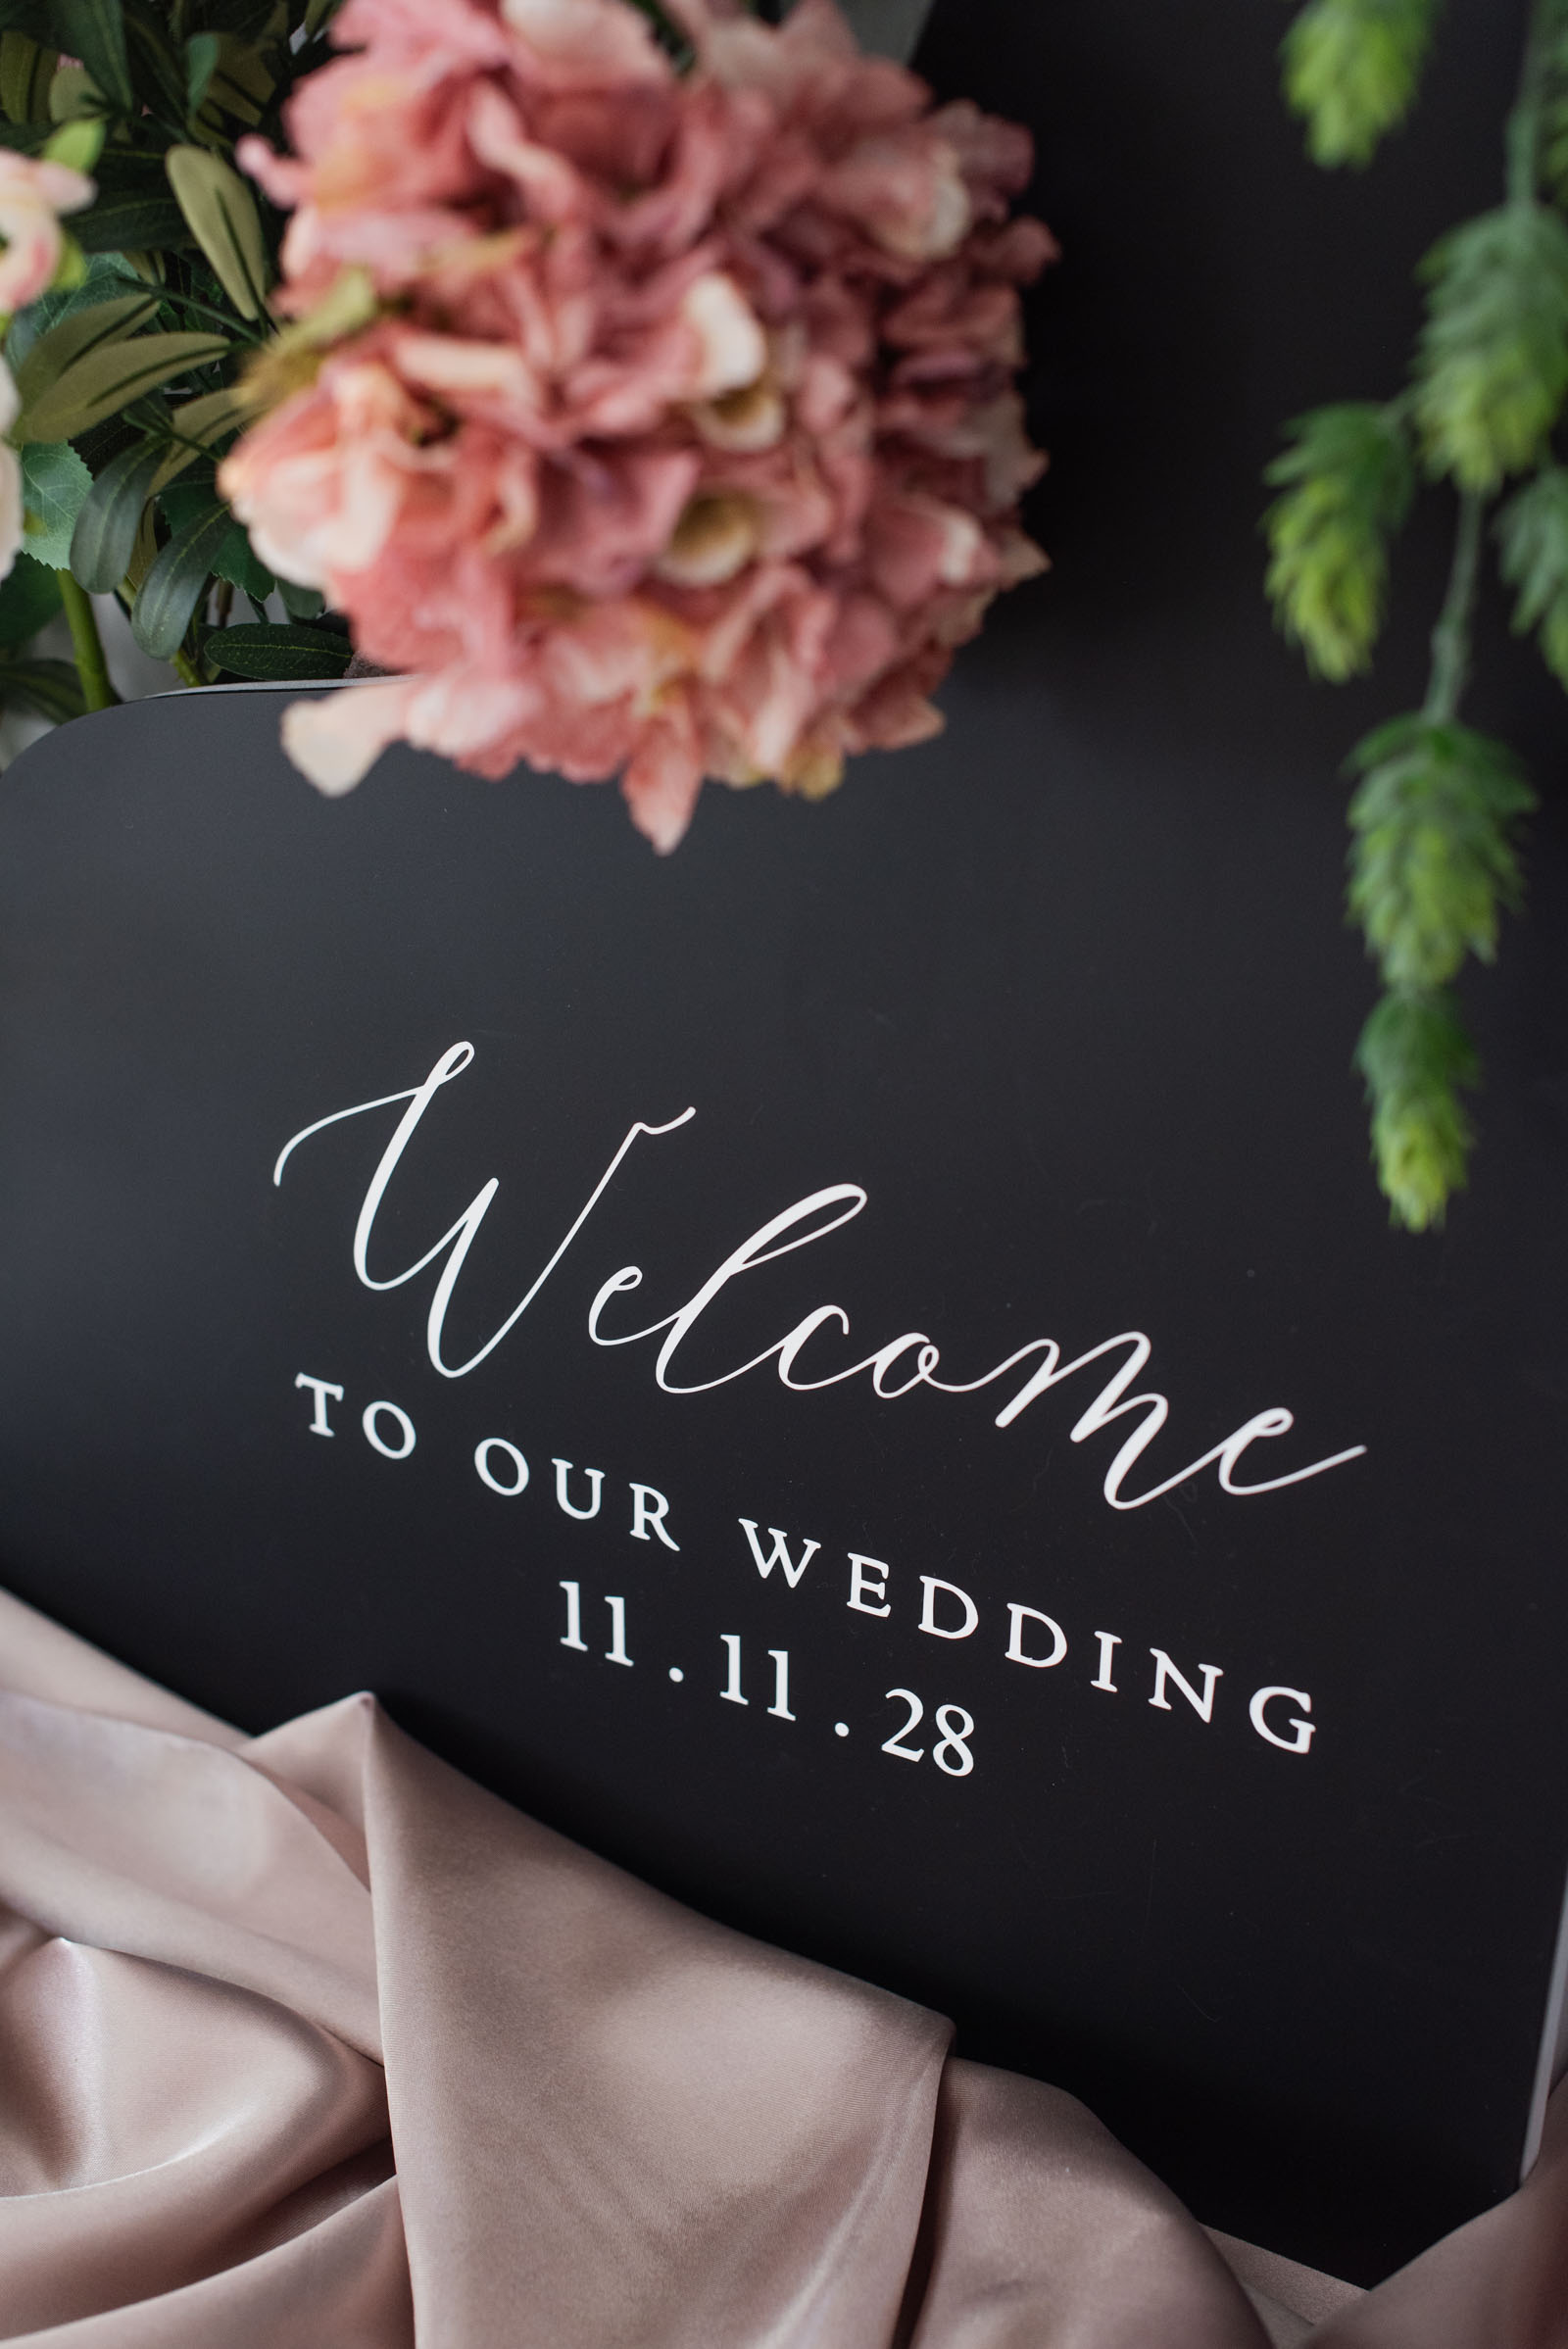
In this month's step-by-step tutorial, we're revealing the magic of Cricut Smart Vinyl for long, continuous cuts so you can assemble oversized signage with ease. Whether you're crafting on the Cricut Joy 2, original Cricut Joy, or Joy Xtra, you can follow right along! To put these tricks into practice, we'll be personalizing a sleek, modern black-and-white flower box with custom vinyl lettering and lush faux blooms from Craft Market, giving you an elevated, high-end look with a handmade spin. So grab your materials, and let's get DIYing!
3 Things to Know Before Making Large Signs with a Cricut Joy
Before diving into your project (and this tutorial), keep these core Cricut Joy basics in mind to make your DIY process seamless:
➤ Understand Your Cut Limits: The original Cricut Joy and Joy 2 both have a maximum cut width of 4.5" (11.4cm), but with the help of Smart Materials, you can cut designs up to 4 feet (121.9cm) long in a single pass.
➤ Smart Vinyl is Your Best Friend: Using matless Cricut Smart Vinyl (or Iron-On for fabric signs) is what makes large scale signage possible without a larger machine. If you use standard vinyl sheets, you'll be restricted to the length of your cutting mat (which is up to 12"/30.5cm on the longest available Joy mat).
➤ Work Line-by-Line: The easiest way to assemble a welcome sign without slicing complex graphics is to cut your design in individual lines or word blocks, then assemble and align them directly onto your sign's surface.
WHICH WEDDING SIGNS DO YOU NEED? Read our complete guide on Cricut wedding signs for inspiration and everything you need to know.
How to Personalize a Large Flower Box Wedding Sign with a Cricut Joy
Skill Level: Beginner
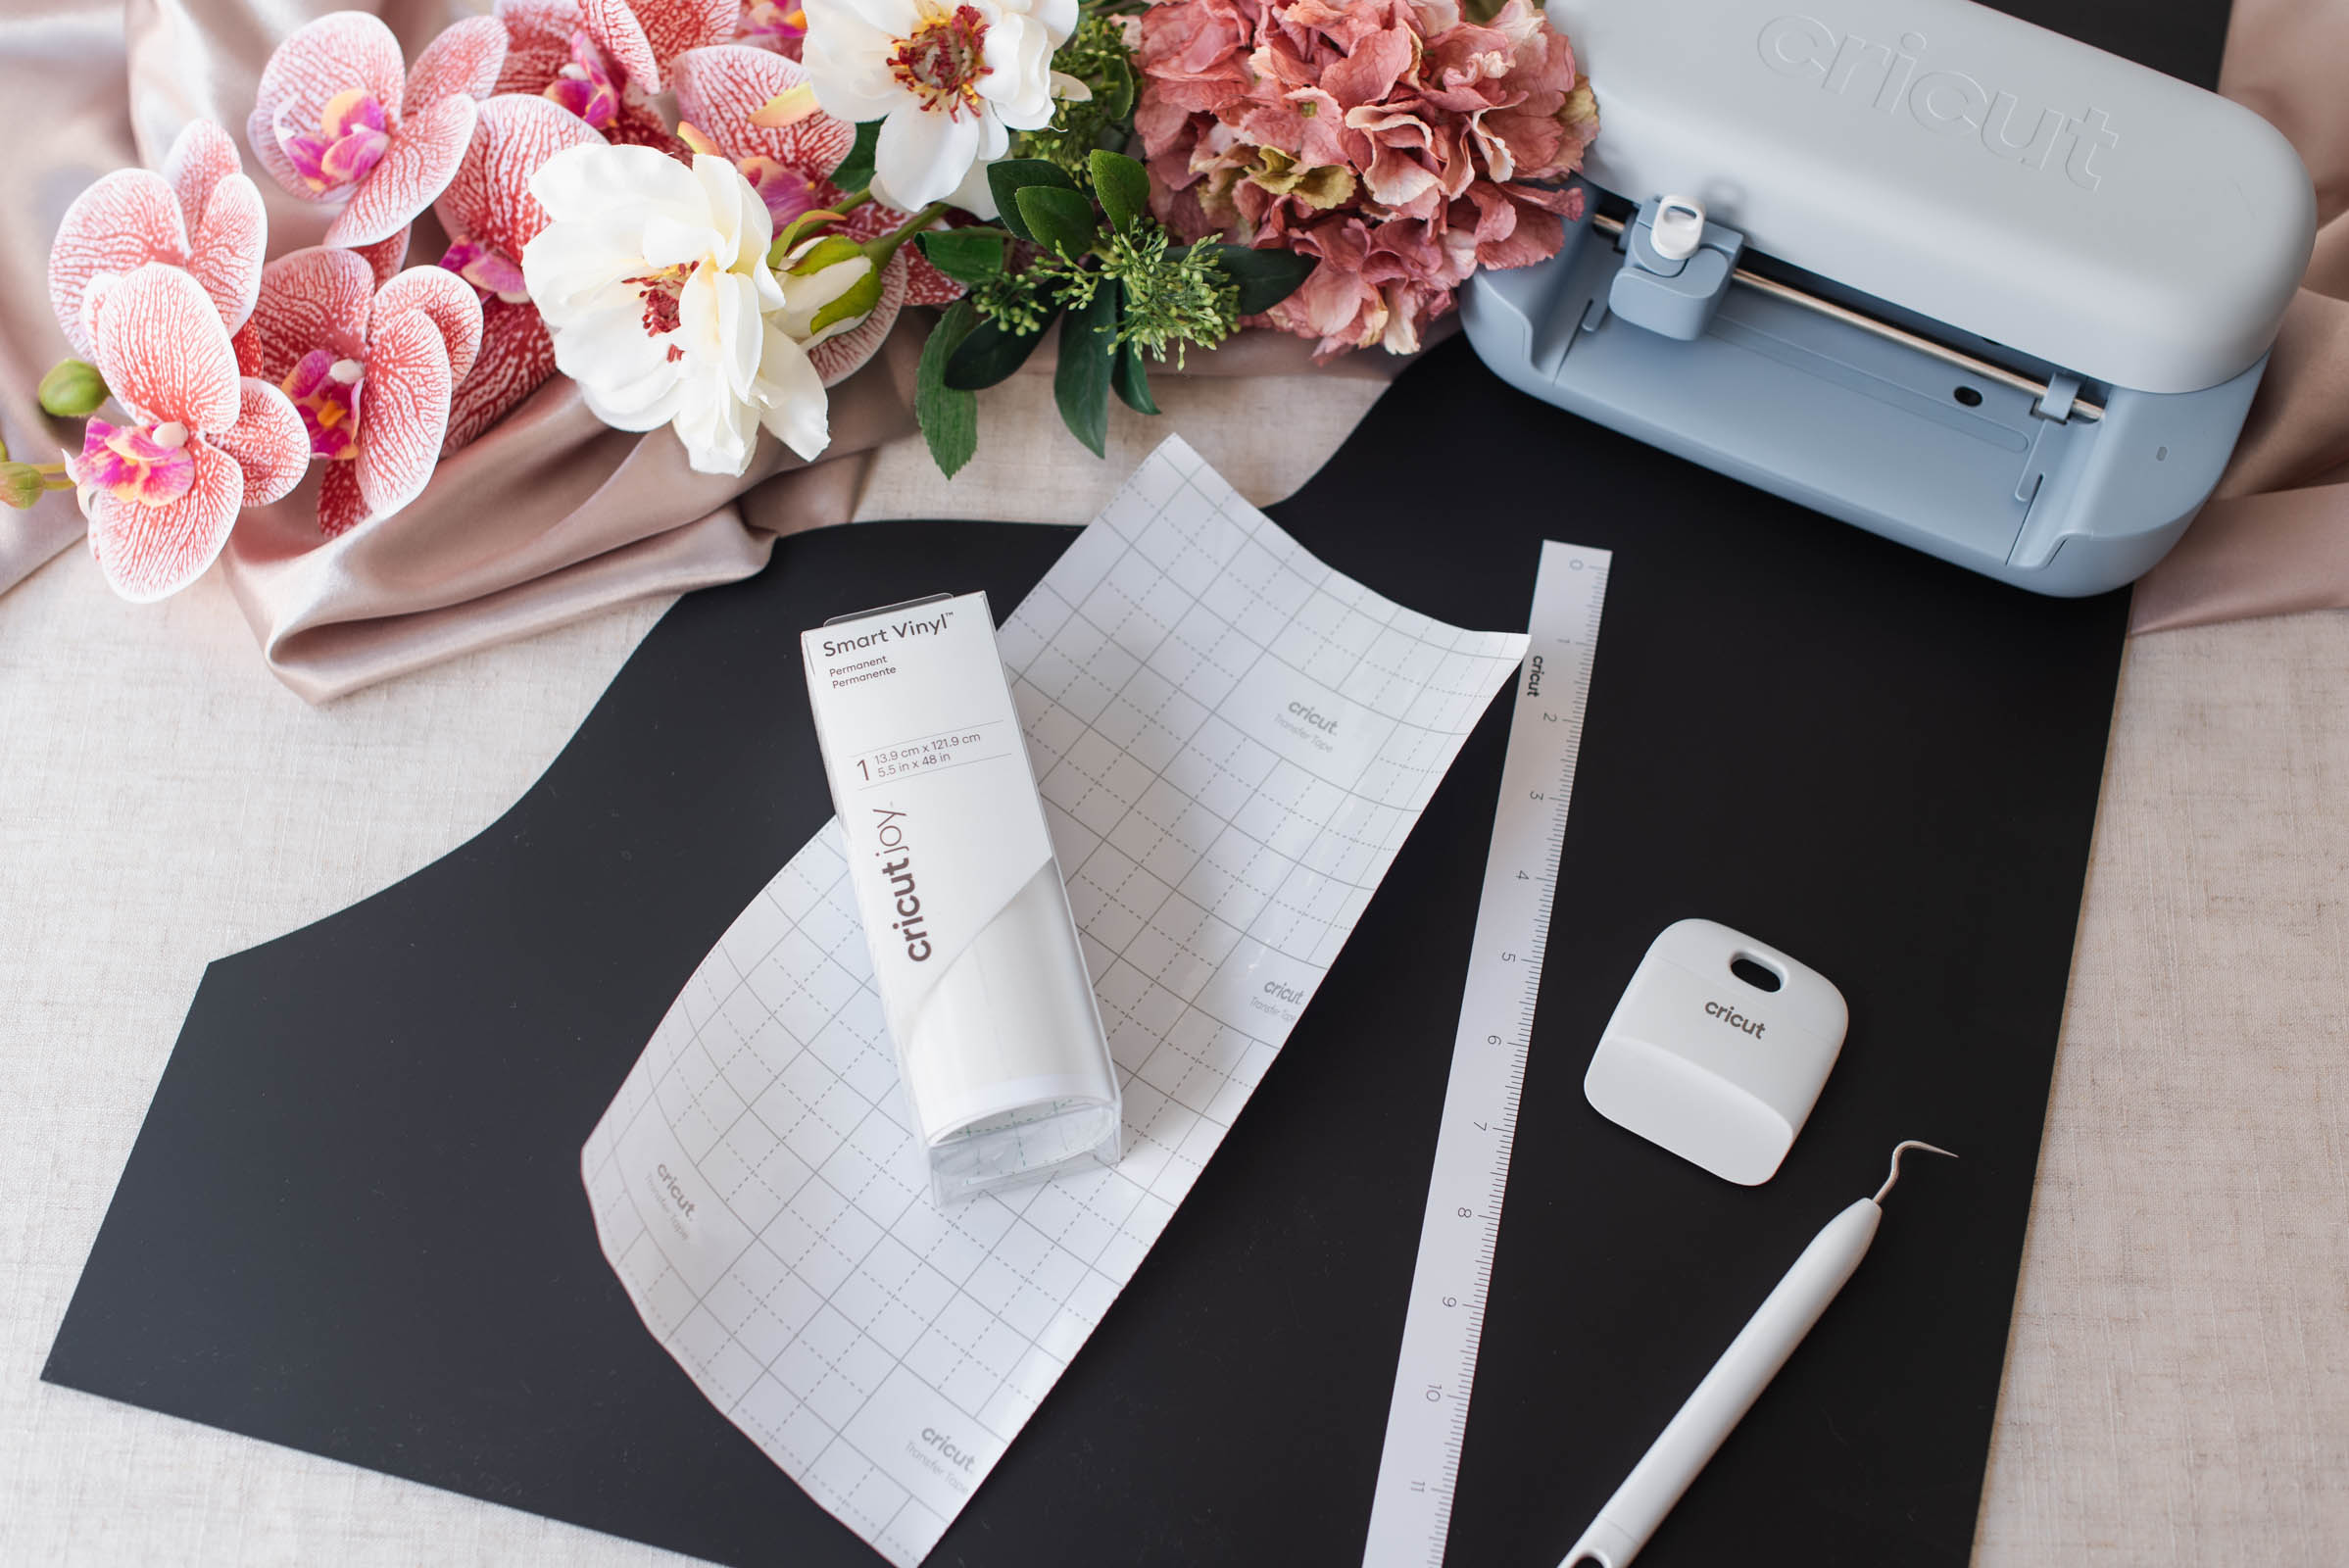
Supplies Needed for This Cricut Wedding Sign
• Cricut Joy 2 (or any cutting machine)
• Fine-point blade
• Smart Vinyl for Joy (in White)
• Weeding tool
• Scraper tool
• Portable trimmer or scissors
• Transfer tape
• Greaseproof paper
• Wavy front flower box
• Foam noodles (for styling flowers in the box)
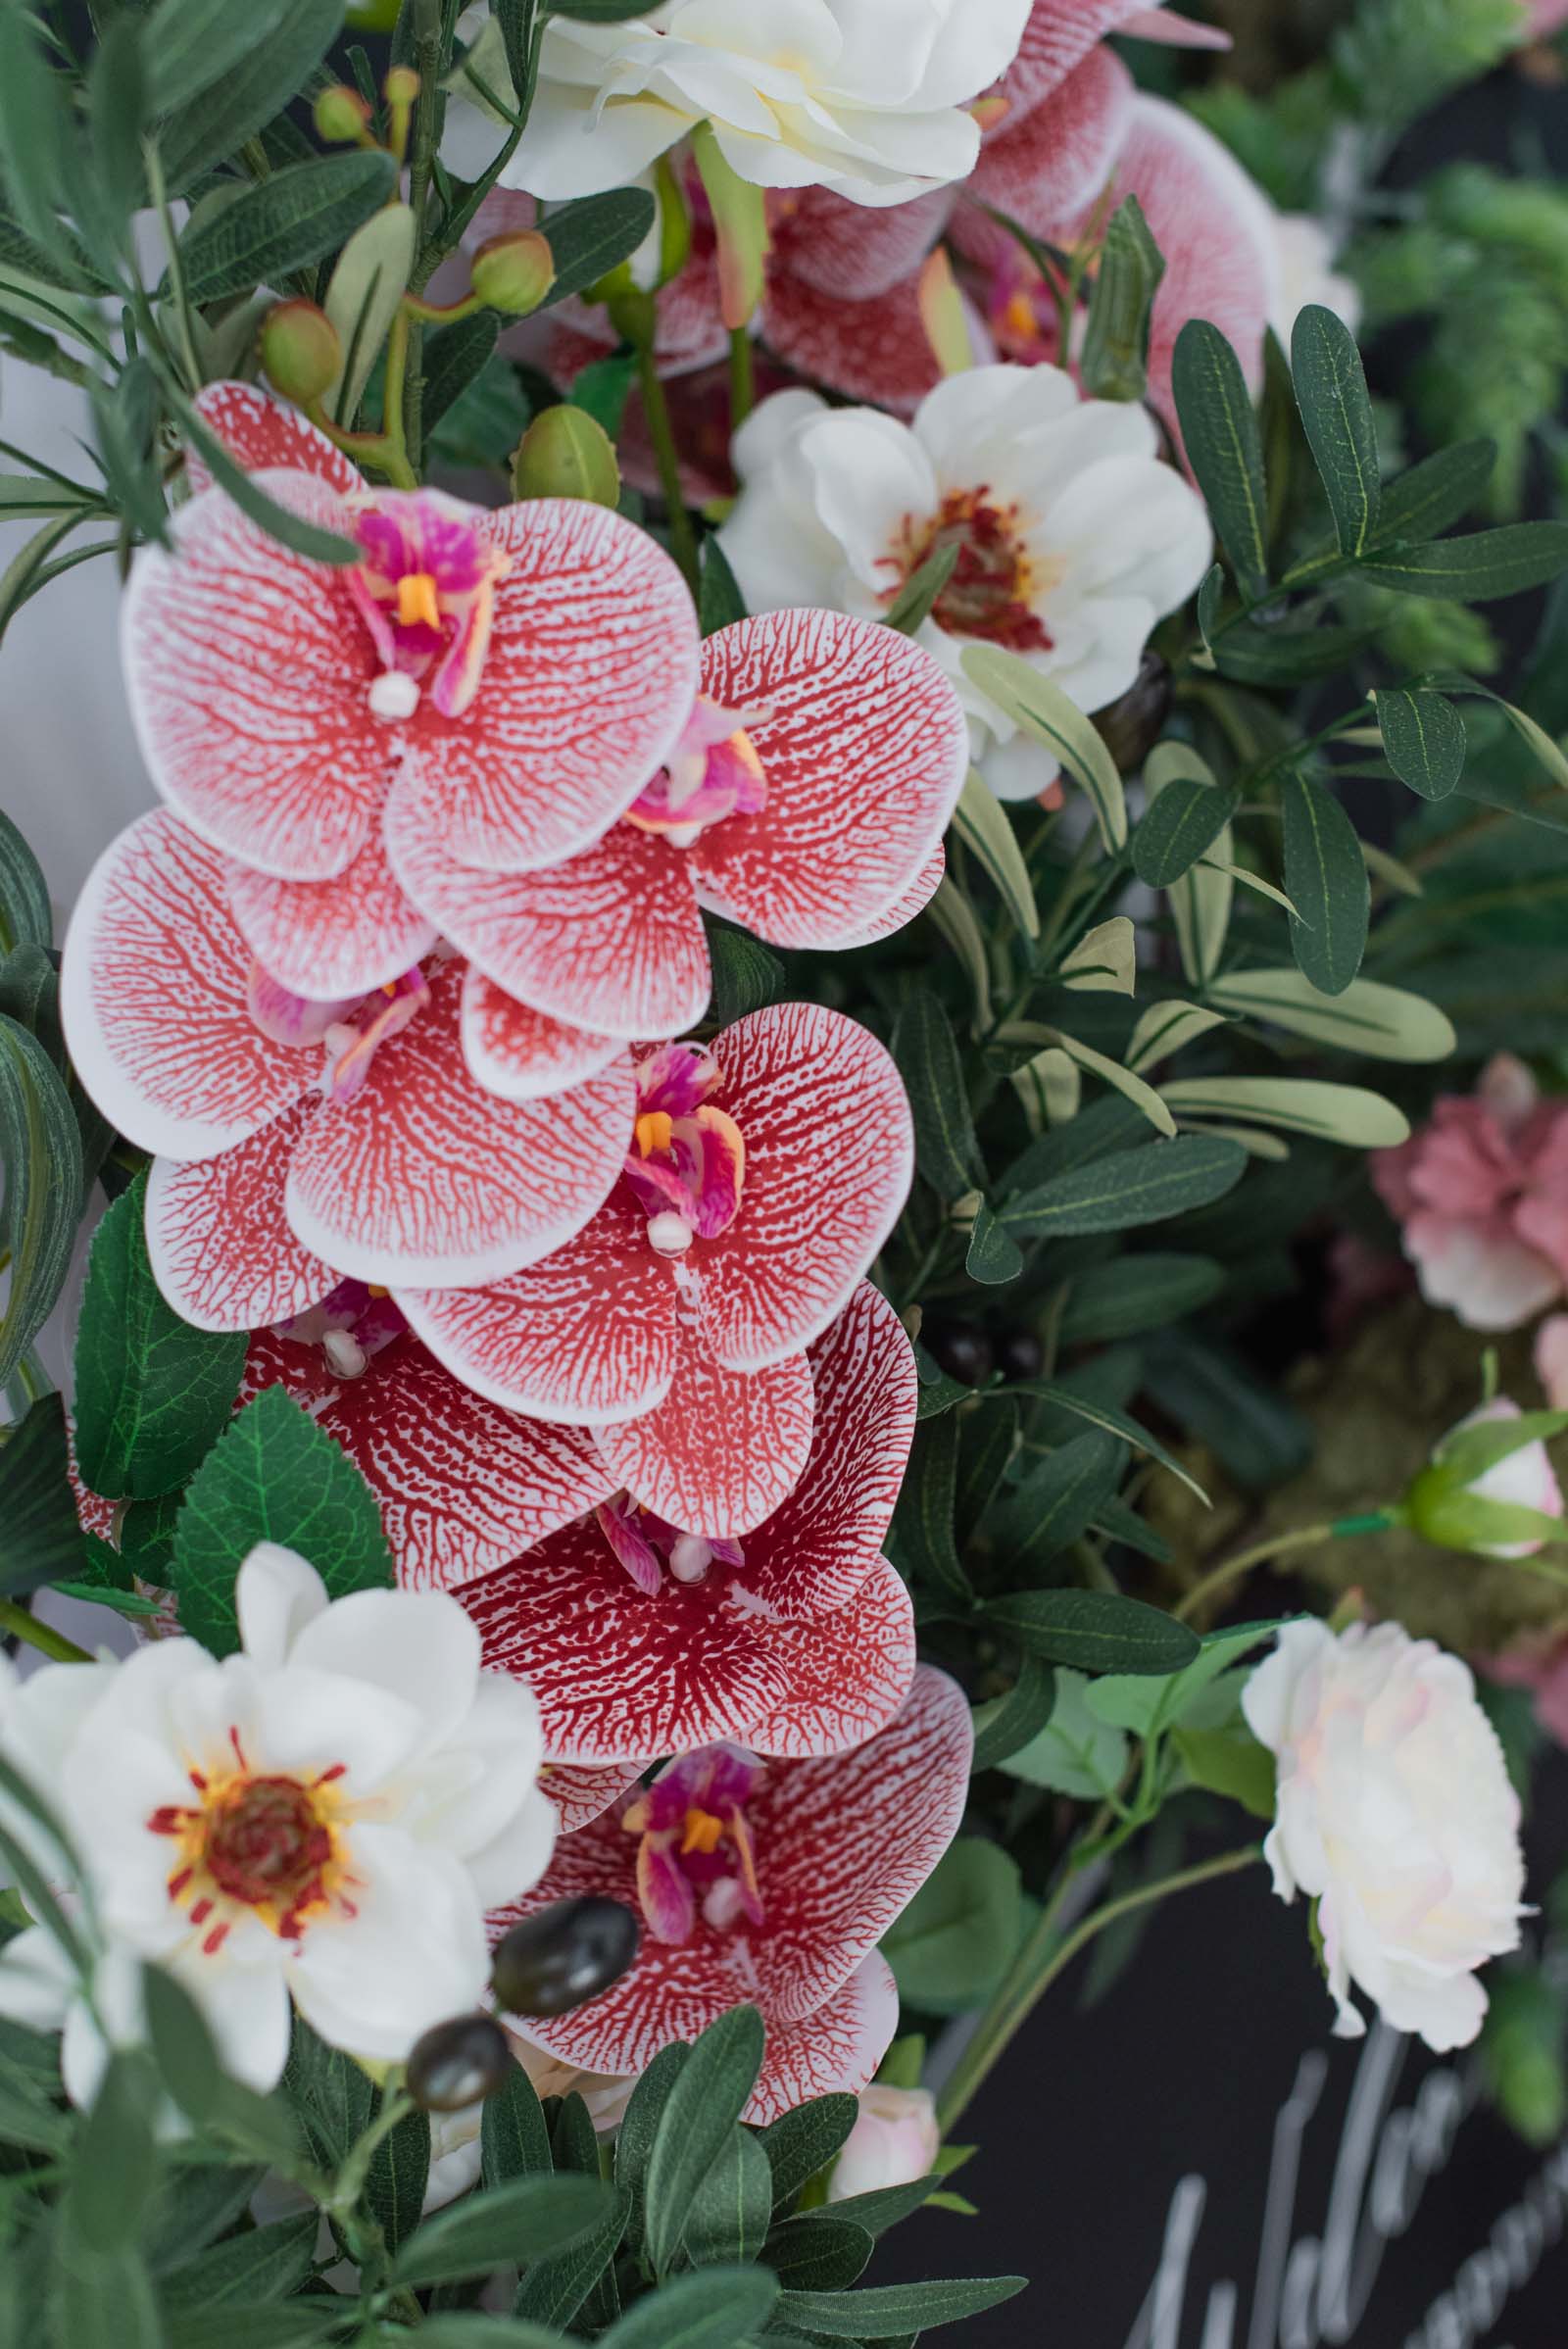
• Faux flowers (we used olive branch sprays, ruffled hydrangeas, raspberry ripple phalaenopsis orchids, waterlily dahlia sprays, and green hops)
• Our Welcome to Our Wedding Cricut Design Space project (bookmark or make it right now!)
DESIGN NOTES: For our project template, we used a Design Space-sourced image which means you will need a Cricut Access subscription or purchase the image as à la carte to make as is. Alternatively, you can also purchase this welcome sign cut file from our wedding SVG shop or use your own fonts as you wish.
Base Material Setting for Cutting Cricut Smart Vinyl
For our Cricut brand Smart Vinyl, we found the best results with Smart Vinyl Permanent.
Compatible Cricut Machines
• Joy
• Joy Xtra
• Explore family
• Maker family
Step-by-Step Instructions: Making Your Wedding Sign Vinyl Decal
1Prep your project. Set out all of your materials and prep your computer, laptop, or mobile phone with Cricut Design Space. If using our pre-made Design Space project, all you need to do is click Customize to resize and edit!
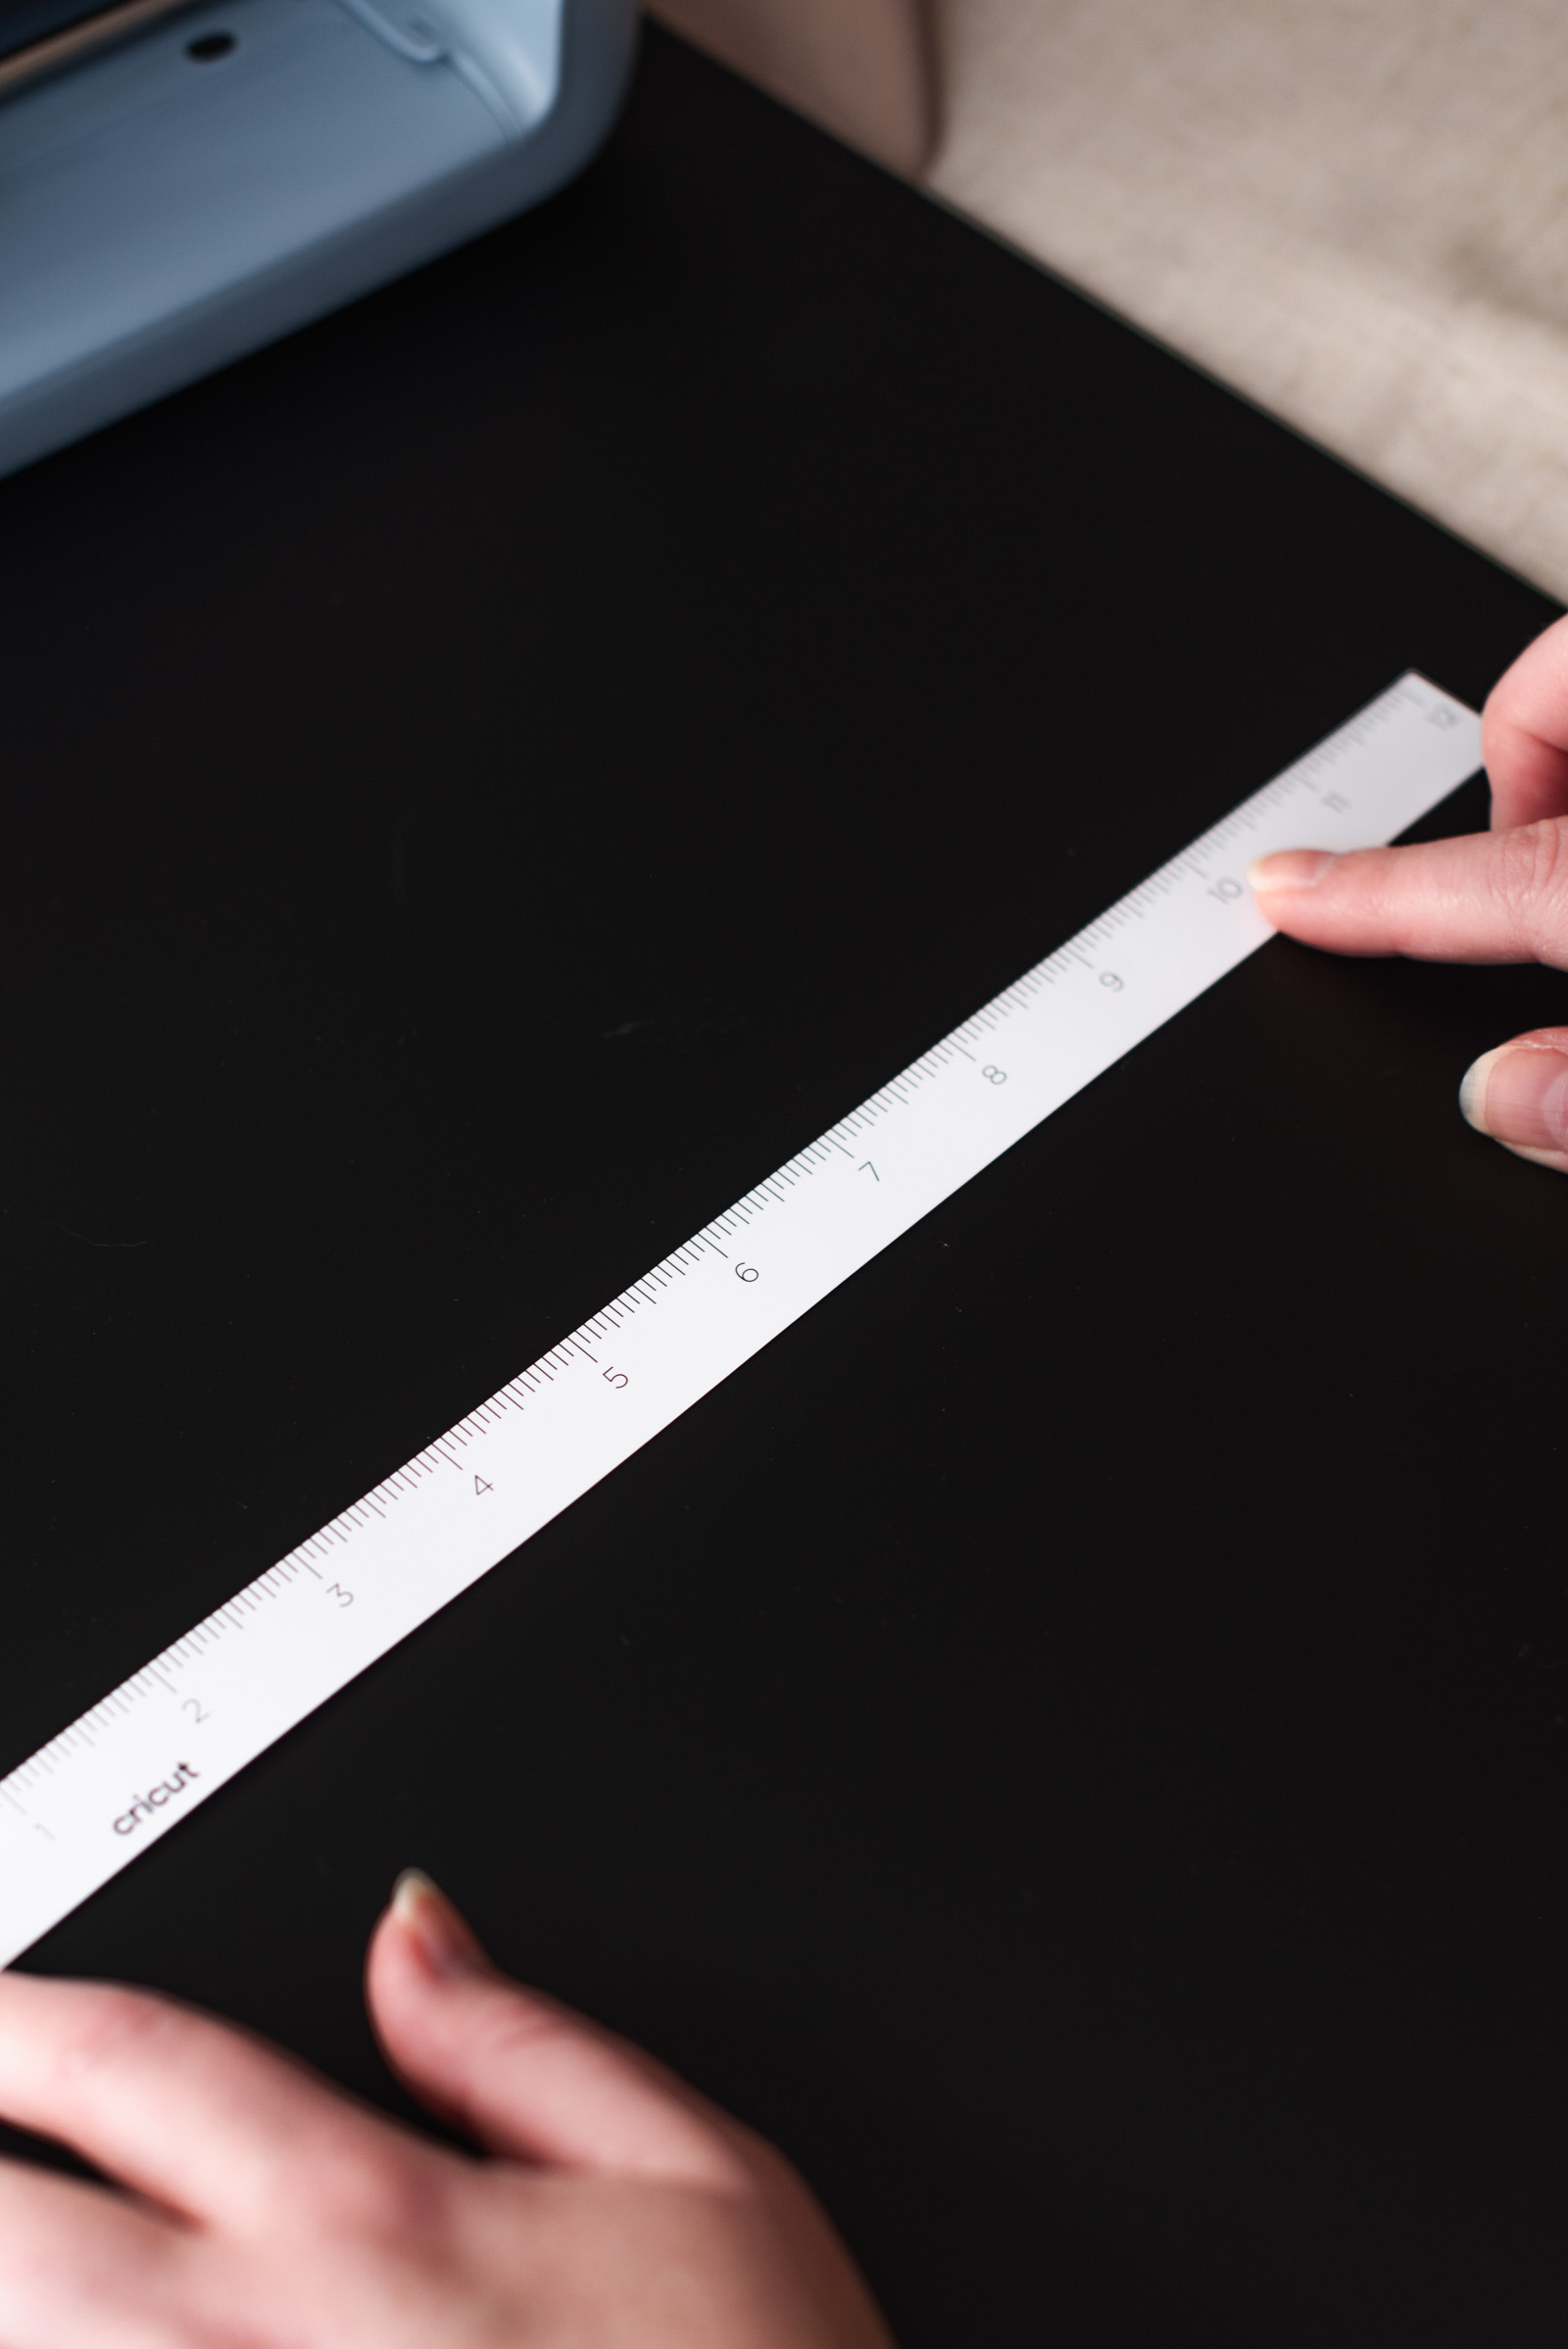
2Measure your sign. Using a ruler or measuring tape, measure the area on your sign blank where you wish to place your design. We're using the paper ruler that came with our Joy 2.
As seen below, we have also uploaded an image of our flower box to Design Space (as a Flat Graphic) so we can see where to place our text. When working with large sign blanks, this is especially helpful for visualizing placement and proportion! If you do this, be sure to hide this layer before cutting as Design Space will yell at you otherwise (as noted by the red warning symbol)!
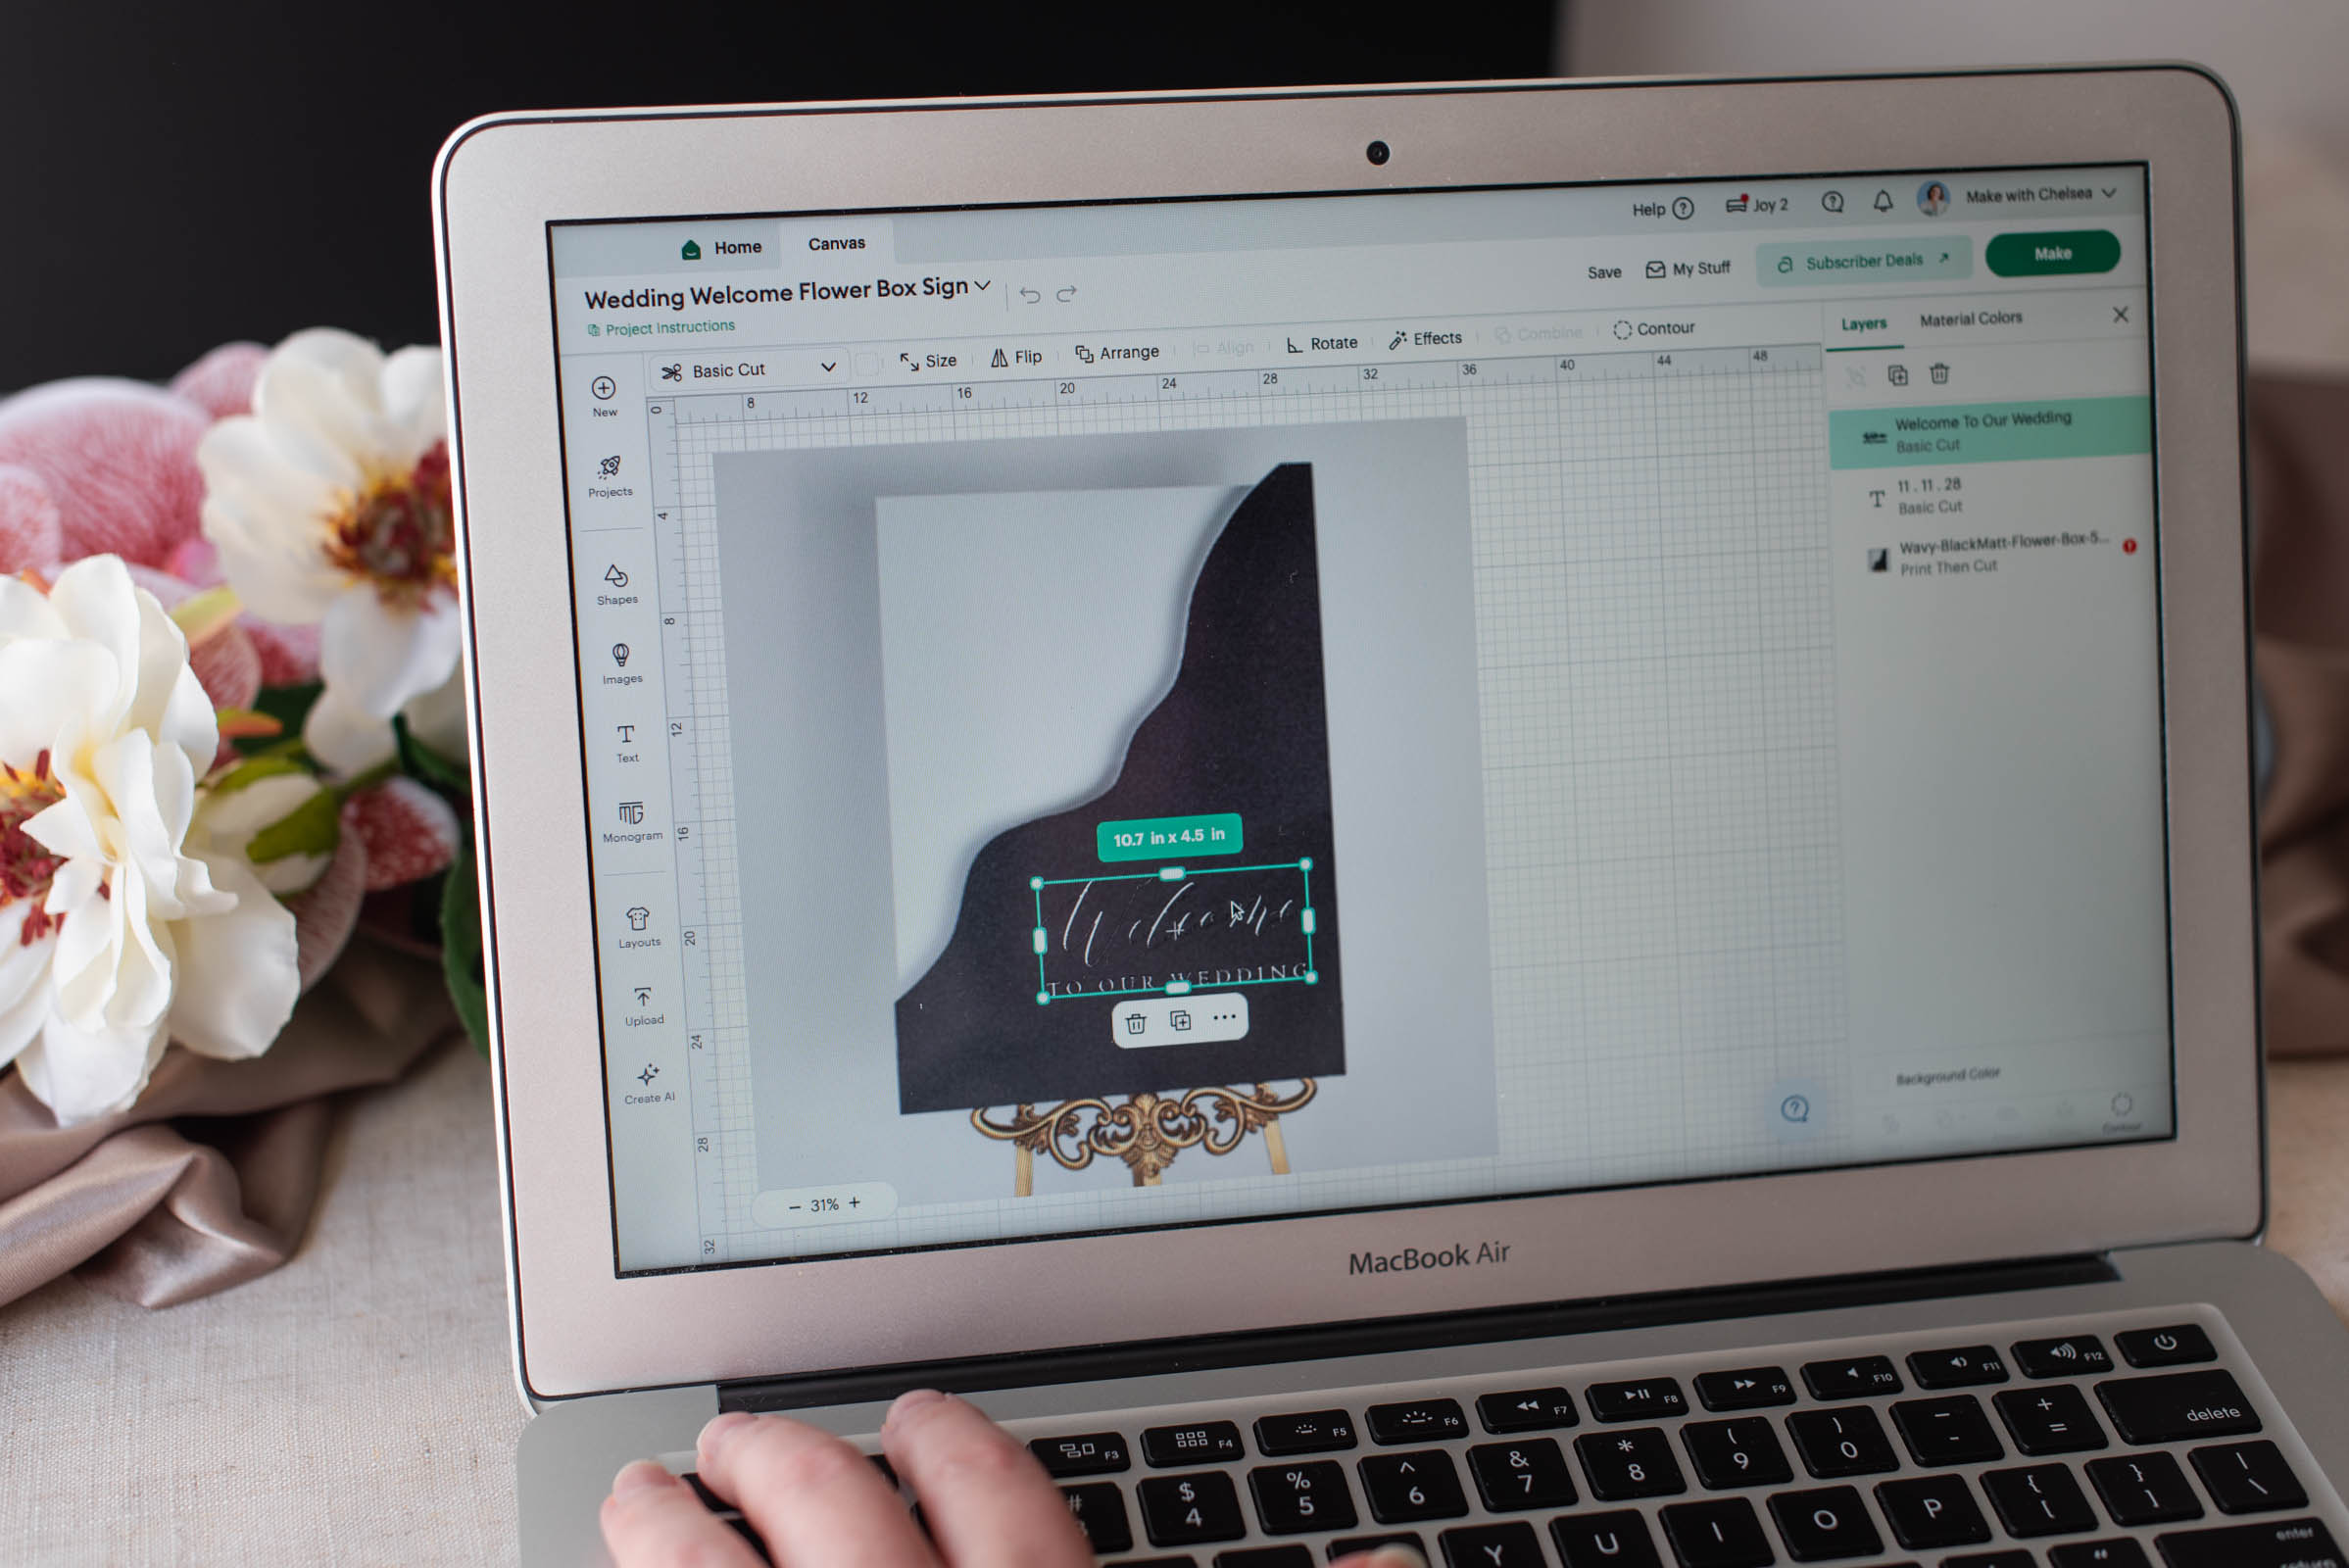
3Edit and resize your design. In Design Space, resize the pre-made design with your sign's measurements and change the wedding date. If you want to include additional text like your names, click Text to add a new text box to your canvas. For this project and because of our sign's modern wavy edge, we have only added a wedding date to personalize to keep it with the minimalist vibe.
✎ REMINDER: Because you're going to cut your design in sections with your Joy, you will not attach your layers like you might see done for ease with larger machines. You're making use of the length availability and will piece together your design when you apply your vinyl to your sign.
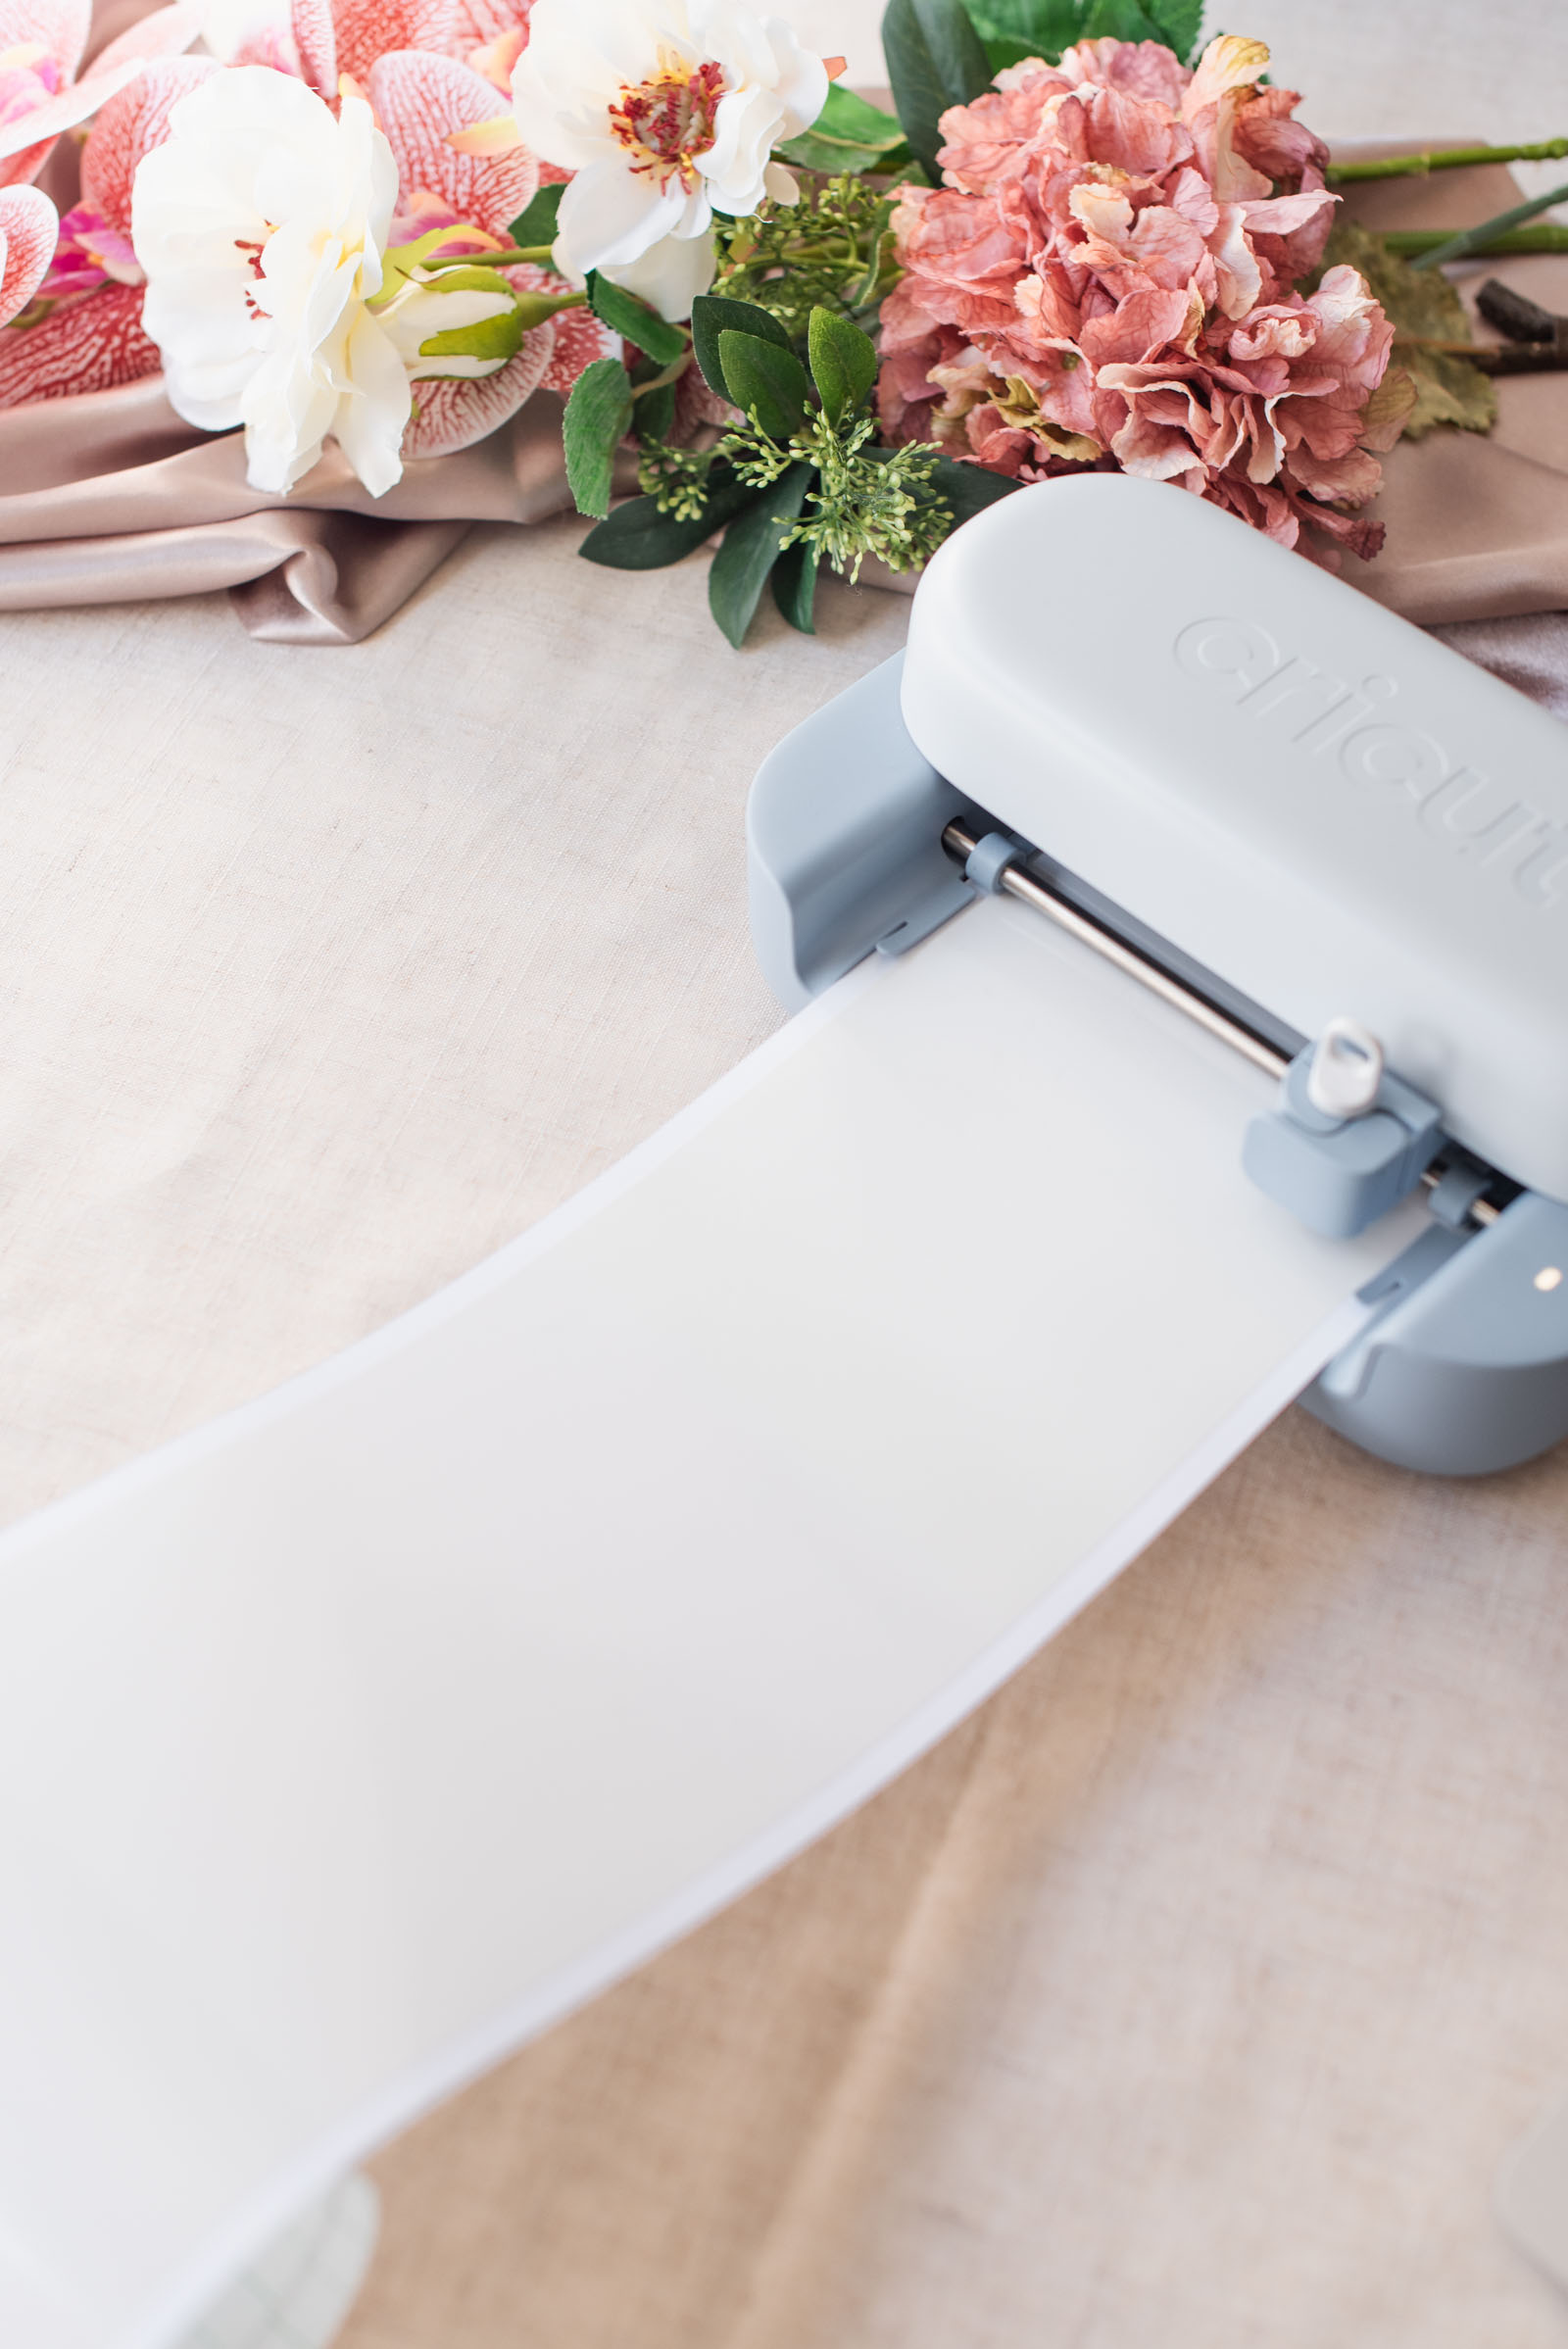
4Now Make. Click Make to go to the Prepare screen. Select "No Mat" as your material option (or Design Space may automatically choose this for you depending on your design size like it did with ours). Design Space will also tell you how much Smart Vinyl you need to cut your design. Follow on-screen instructions to cut.
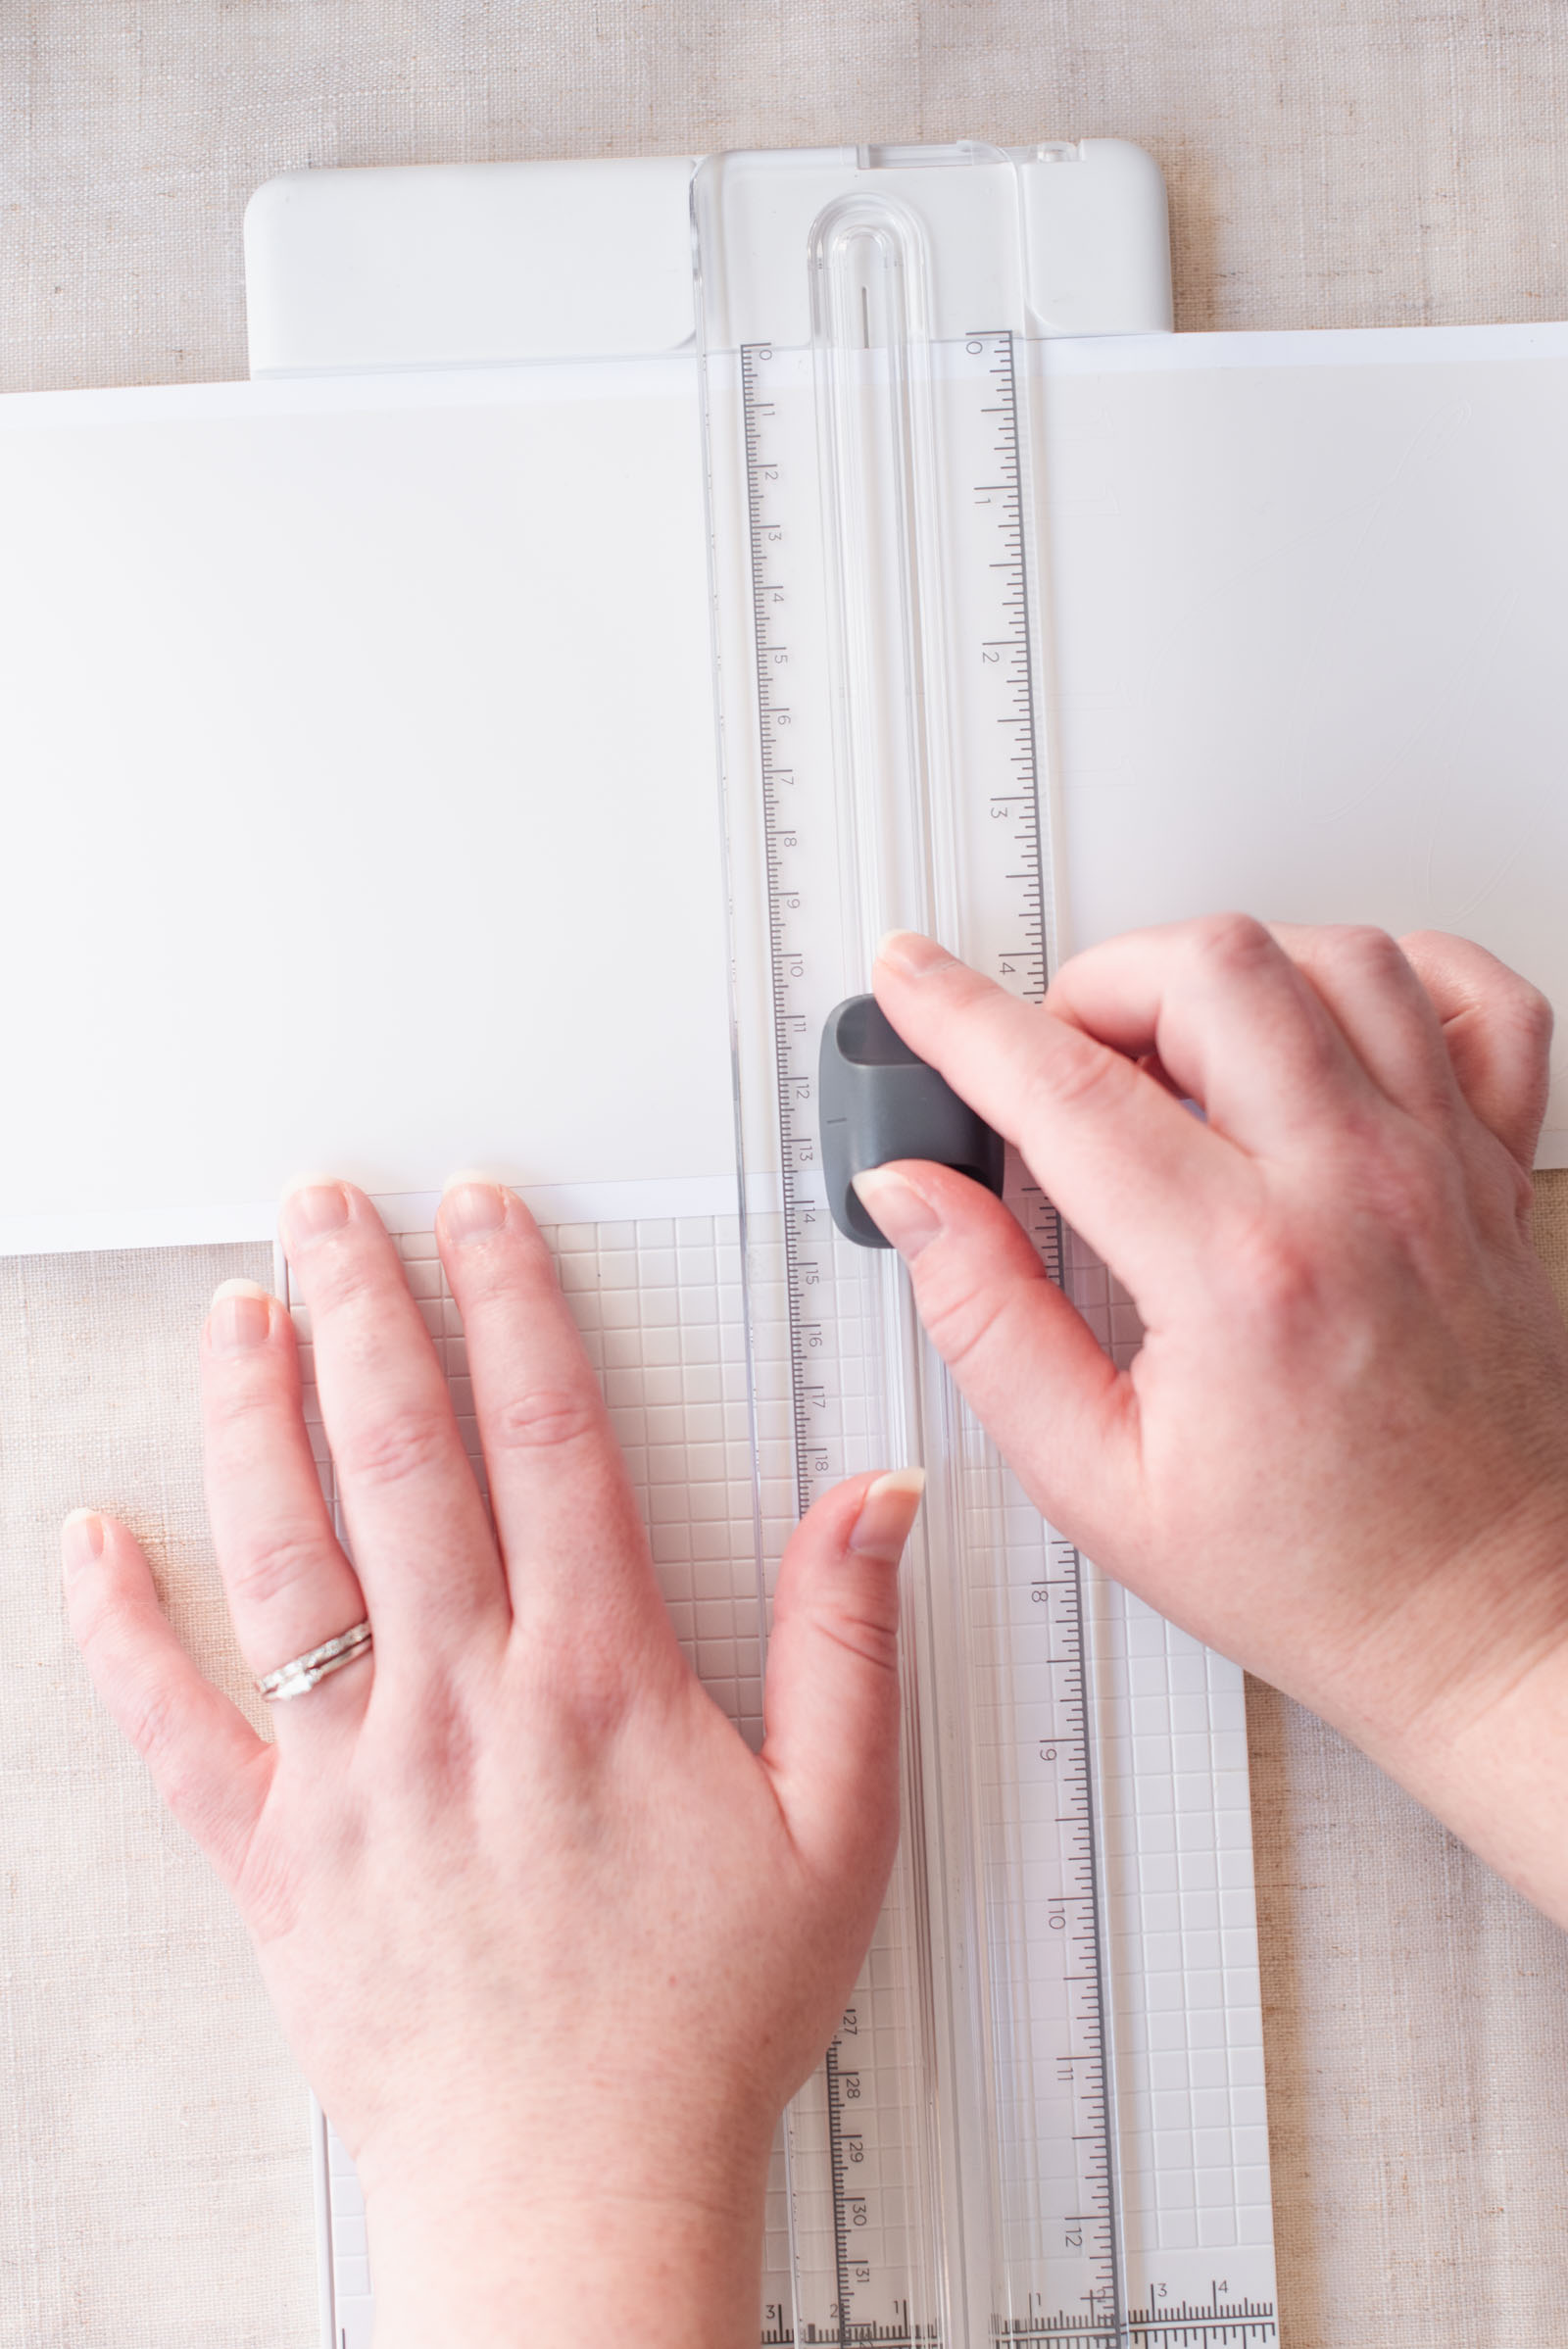
5Cut and weed. Once finished cutting, unload the Smart Vinyl from the machine, and use your trimmer to trim off the uncut vinyl to save for next time. Now it's time to weed! We prefer to weed everything before cutting into sections, but you can choose what you prefer. Using your weeding tool, remove all of the excess vinyl. With your trimmer or scissors, cut your design into sections that make sense to you. Because our "Welcome to the Wedding" is one block and our wedding date is another block, we have cut ours into two sections.
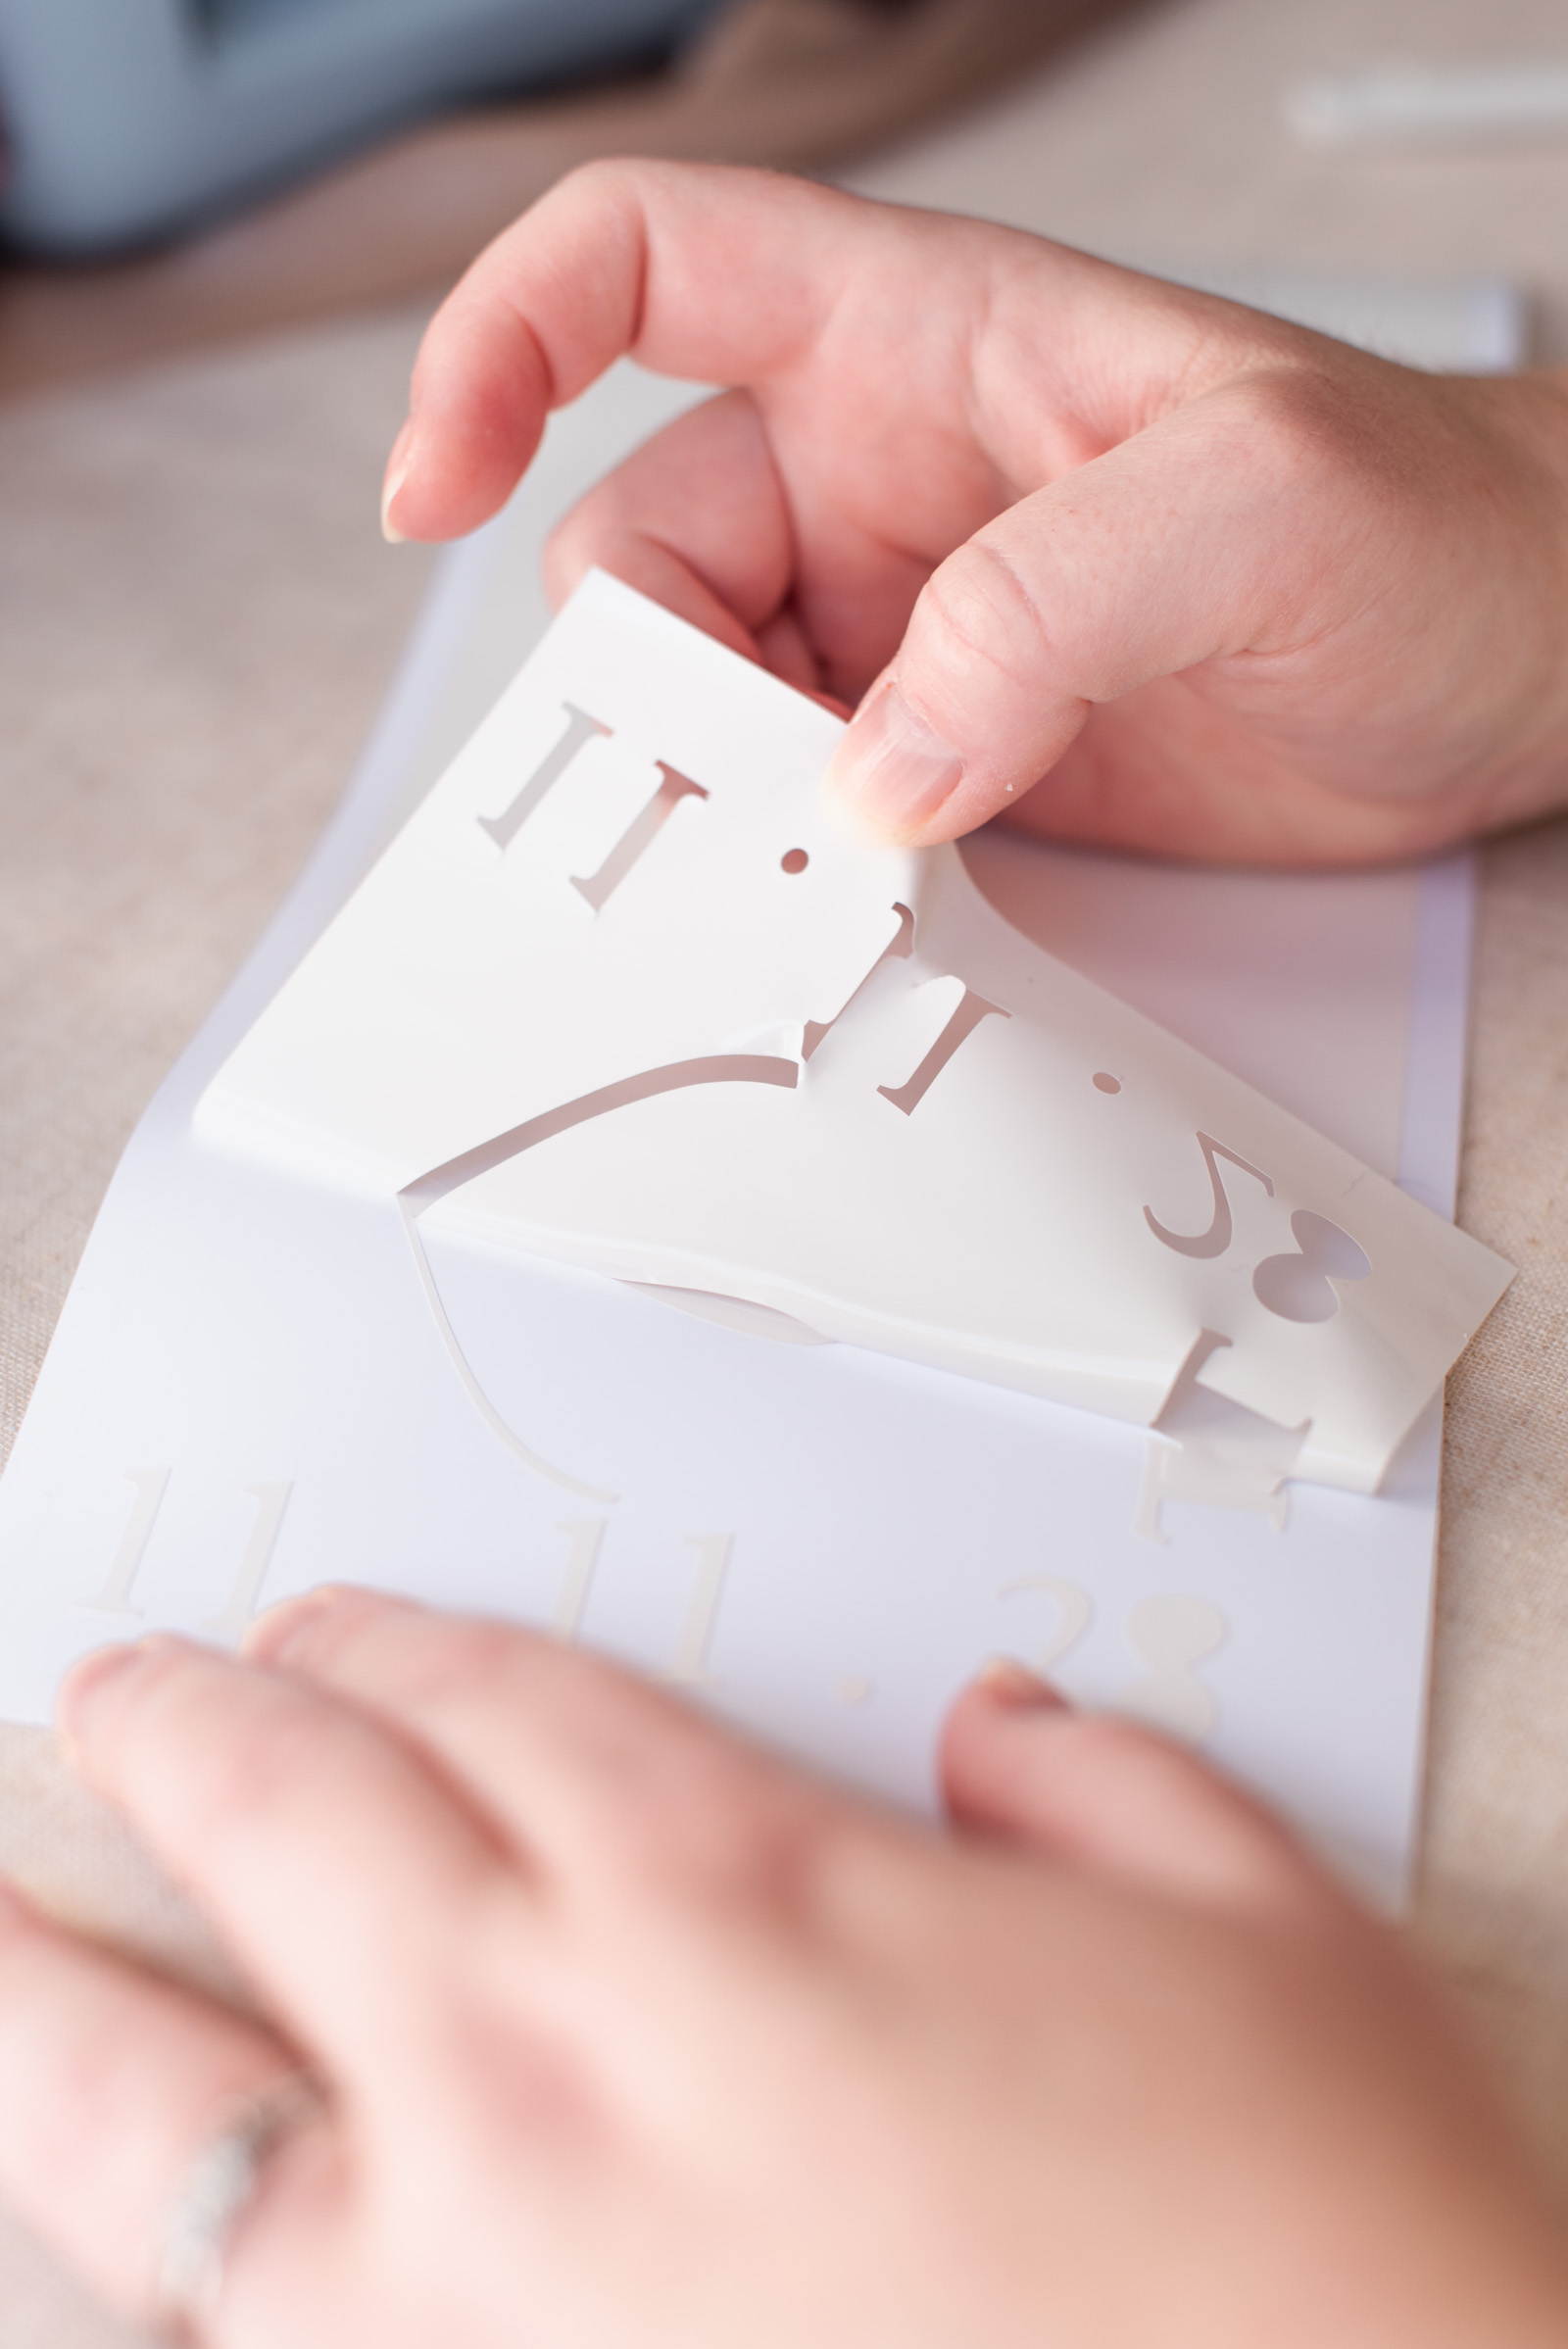
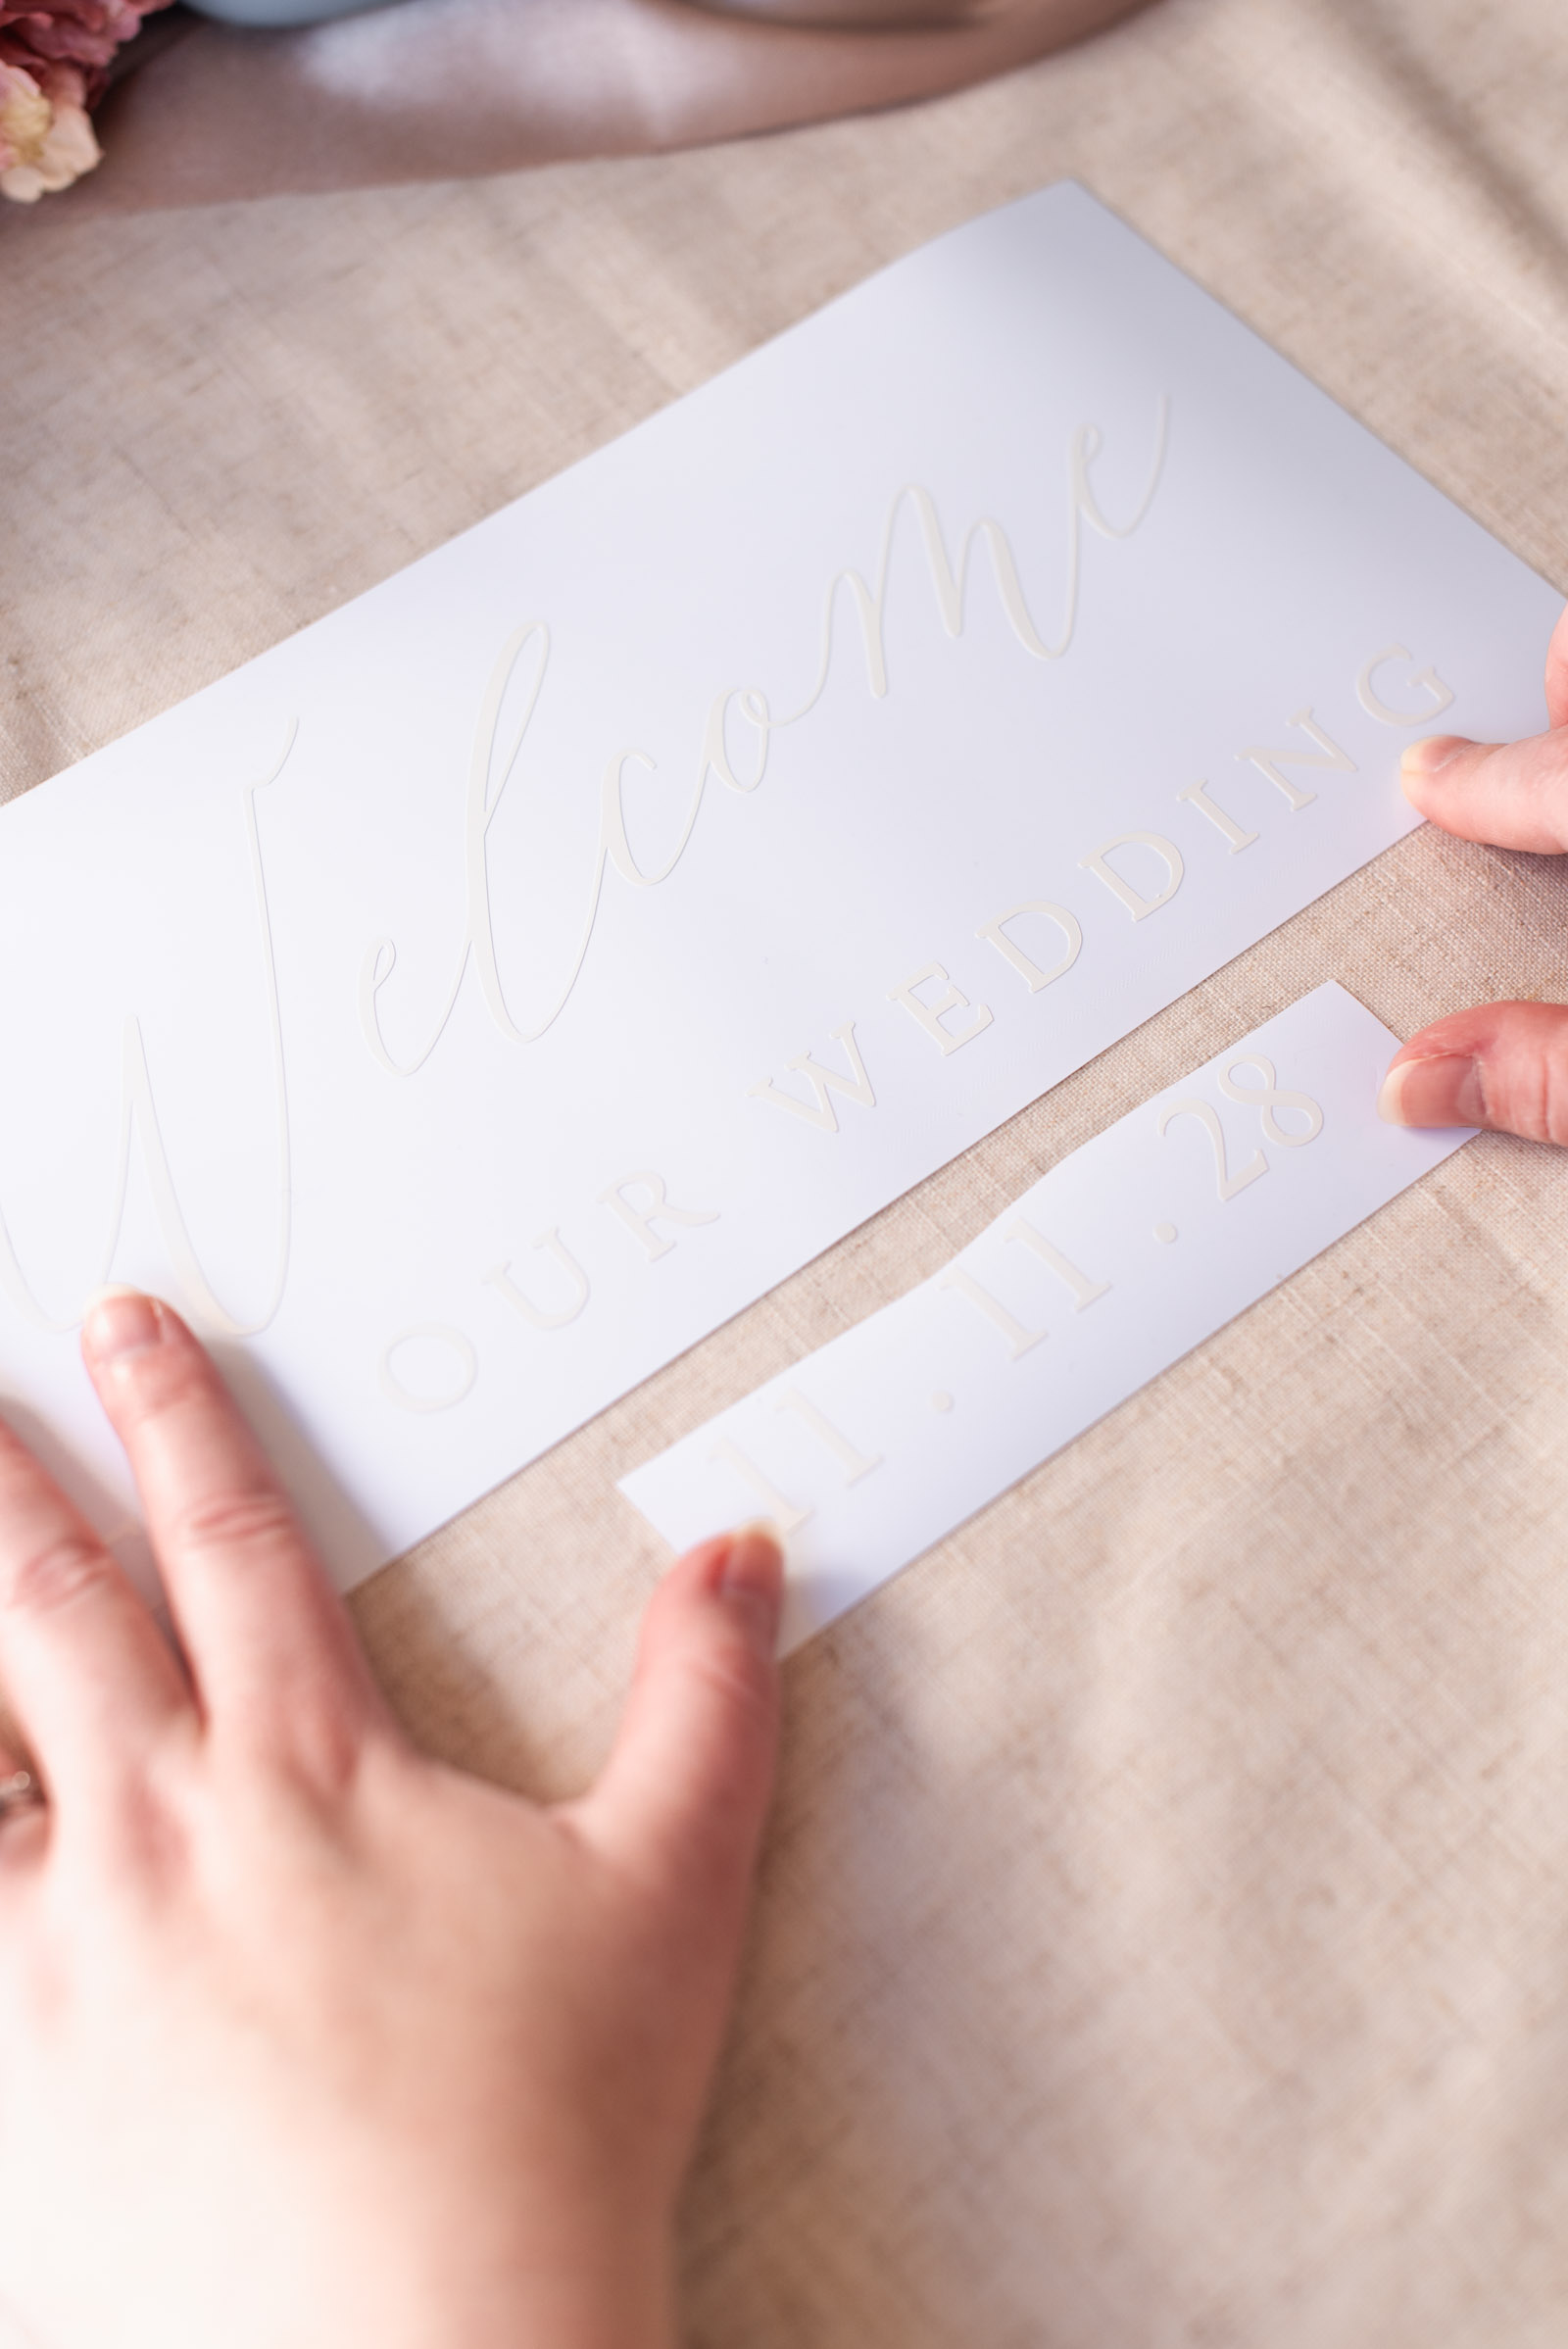
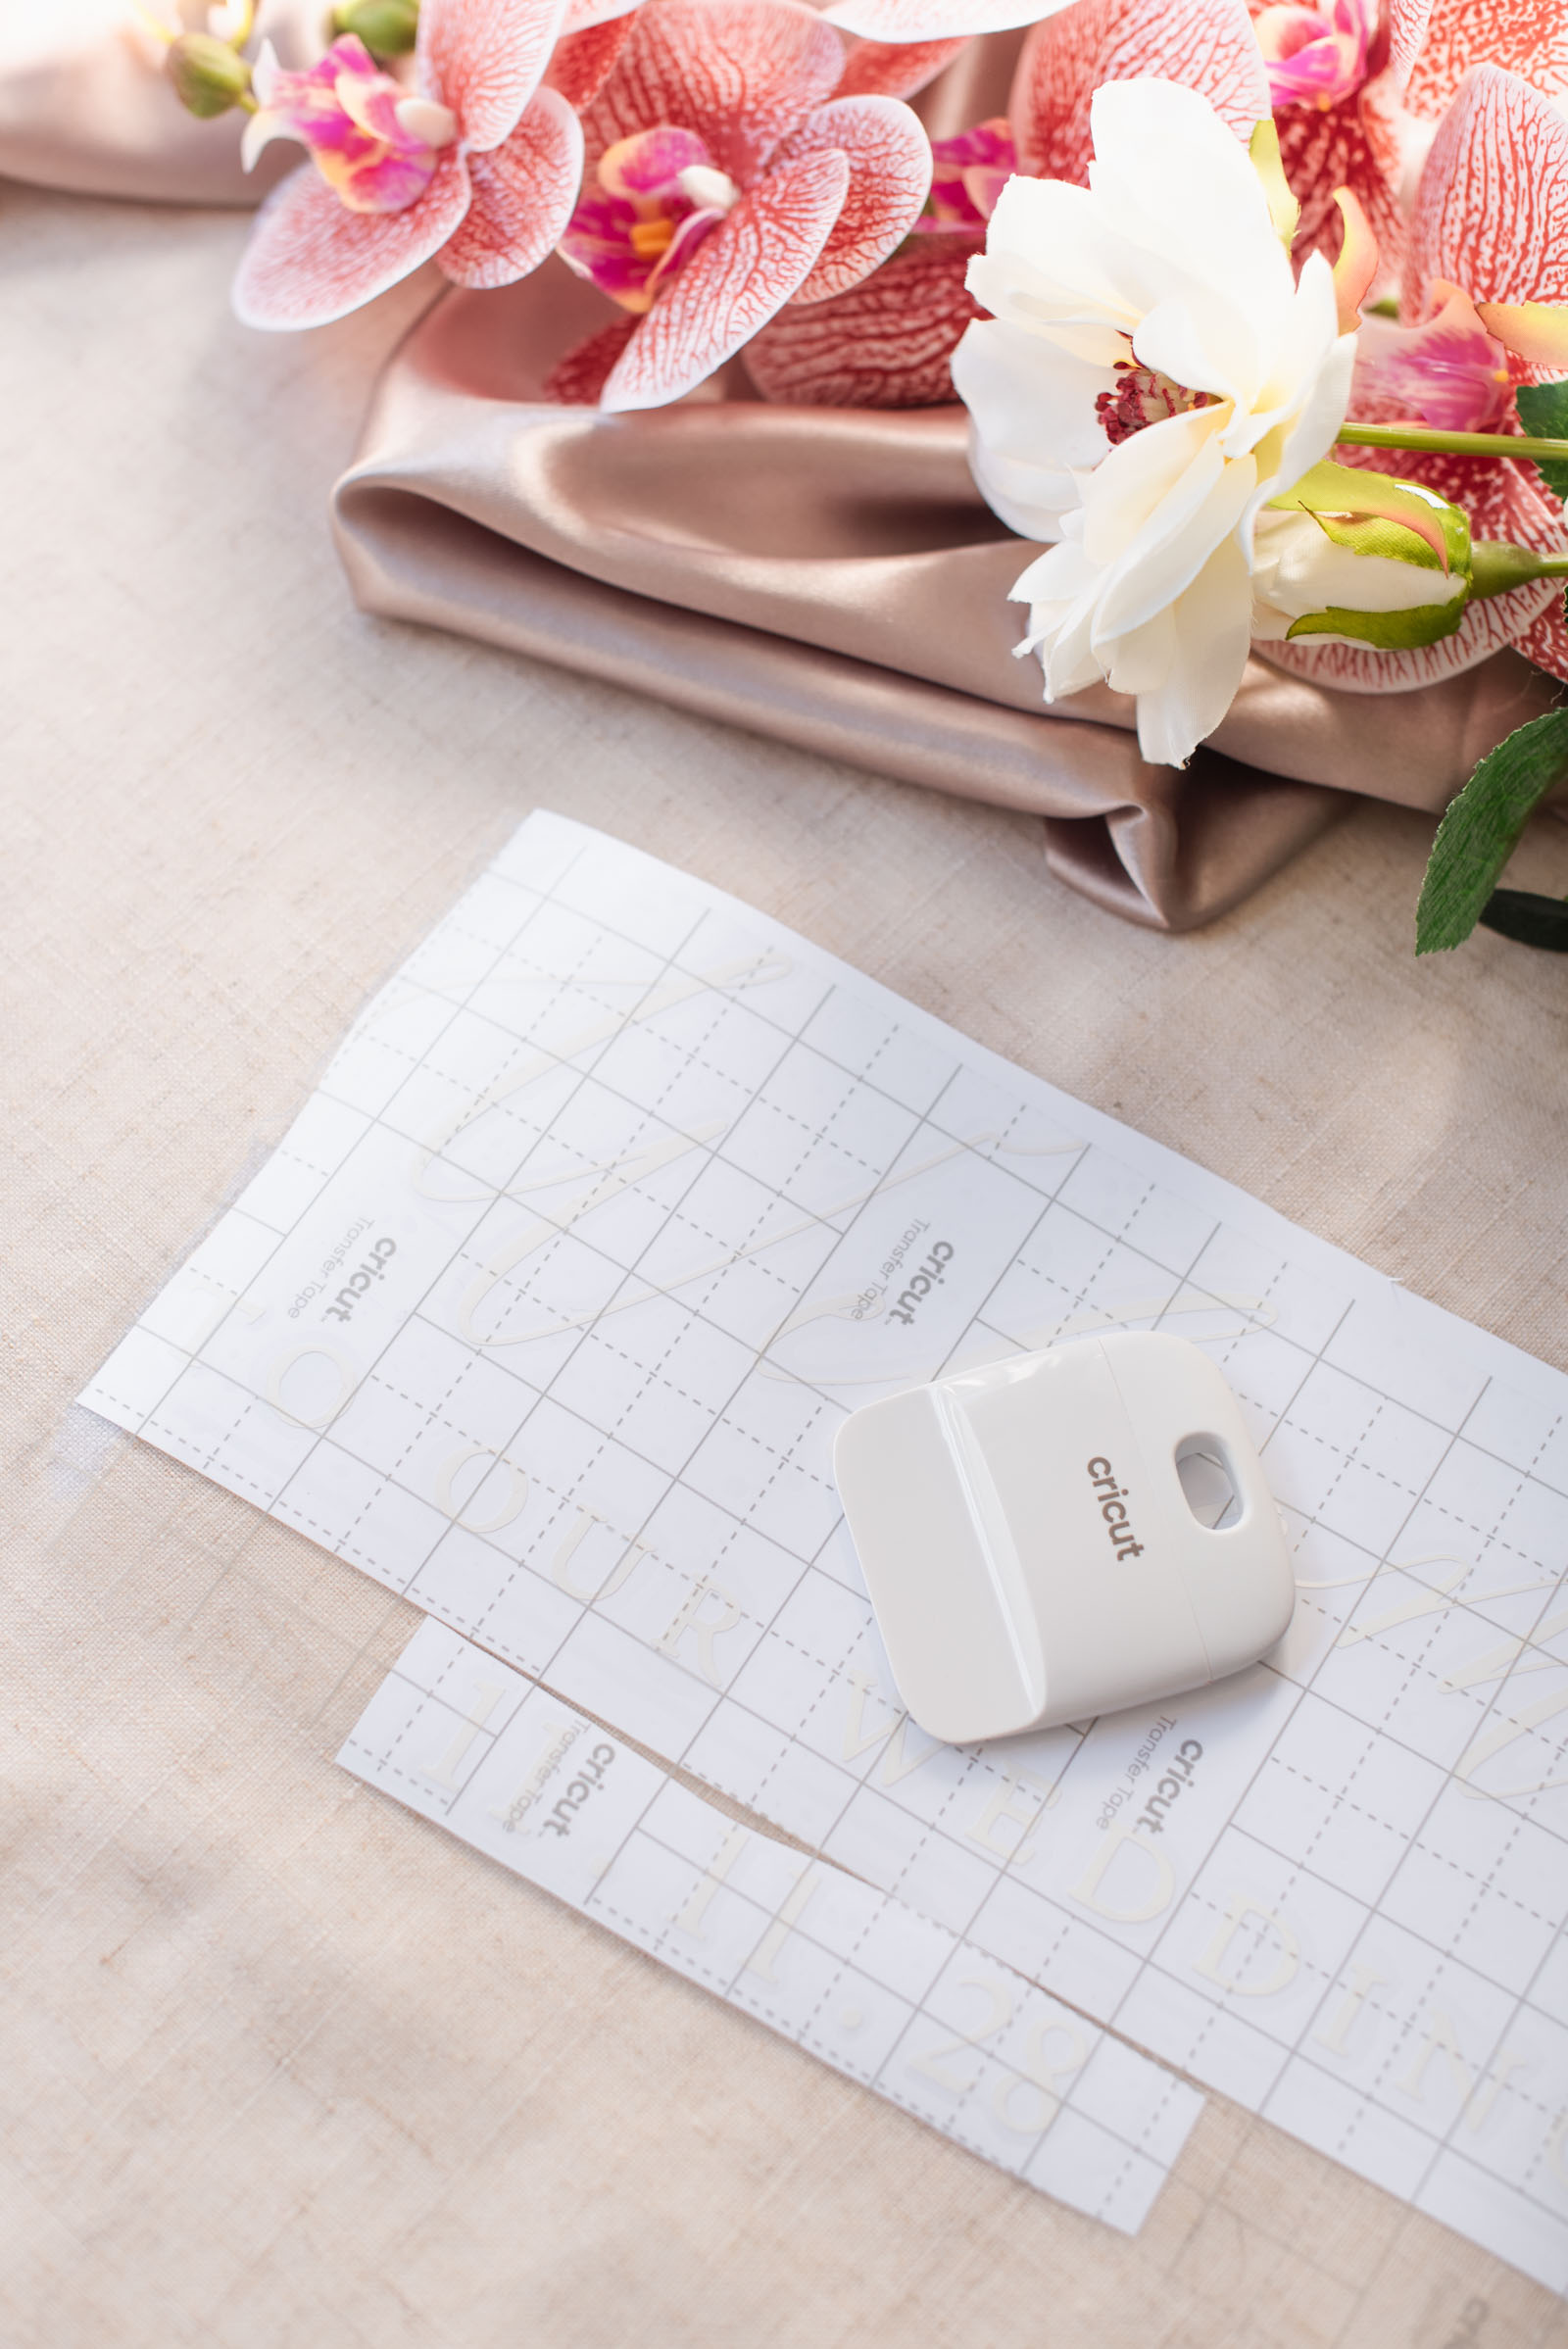
6Apply transfer tape. On an empty table, arrange all cut sections together so your layout looks exactly how you want your finished sign to be. If needed, use a ruler so your pieces are in centered alignment. For each section, place small spare strips of transfer tape on the backs of the vinyl's carrier sheets to attach all pieces together. You're piecing together your cut vinyl to make one design to make your transfer tape application easier.
Need a live visual of what we've done with our transfer tape? See our video tutorial on YouTube embedded below for this. In this case, video shows these hacks best!
Trim another sheet of transfer tape with scissors so it's slightly larger than your entire design, then fold down one of the backing sheet sides so that only a thin strip of transfer tape is visible. Place it lightly on top of your vinyl at the edge of your design, then check and adjust the position of the tape if necessary. Once it is correctly aligned, slowly pull away the backing sheet, allowing the transfer tape to smoothly settle on top of the vinyl. Use the scraper tool to rub the transfer tape so your vinyl sticks to it. Now carefully peel the transfer tape and vinyl off of the vinyl’s carrier sheet.
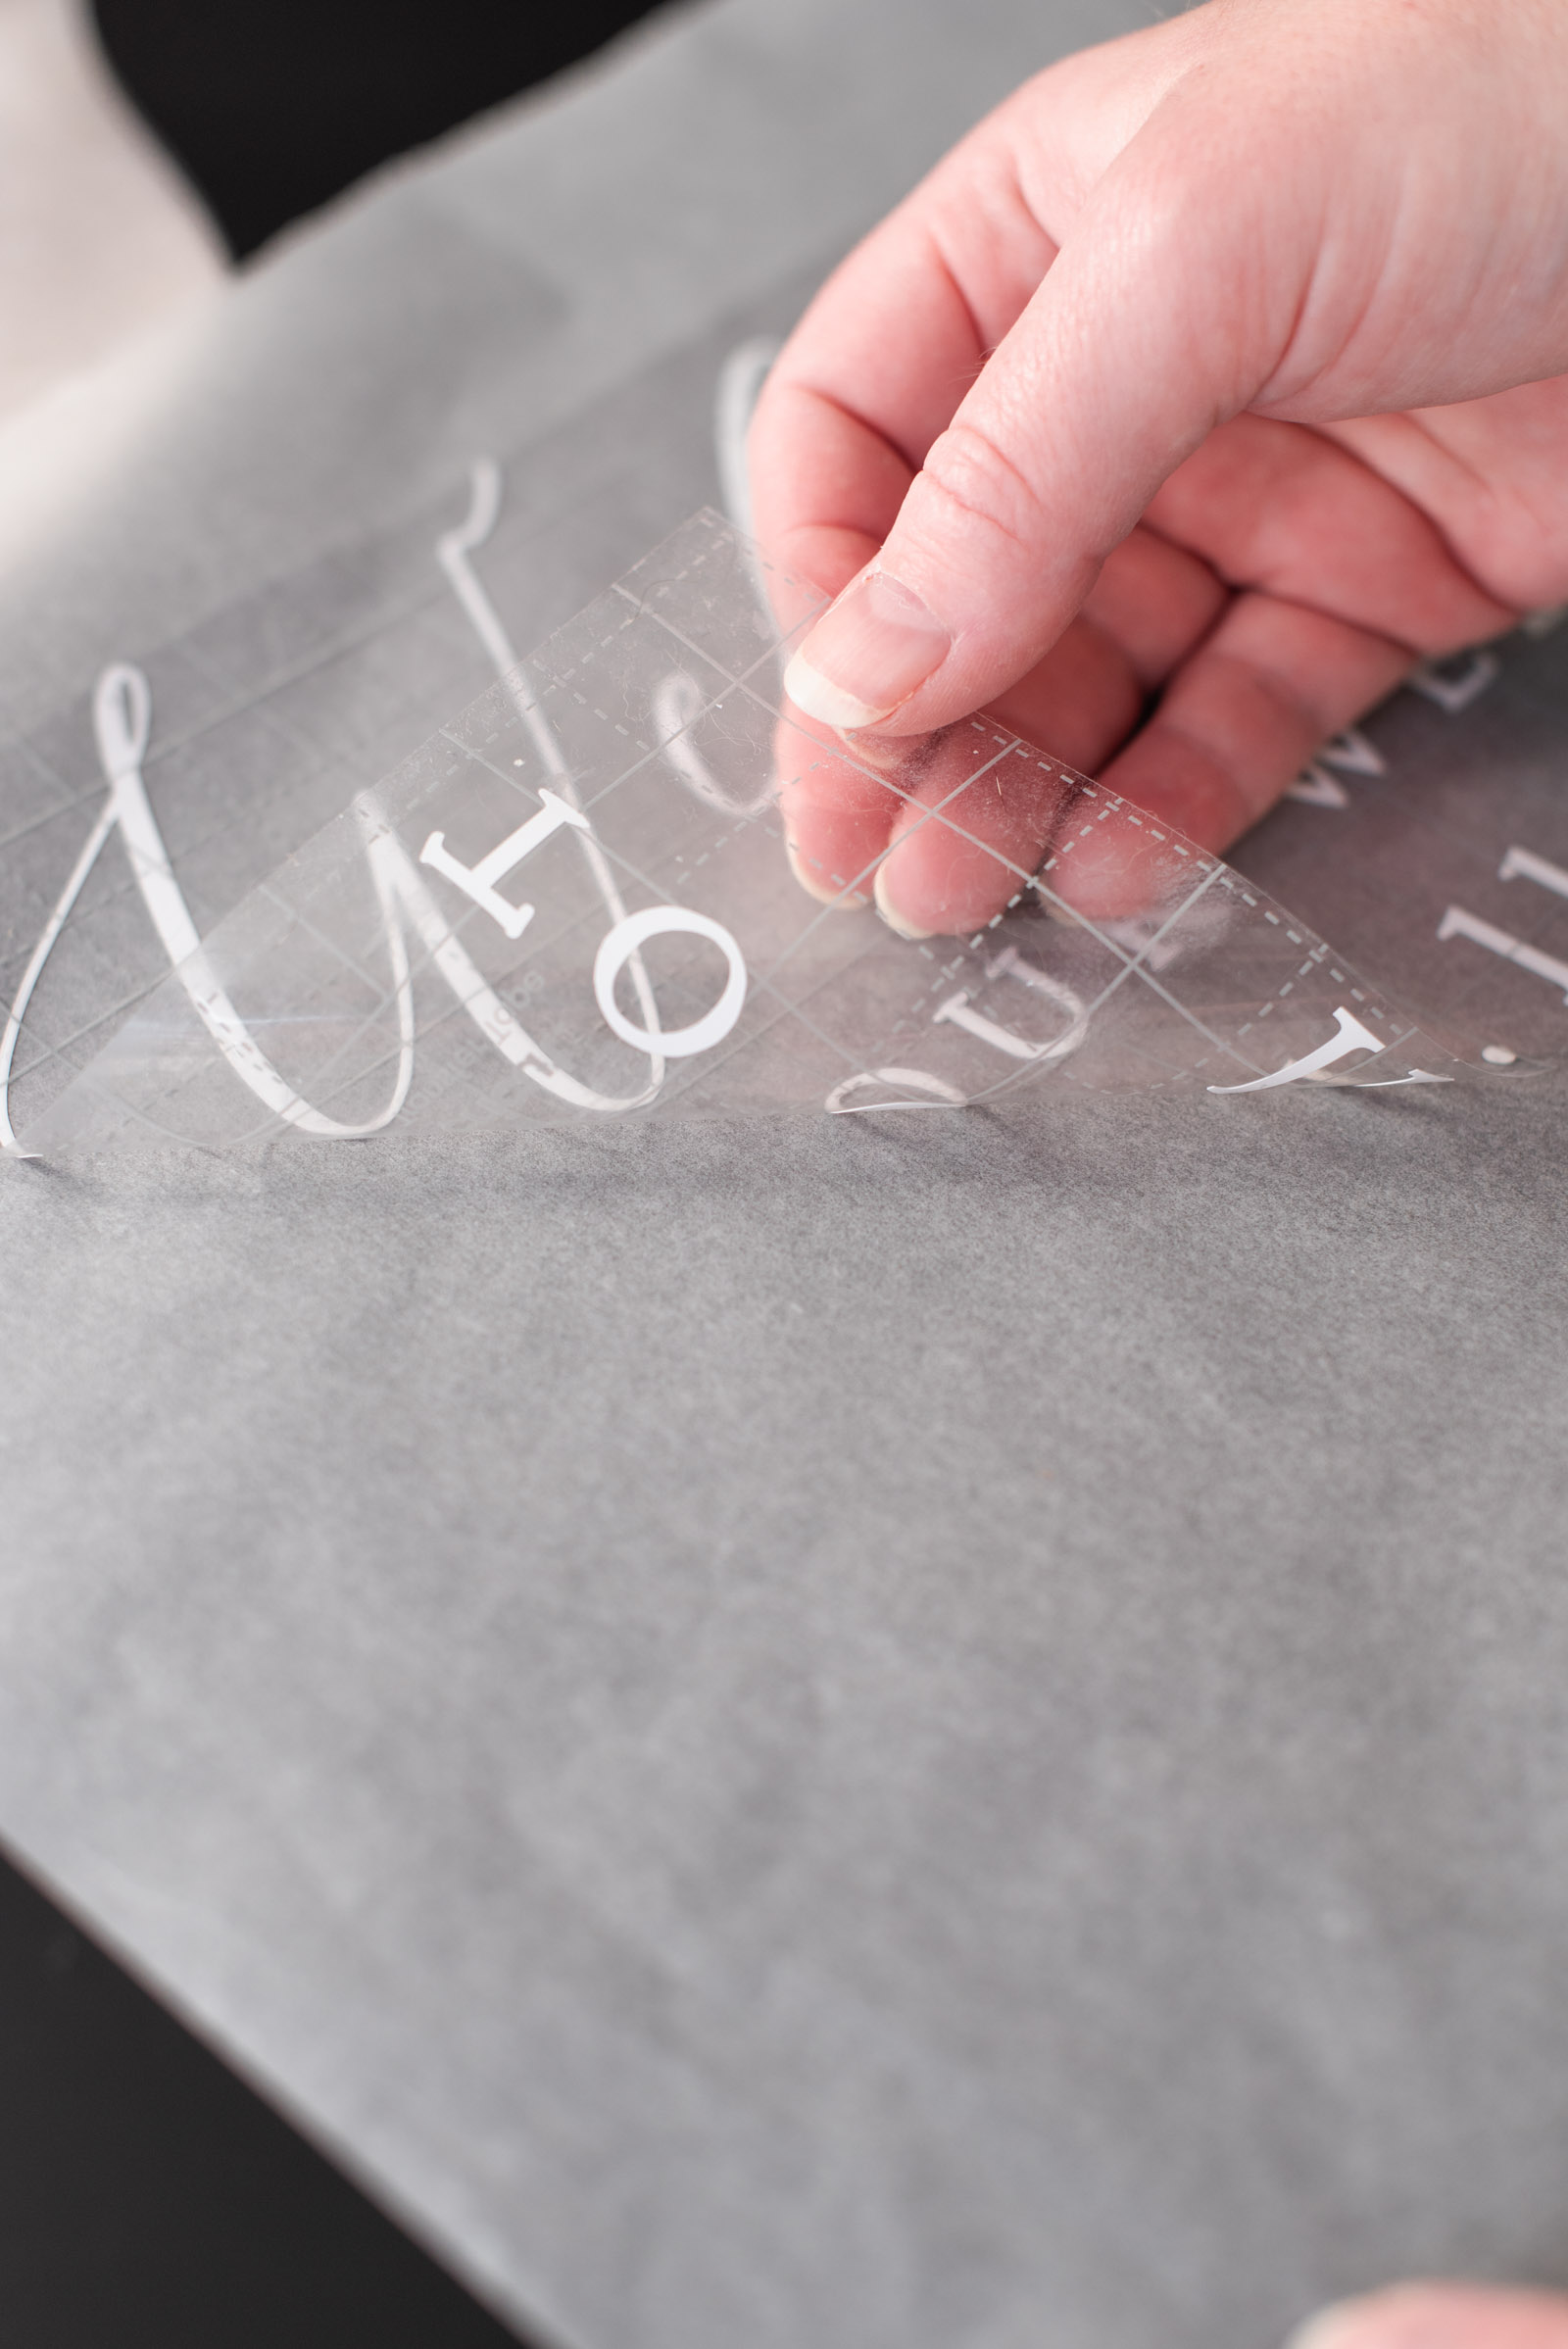
7Use greaseproof paper hack. Because this is a large design, it can be difficult to place it perfectly on the first try, so use this greaseproof paper hack: cut a sheet of greaseproof paper slightly larger than your design and lay it on your work surface. Place the sticky side of your vinyl on the greaseproof paper, with the transfer tape sheet on top. Rub the transfer tape with your hands or scraper tool over the layers for a light adhesion. This will give you some placement flexibility in the next step.
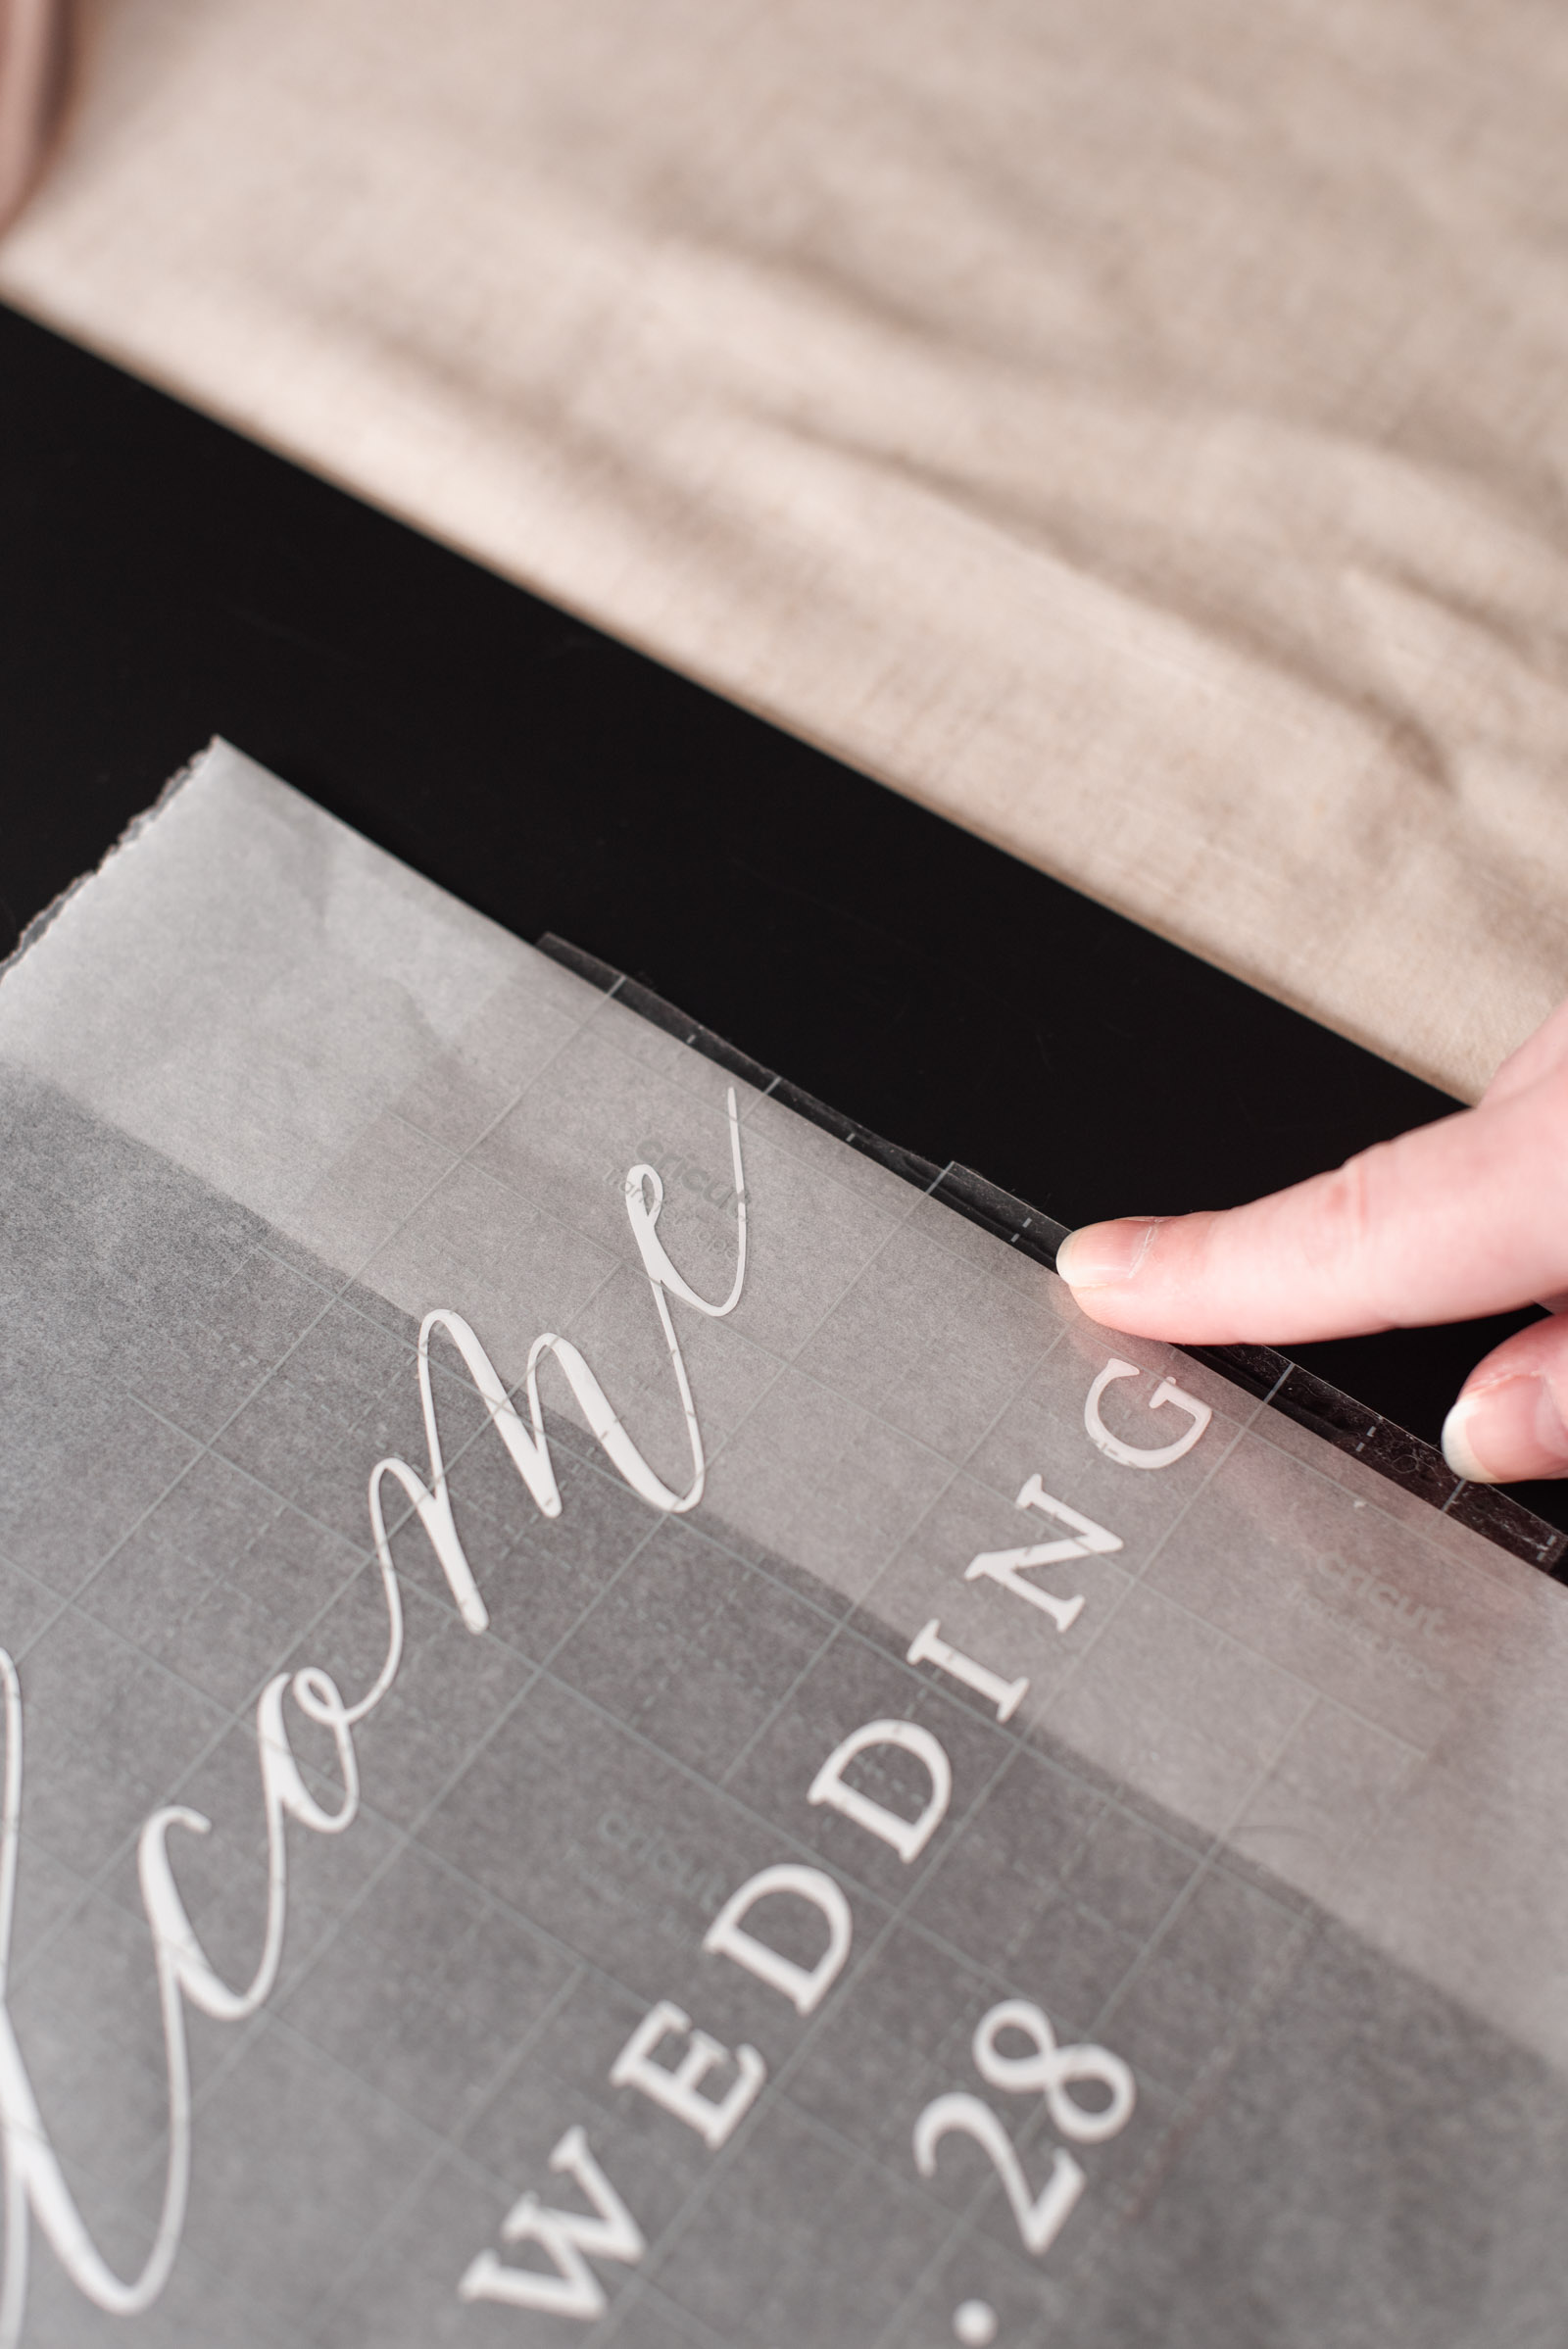
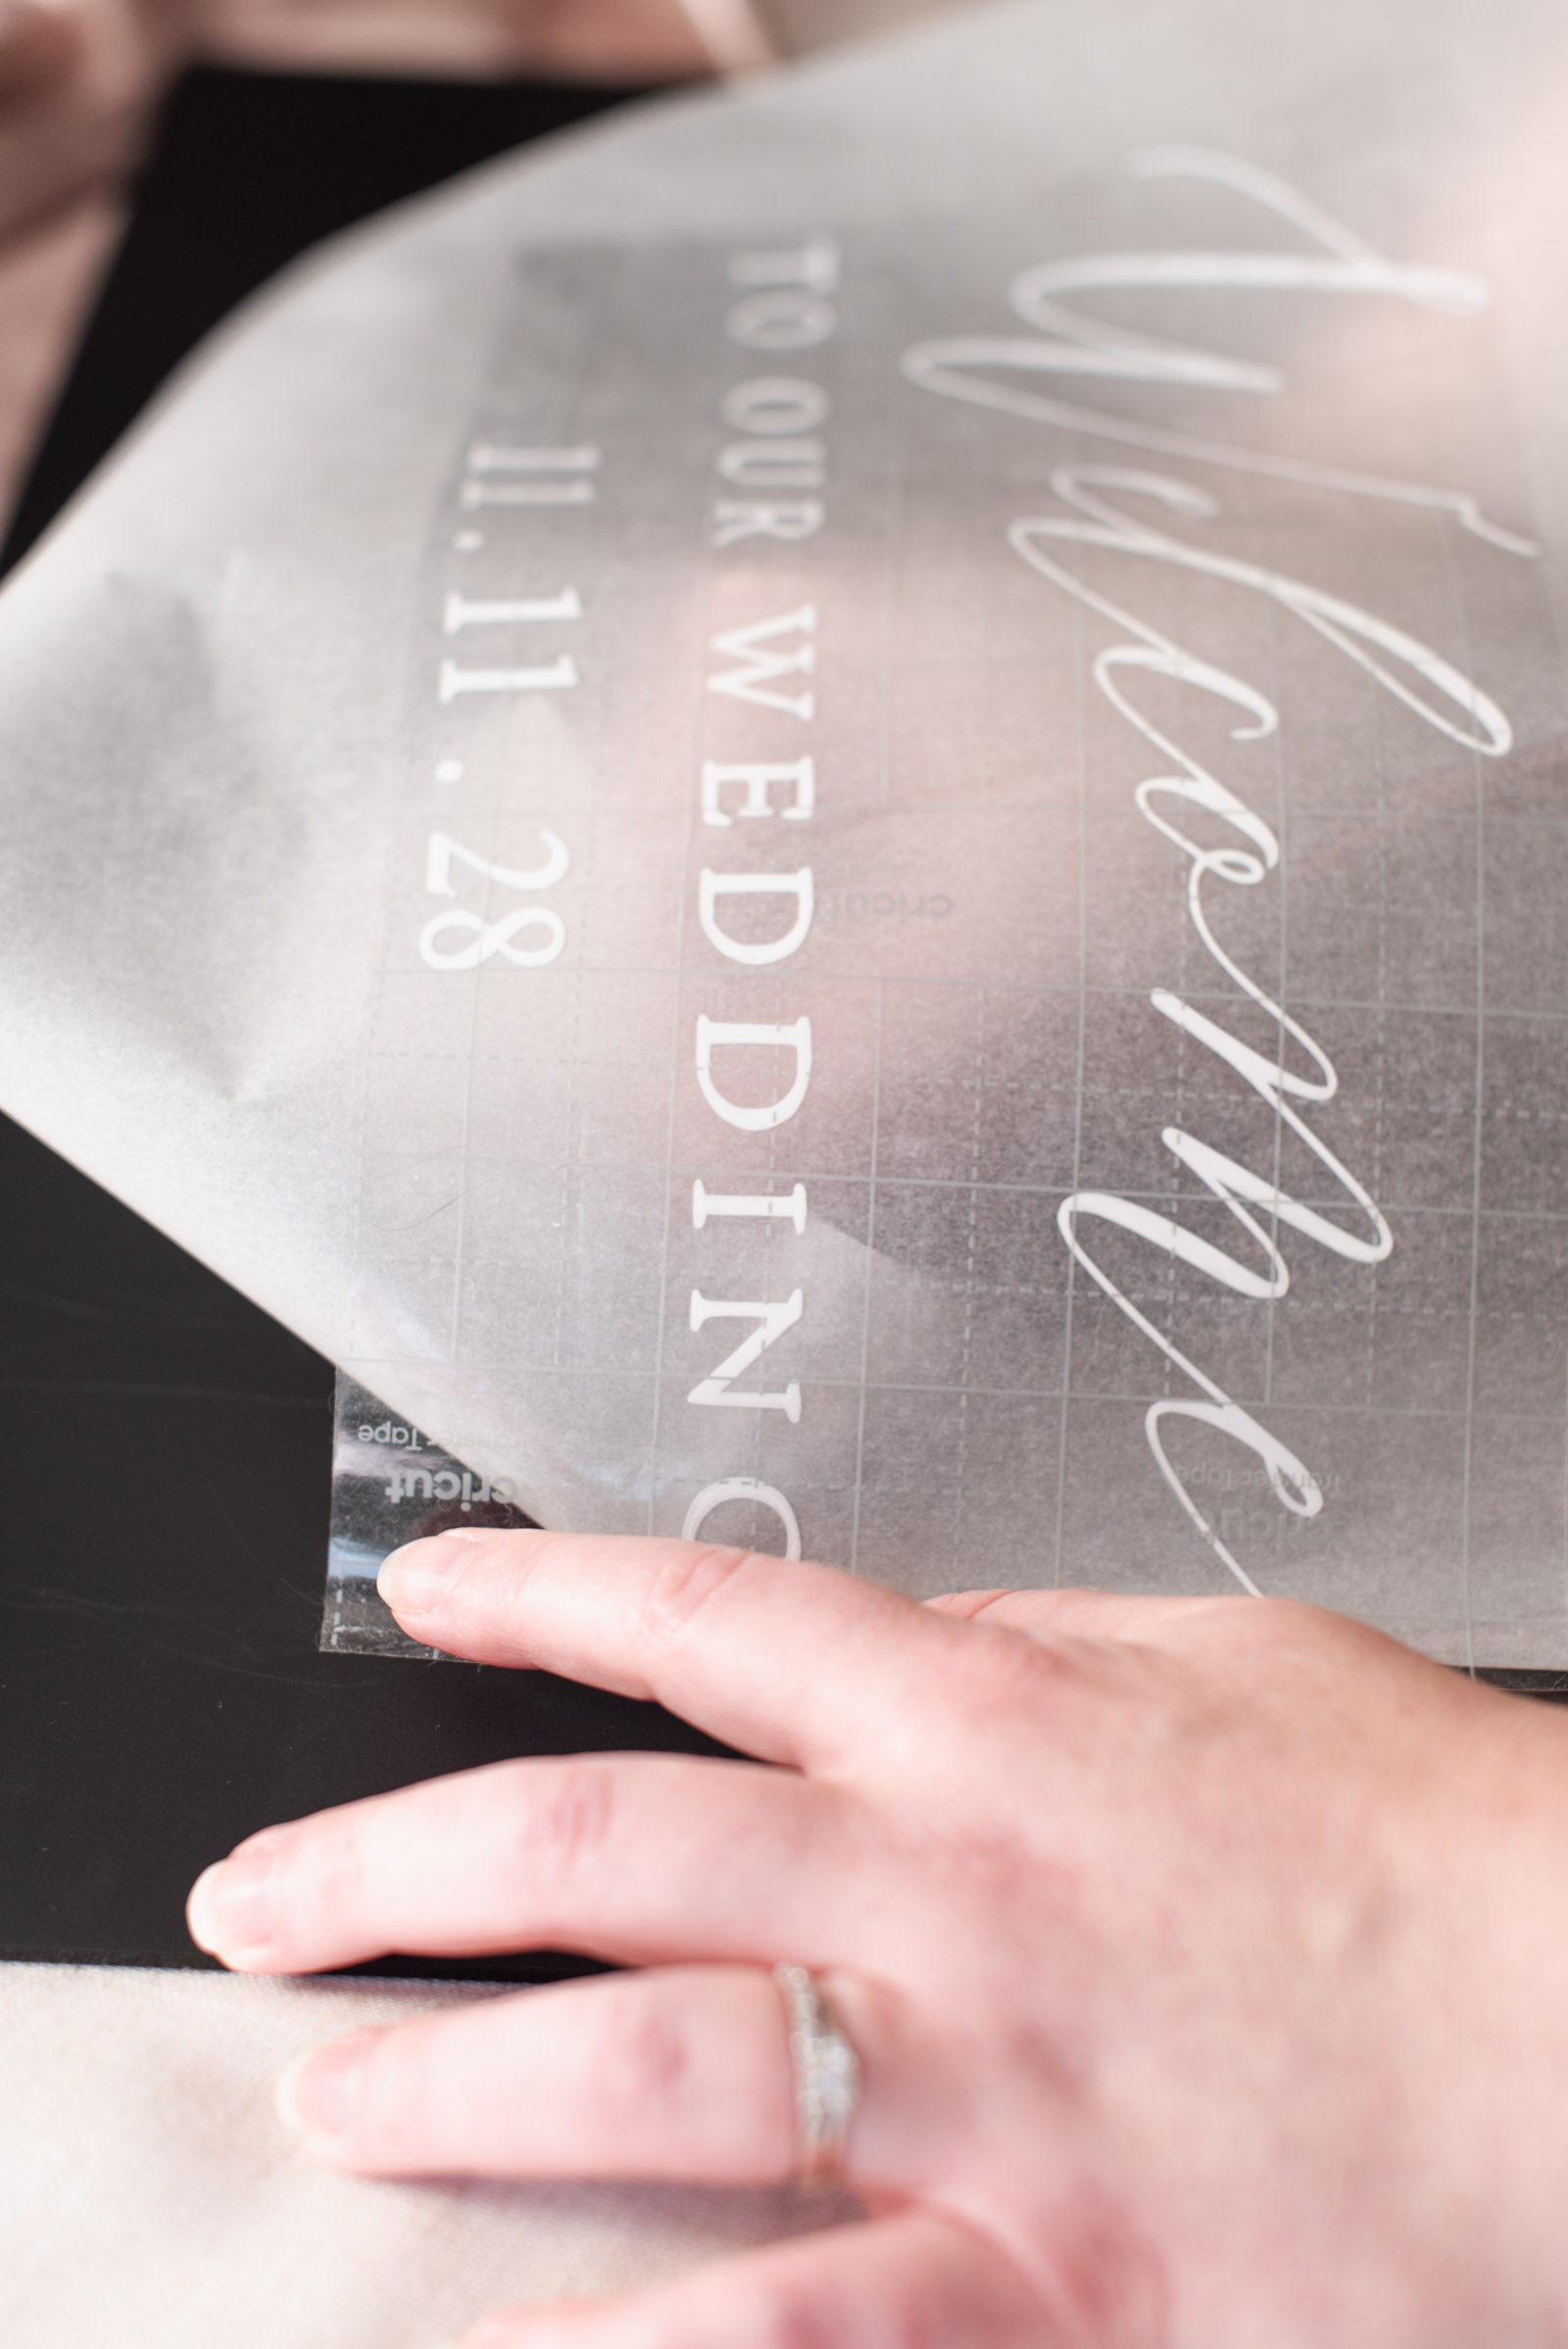
8Adjust your vinyl. To transfer the vinyl to your sign, first fold down a side edge of the greaseproof paper so just a small strip of the sticky transfer tape is visible, then position it on your sign without applying pressure. Adjust the position of your design so it's exactly where you want it, then slowly peel some of the greaseproof paper down without exposing the vinyl. Check and adjust the position of the transfer paper as needed.
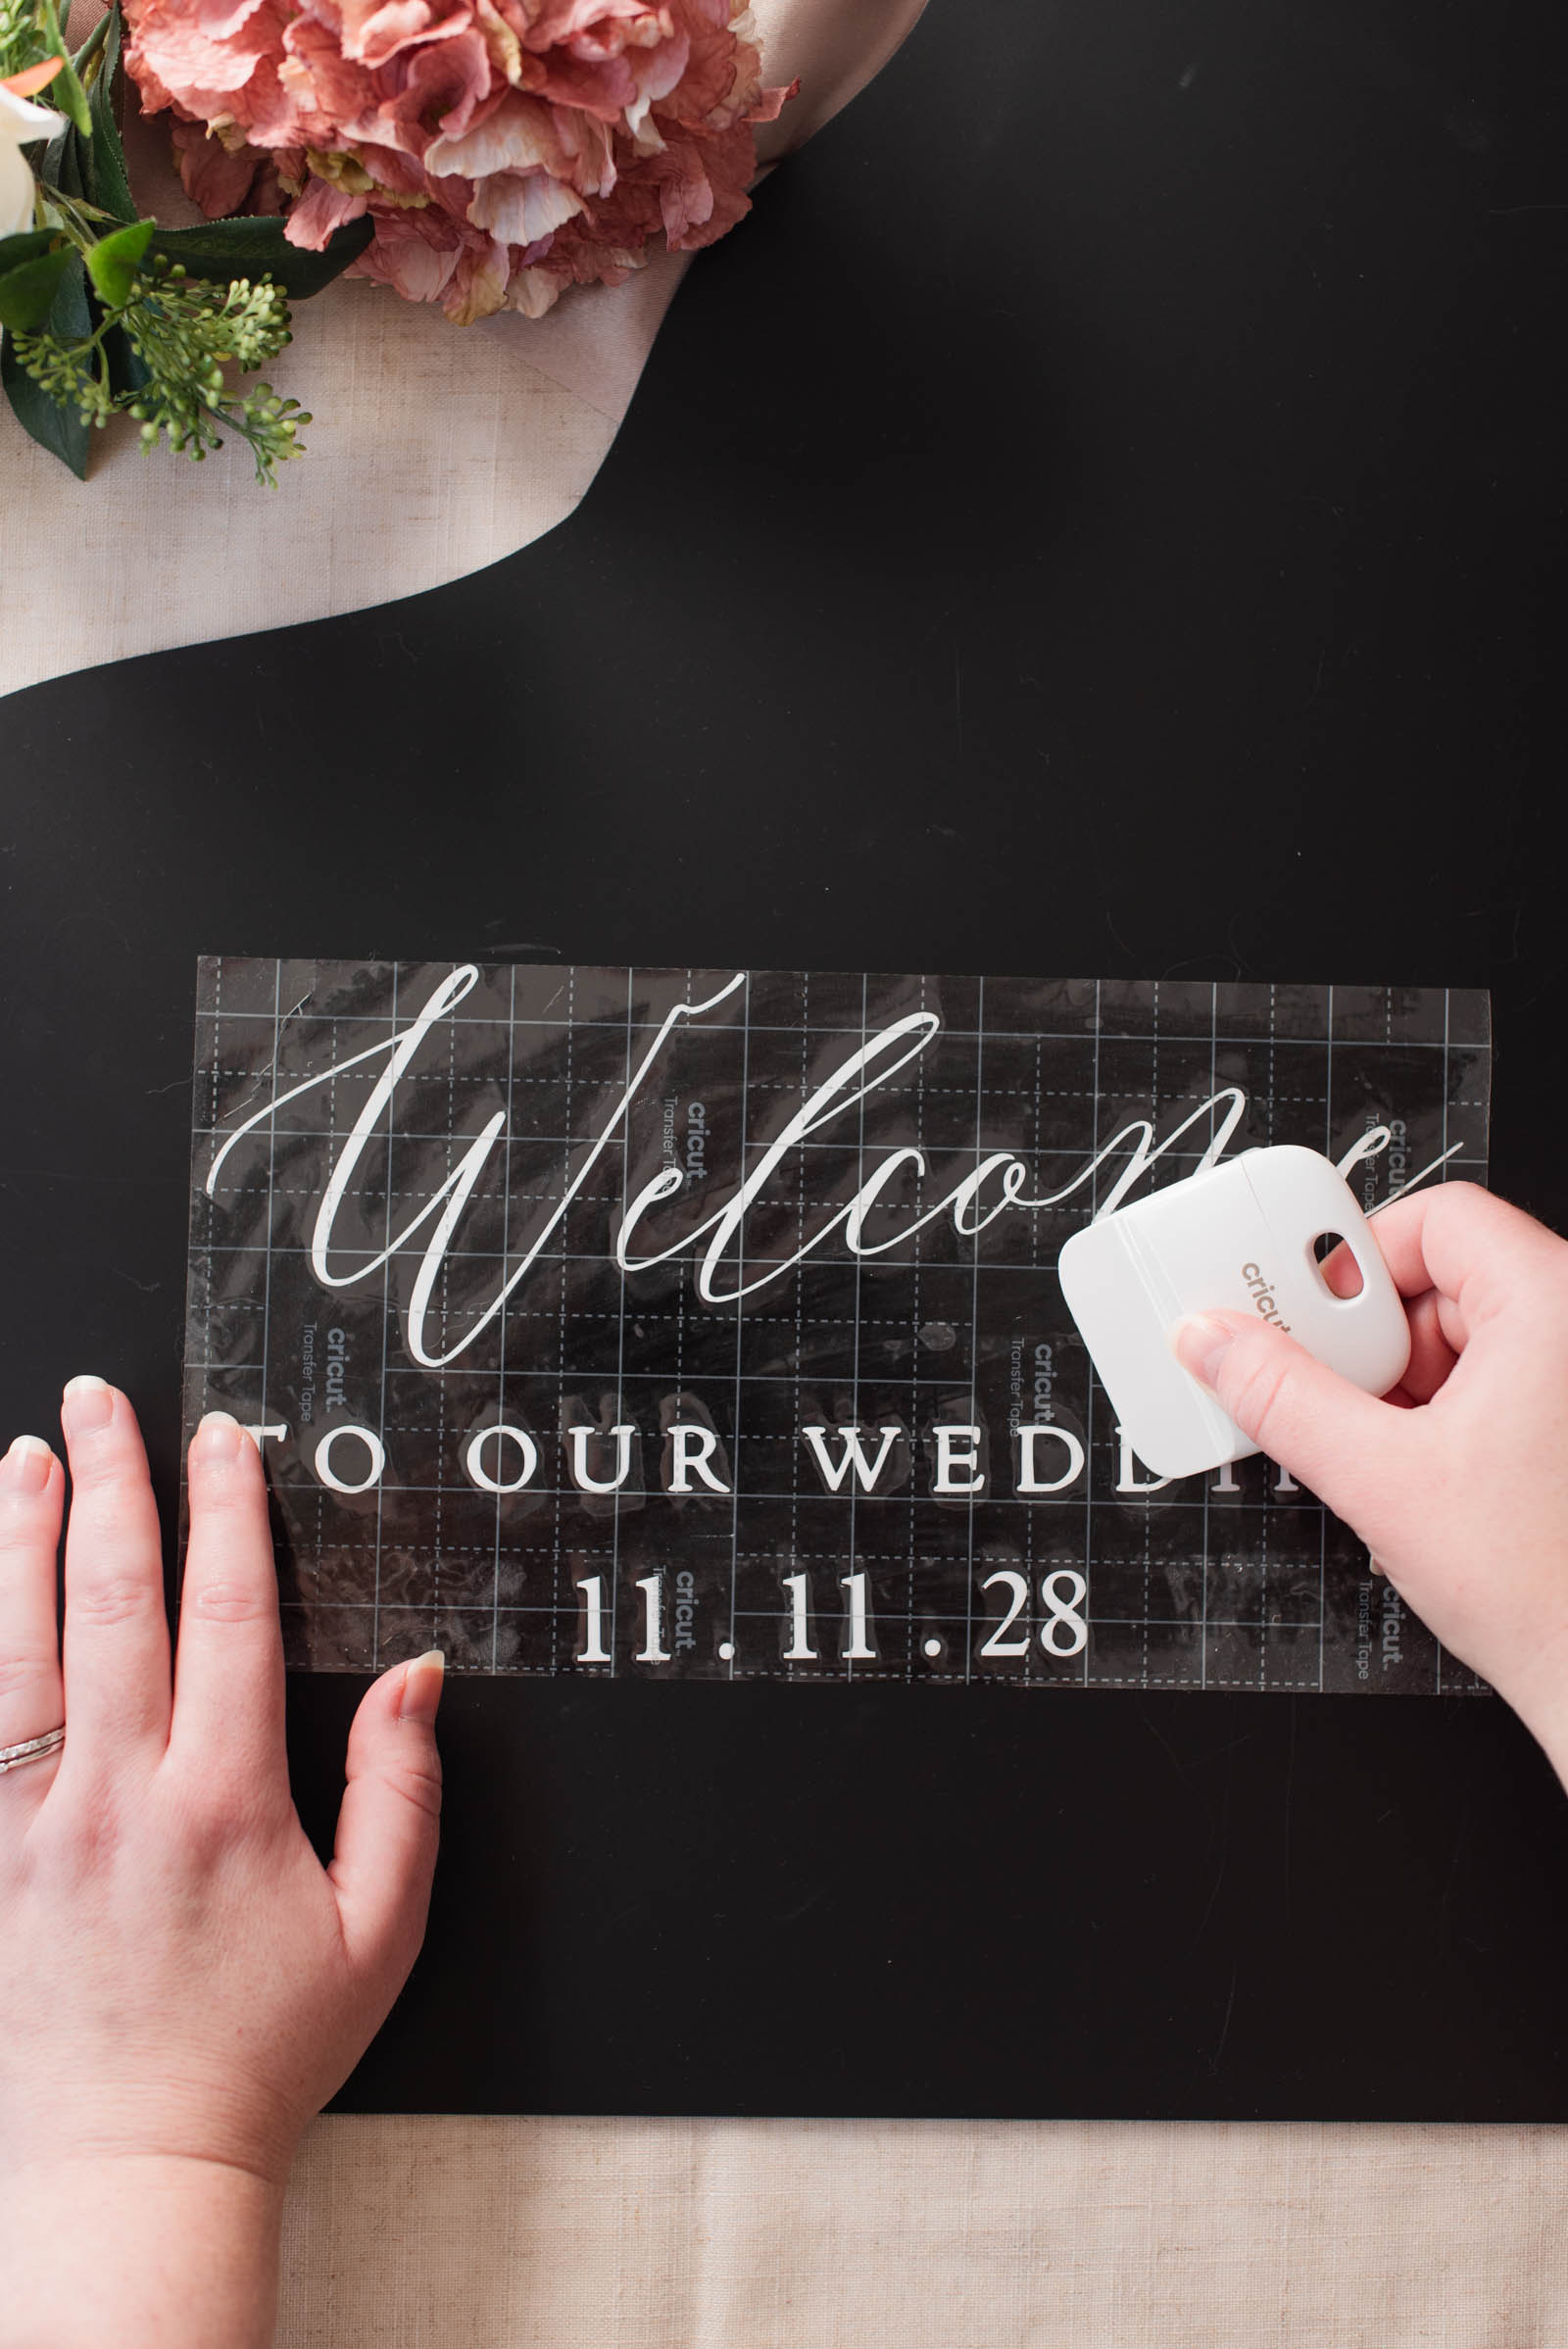
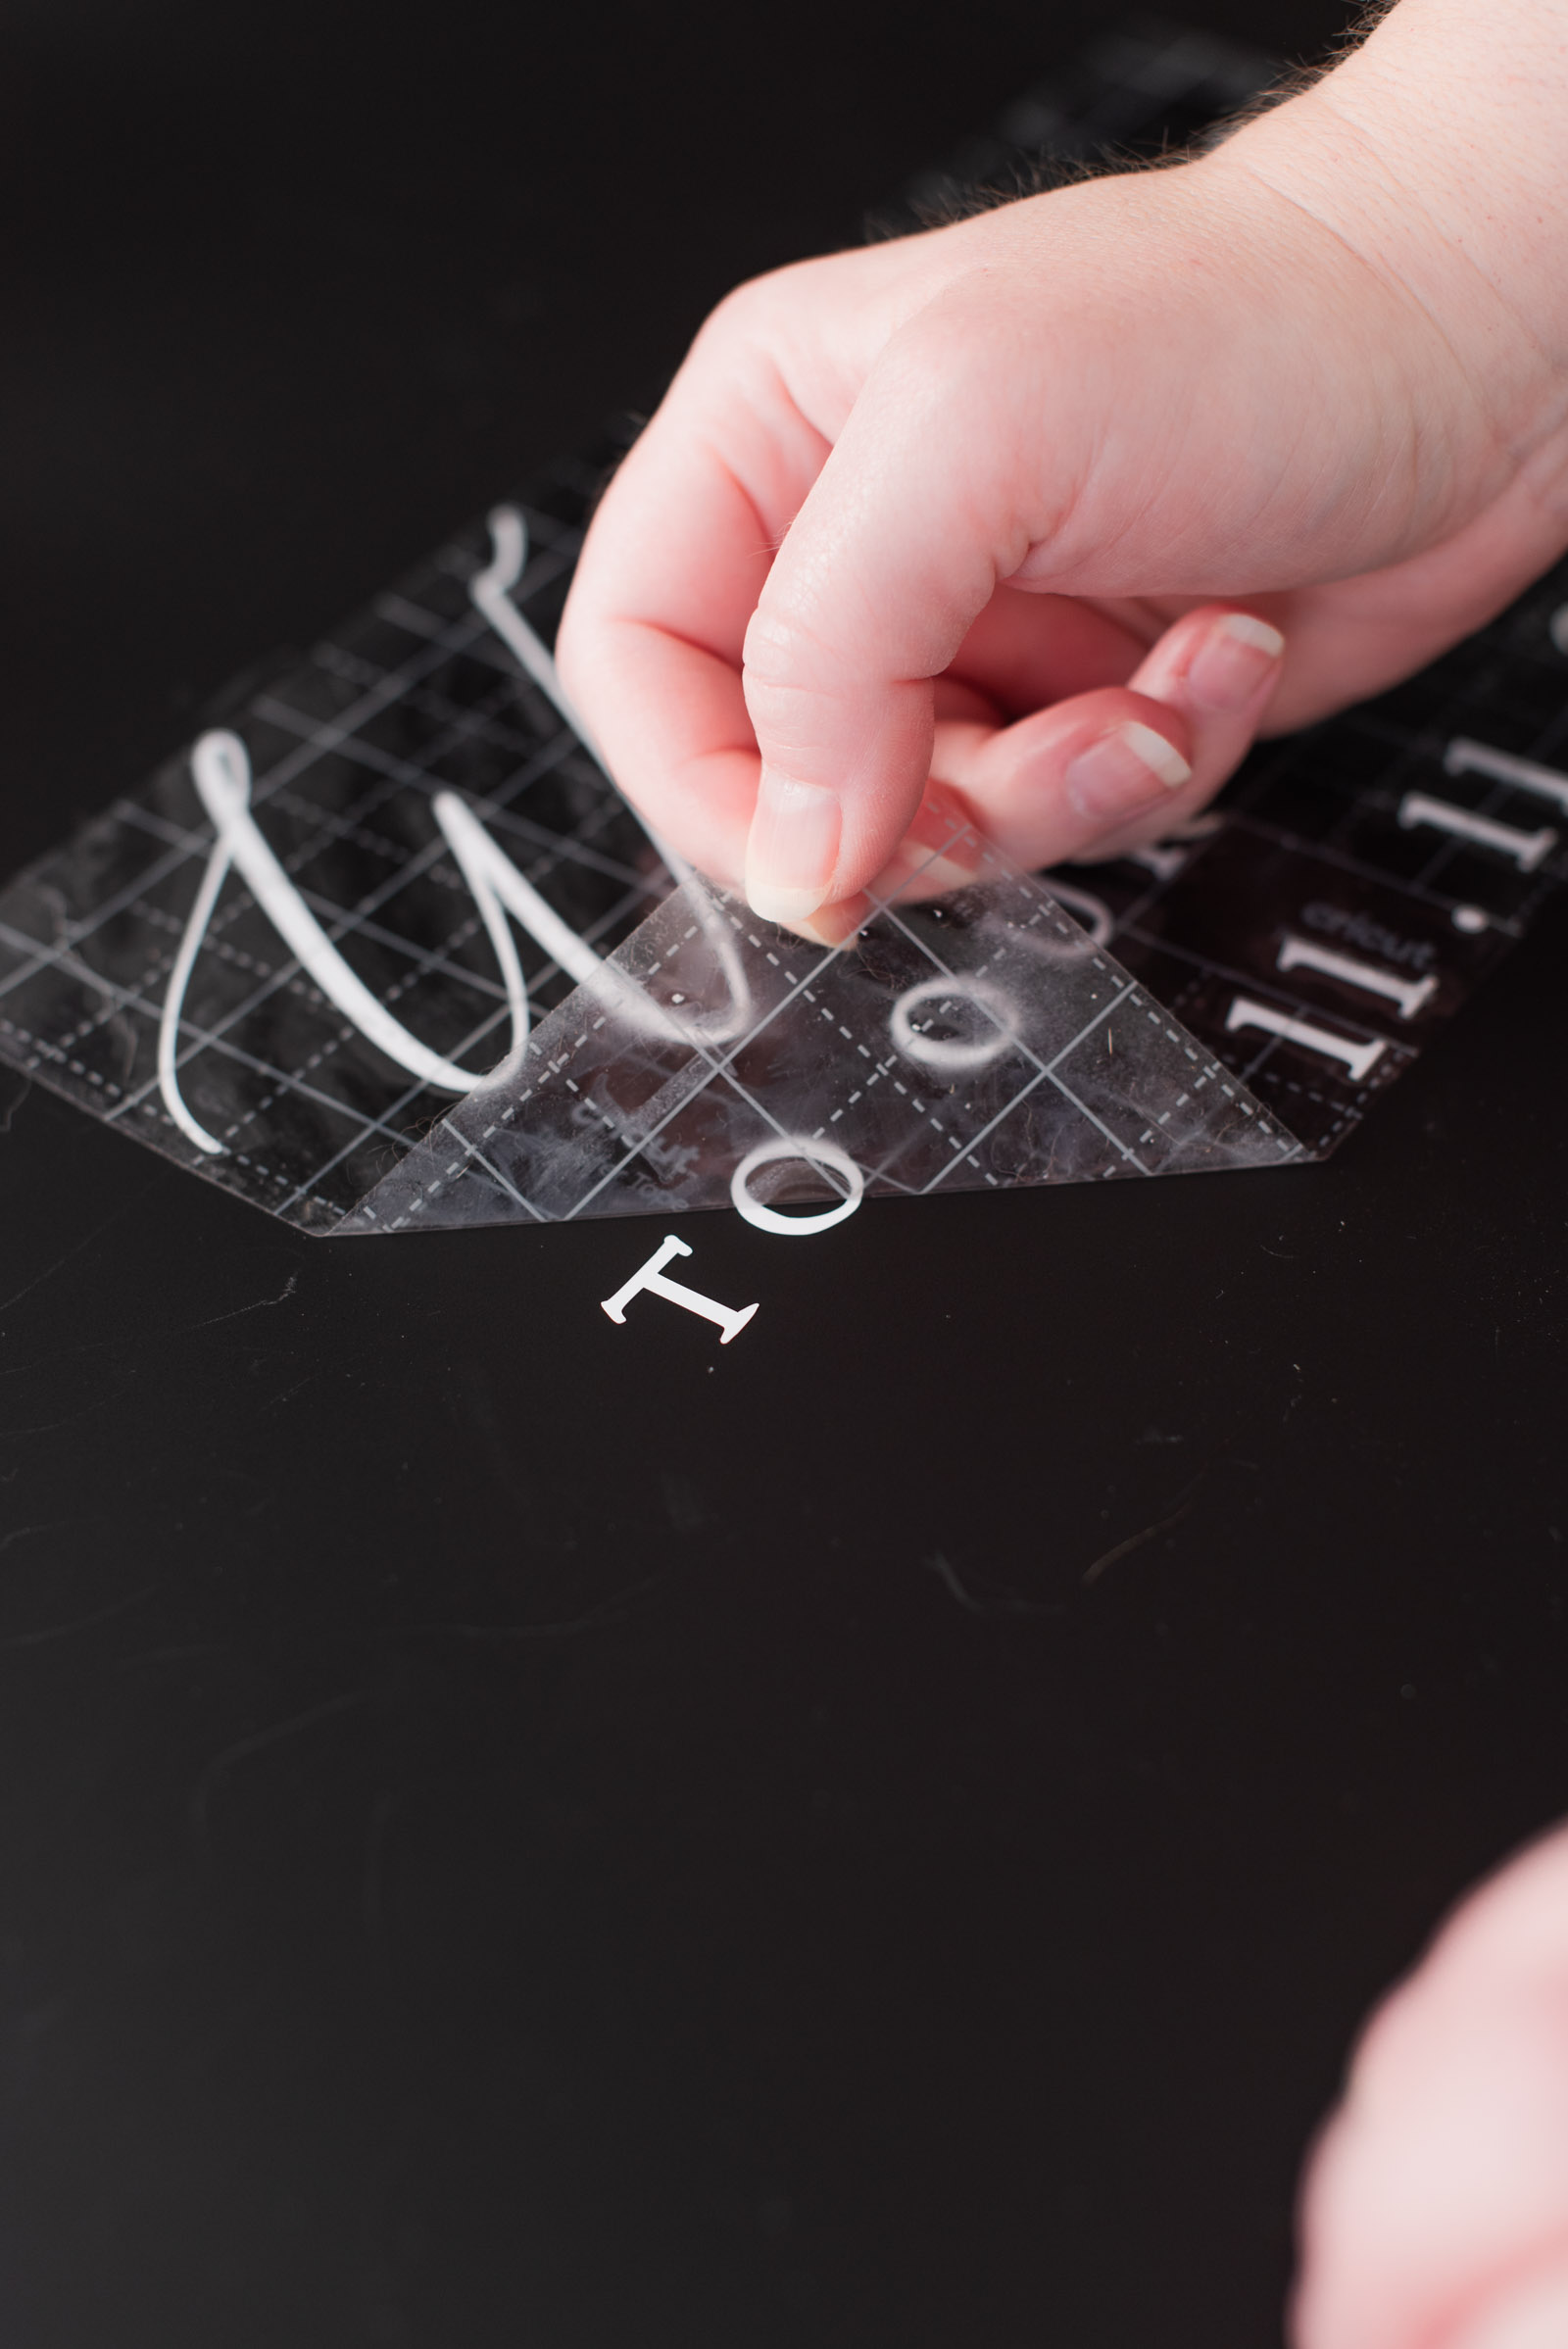
9Apply to your sign. Once you're happy with the placement, slowly pull away the rest of the greaseproof paper, allowing the transfer tape and vinyl to settle onto your sign. Now use your scraper tool to rub the transfer tape so the vinyl sticks to your sign base. Slowly peel back the transfer tape. If you see any air bubbles in your vinyl, place the greaseproof paper back on top and use your scraper tool again to gently work out any bubbles. Don’t underestimate using your fingernails as well for any fiddly bits!
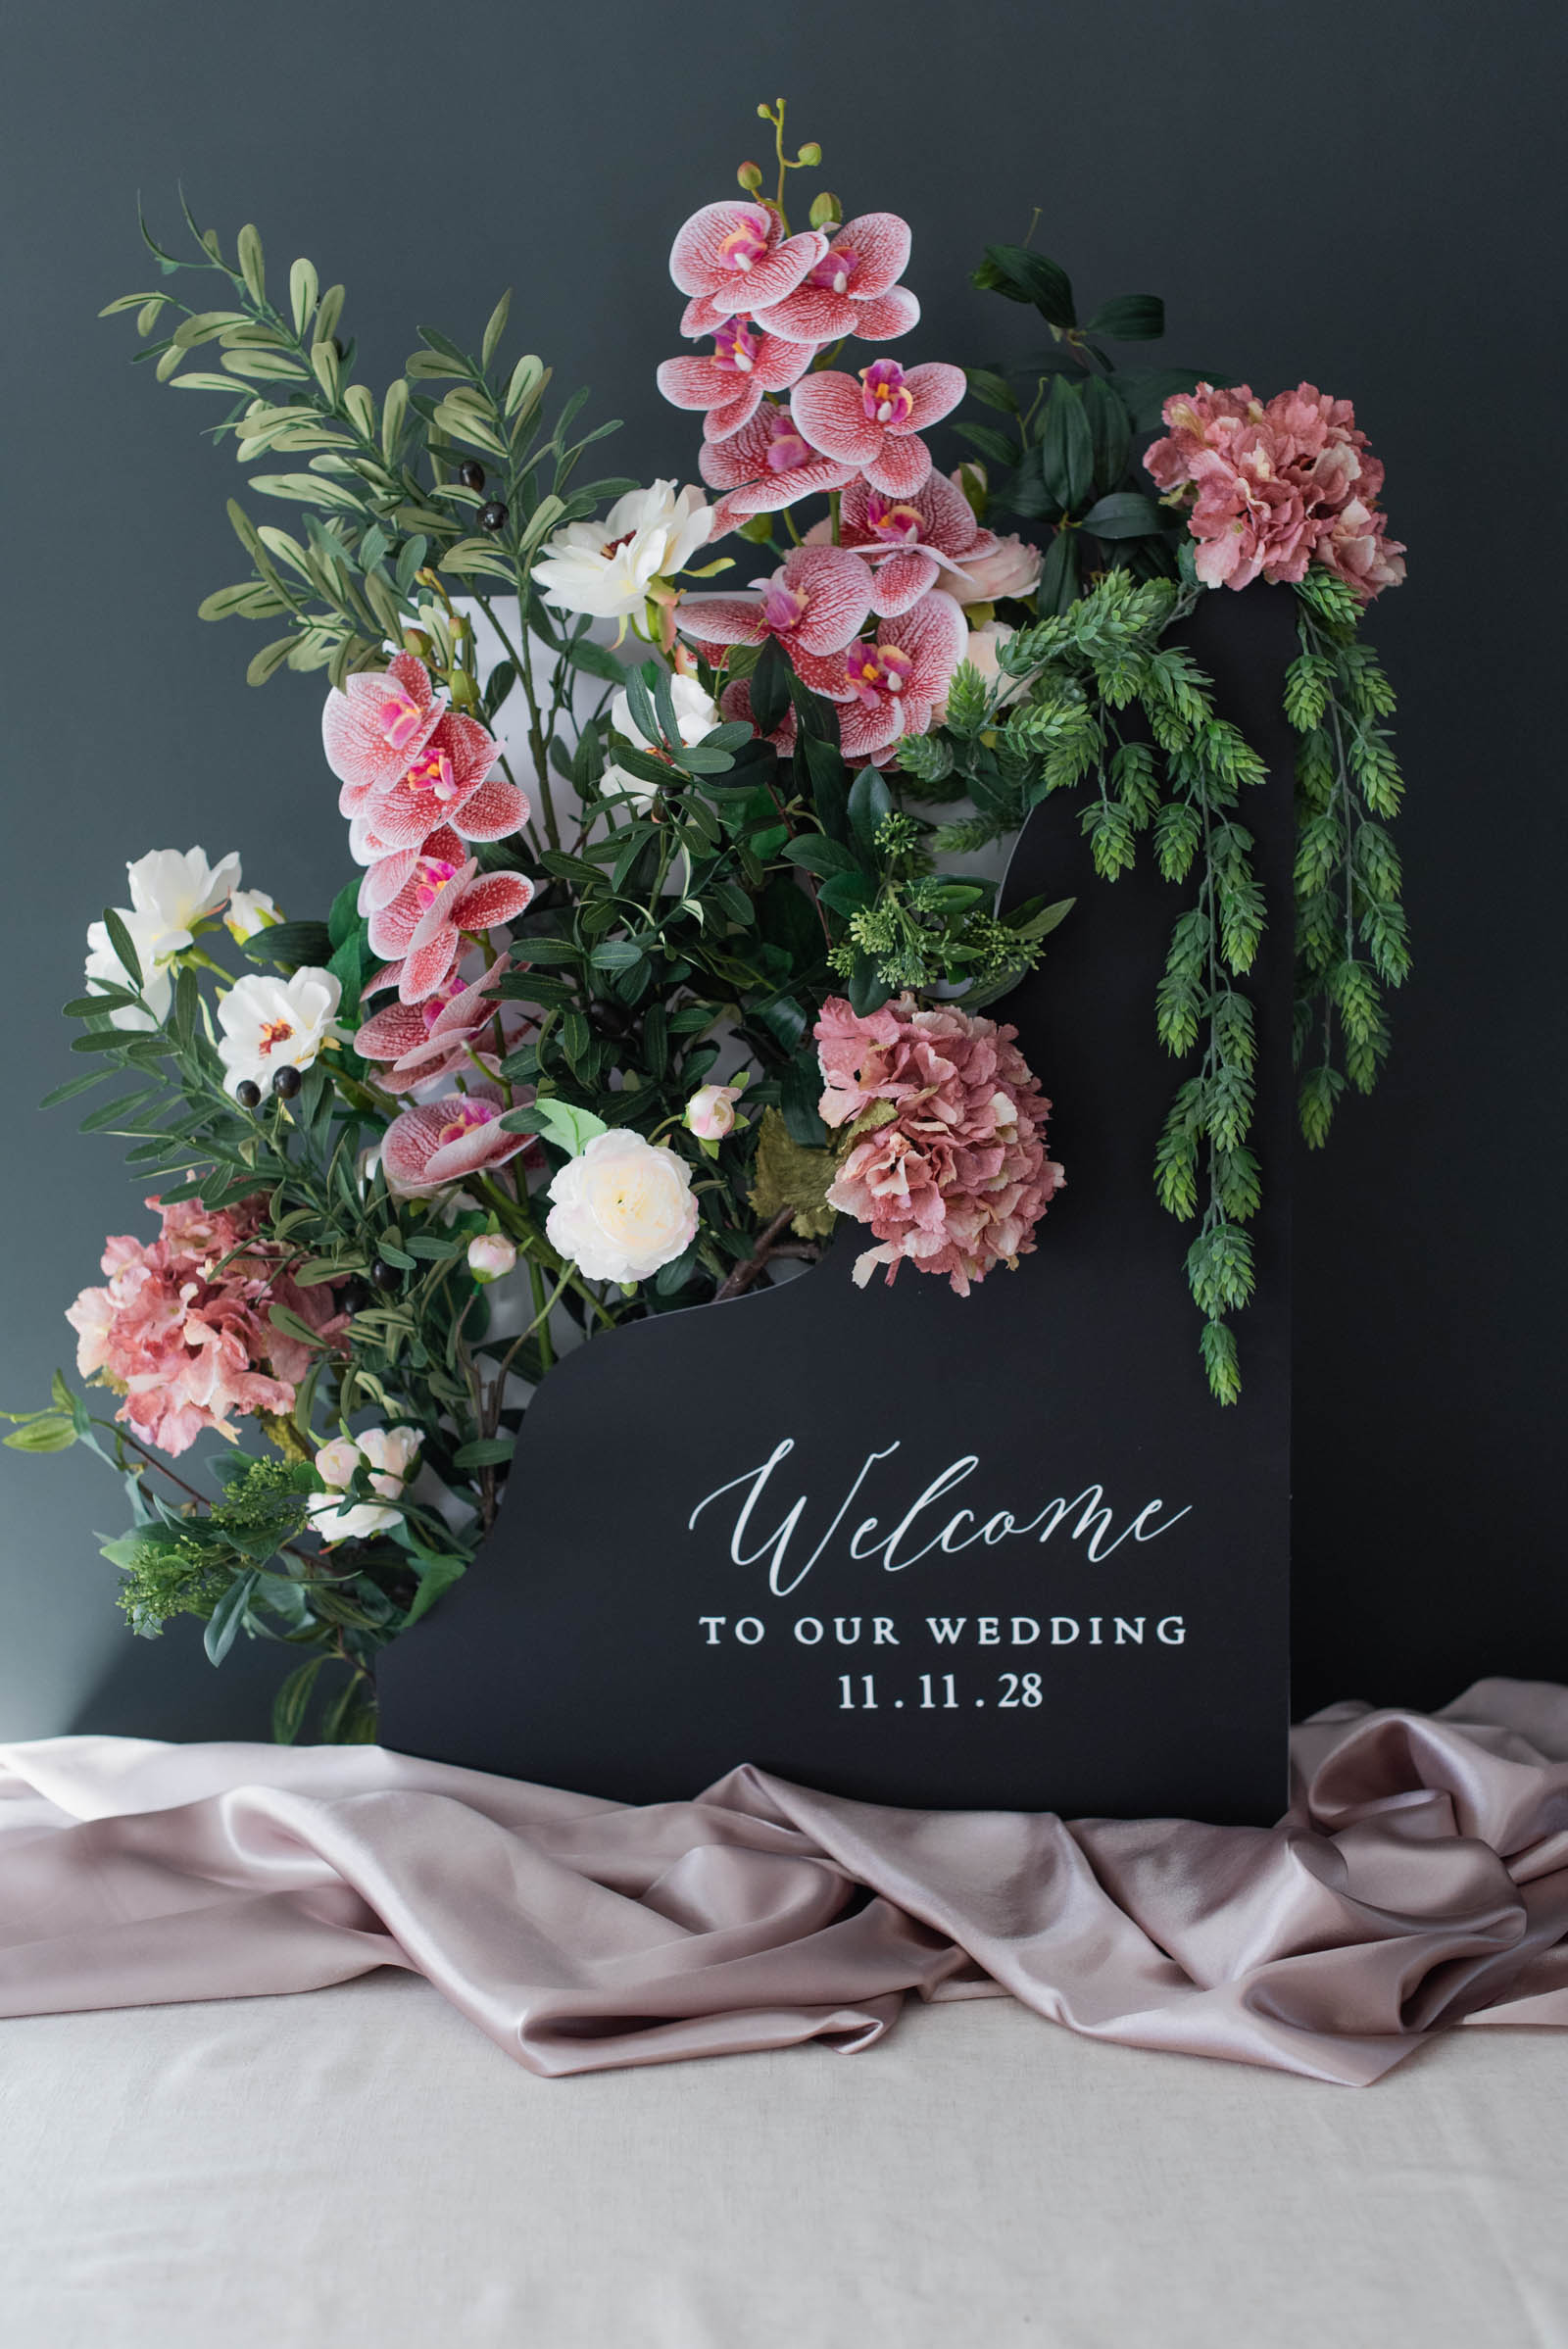
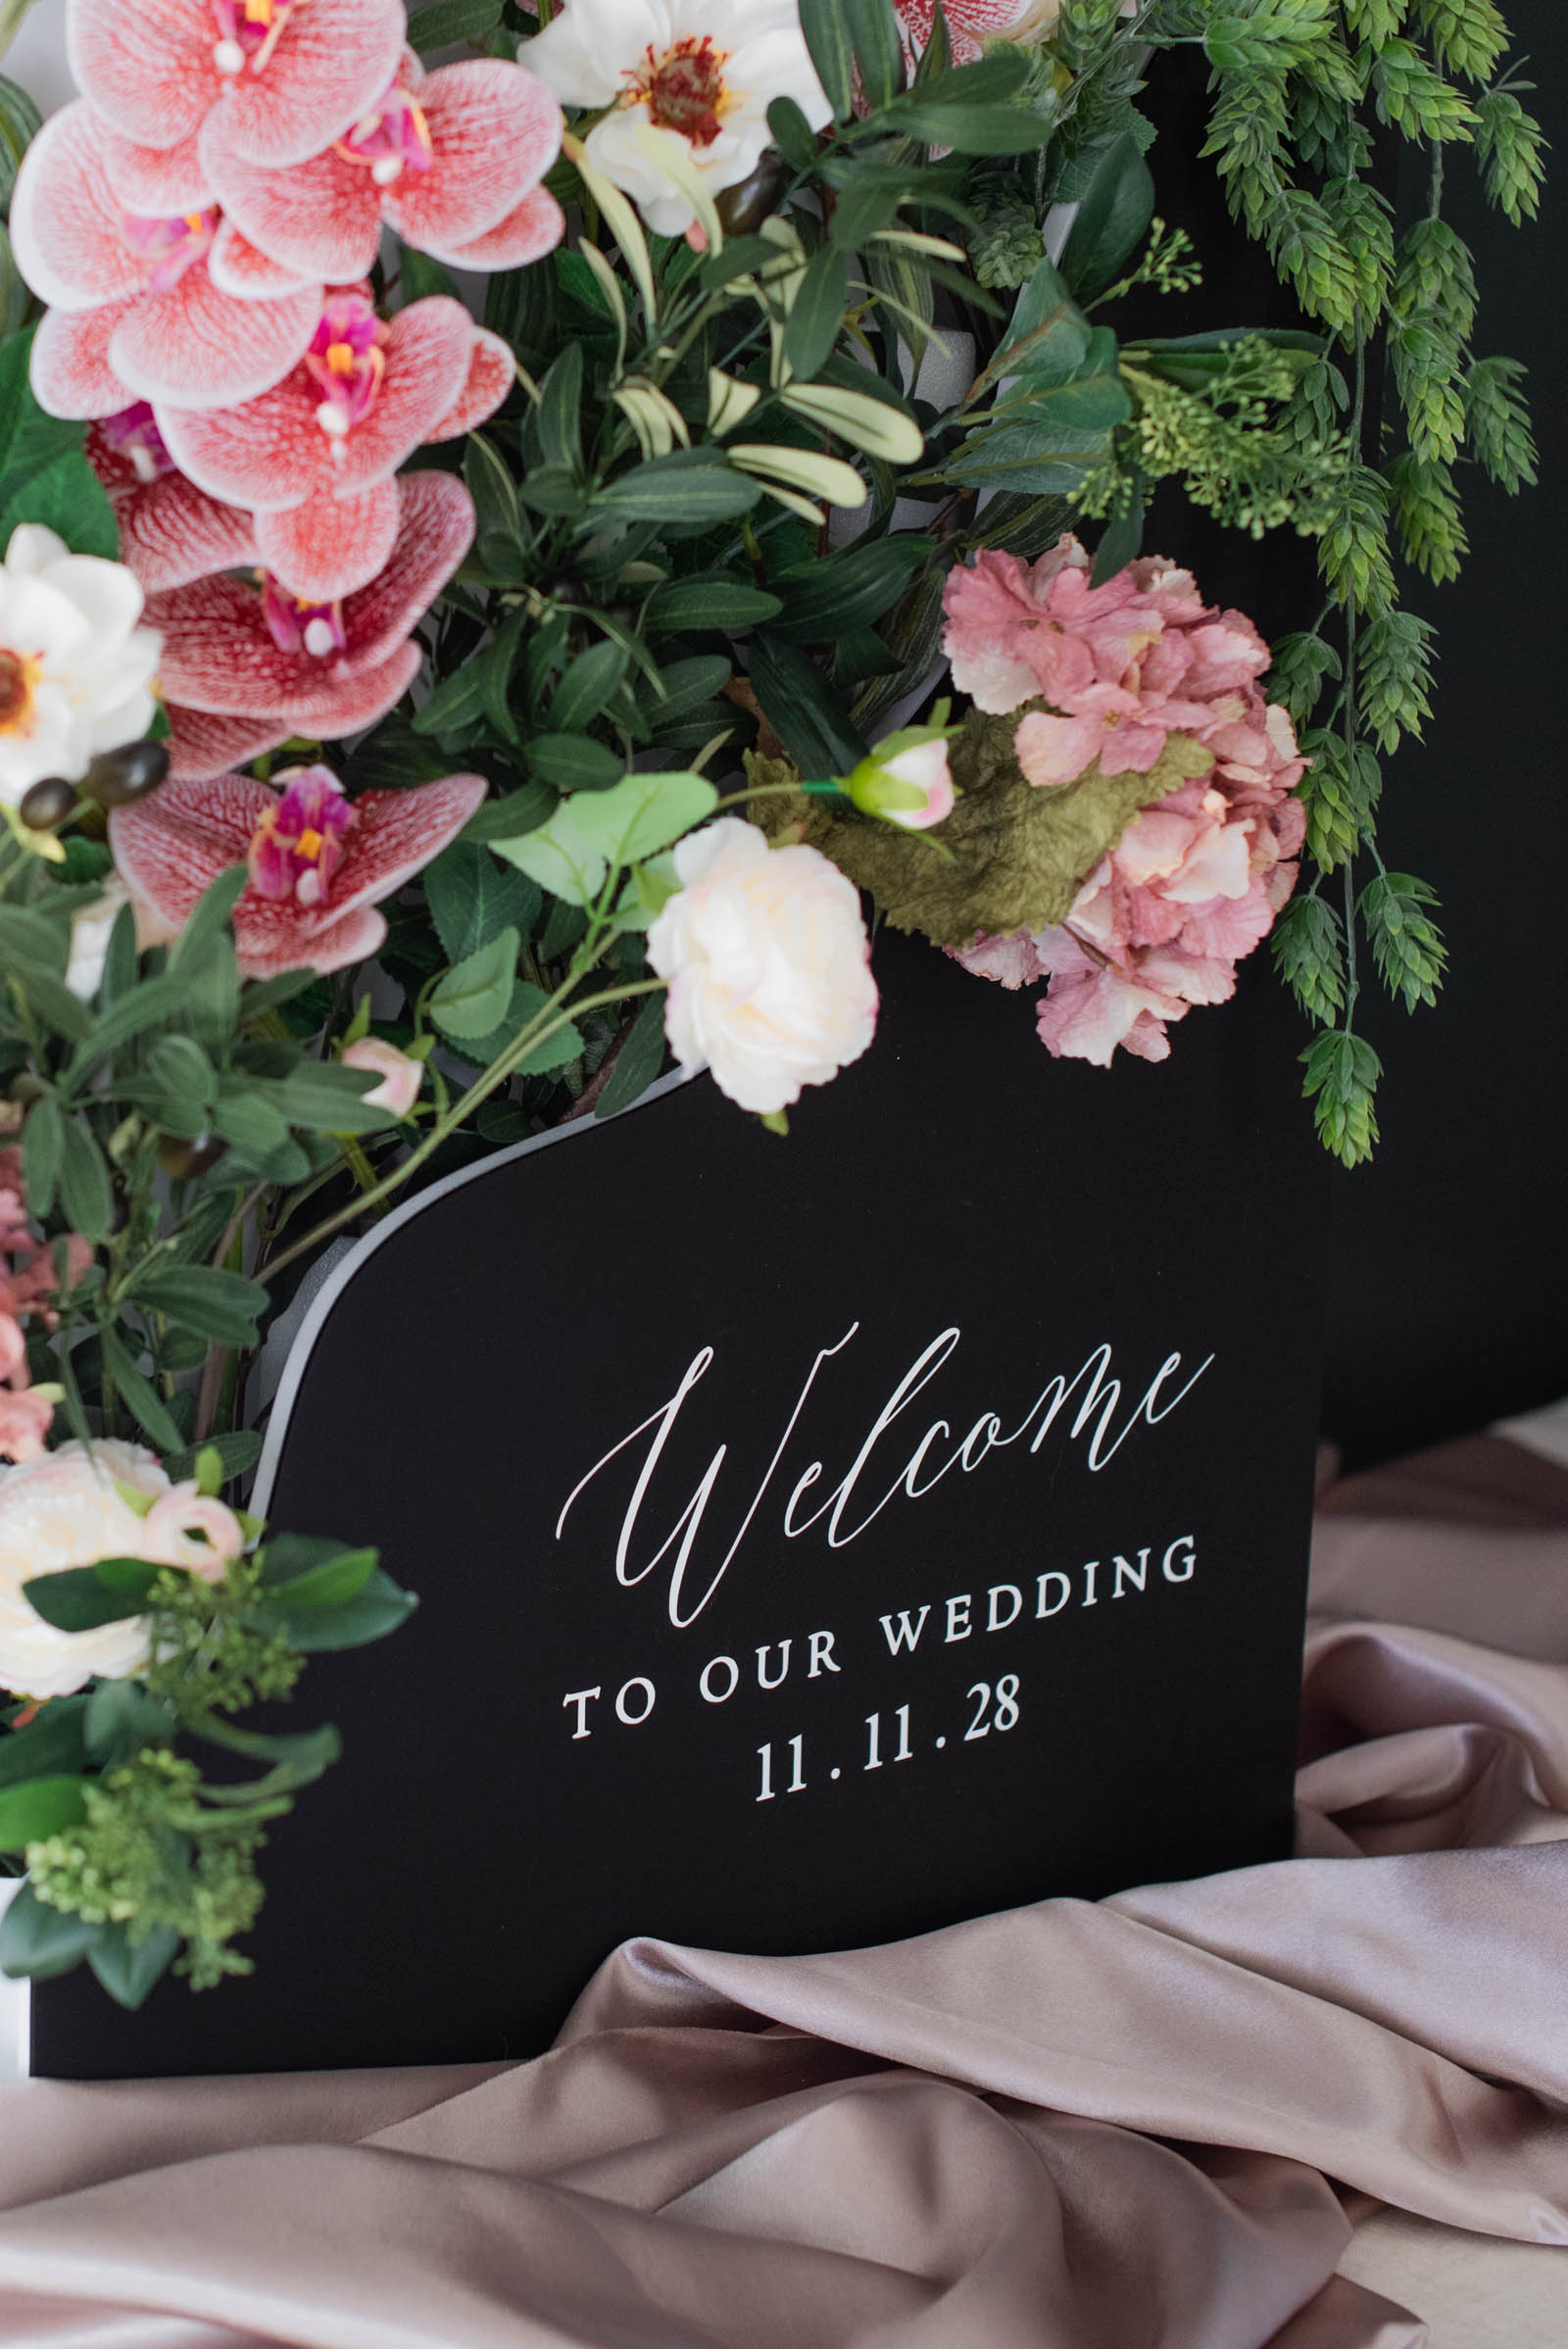
10Decorate. Before the big day, fill your flower box with faux blooms that match your theme. We've used reusable foam noodles (yes, like the pool kind!) to keep our flowers in place inside of the box. For this size flower box, we've used 3 olive branch sprays, 3 ruffled hydrangeas, 2 raspberry ripple orchids, 2 waterlily dahlias, and 1 spray of green hops from Craft Market (all linked in the above supply list). We've also added in some sprigs of greenery and white roses from our own stash. Once you're happy with how it looks, your flower box welcome sign is now ready to be stored until the wedding!
FAQs About Cricut Joy Wedding Sign Projects
How do I slice a design in Design Space if my sign images are too wide for the Cricut Joy?
If you have a large graphic element or giant focal word that exceeds the 4.5" (11.4cm) cut width limit or needs more flexibility than just having it cut length-wise with Smart Vinyl, you can use the Slice Tool in Cricut Design Space. Add a basic square shape to your Canvas, unlock the proportions, stretch it into a long rectangle (use the size of your cutting mat or material as a guide), and place it over your design where you want to split it. Select both the design and the shape, click Slice, and delete the slice leftover pieces. This cuts your large design into joining tiles that you can piece back together on your sign board. Do this as many times as needed.
Alternatively, we have also loved the ease of Bearly Arts' free "Off the Mat" tool which makes slicing large designs a breeze for wedding DIYers. Upload your SVG, tell it which Cricut Joy mats you're using, and it allows you to download the sliced SVGs to upload into Design Space. This is more helpful for those not using Smart Vinyl since this is a mat-specific tool.
How do I make sure my vinyl text is straight when putting it on a large sign?
You can eyeball it or you can get technical! For those who prefer more precision, use painter's tape and a long ruler to measure and create visual guides on your sign base. We recommend using our greaseproof paper hack explained in the tutorial above to help you with exact positioning.
What is the best way to prevent bubbles when applying vinyl to smooth sign surfaces?
Whether you are applying vinyl to acrylic, wood, or glass, always apply your decal slowly from one edge to the other rather than dropping the whole sticker down at once. Use a scraper tool held at roughly a 45-degree angle to burnish the transfer tape-vinyl combo as you work your way across the sign.
Personalize Your Wedding Signs of All Sizes
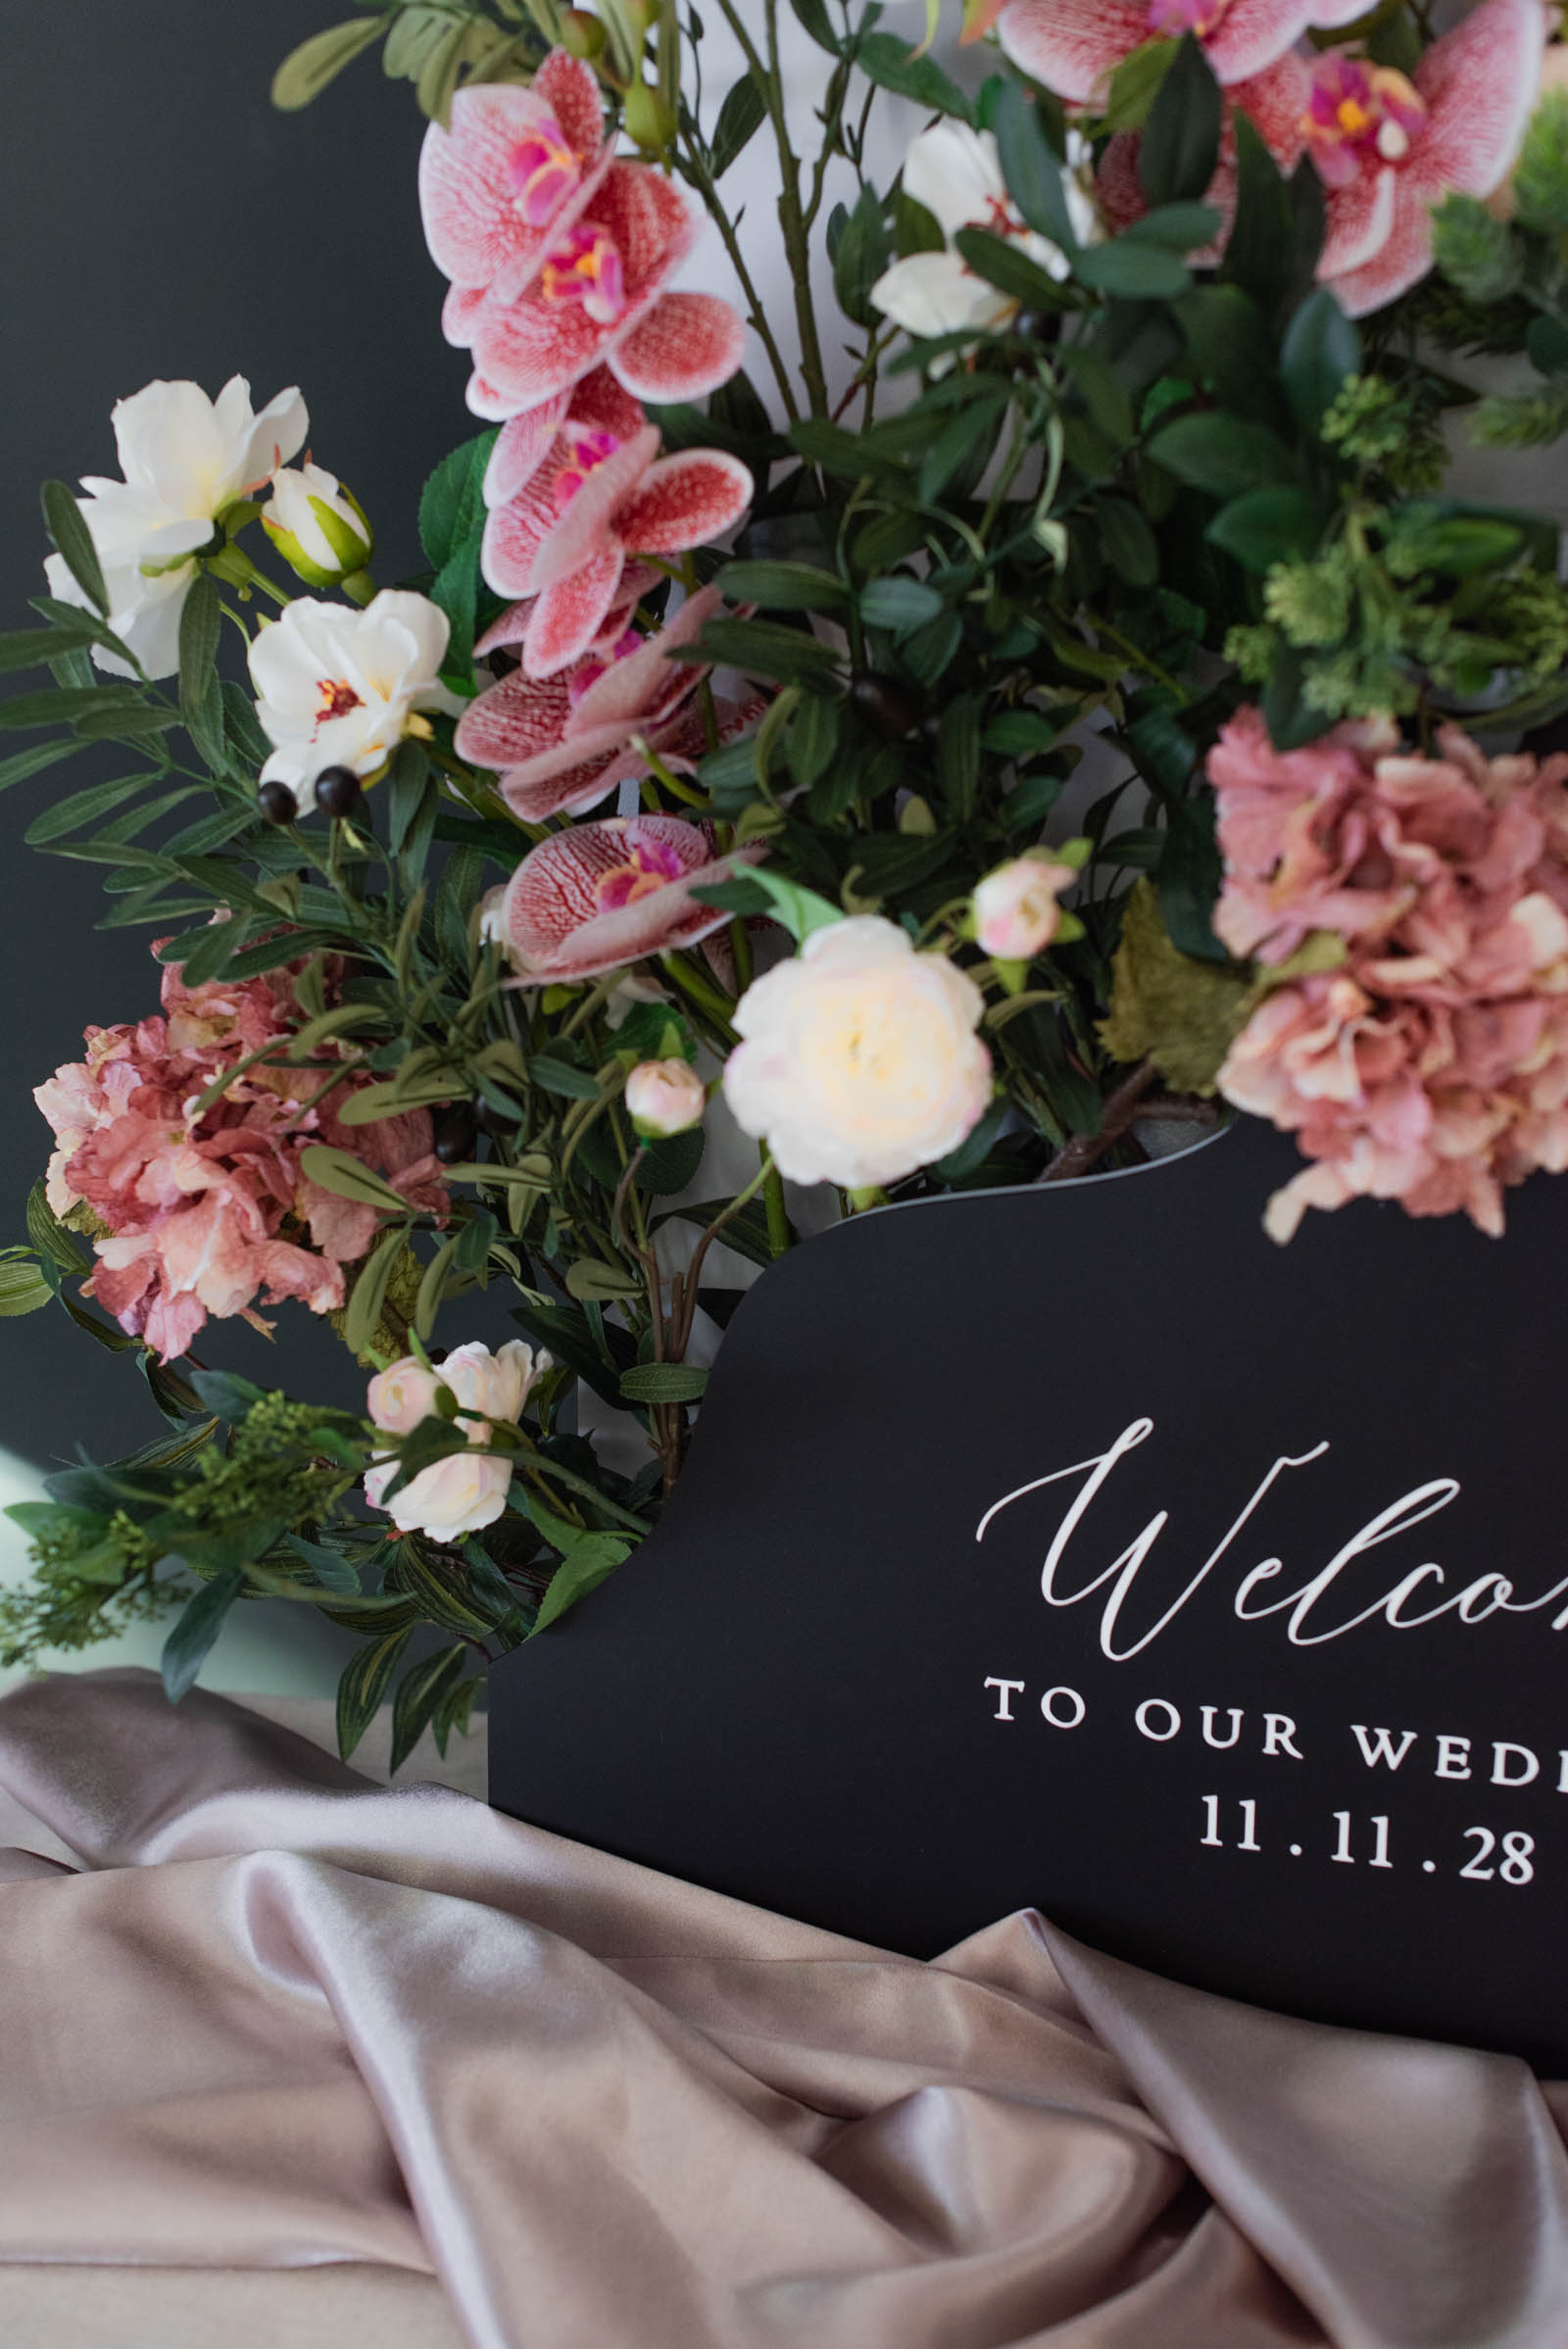
And just like that, a little cutting machine has made a big impact! With some help from our friends at Craft Market, we've transformed a modern flower box into a statement-worthy DIY wedding welcome sign. From the custom vinyl lettering cut with our Cricut Joy 2 to the lush faux blooms and elegant satin fabric that complete the styling, it's proof that thoughtful details can turn a simple project into something truly special.
Ready to create more handmade magic for your big day? Explore our other Cricut wedding DIY tutorials for more creative ways to make your celebration uniquely yours!

WRITTEN BY
Chelsea Barton
Founder & Wedding DIY Expert
A former wedding photographer, the founder of Tidewater and Tulle, and author of Cricut Weddings, Chelsea Barton has been helping couples bring their dream weddings to life through creative, approachable ideas since 2009. Her insight and work have been featured in Martha Stewart Weddings, Southern Living, and other top publications around the world. She combines editorial expertise and real-world insight to inspire meaningful celebrations.
TUTORIAL CREDITS
Photography and Video: Chelsea Barton | Flower Box, Fabric, and Faux Flowers: Craft Market
Editor's Note: Many thanks to Craft Market UK for partnering with Tidewater and Tulle for this feature! We wouldn't share anything we don't genuinely love, so the words and recommendations for the Craft Market brand are all our own. Some of the product links on this website are affiliate-linked and purchasing through these links helps support our content! You can find our full affiliate disclosure policy here on Tidewater and Tulle.