
A special celebration deserves a cake that feels personal, but adding your own touch doesn't have to mean taking on a complicated baking or decorating project! For a small celebration like an engagement party, we love that a simple store-bought cake can become a beautiful centerpiece with a little creativity and a Cricut machine.
Inspired by the popular tiramisu cake trend and the wedding world's love affair with lace, this DIY project uses a Cricut to cut an intricate acetate cake stencil that can transform a plain frosted cake with nothing more than a dusting of cocoa powder. The result is an elegant, personalized engagement cake that looks custom-made without requiring advanced cake decorating skills.
Whether you're celebrating an engagement, hosting a bridal shower, or planning a pre-wedding dinner, this beginner-friendly reusable Cricut cake stencil tutorial walks you through acetate basics, cutting acetate on your Cricut, and applying cocoa powder for a crisp lace-inspired finish. It's a simple little detail that makes a ready-made cake feel uniquely yours. Let's get making!
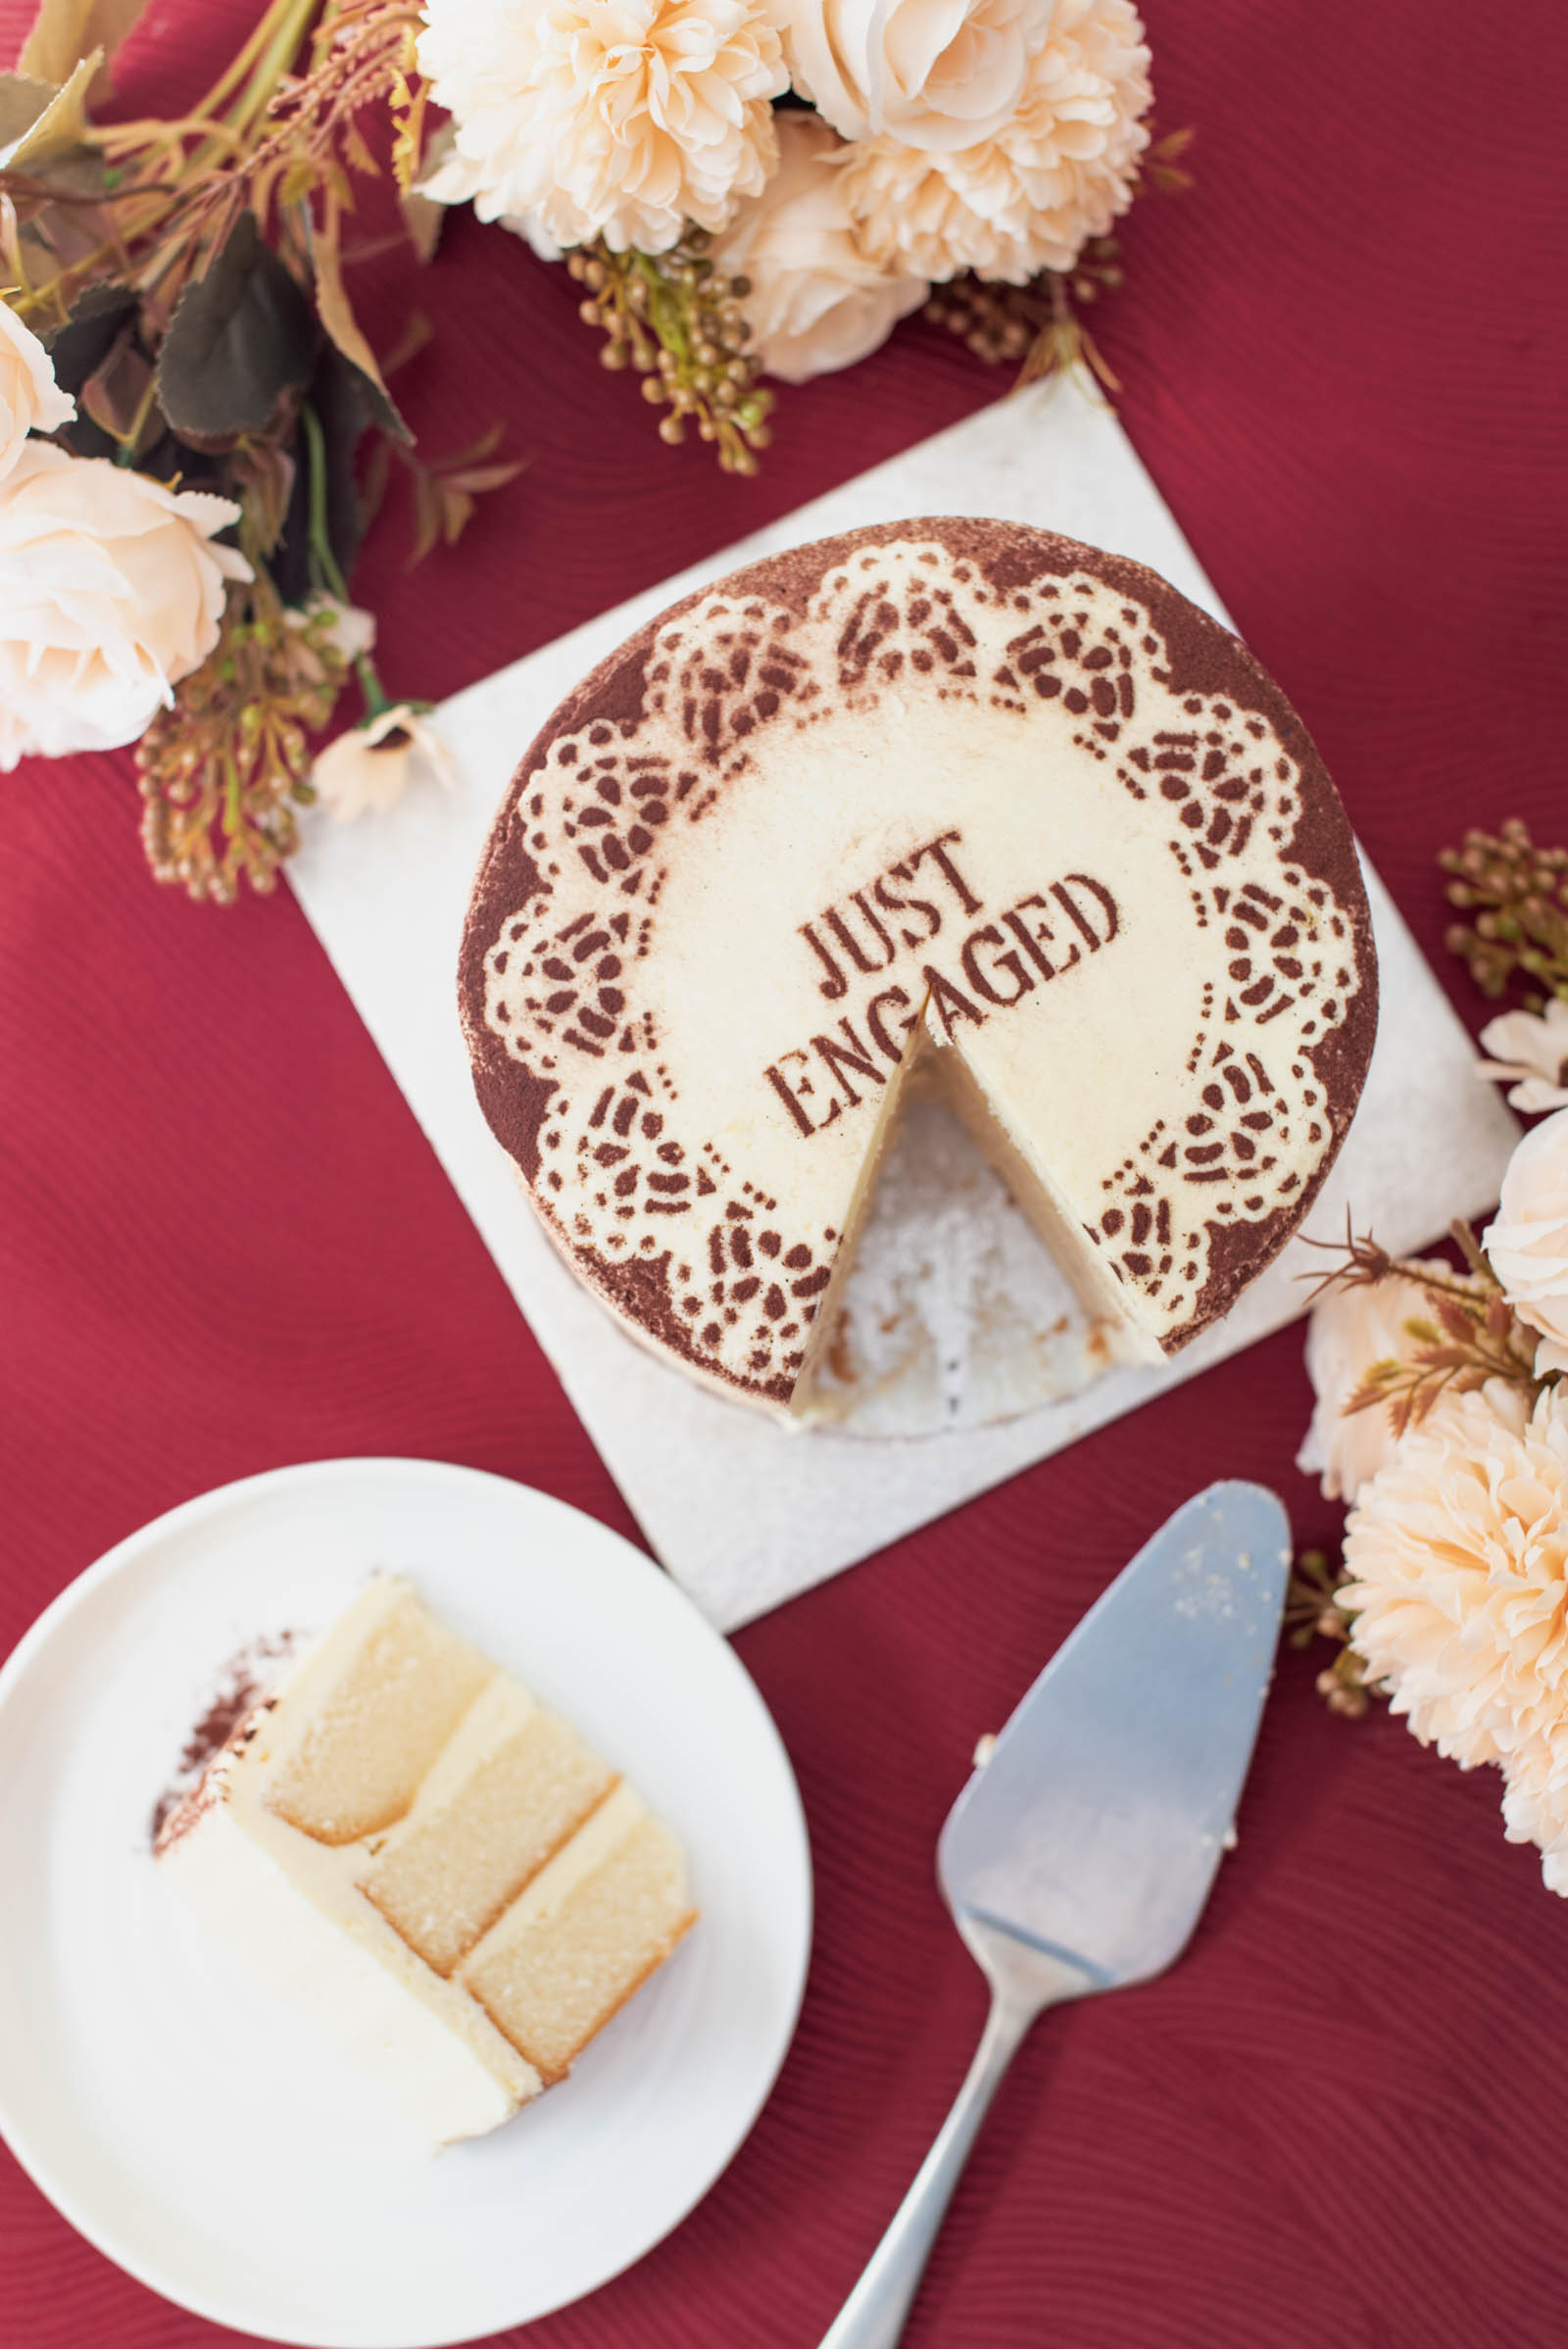
How to Hack a Store-Bought Cake for Your Engagement Party
You don't need specialty cake decorating skills to create a beautiful engagement party cake! With a simple DIY Cricut cake stencil made from acetate, you can transform an affordable grocery store cake into a personalized centerpiece using just a dusting of cocoa powder, powdered sugar, or edible luster dust. (We're using cocoa powder for this tutorial!)
For the best results, start with a simply frosted cake from your local supermarket bakery or neighborhood baker. Look for a cake with smooth white buttercream and a flat top, which gives your Cricut acetate stencil a clean, flush surface. A 6-inch round cake is usually the ideal size for a small engagement celebration with under 15 guests, but you can easily scale your stencil in Cricut Design Space to fit any round cake size!
Need a gluten-free or dietary-friendly option? Cocoa powder is vegan and gluten-free, so you can use this technique on a suitable cake as well! Look for a local bakery or supermarket offering cakes that meet your dietary requirements. If you're catering for someone with a food allergy or intolerance, always be mindful of "may contains" on the label and cross-contamination during preparation and decorating.
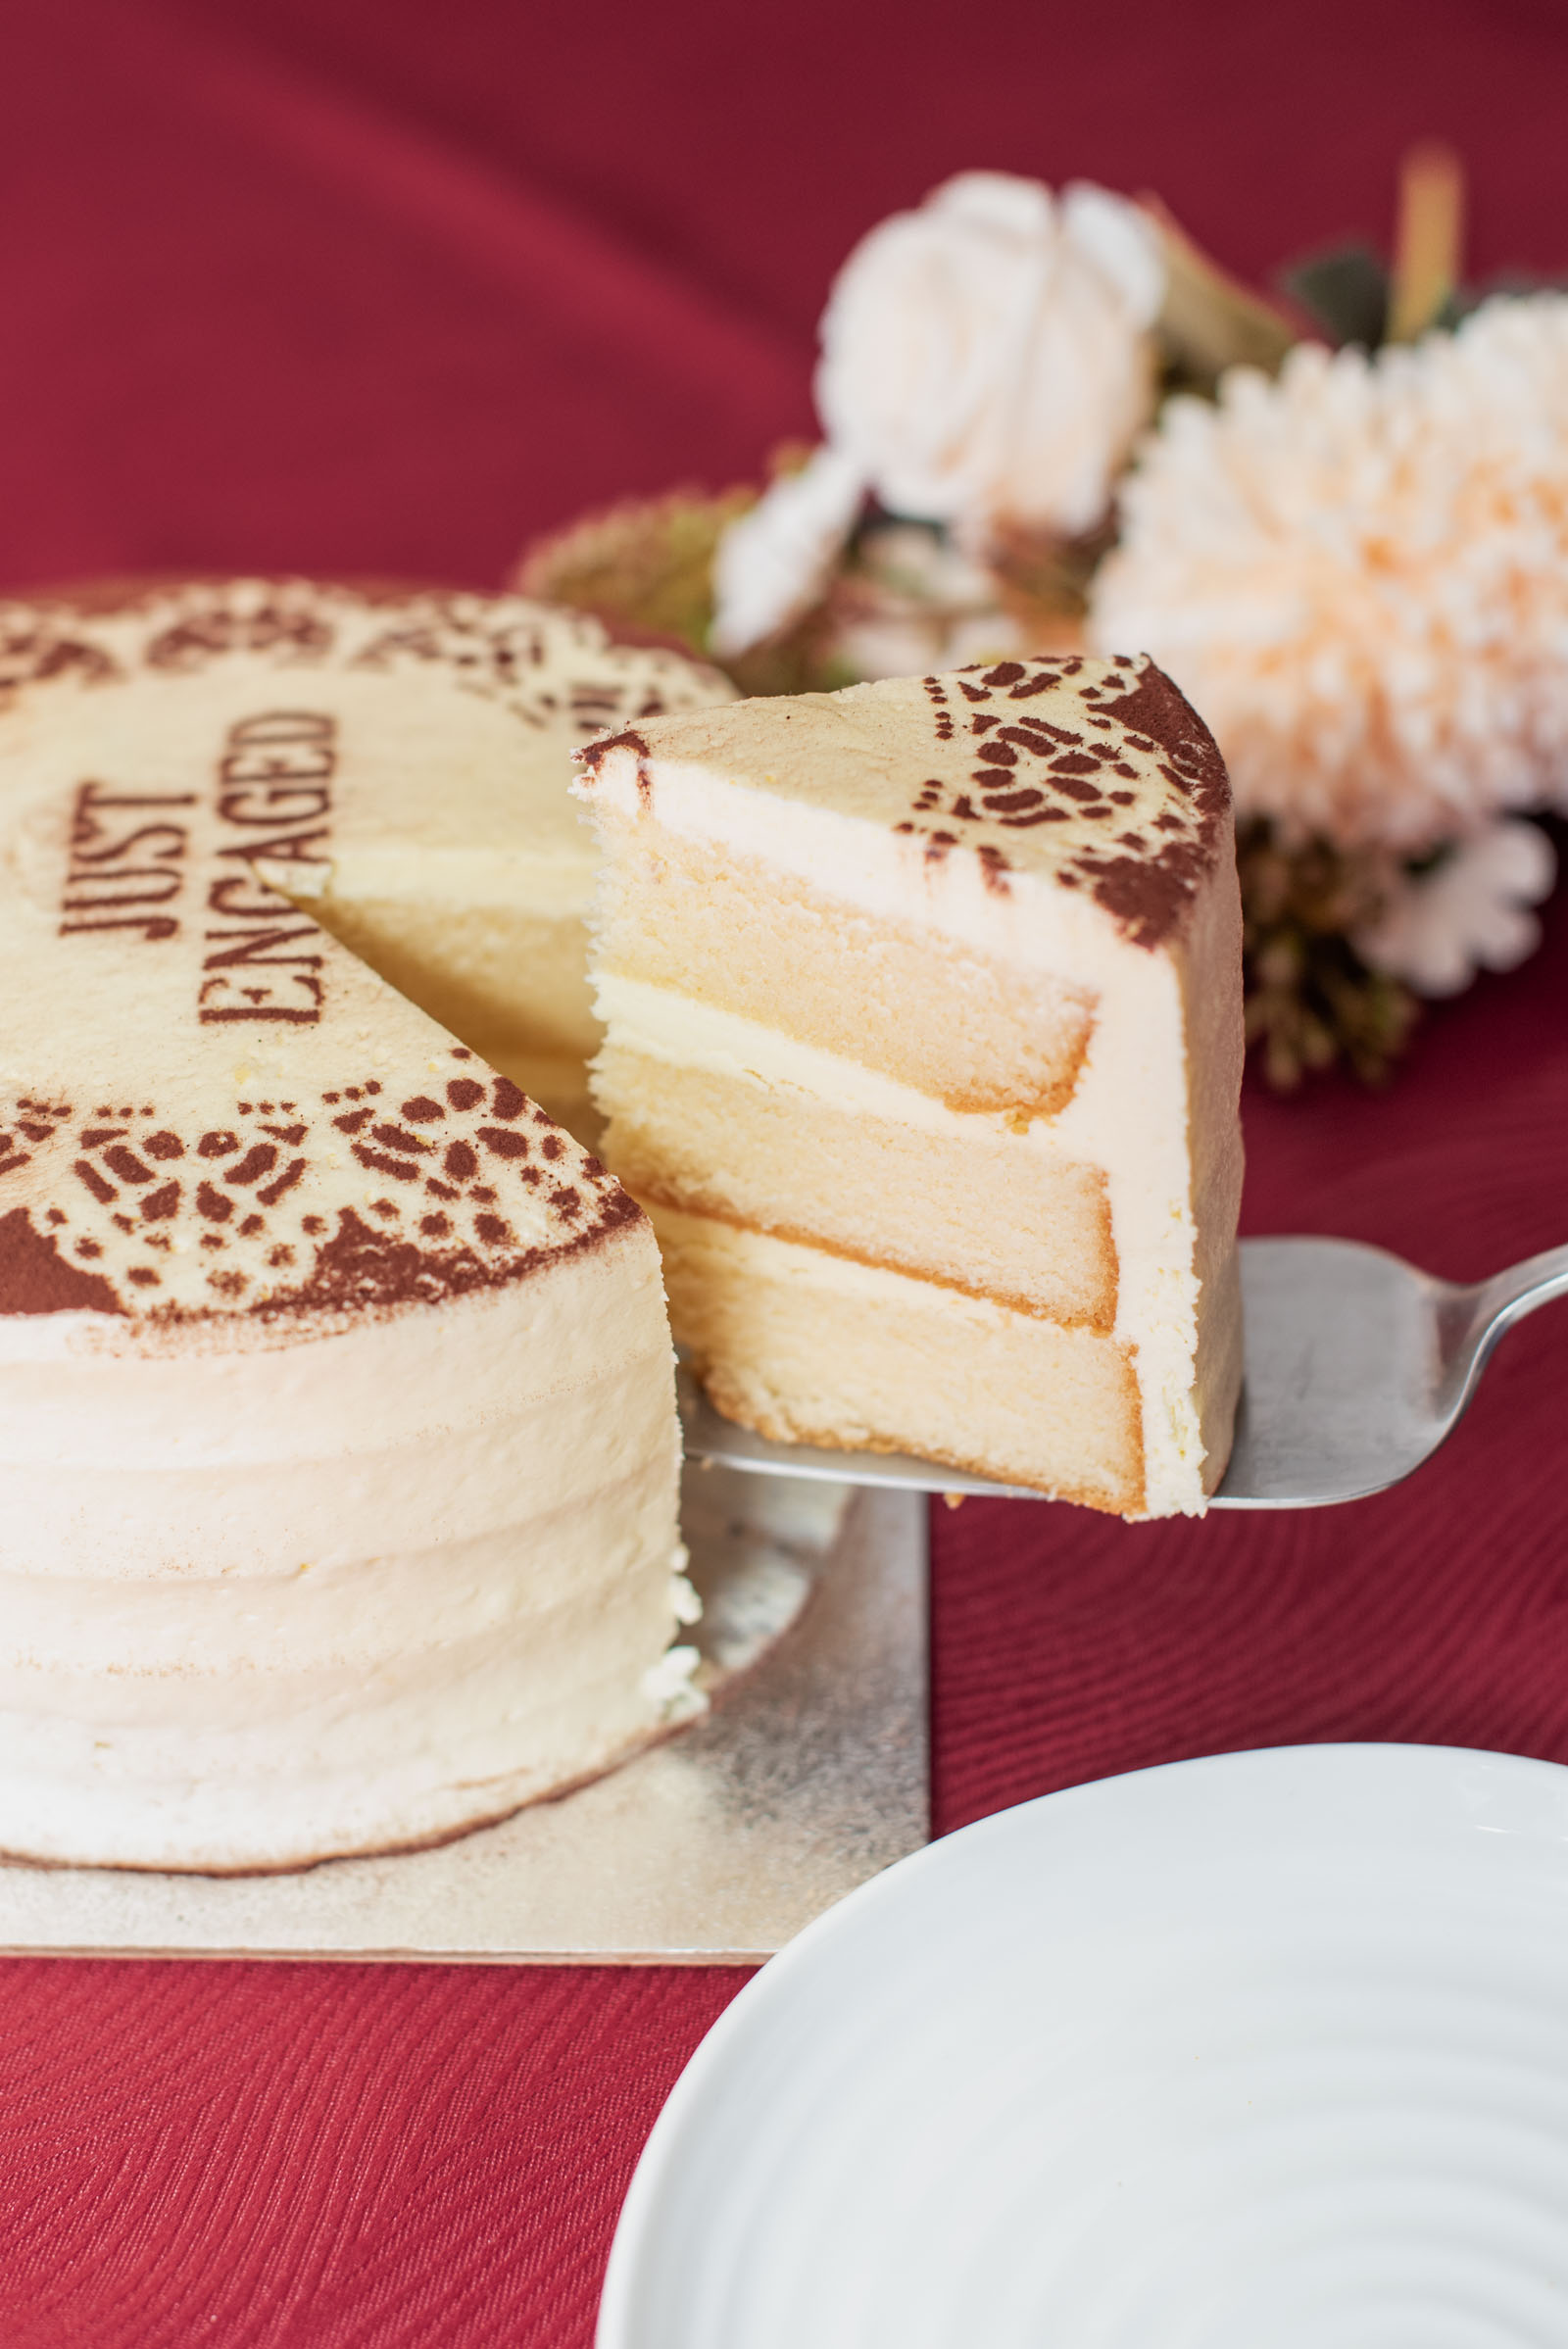
How to Make an Acetate Cake Stencil with Your Cricut
Skill Level: Beginner
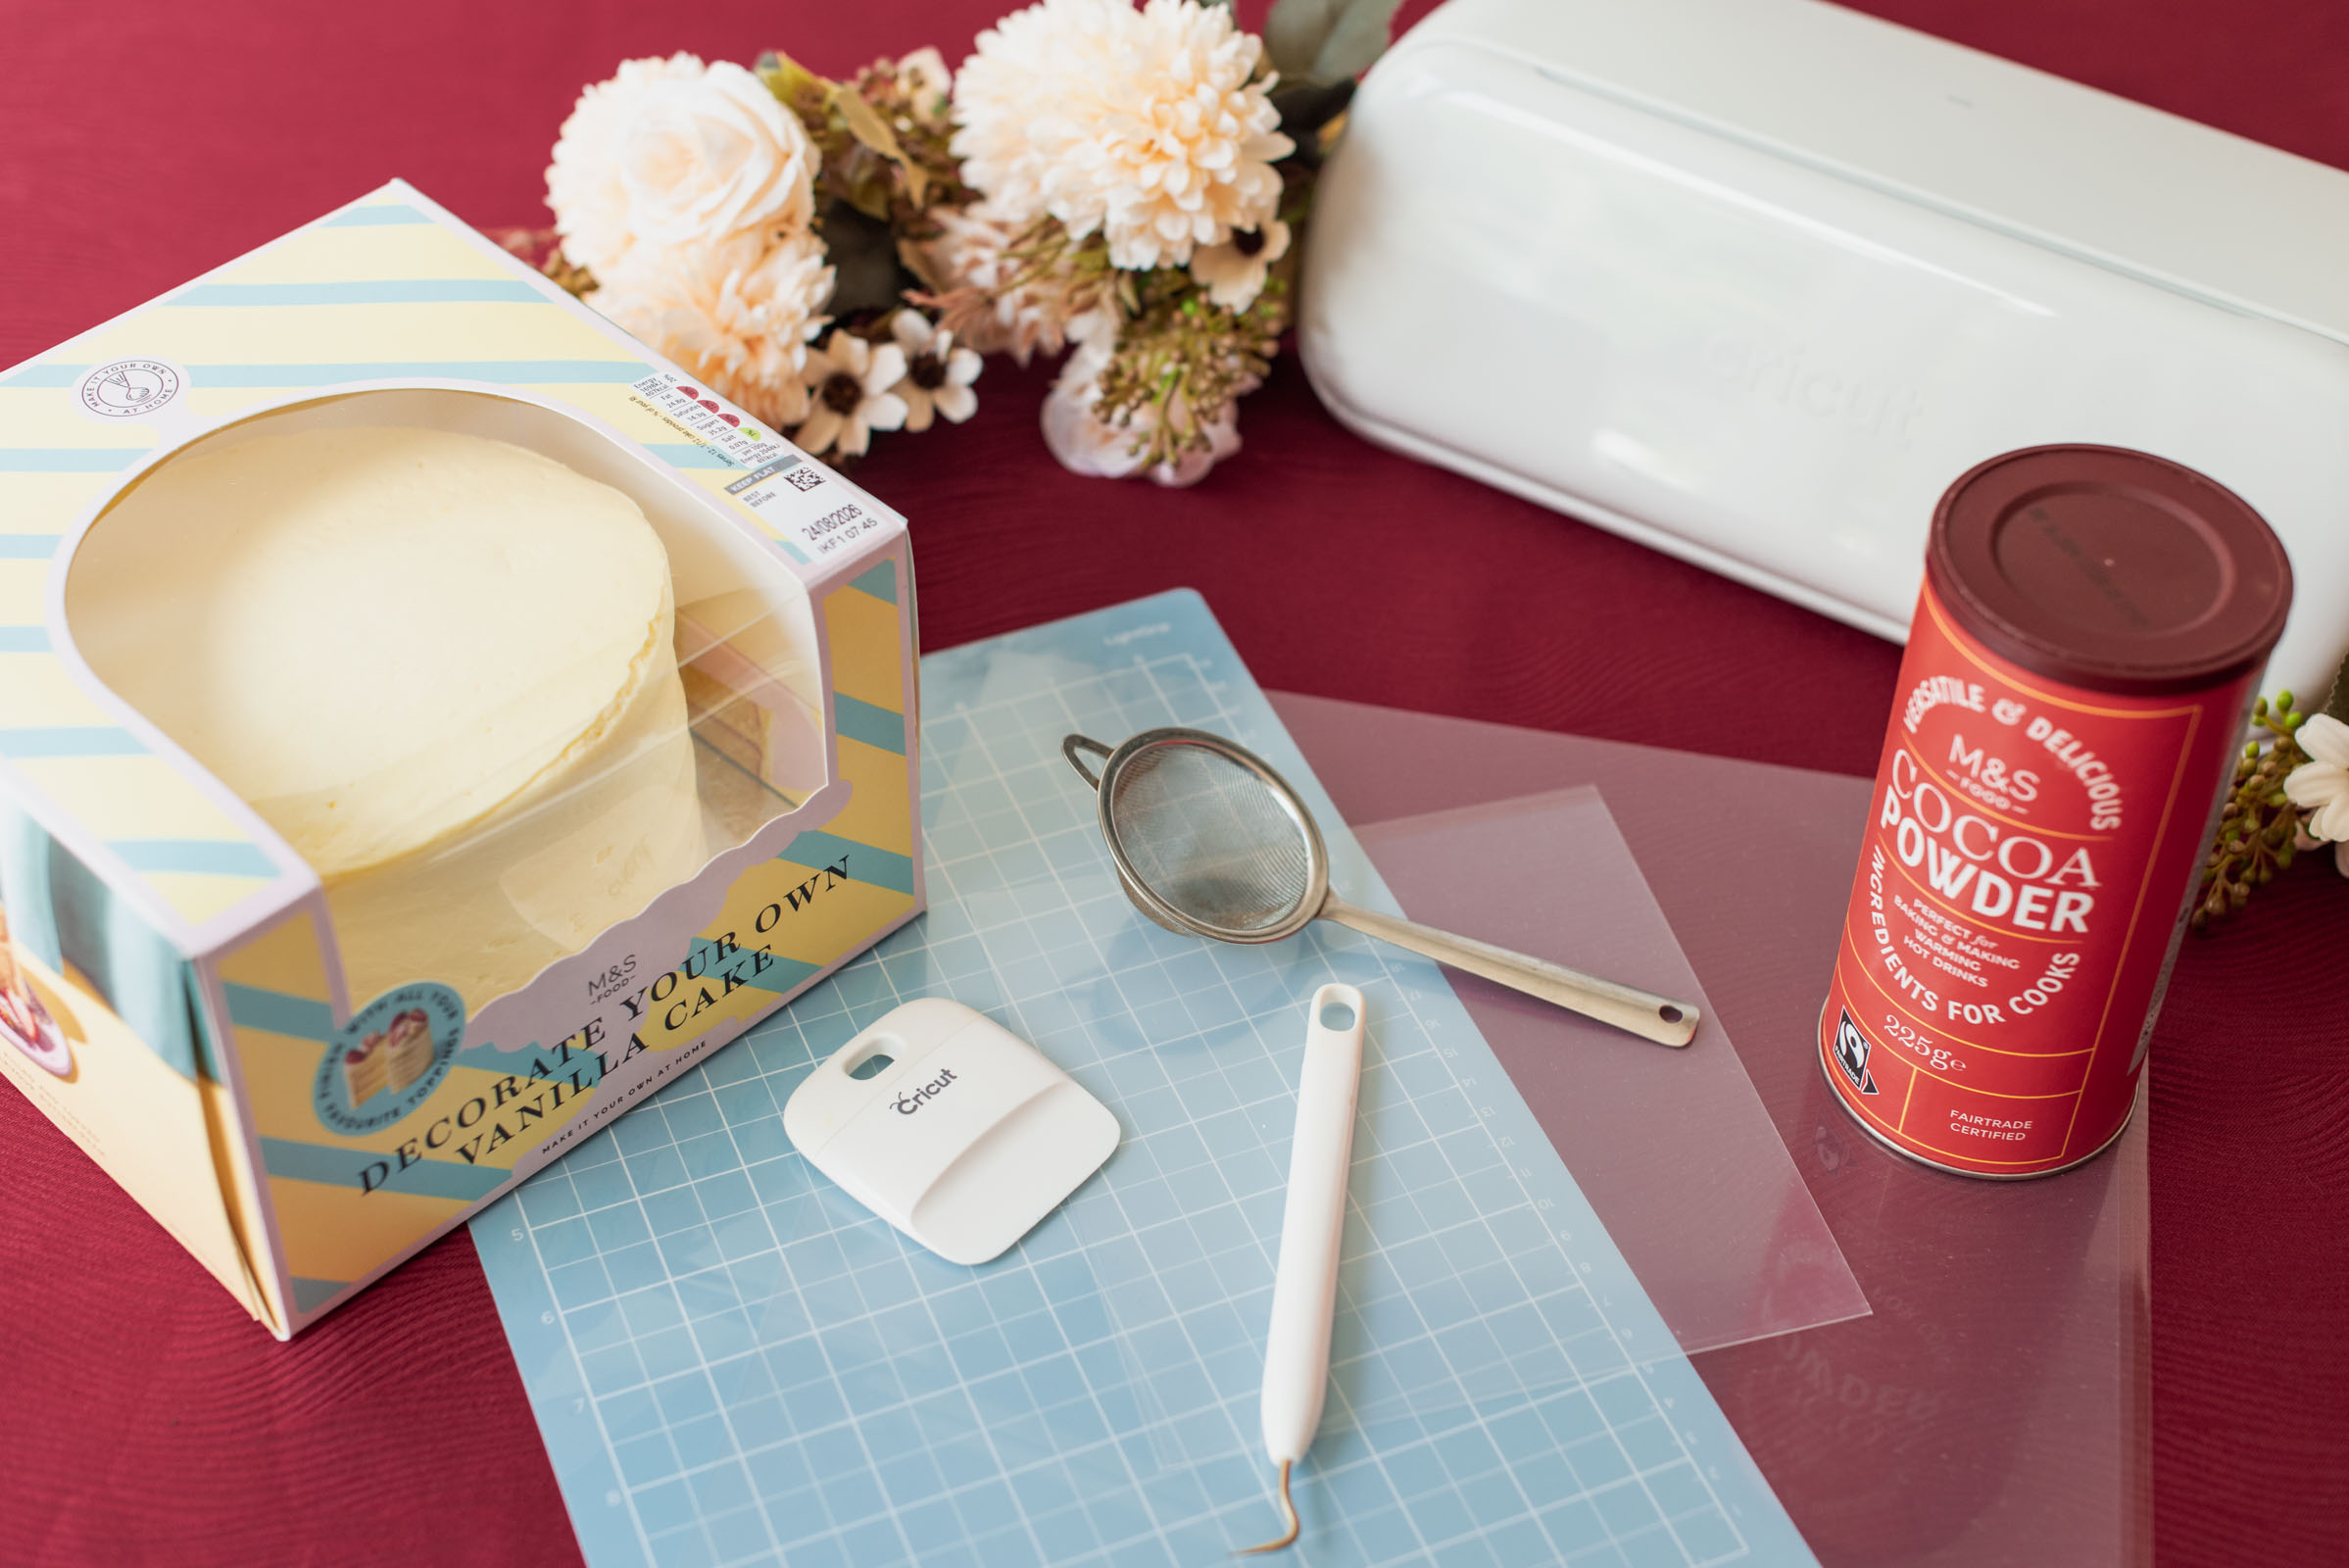
Supplies Needed for This Engagement Party Cake Stencil
• Cricut cutting machine
• Fine-point blade
• Acetate sheets (we used 12x12 sheets and cut them to fit on our cutting mat)
• LightGrip cutting mat
• Weeding tool
• Scraper tool
• Plain frosted store-bought cake (we used a 6" round decorate-your-own vanilla cake from M&S)
• Unsweetened cocoa powder
• Fine mesh tea strainer
• Dish soap + water (to wash acetate sheet before use)
• Paper towels
• Parchment or wax paper (optional)
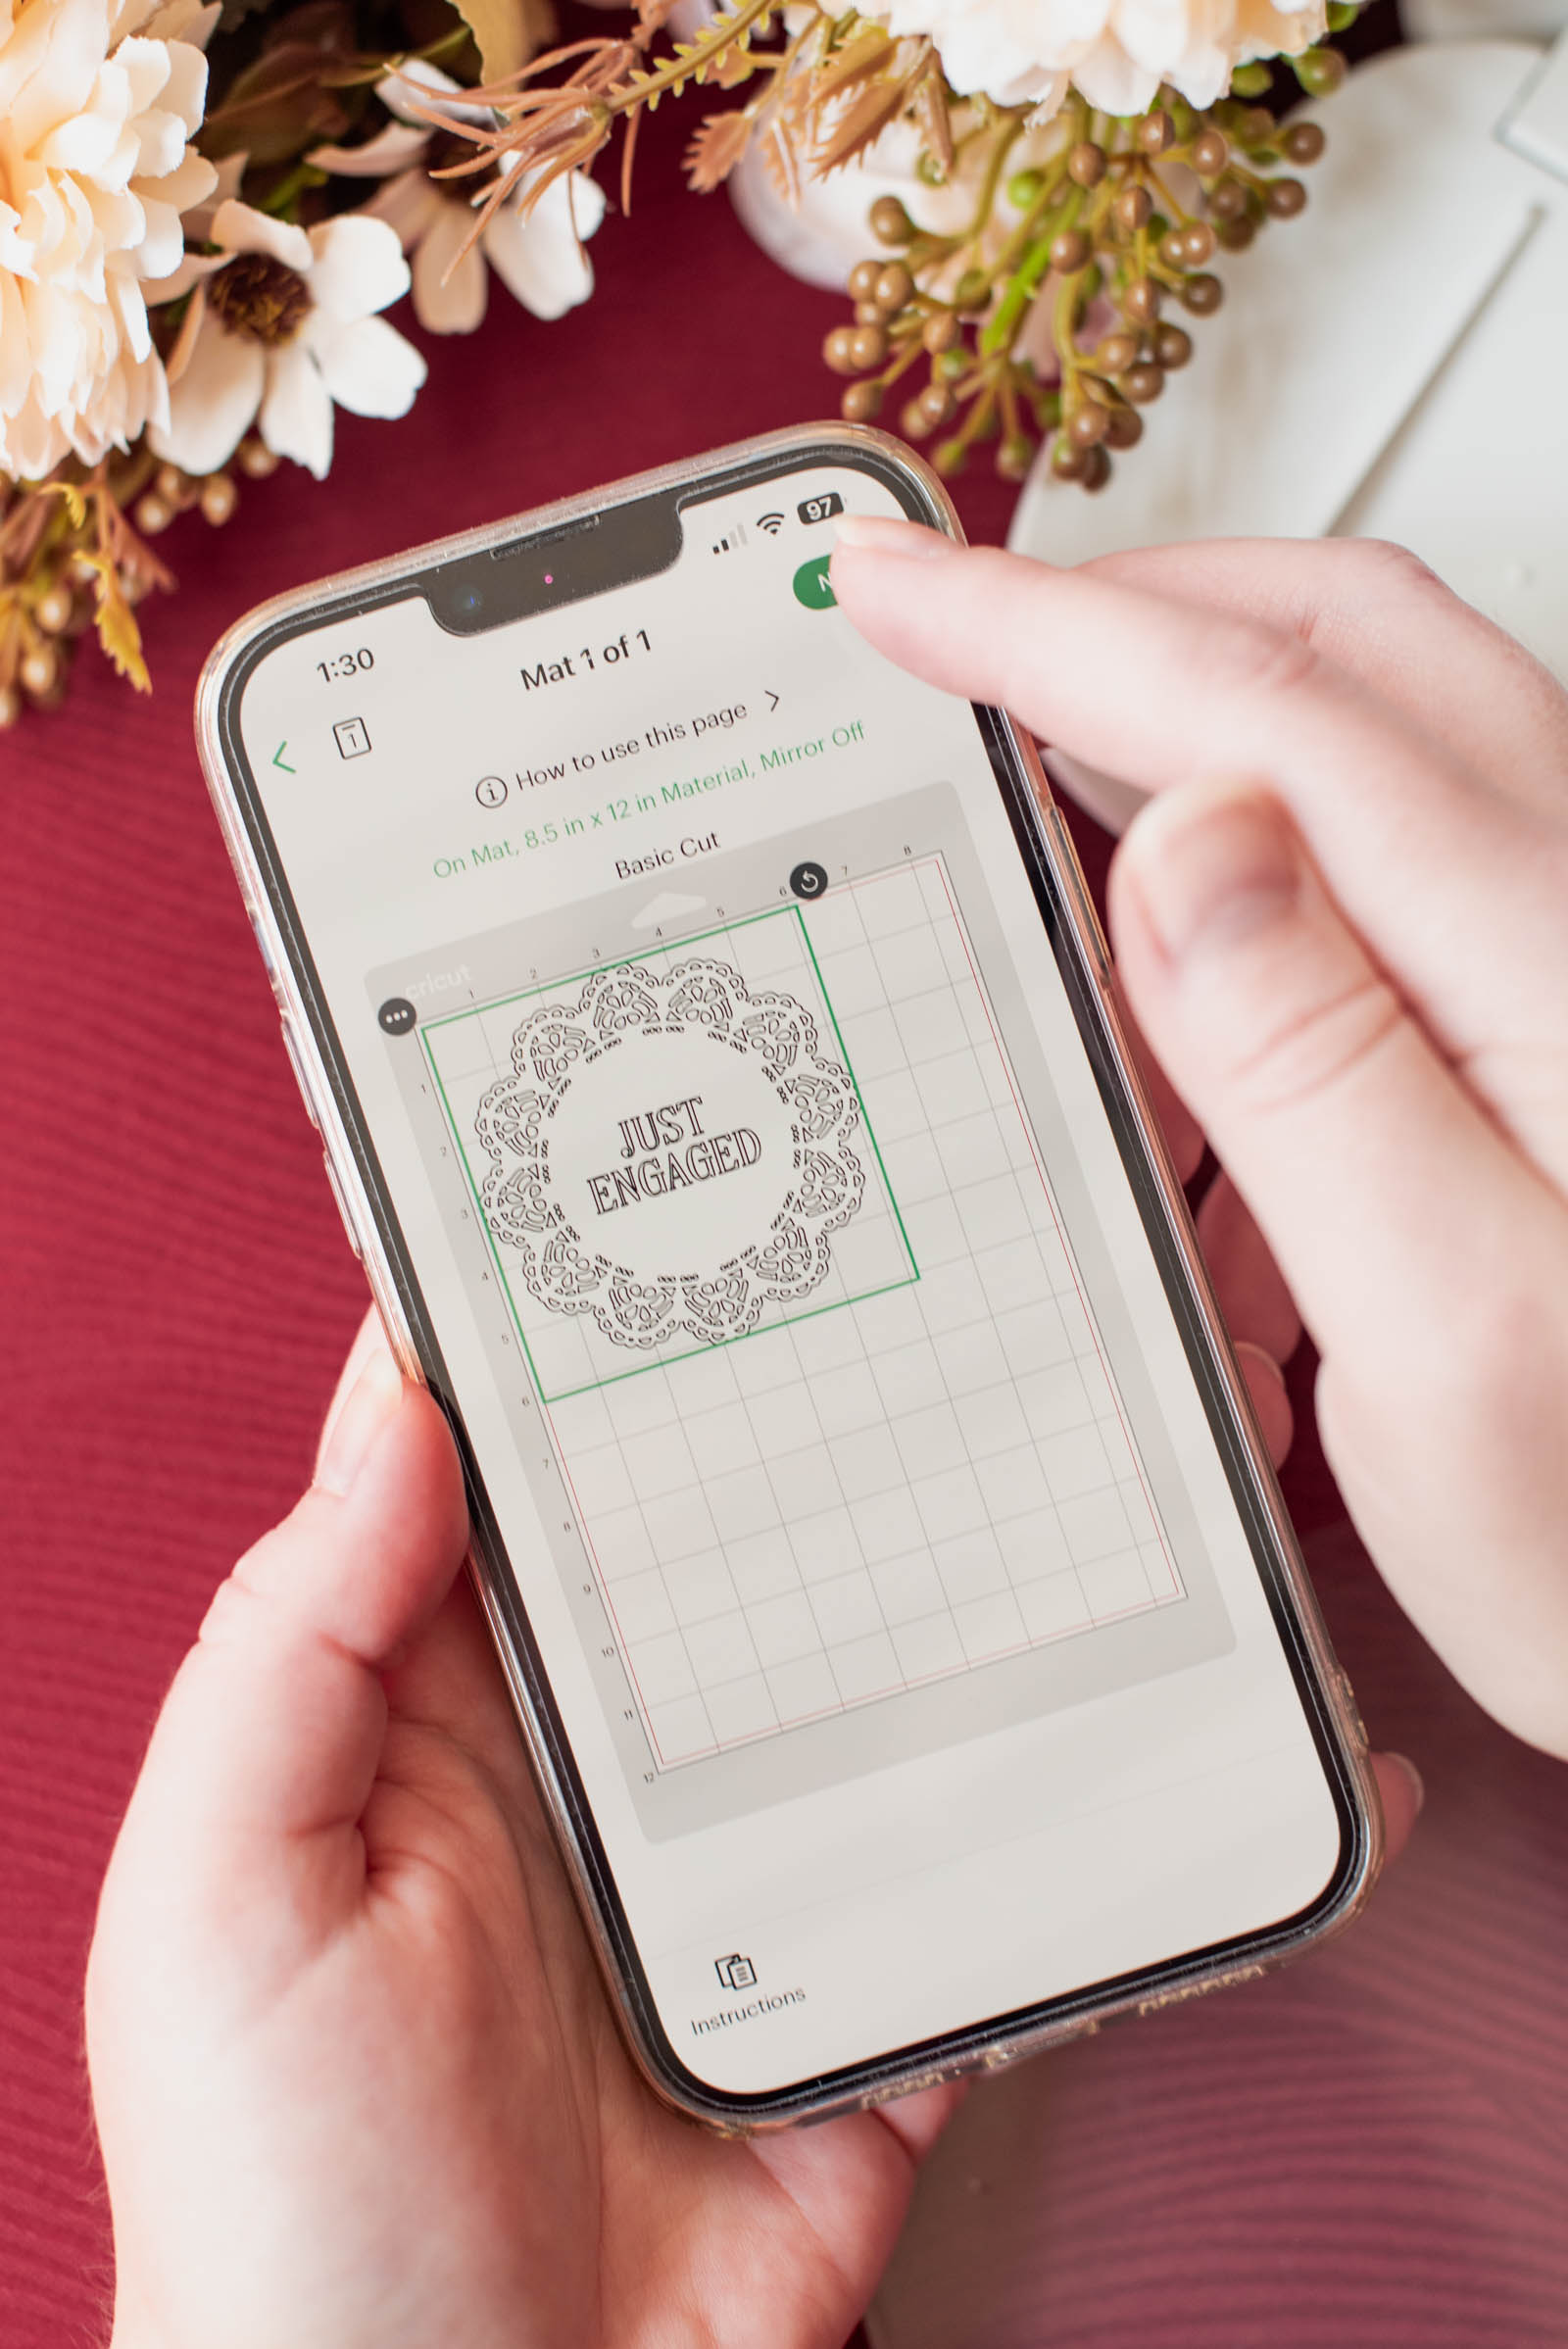
• Our Just Engaged Cake Stencil Cricut Design Space project (bookmark or make it right now!)
DESIGN NOTES: For our project template, we used a Design Space-sourced lace doily image and a free Cricut stencil font which means you will need a Cricut Access subscription or purchase the doily image as à la carte to make as is. You can also swap out, redesign, or use your own images and fonts as you wish.
Base Material Setting for Cutting Cricut Acetate
For our Cricut brand acetate sheet, we found the best results with Acetate.
Compatible Cricut Machines
• Joy Xtra
• Explore family
• Maker family
EDITOR'S NOTE: Our cake stencil is 6" (15.2cm) at its widest. You could make this with an original Joy or Joy 2, but you would need to resize to 4.5" (11.4cm) or smaller and then redesign with a more simple lace pattern and a thicker font for best cutting results.
Step-by-Step Instructions: Acetate Cake Stencil
1Prep your project. Set out all of your materials and prep your computer, laptop, or mobile phone with Cricut Design Space. If using our pre-made Design Space project, all you need to do is click Customize or Make to keep everything as is!
2Edit and/or resize as needed. Adjust the cake stencil size if desired. Our finished stencil measures 6 inches (15.2 cm) which was designed to go on a 6" round cake. Click Make when ready.
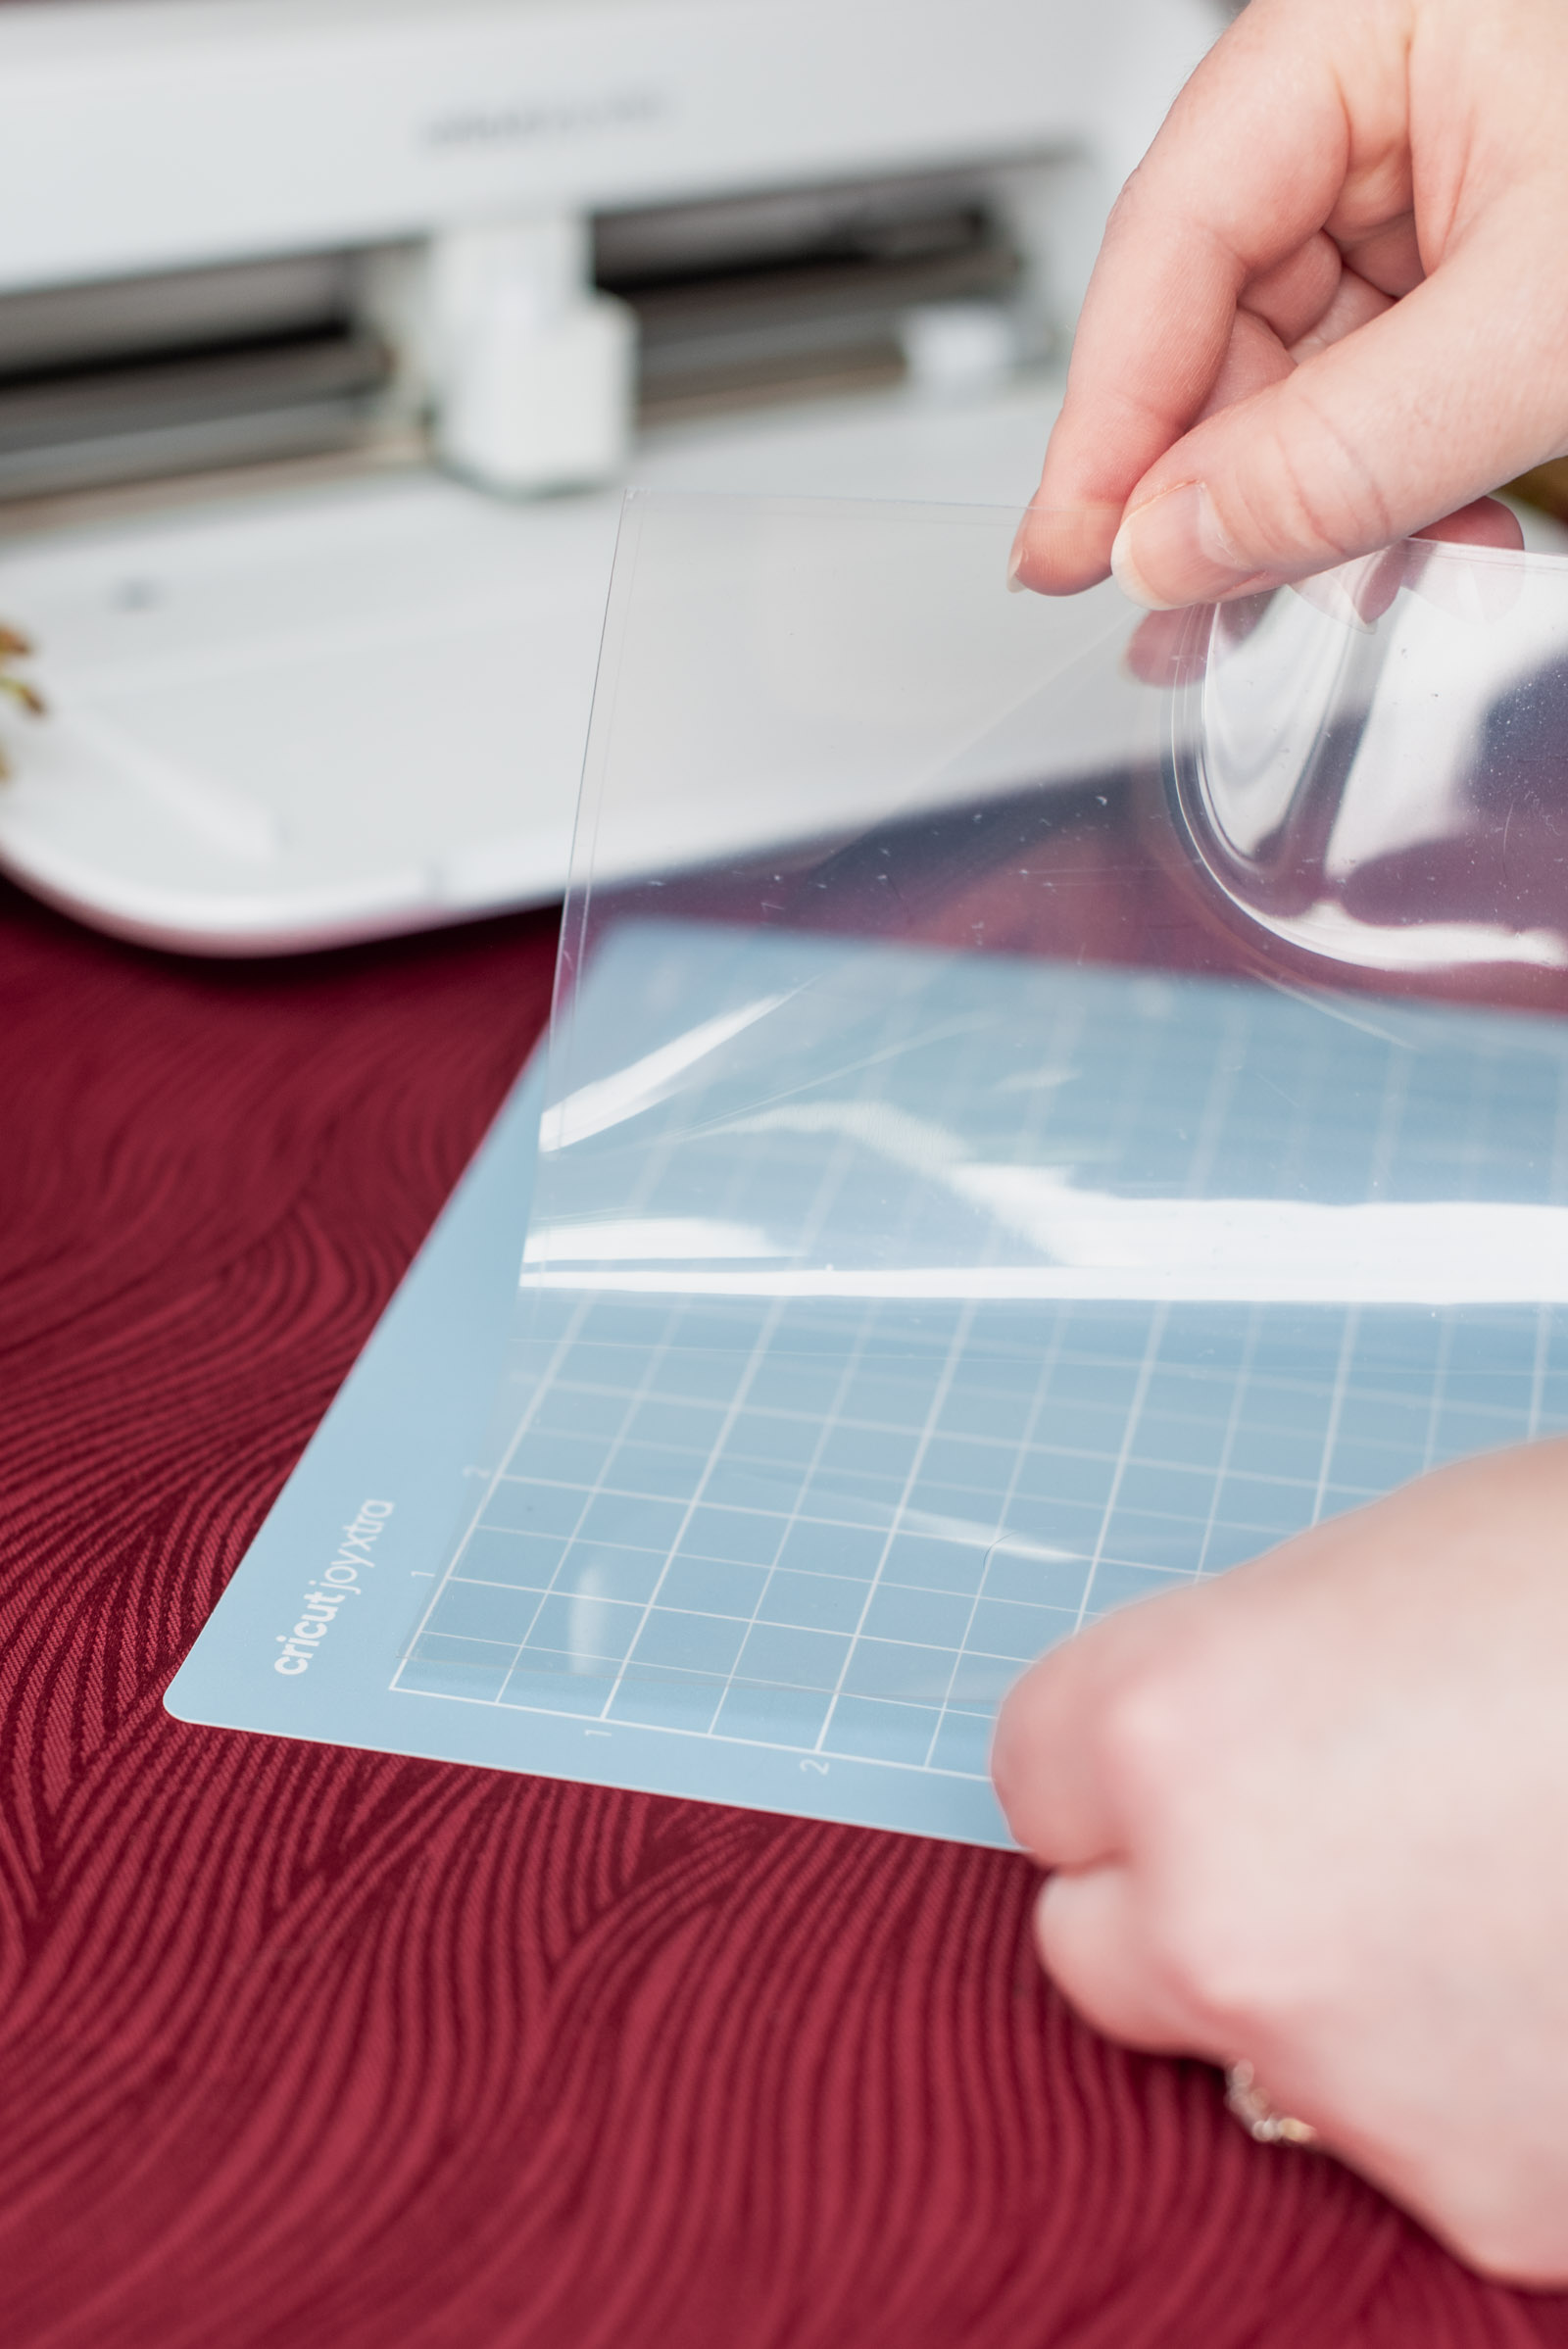
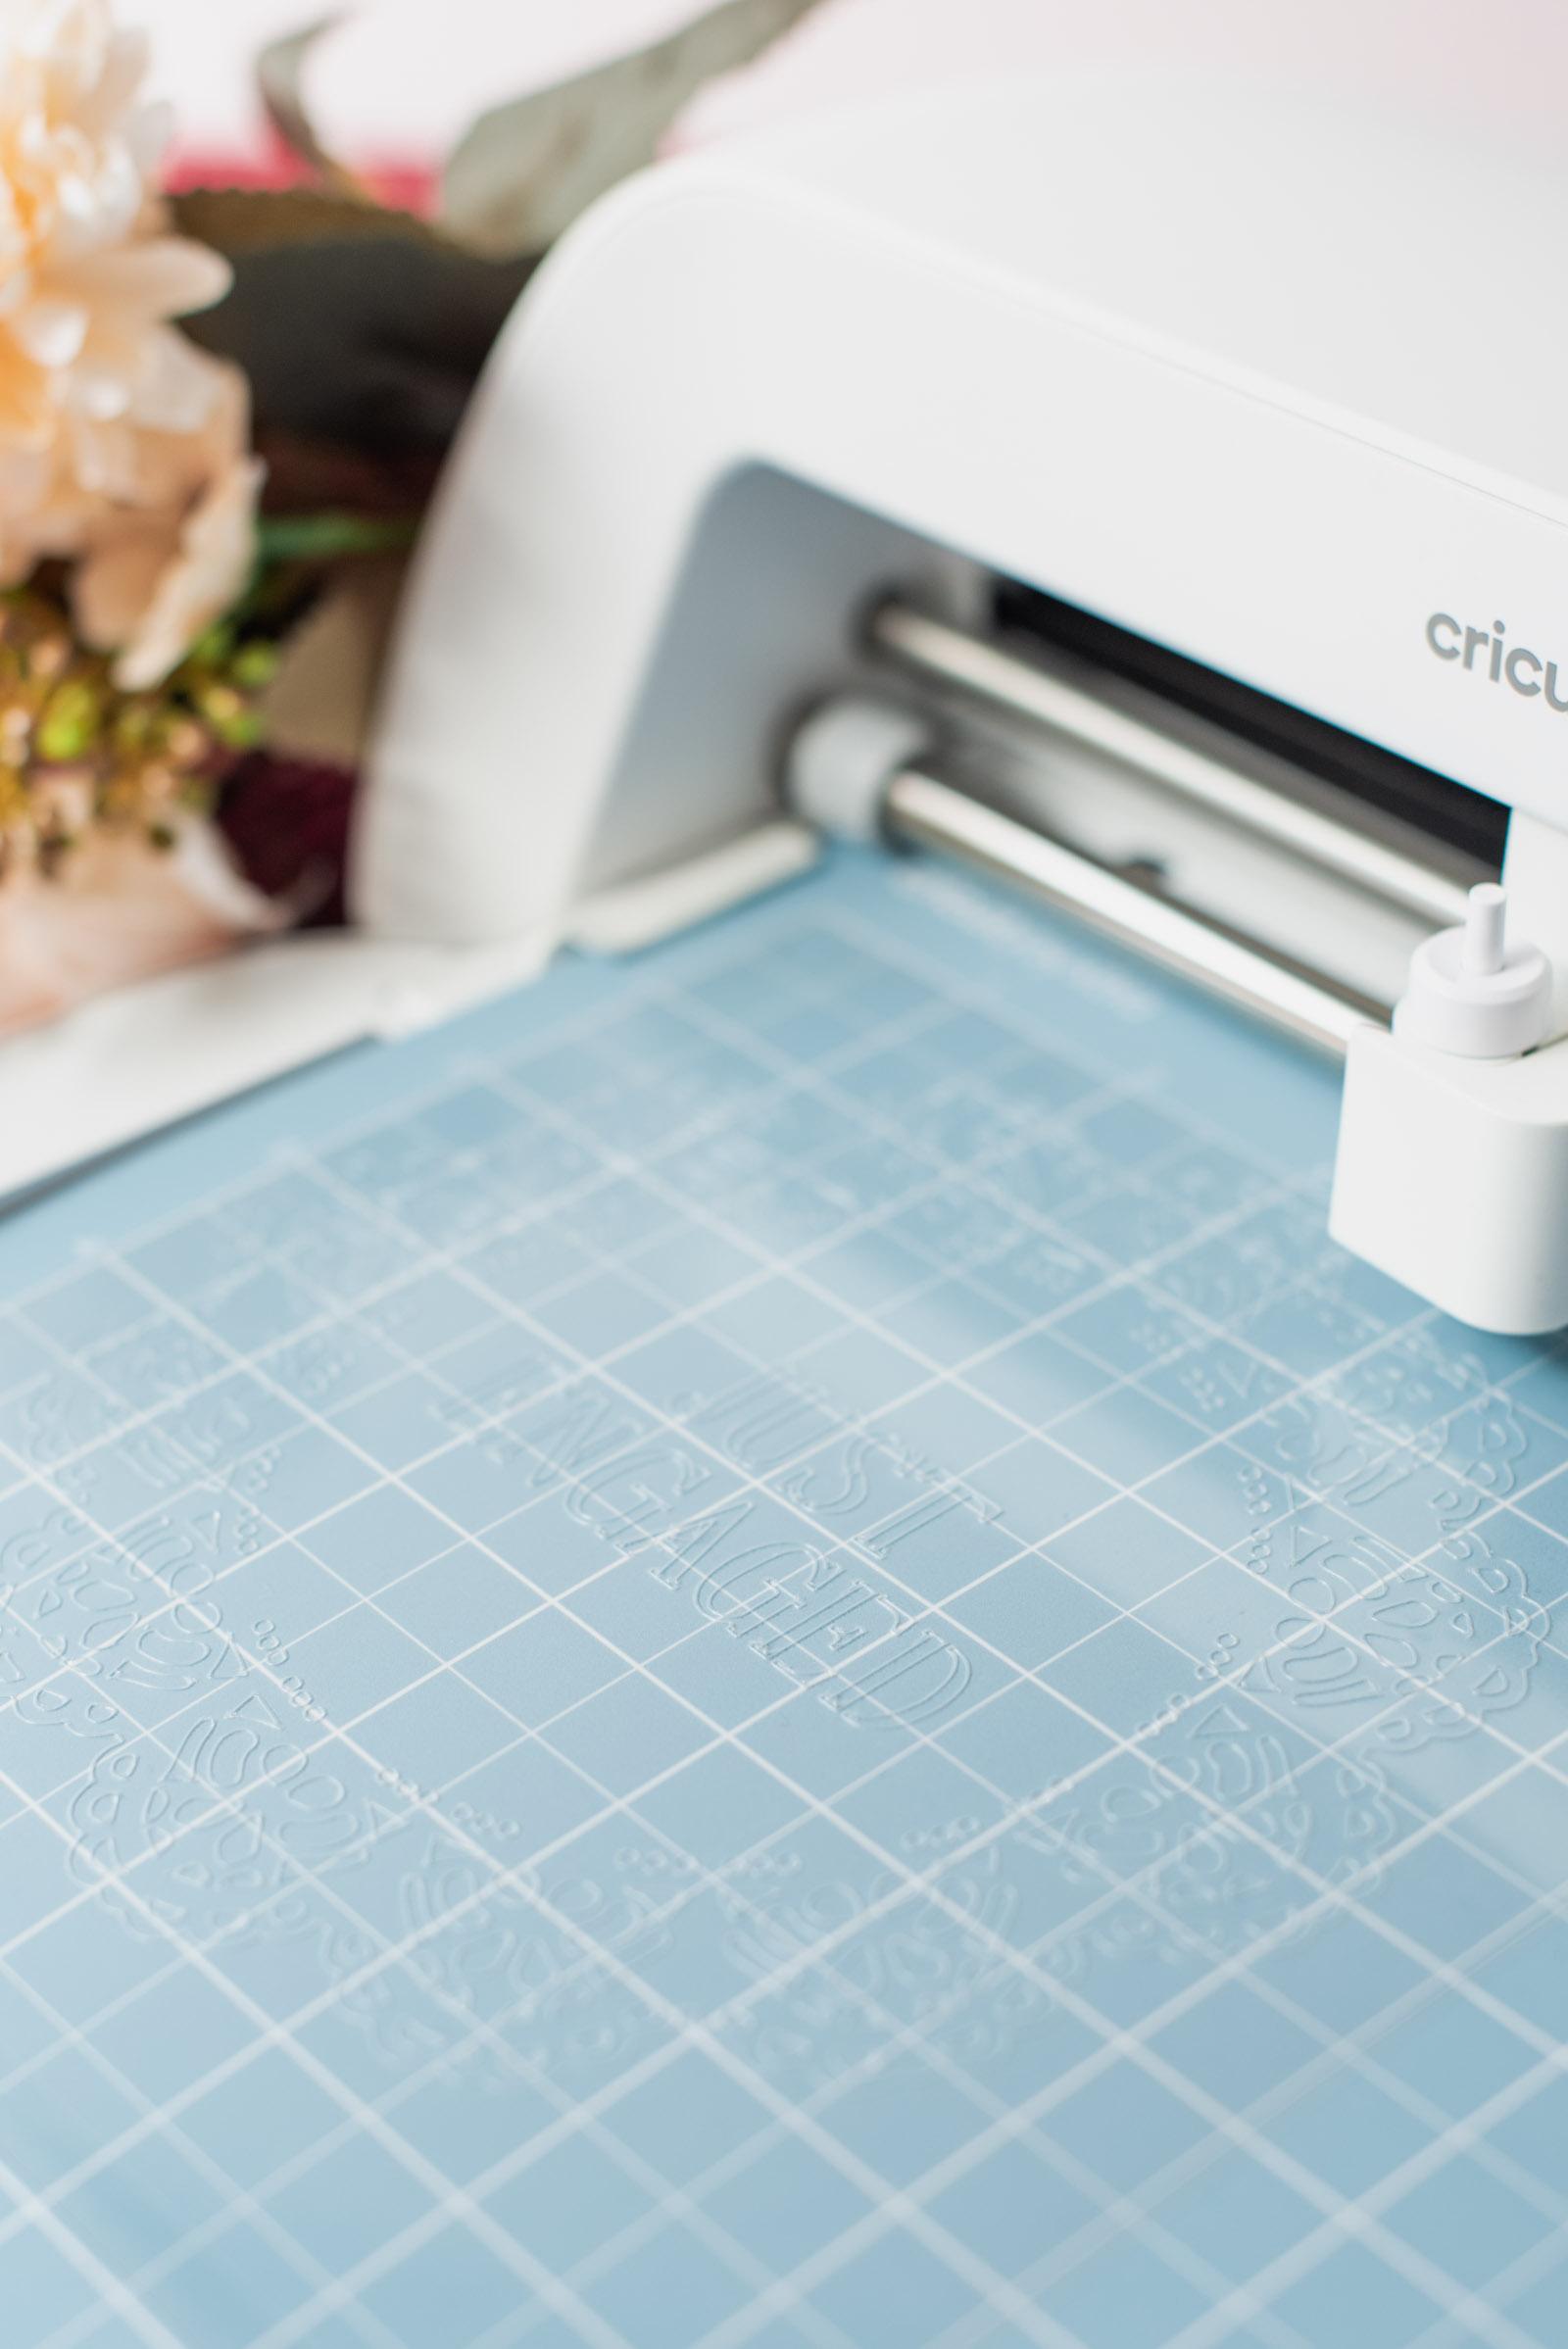
3Cut your stencil. Acetate comes with protective films on both sides. Remove only the backside for now. Place the acetate sheet on your LightGrip mat (with the removed film side down on the mat), and select your Base Material so your machine knows how deep the blade needs to cut – ours cut best on Acetate.
MATERIAL ALTERNATIVE: Don't have acetate sheets available to you or want to go plastic-free? While not reusable, you can also cut this with cardstock! If you've never dusted a cake with cocoa powder before though, you'll want to cut at least two stencils so you can practice dusting. It's key to getting a confident, crisp pattern on your cake!
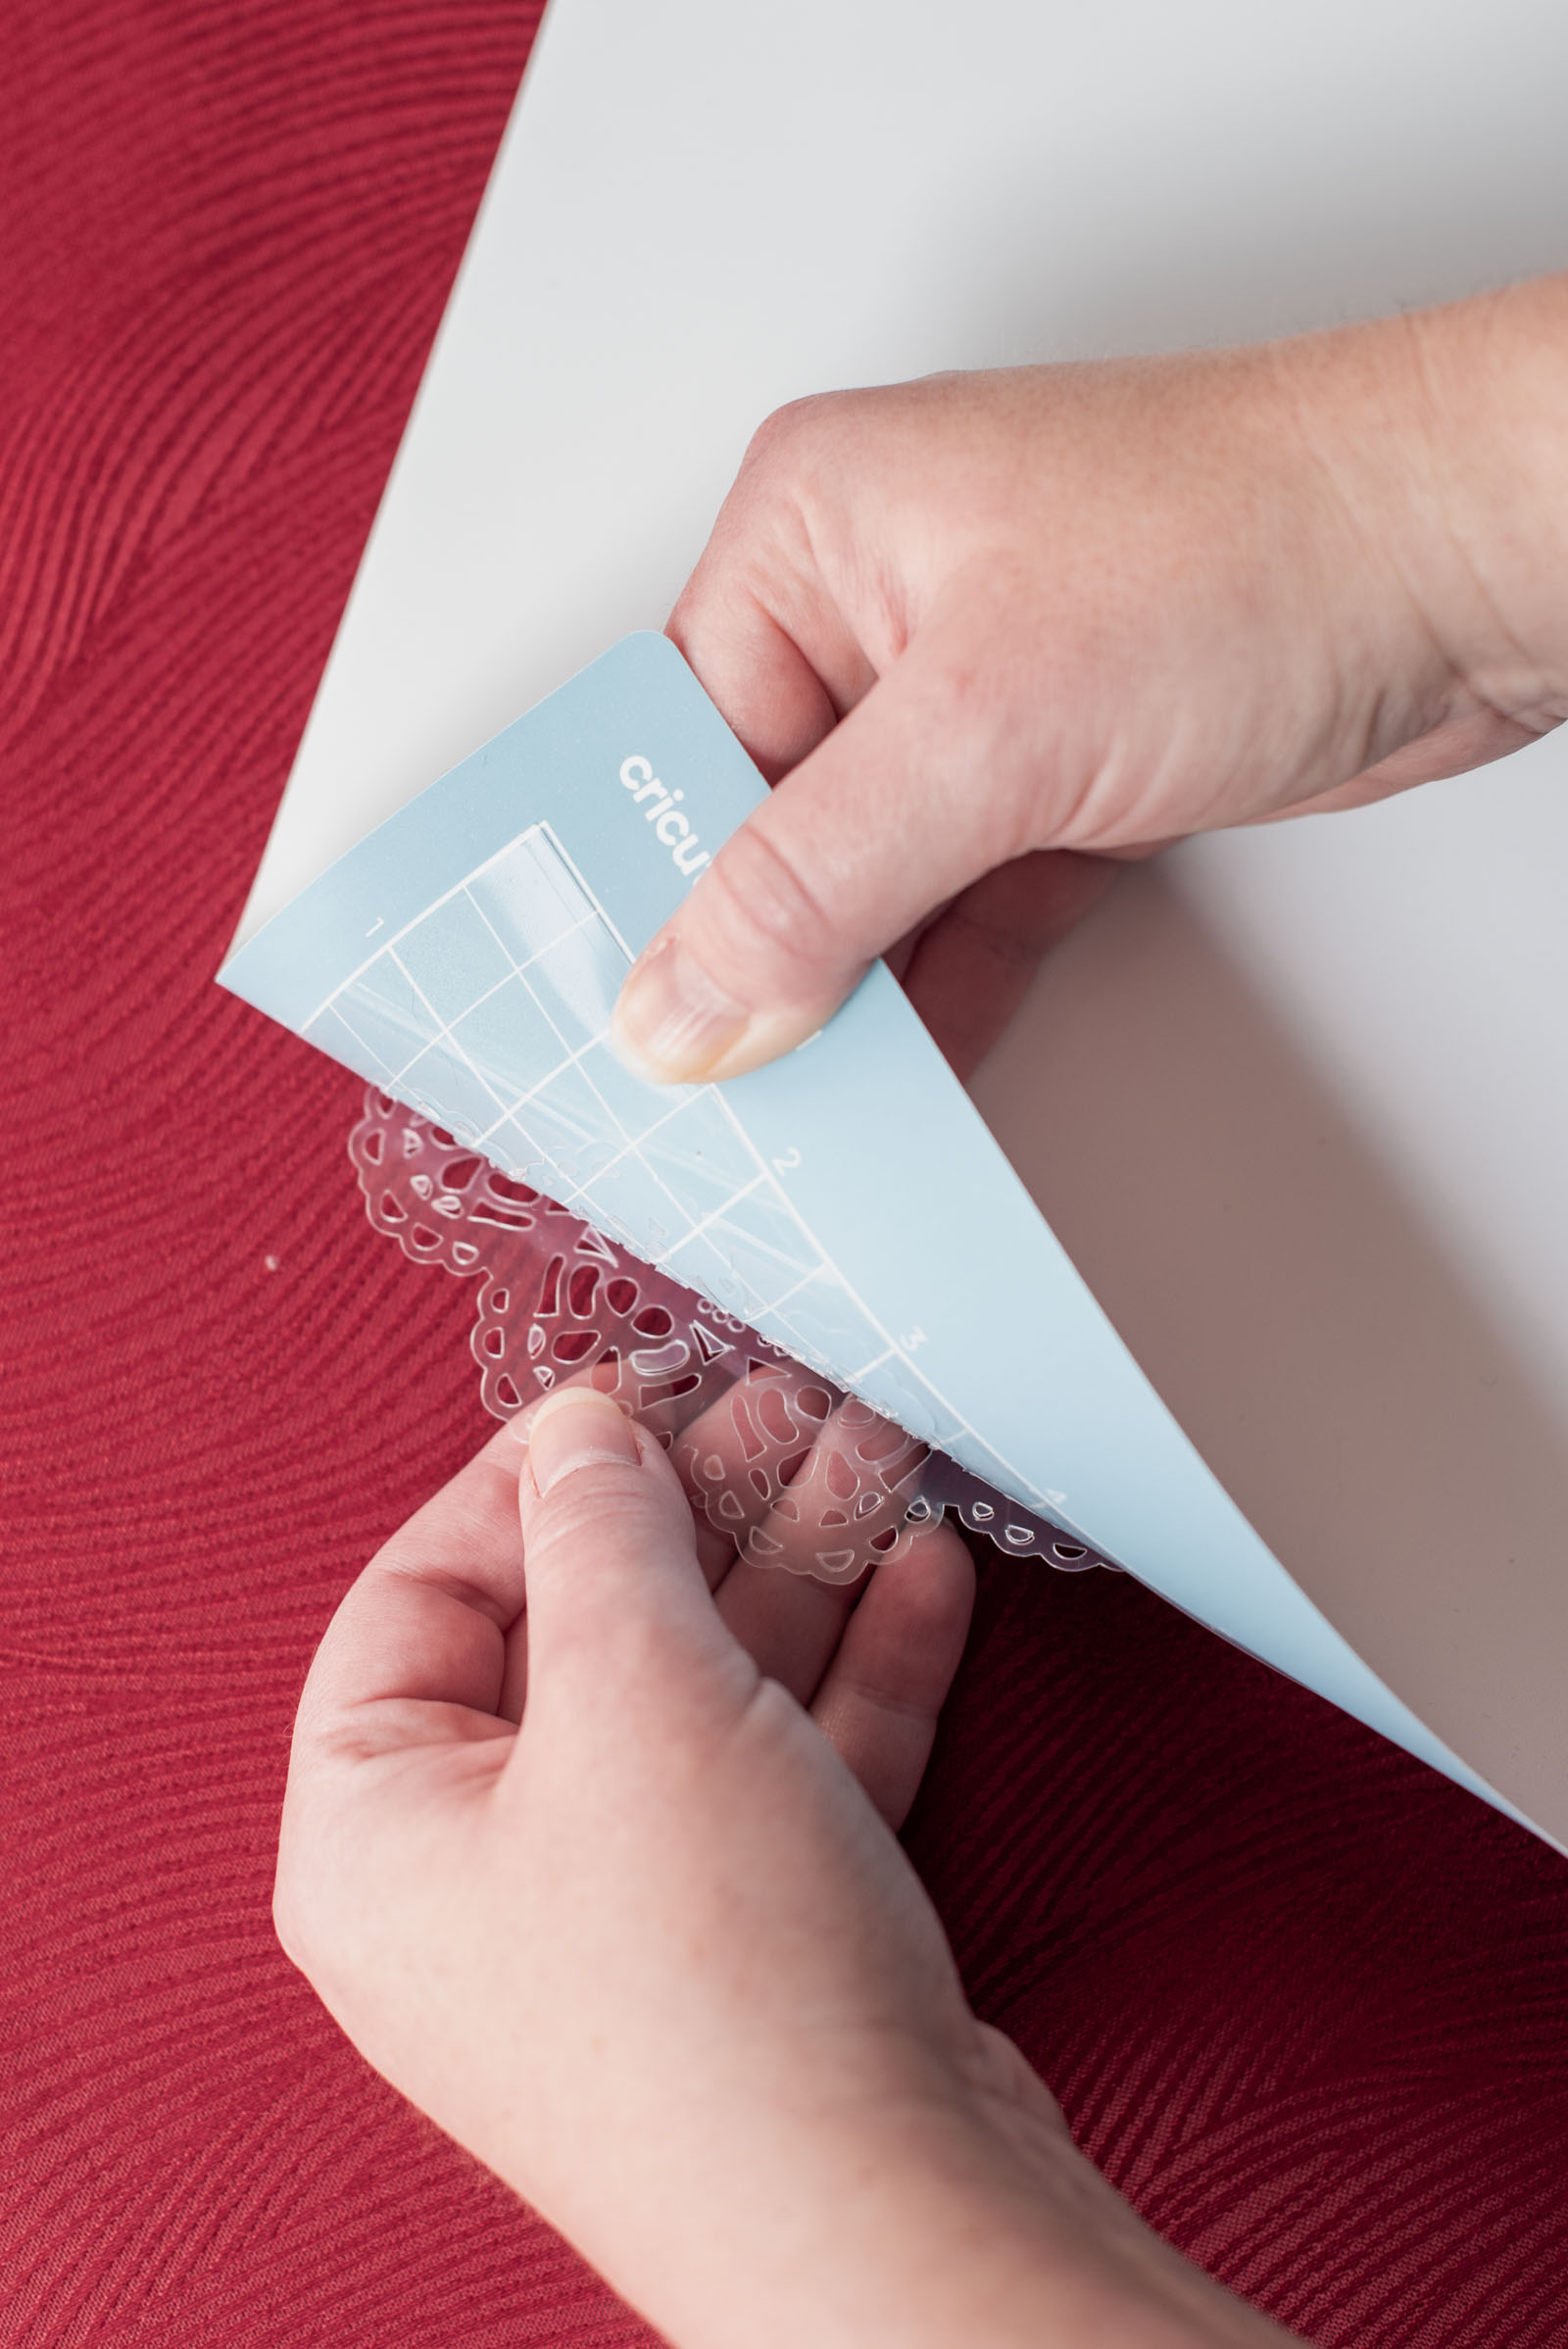
4Remove all the cut bits. After it's been cut, carefully remove your stencil from the mat by flipping over your mat and bending/peeling the mat away from your stencil. If you have any lingering acetate stuck in the intricate pattern, use your weeding tool to poke through all of the pieces that don't belong on your stencil. Clear your cutting mat with a scraper tool.
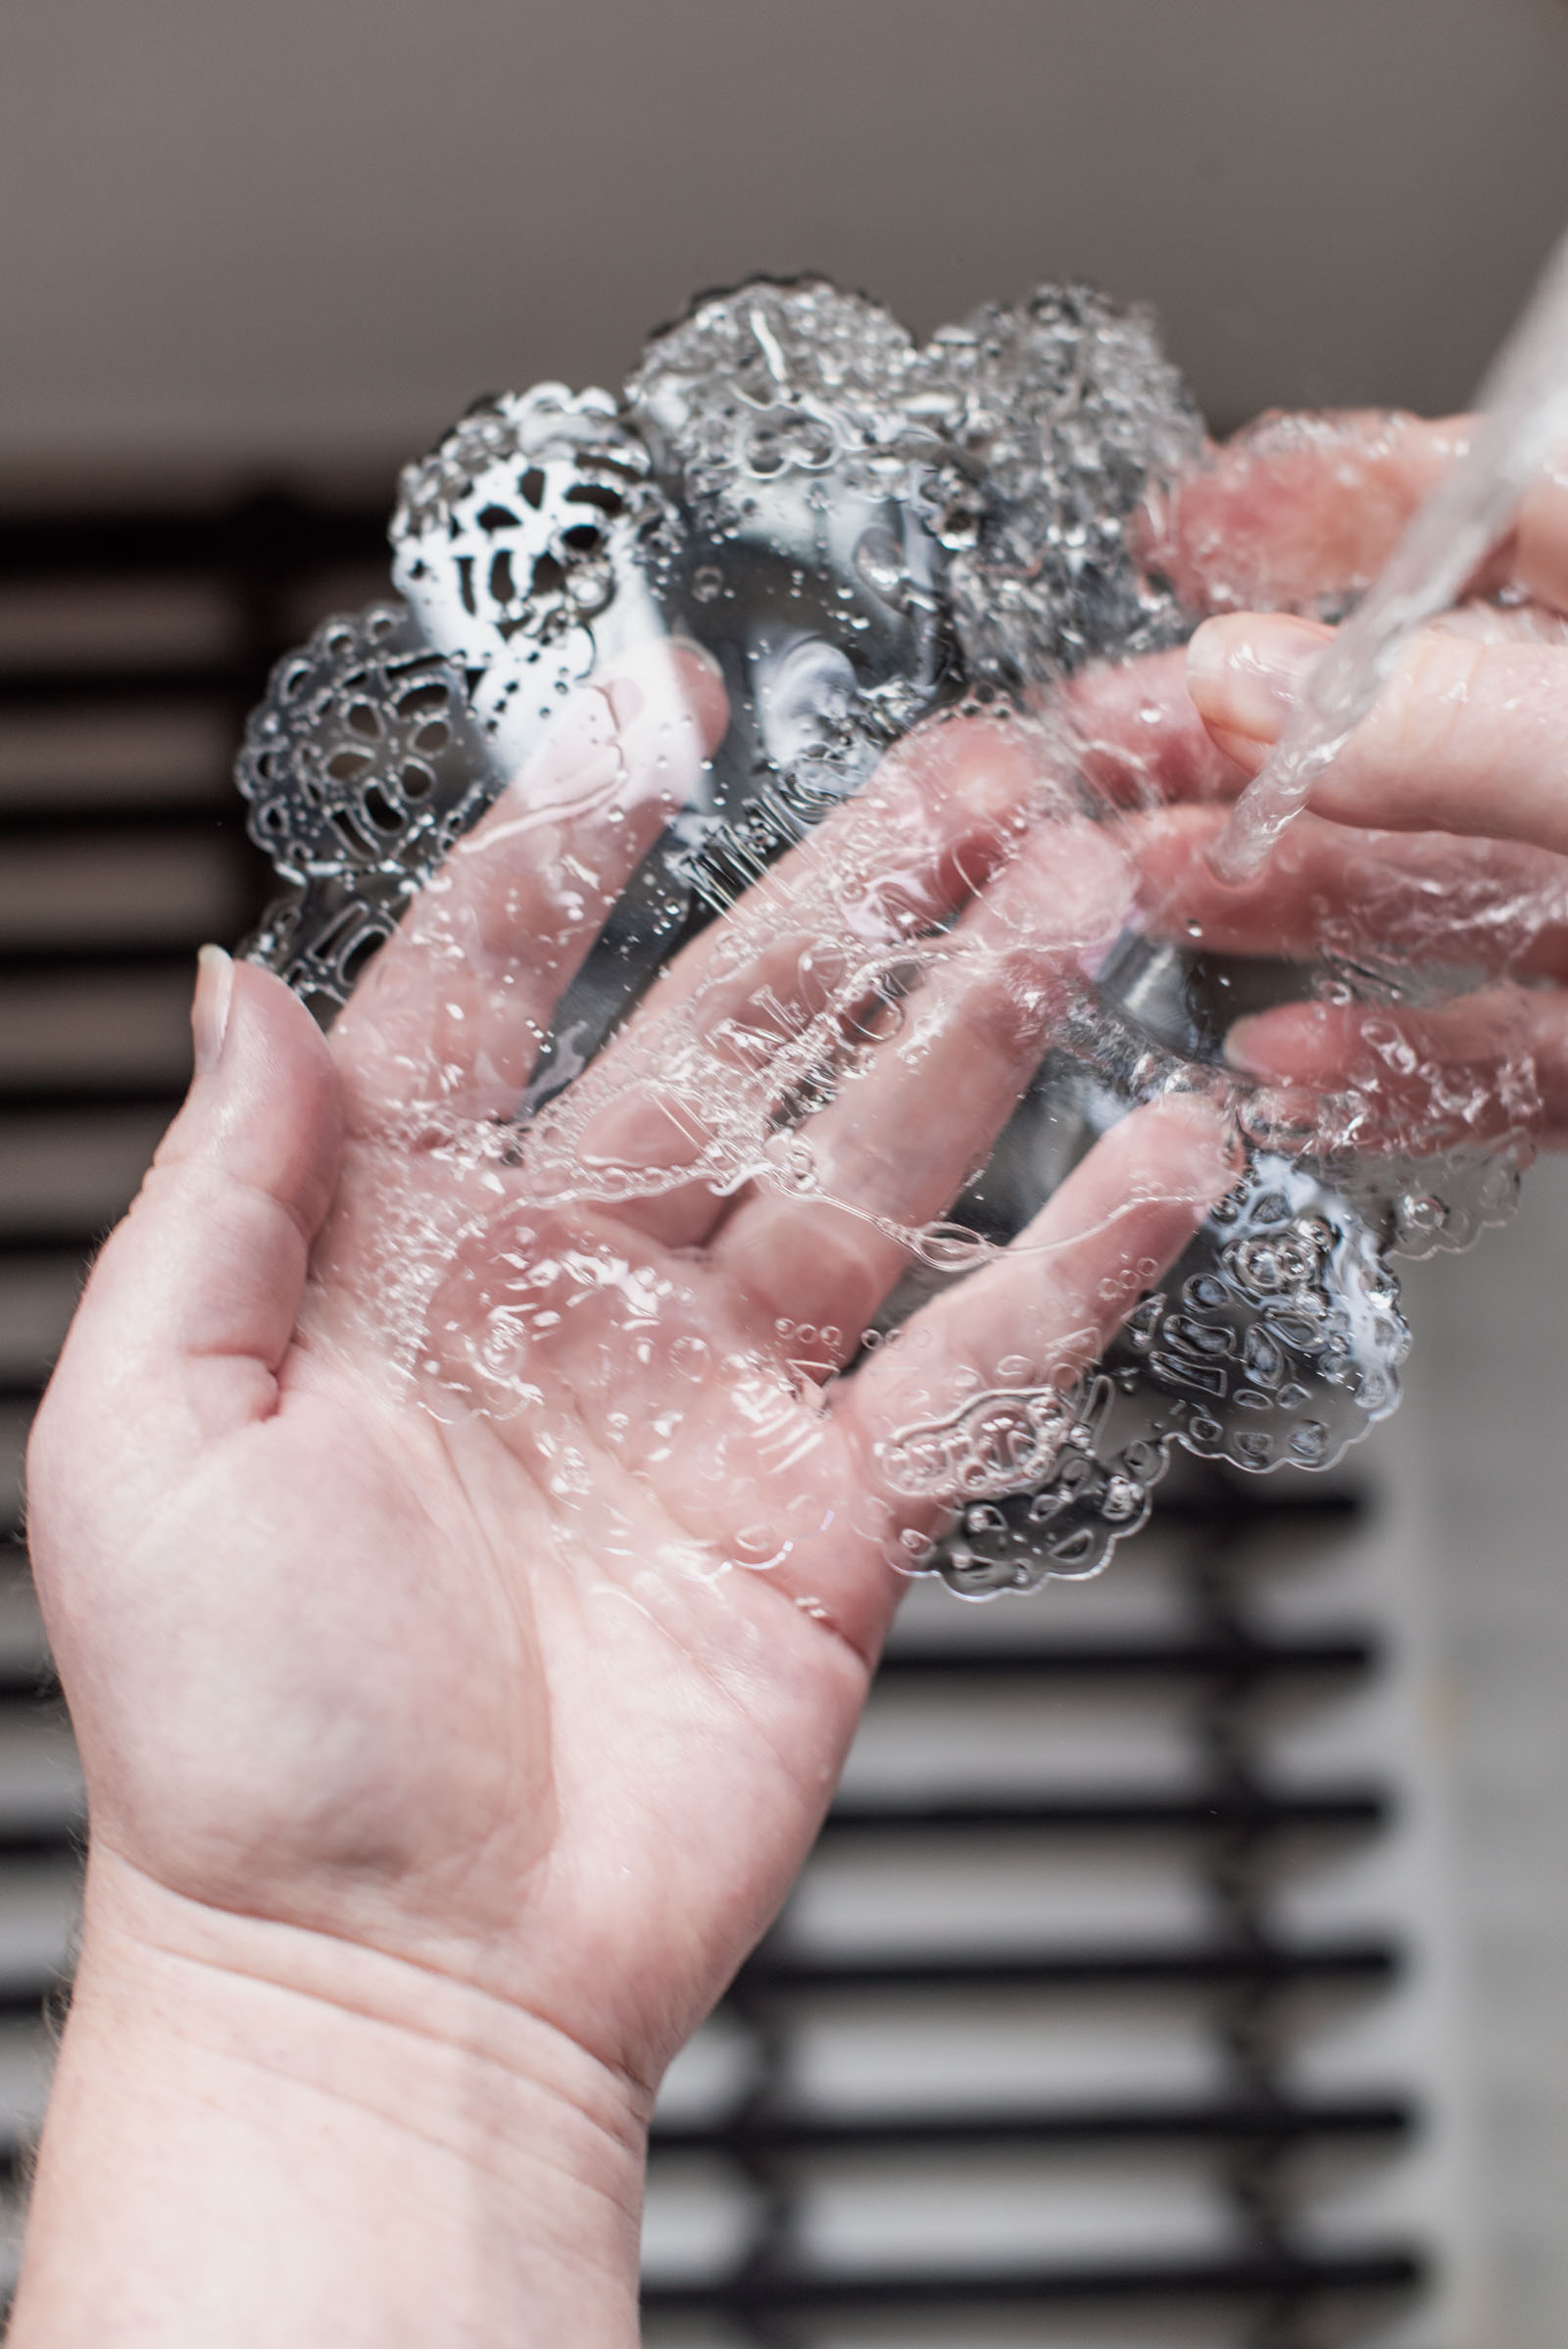
5Wash your stencil. Now remove the remaining protective film on the front side of your stencil. Since our acetate is not food safe certified, we washed our stencil with dish soap and warm water and then dried with a paper towel.
6Chill your cake & practice cocoa dusting. For best stenciling results, a pro cake decorating tip is to chill your cake for at least 20-30 minutes as this will help harden your frosting for a better surface for your cocoa powder.
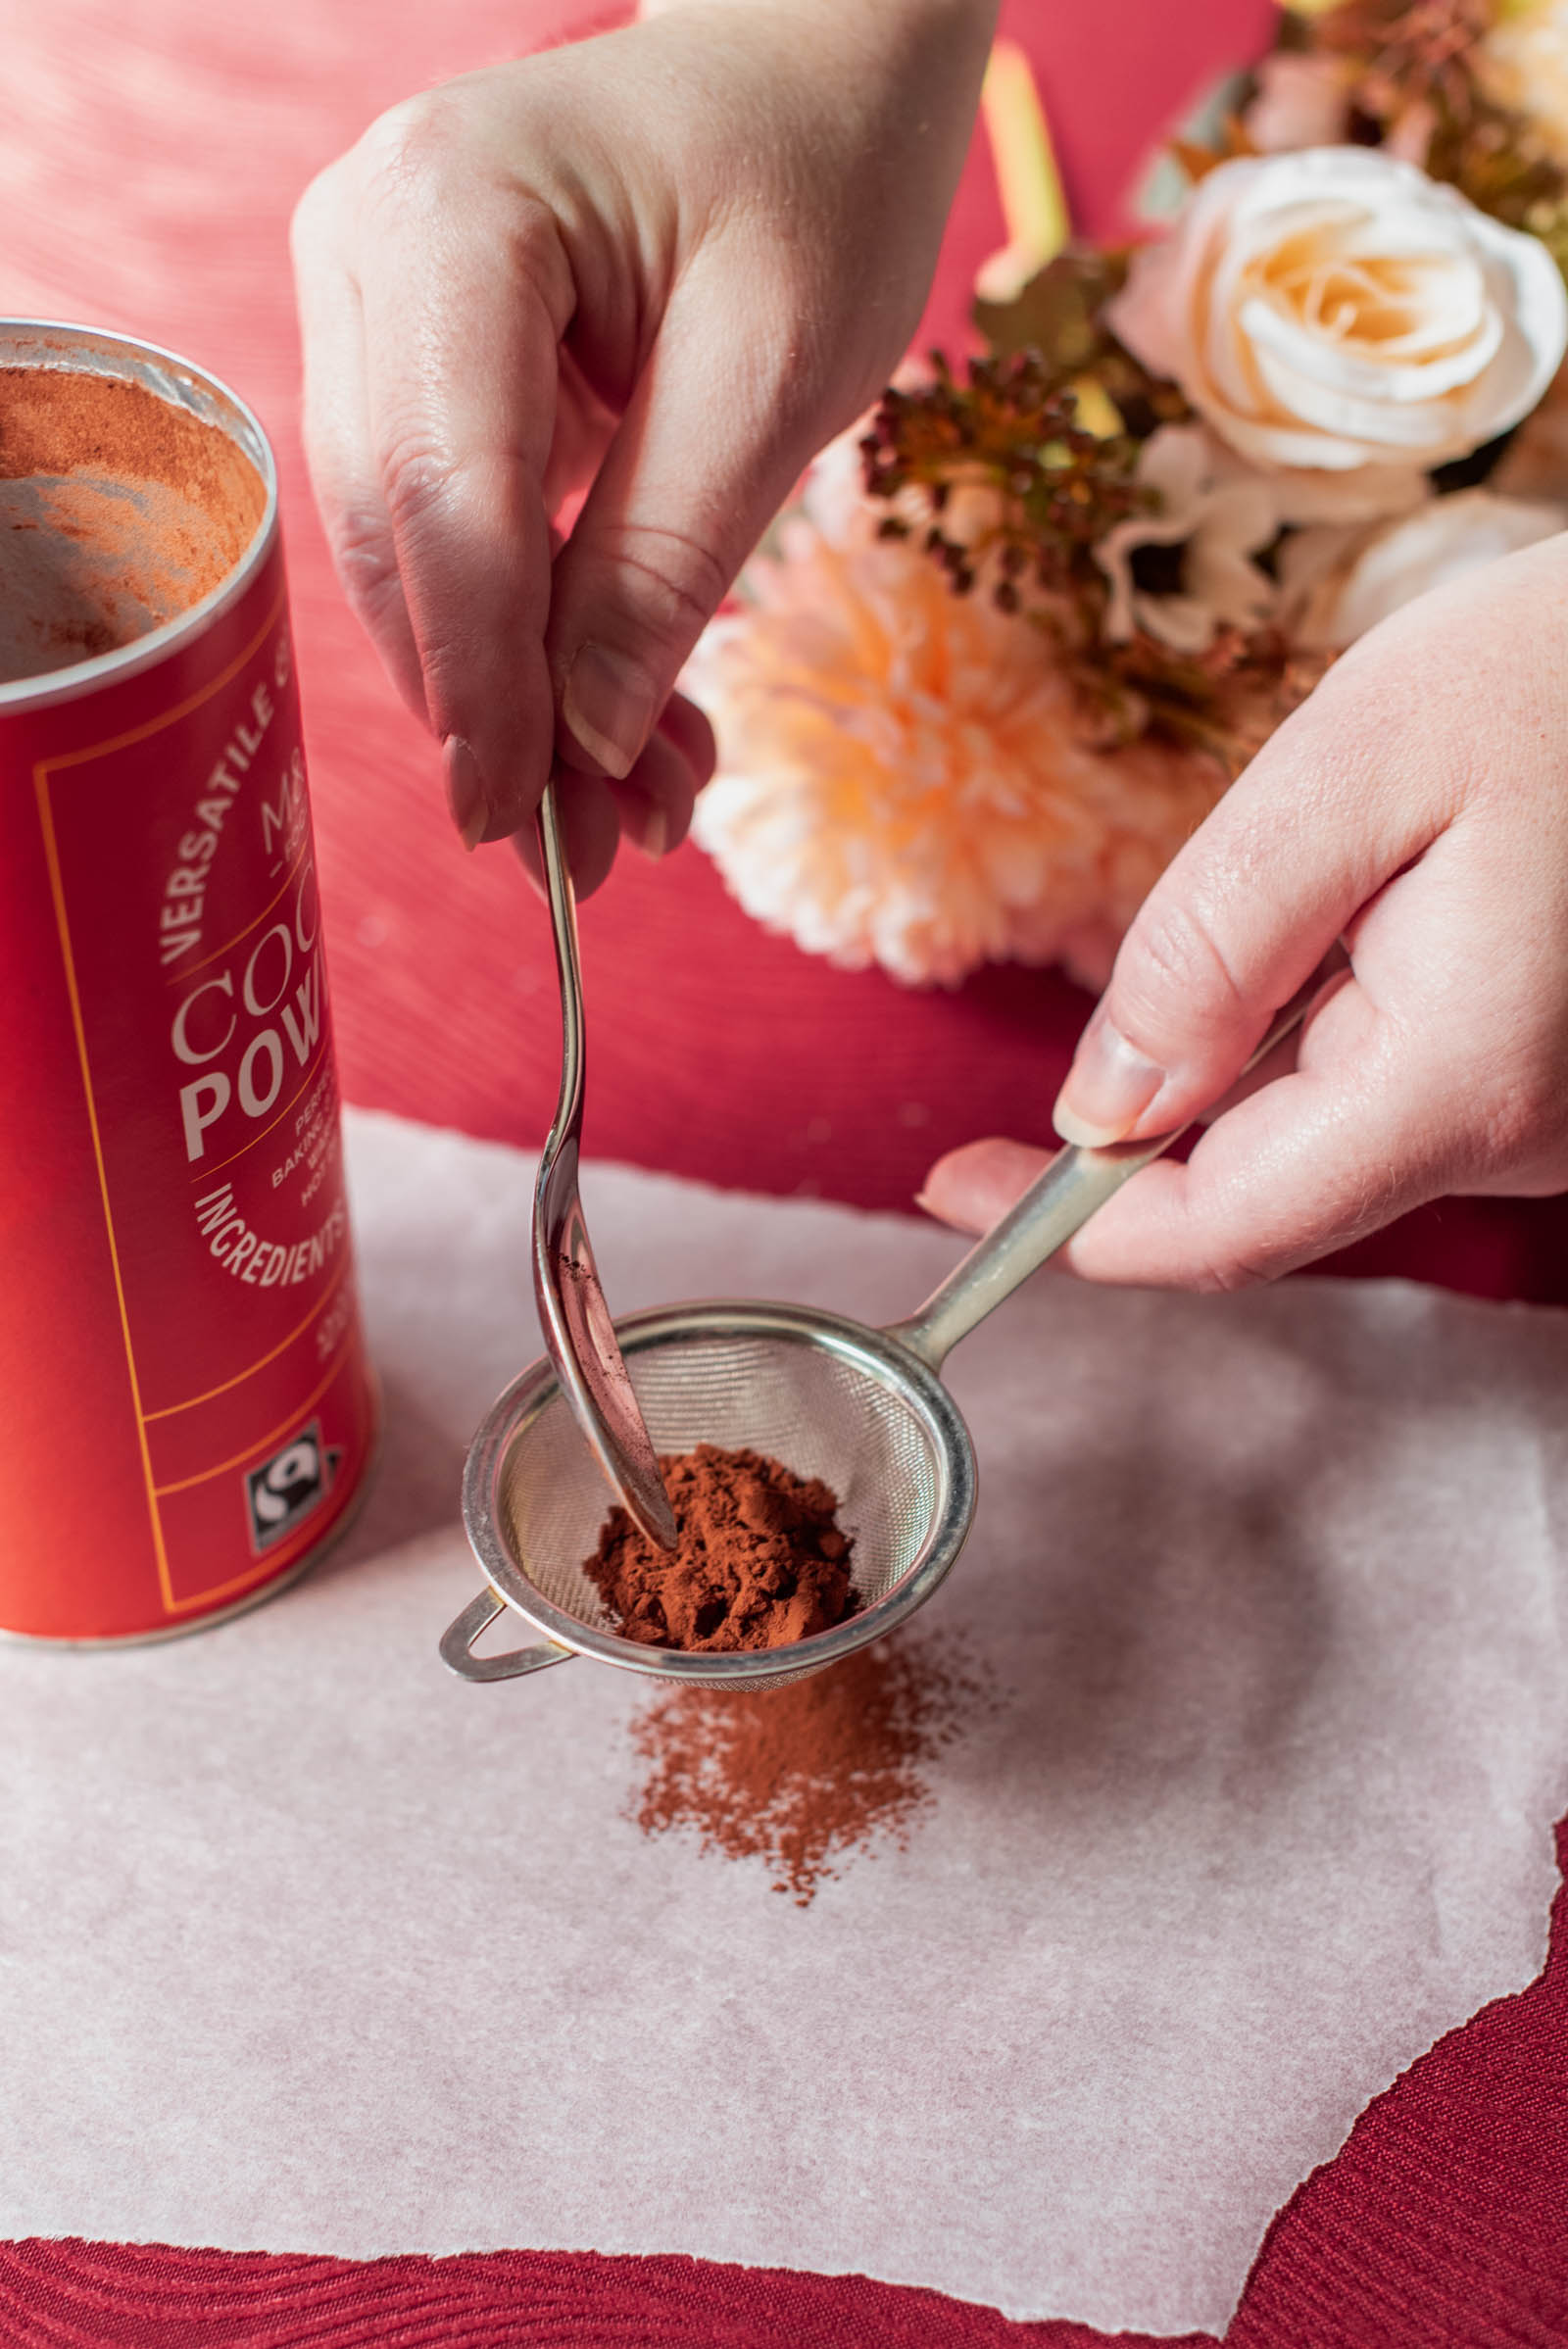
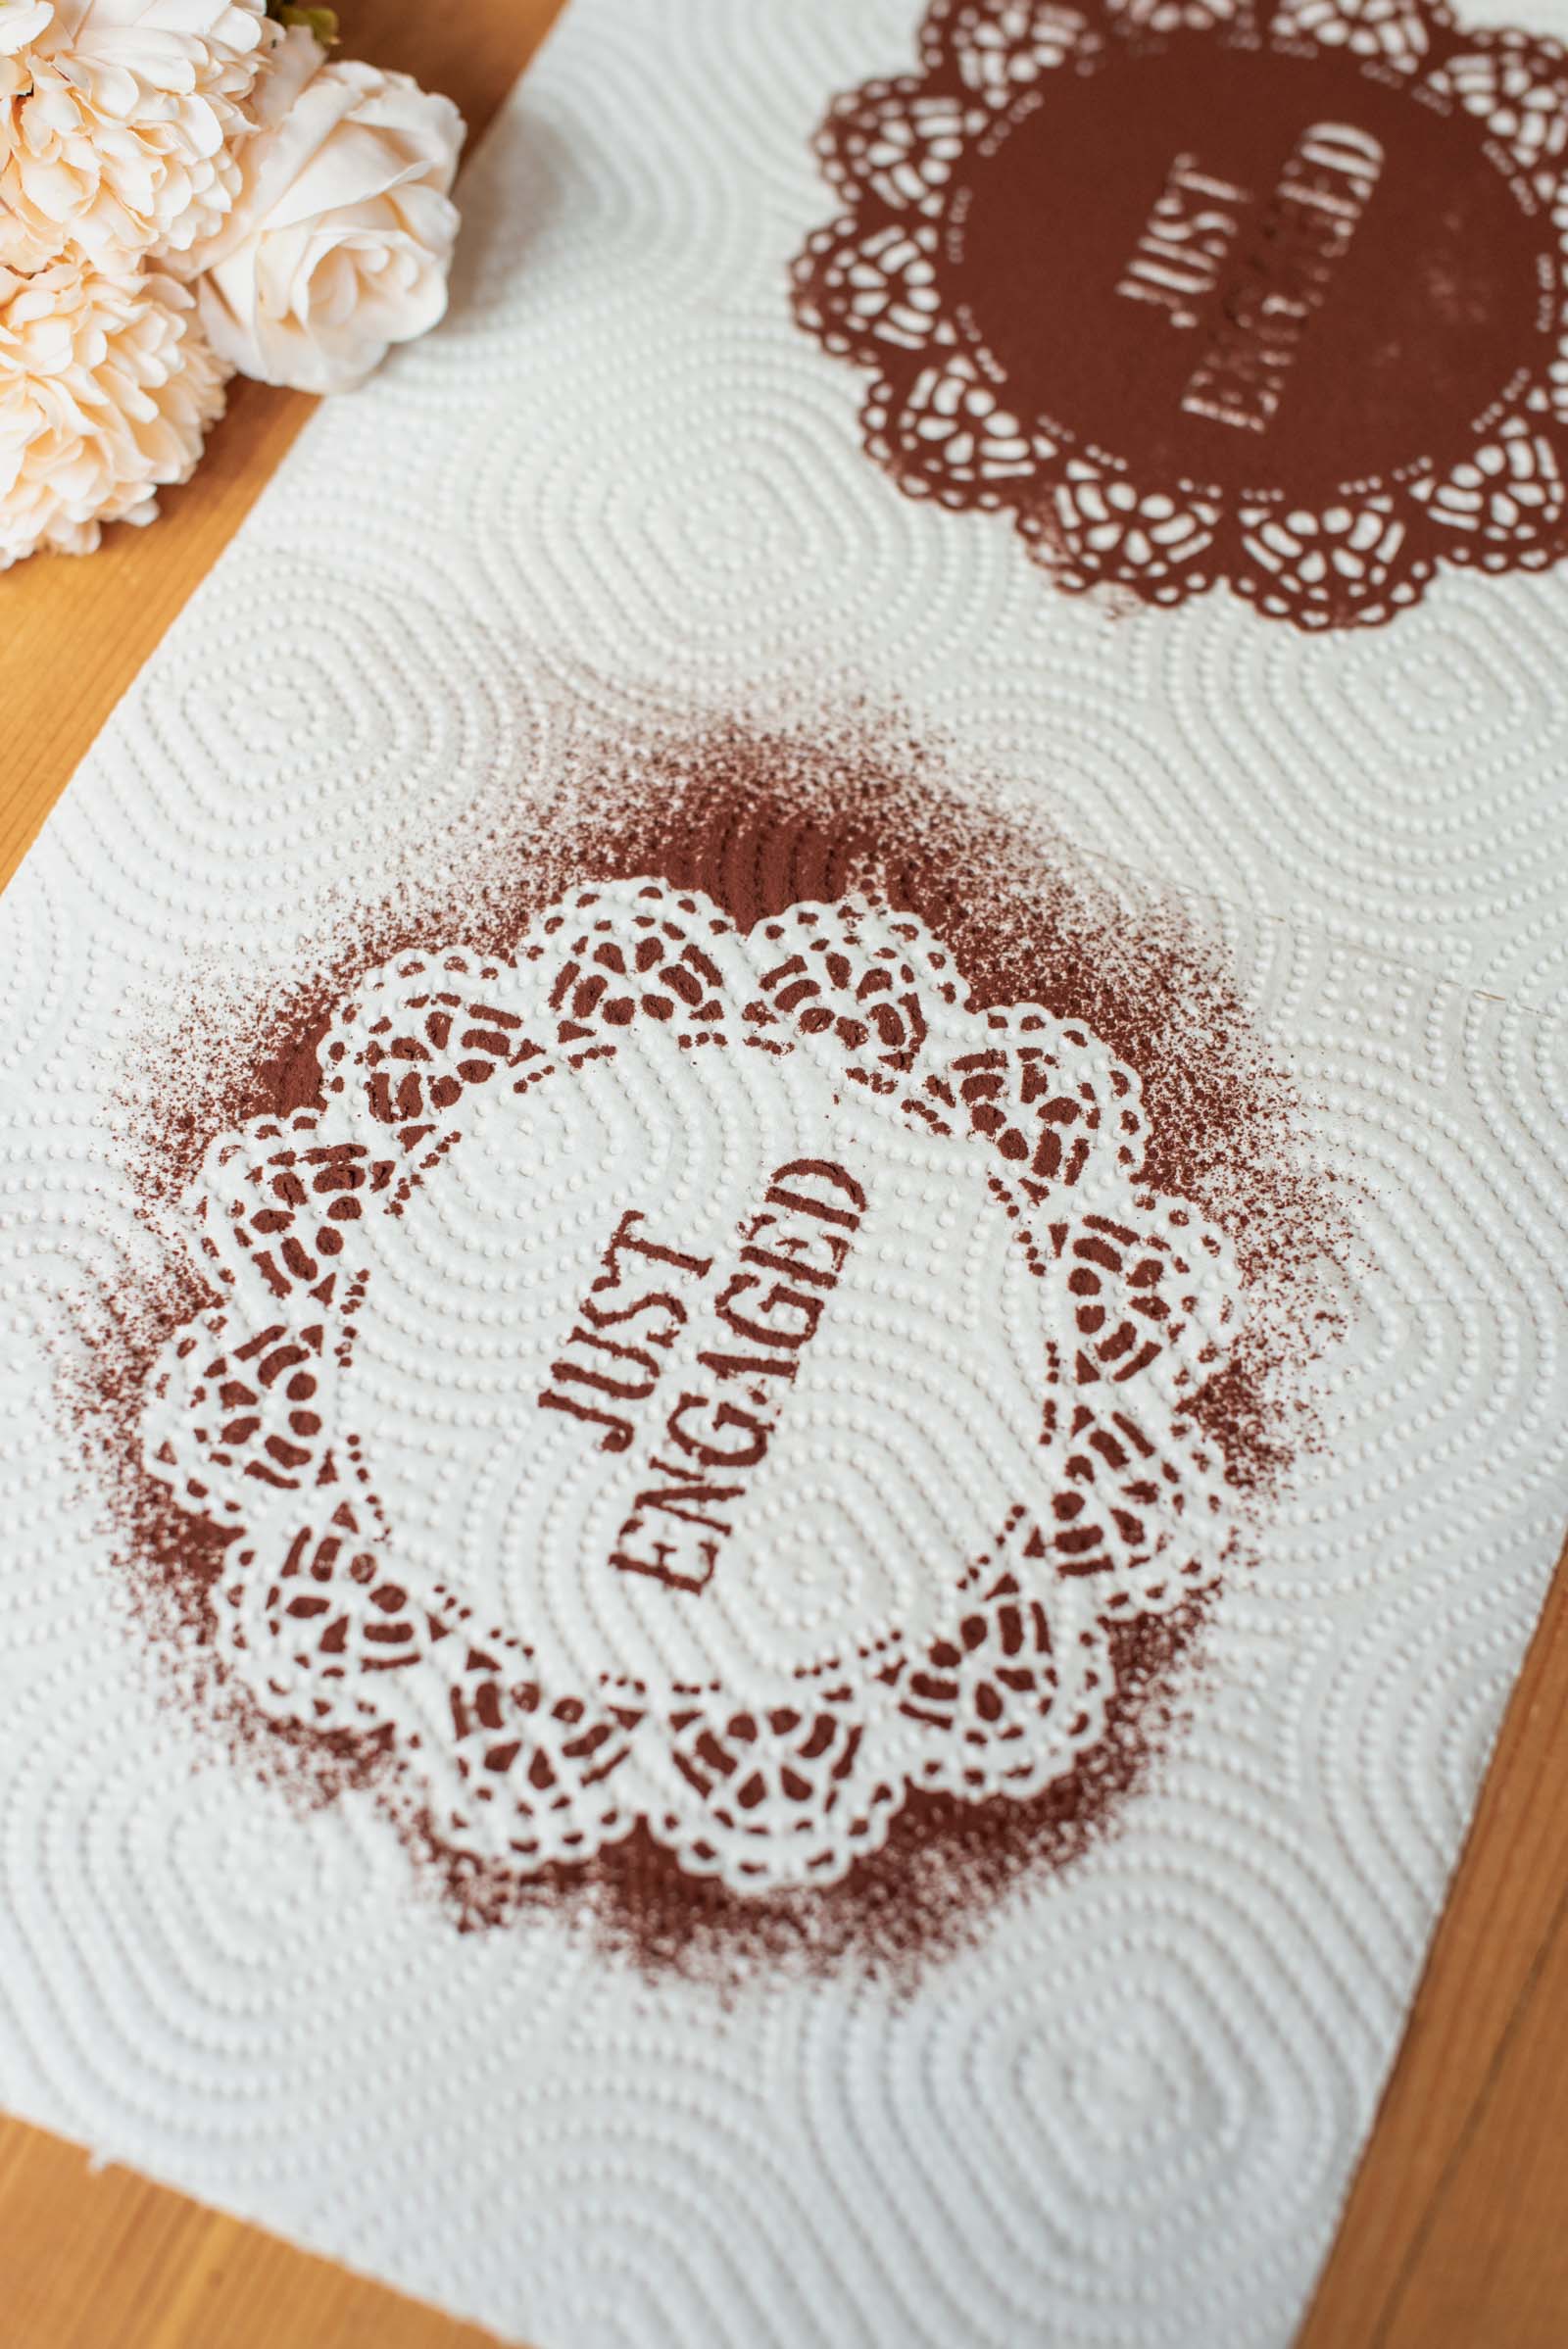
While your cake is chilling, place your stencil on a paper towel. Using your fine mesh strainer, scoop a spoonful of cocoa powder into it and sift over your stencil by gently tapping the side of your strainer with your finger.
Once fully covered, lift the stencil with both hands, straight-up in one gentle movement. Look over your practice stencil work. Is it clean enough for you? If not, wash and dry your stencil to try again. Once you're happy, time to do the real cake!
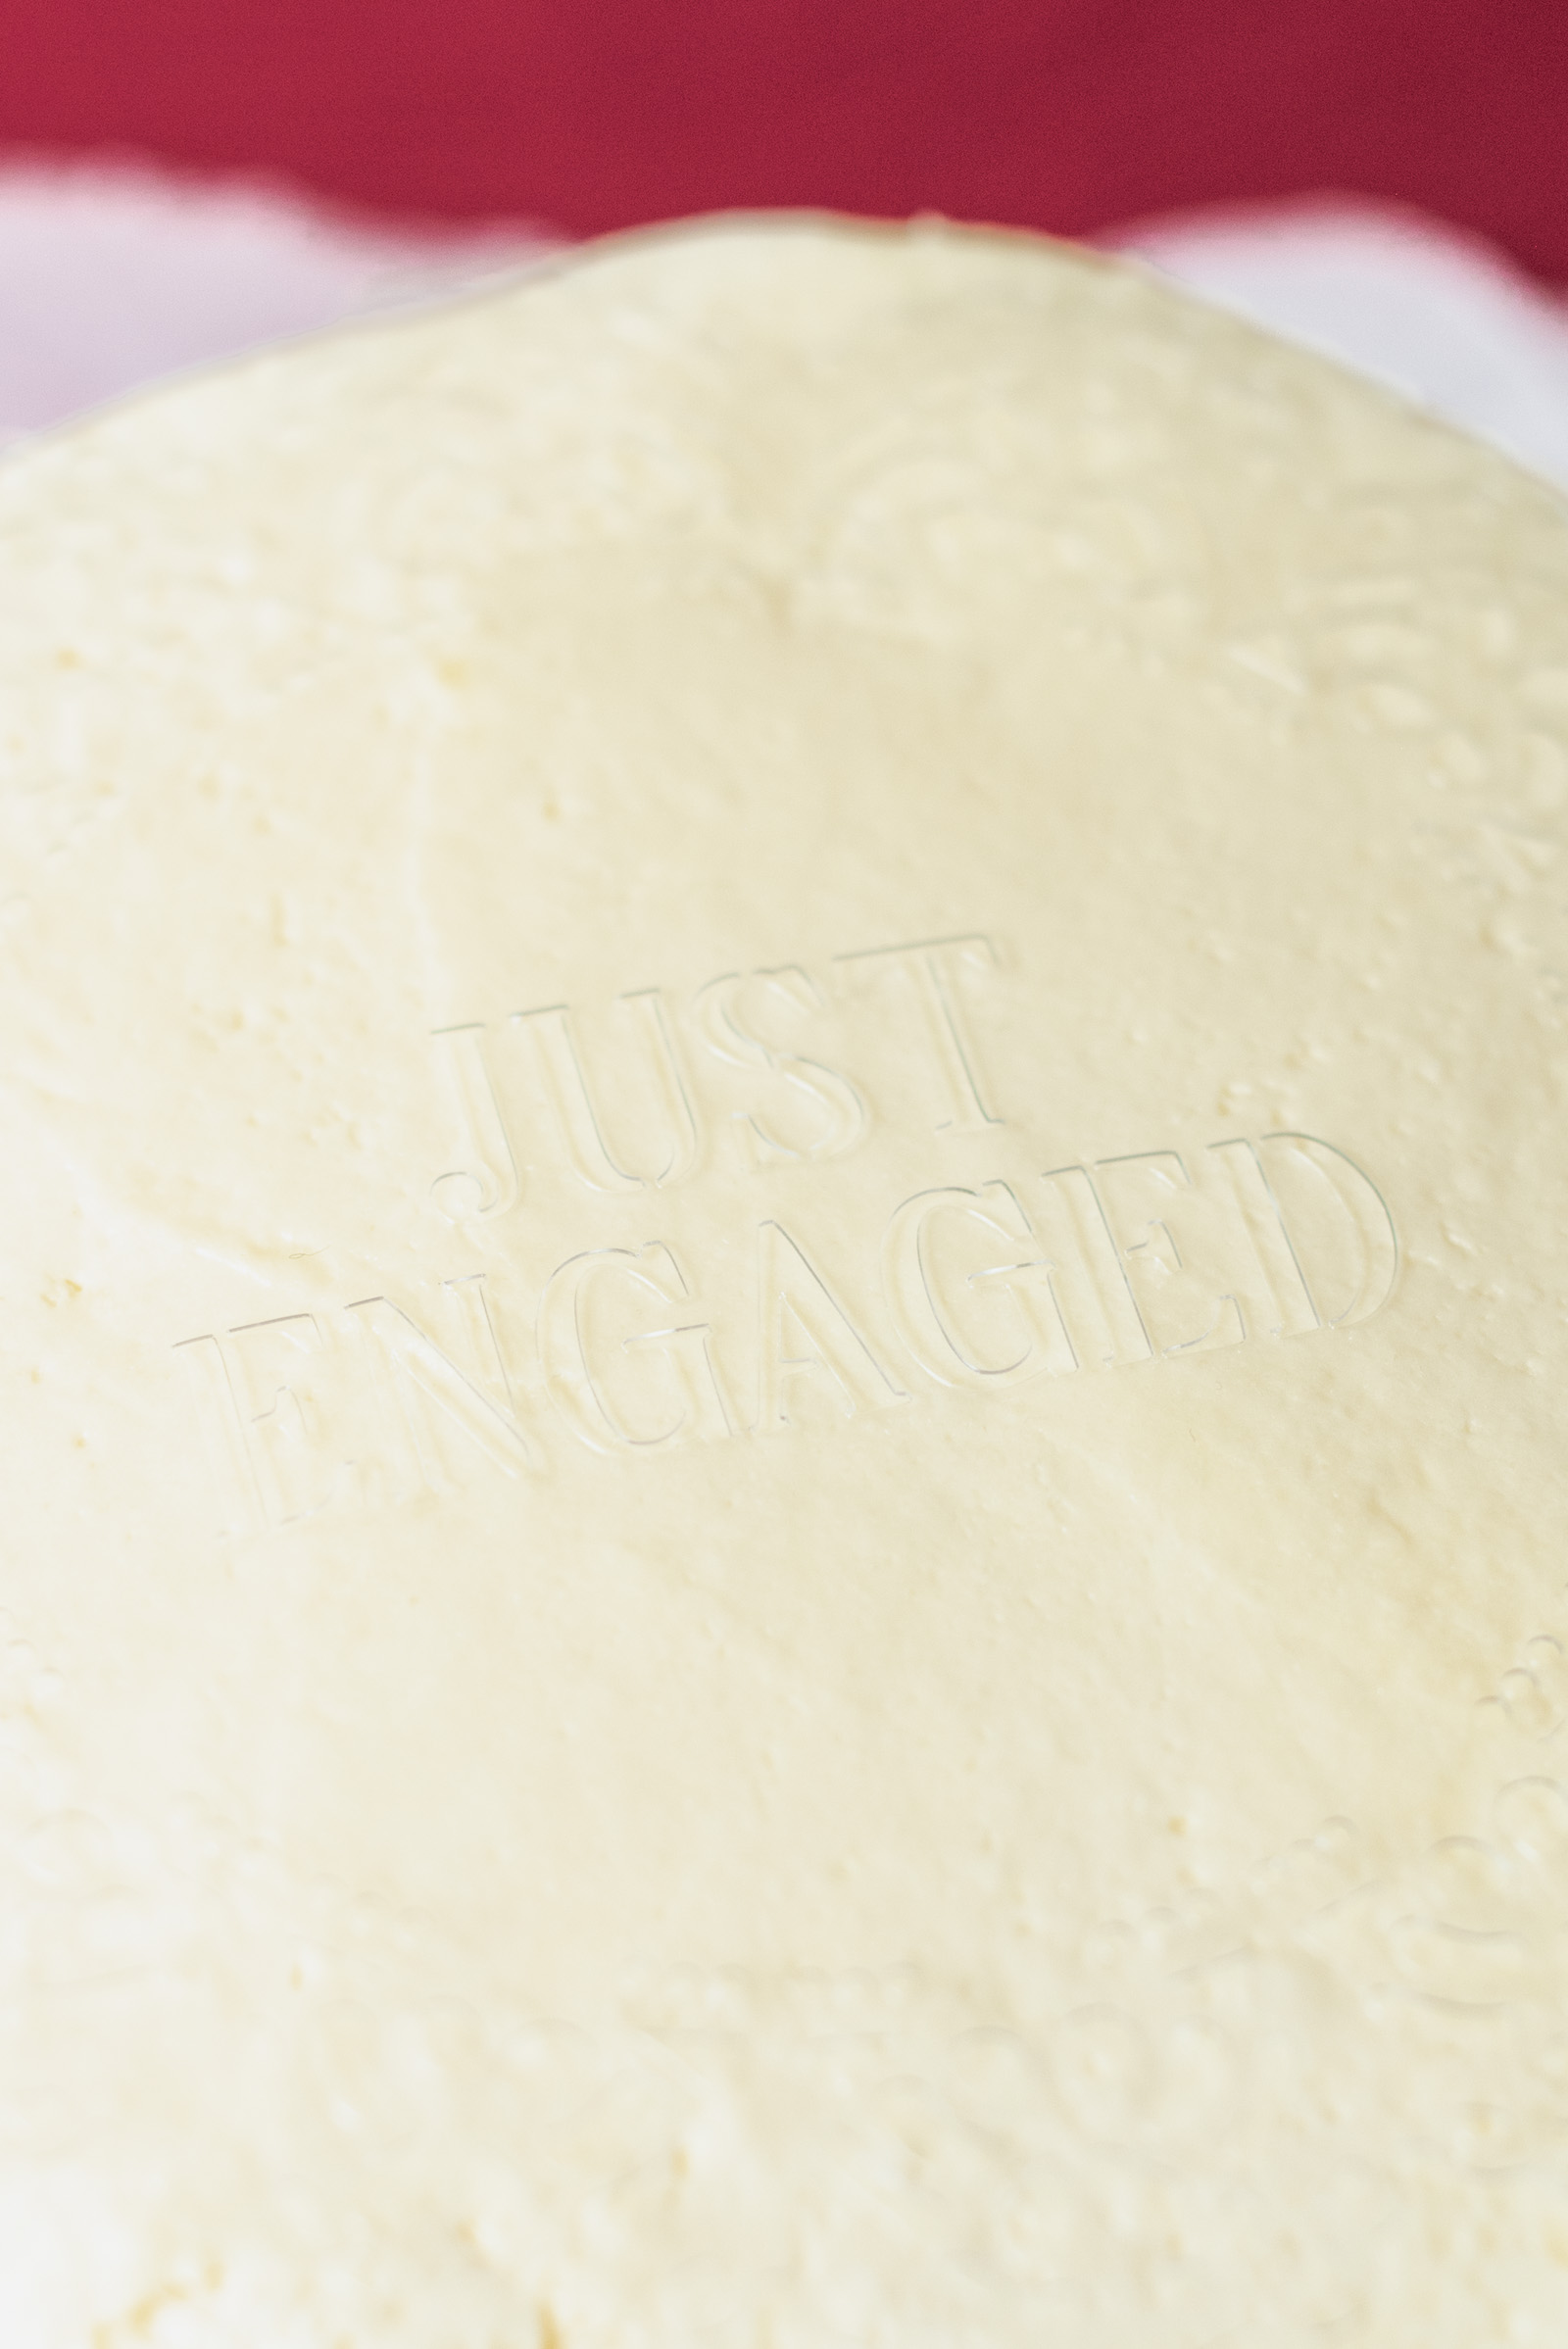
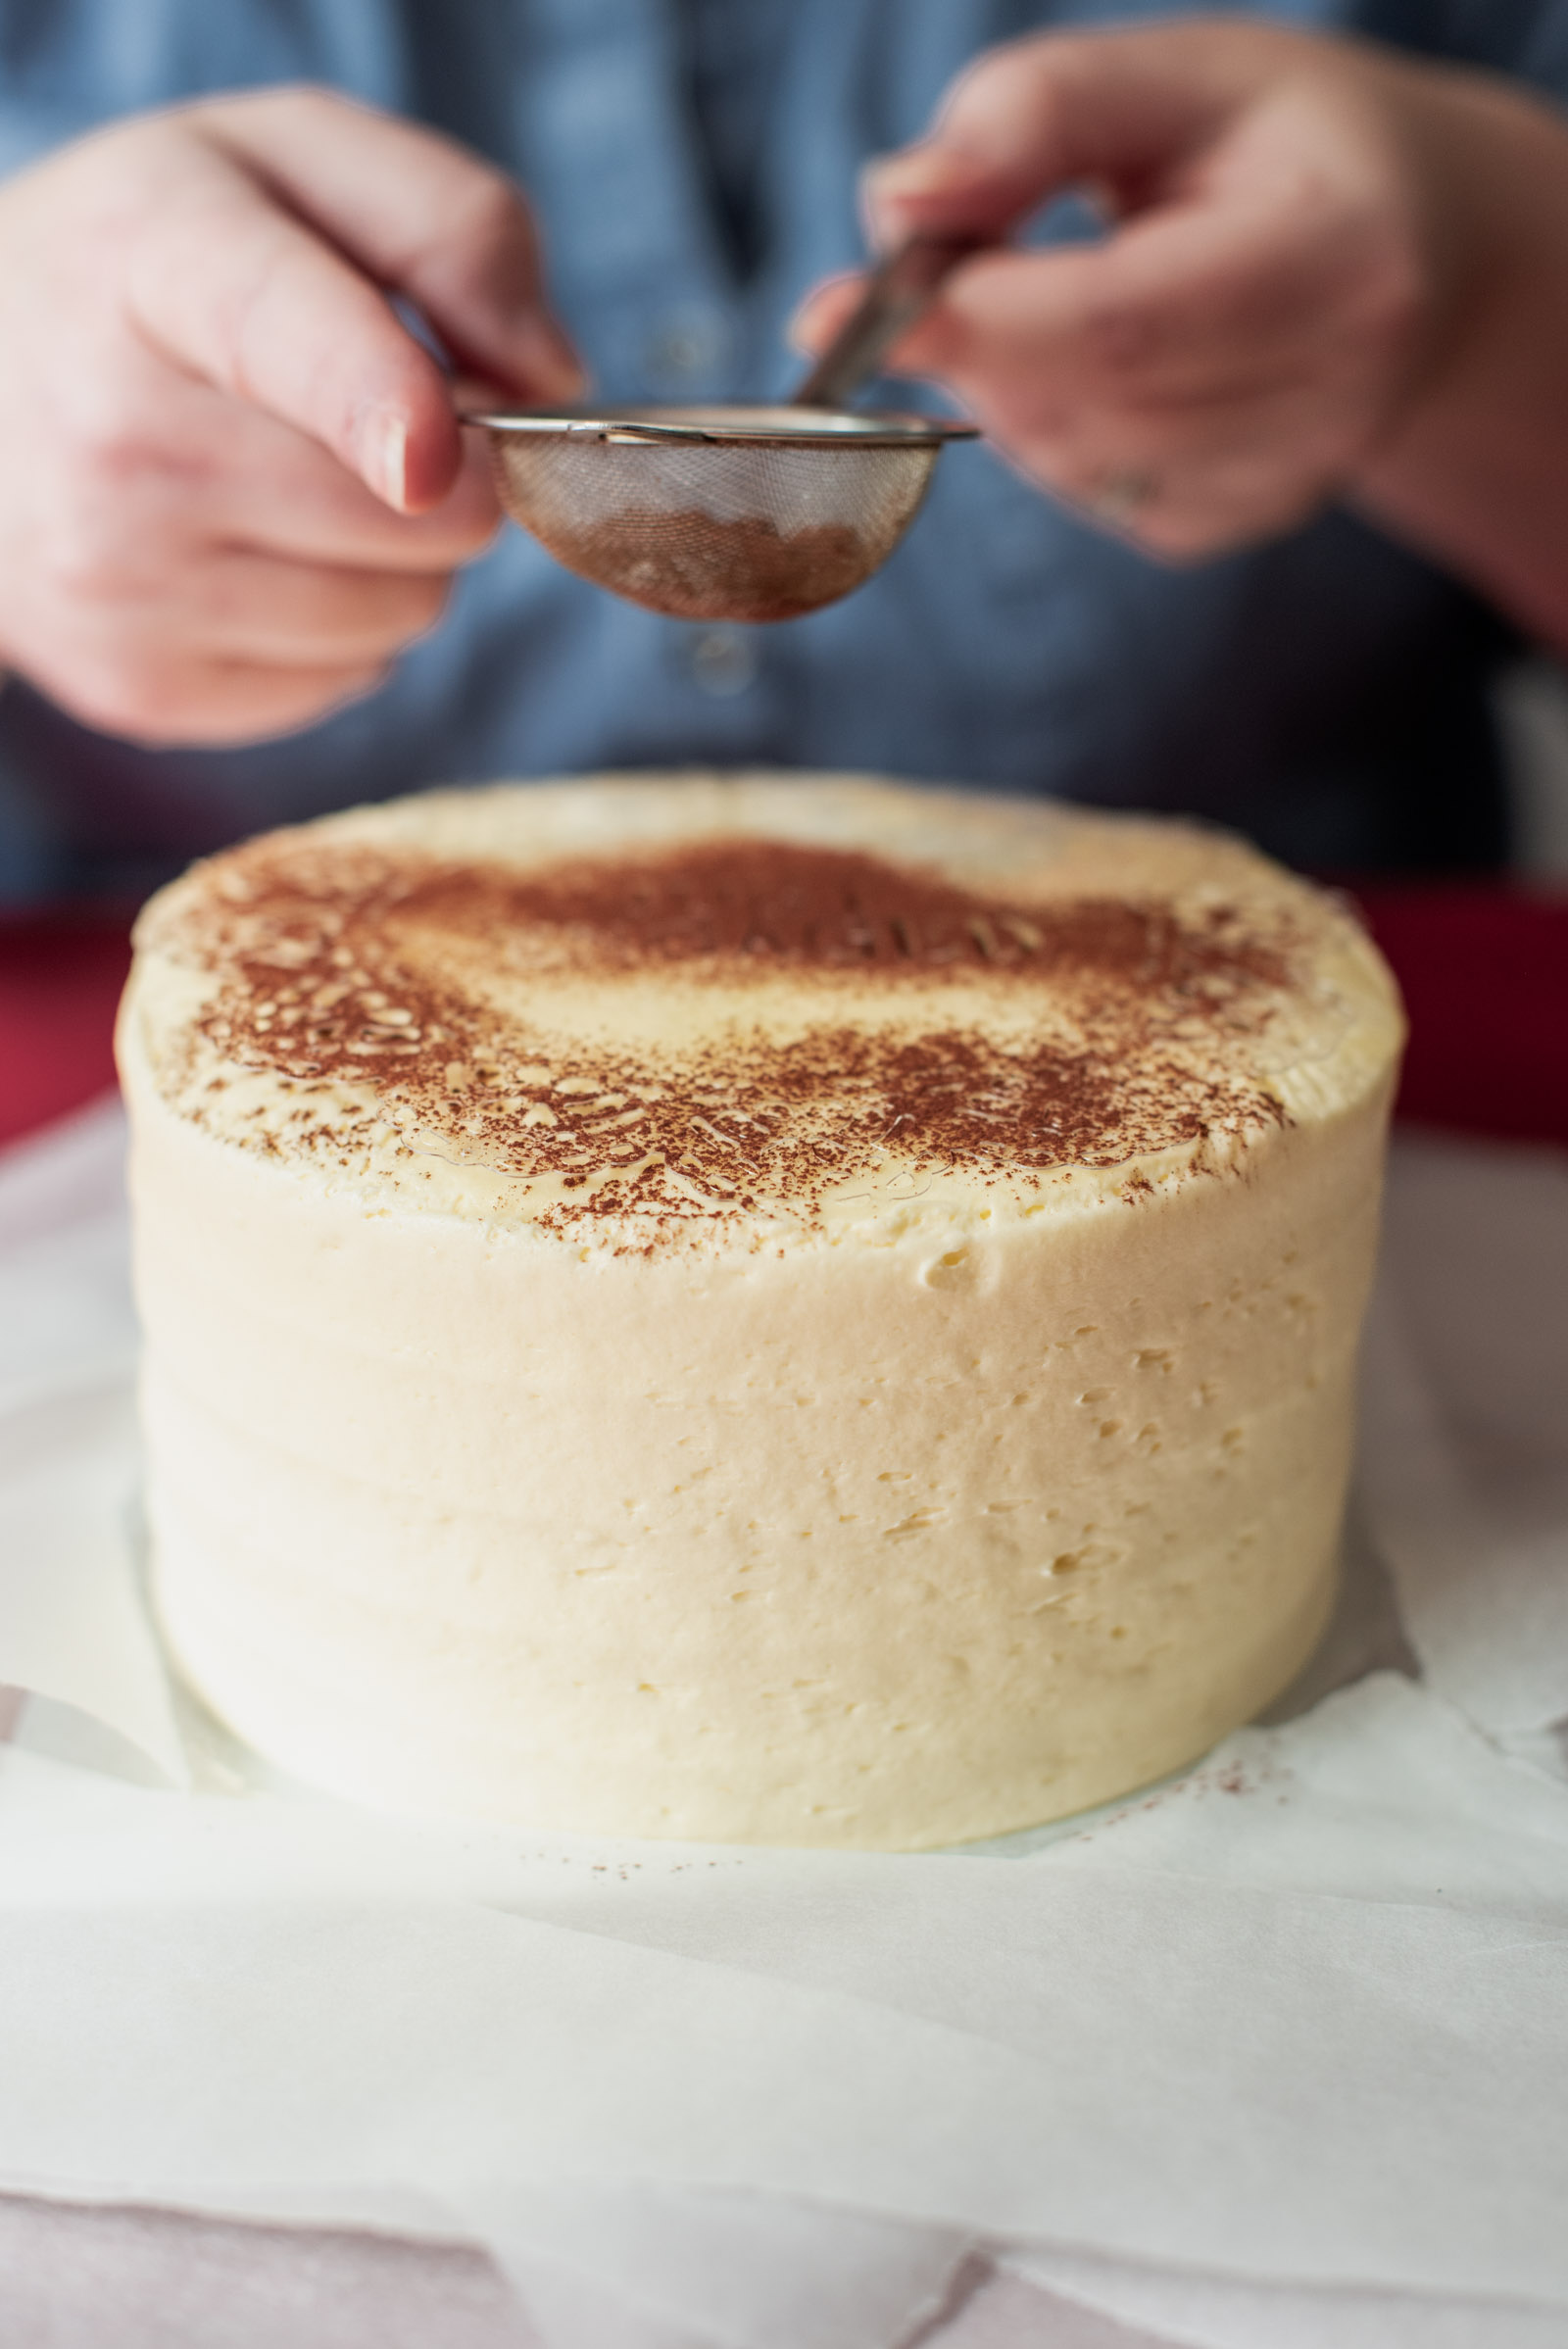
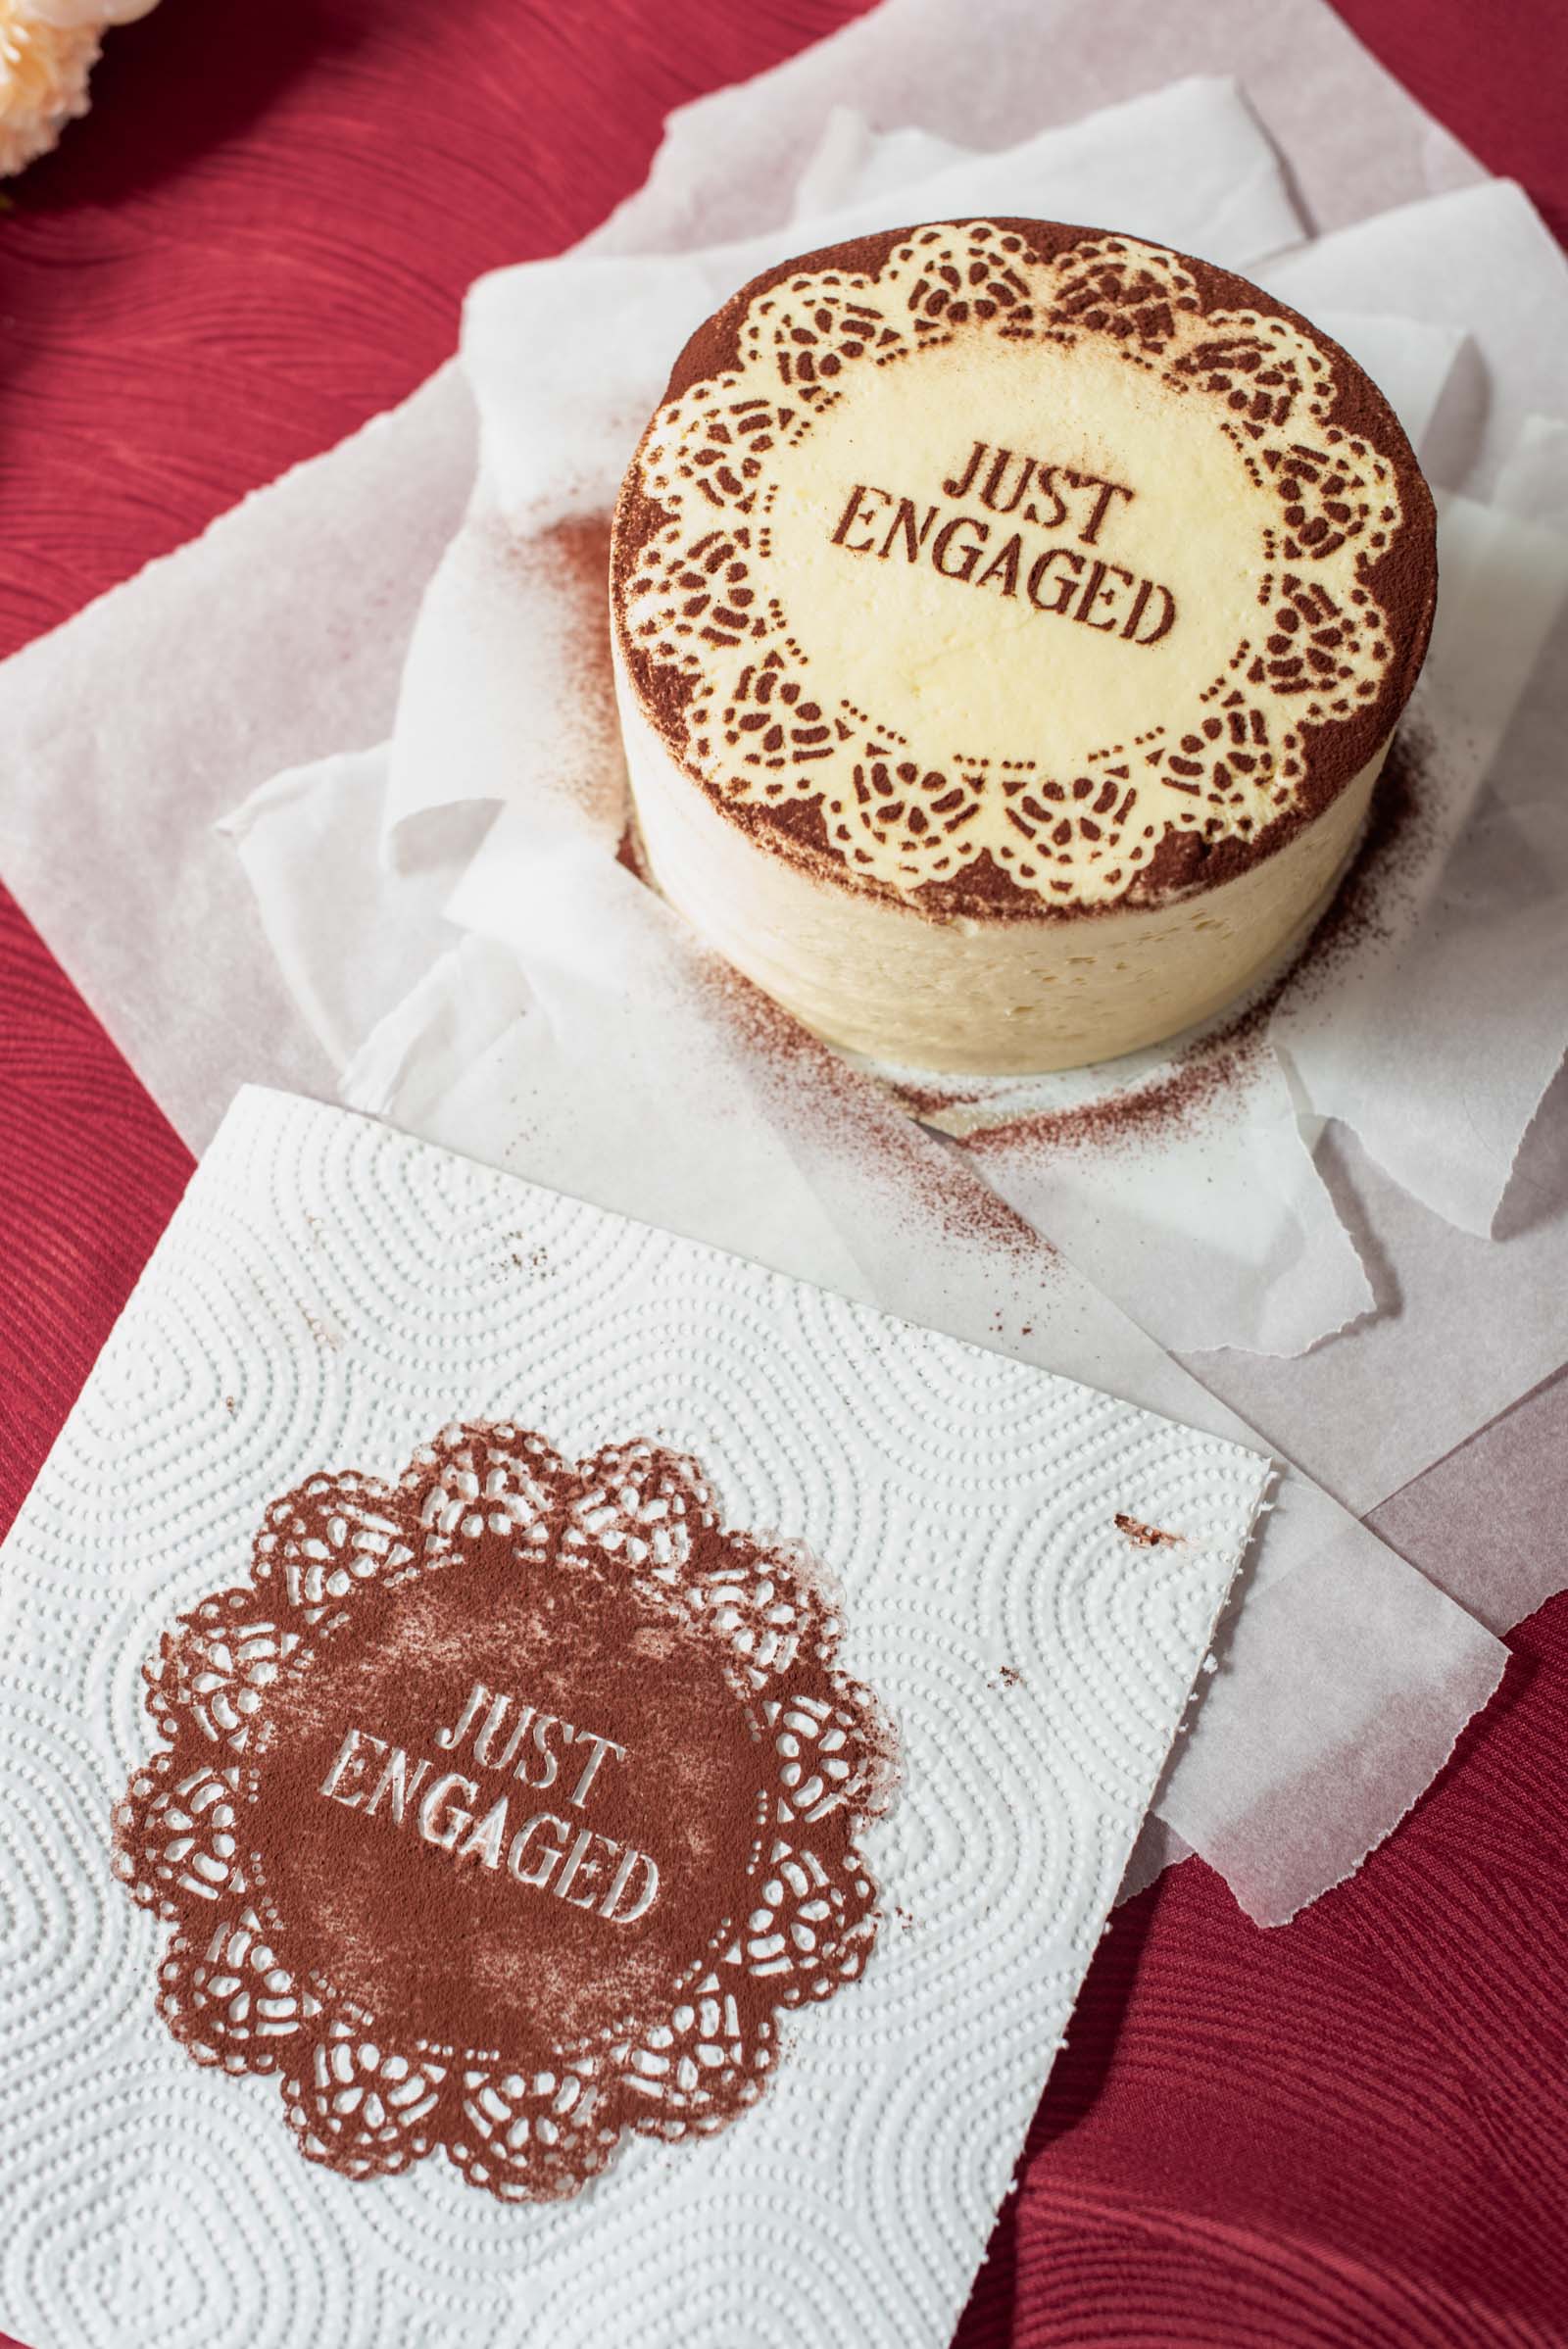
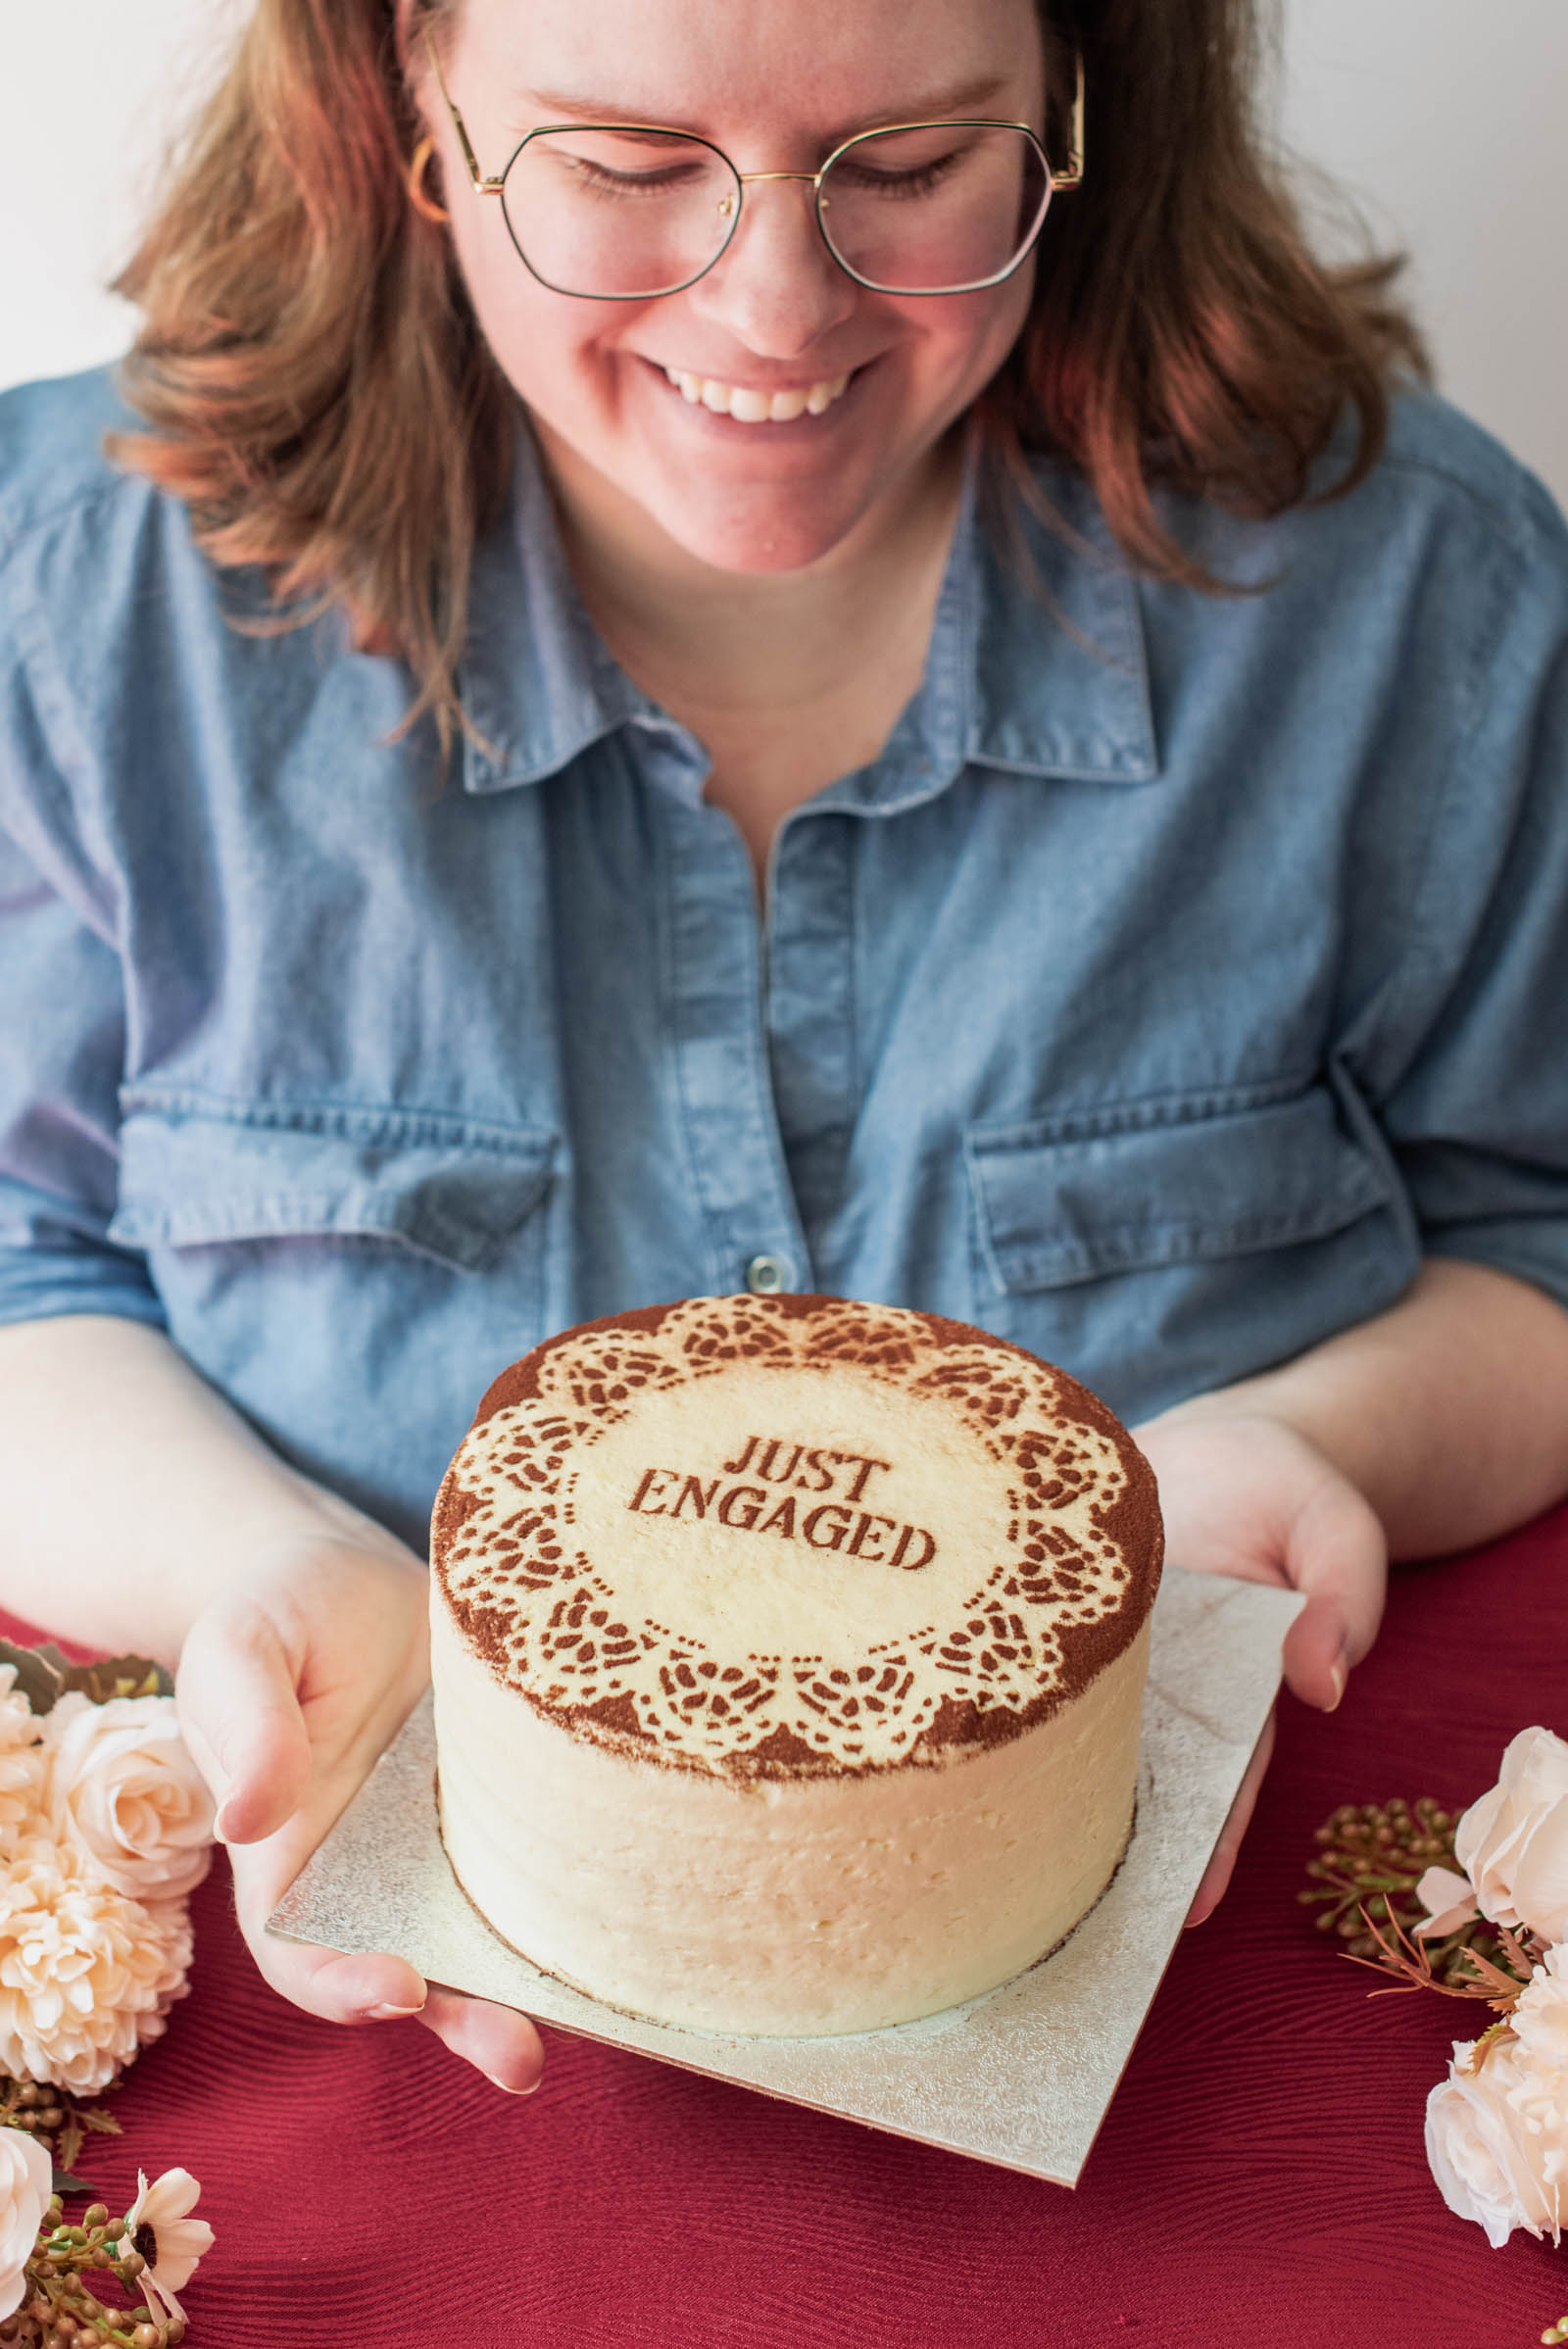
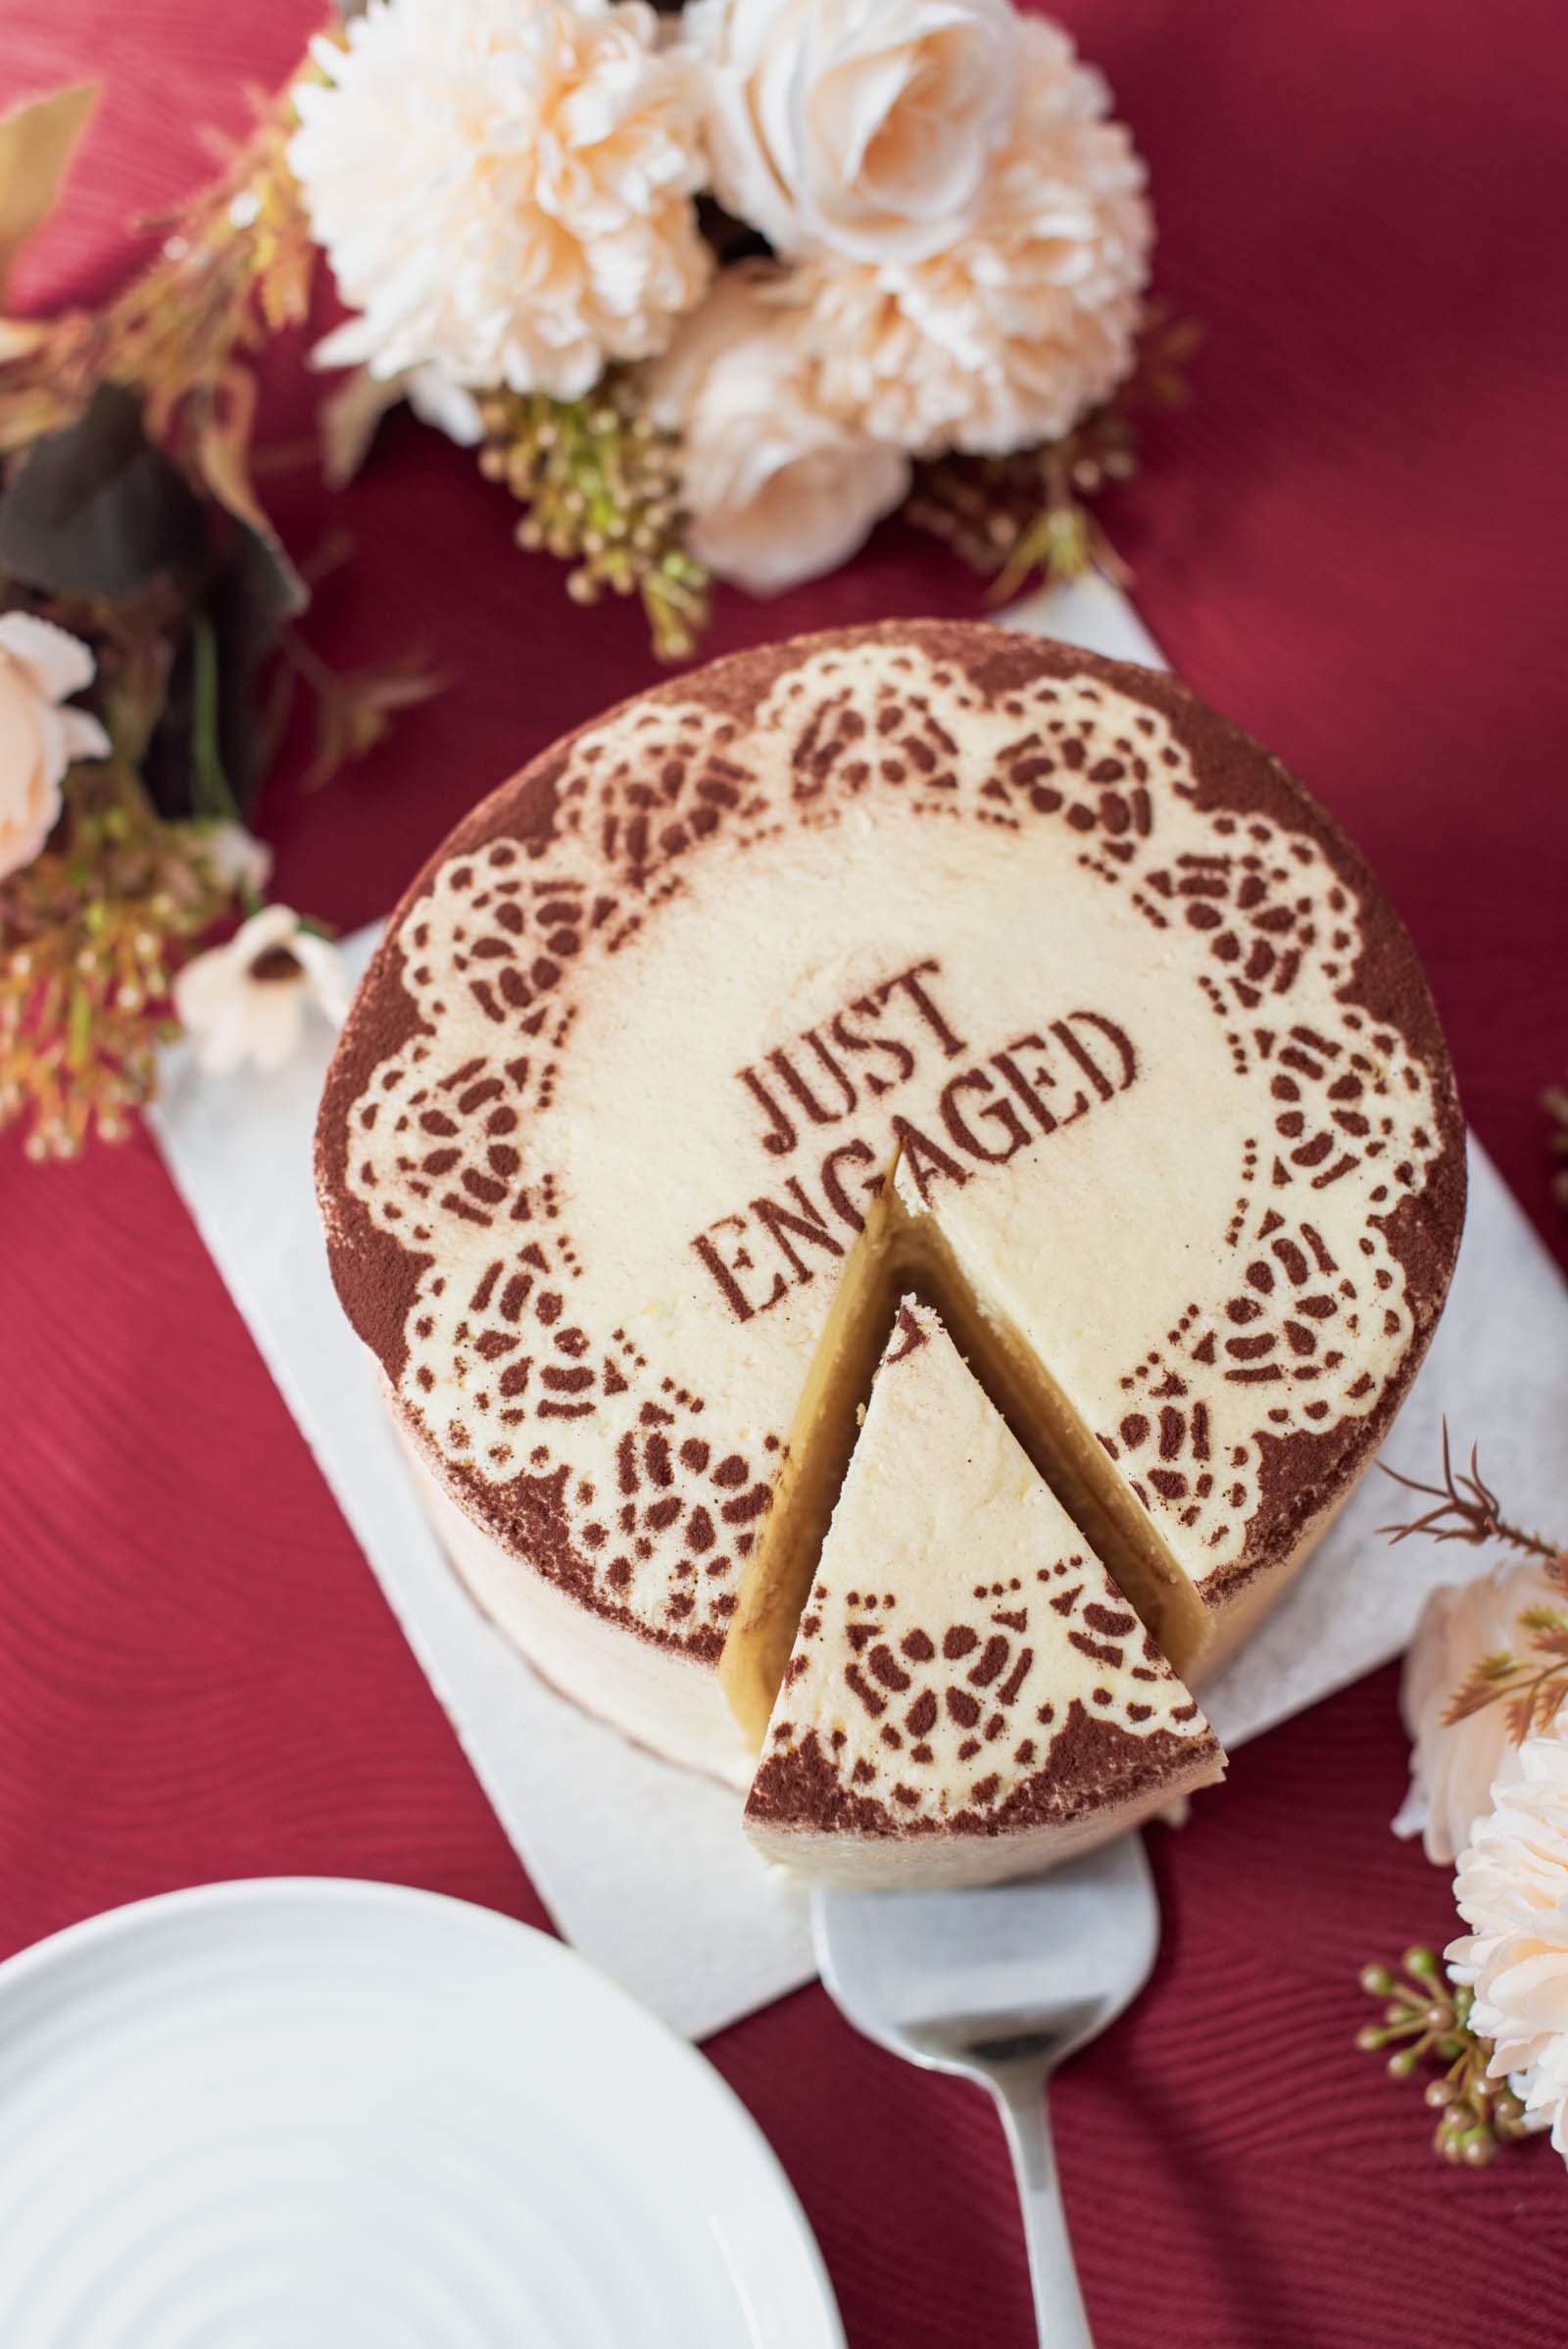
7Dust your cake. When it's near time to serve your cake, place some parchment or wax paper around the edges of your cake to protect the plate it's on from rogue cocoa powder. Place your stencil on your chilled cake. Using your fine mesh strainer, scoop a spoonful of cocoa powder into it (if needed) and lightly sift over your stencil as you did before. Once covered to your satisfaction, remove the stencil and bask in your personalized engagement cake!
PRO TIMING TIP: Cocoa powder isn't a fan of moisture so this you shouldn't dust your cake too far in advance. A general rule of thumb is ideally just before serving, but no more than a couple of hours if you want that perfect engagement picture look. With that said, from this tutorial experience, we had our cake leftovers in the fridge overnight, and it still looked pretty good next day! Your cocoa powder design may survive quite well depending on your type of cake frosting.
Frequently Asked Questions: DIY Cricut Cake Stencils
Is Cricut acetate safe for cakes?
Craft-store (or Cricut brand) acetate sheets and Cricut machines are not certified food-safe, but you can safely use acetate as a temporary cake stencil with proper preparation. Always wash your cut stencil with warm, soapy water before use, and use it only as a brief shield while dusting cocoa powder or edible luster dust. It's not recommended to leave non-food-safe acetate resting on the cake for long periods.
How do you stop cocoa powder from bleeding under a cake stencil?
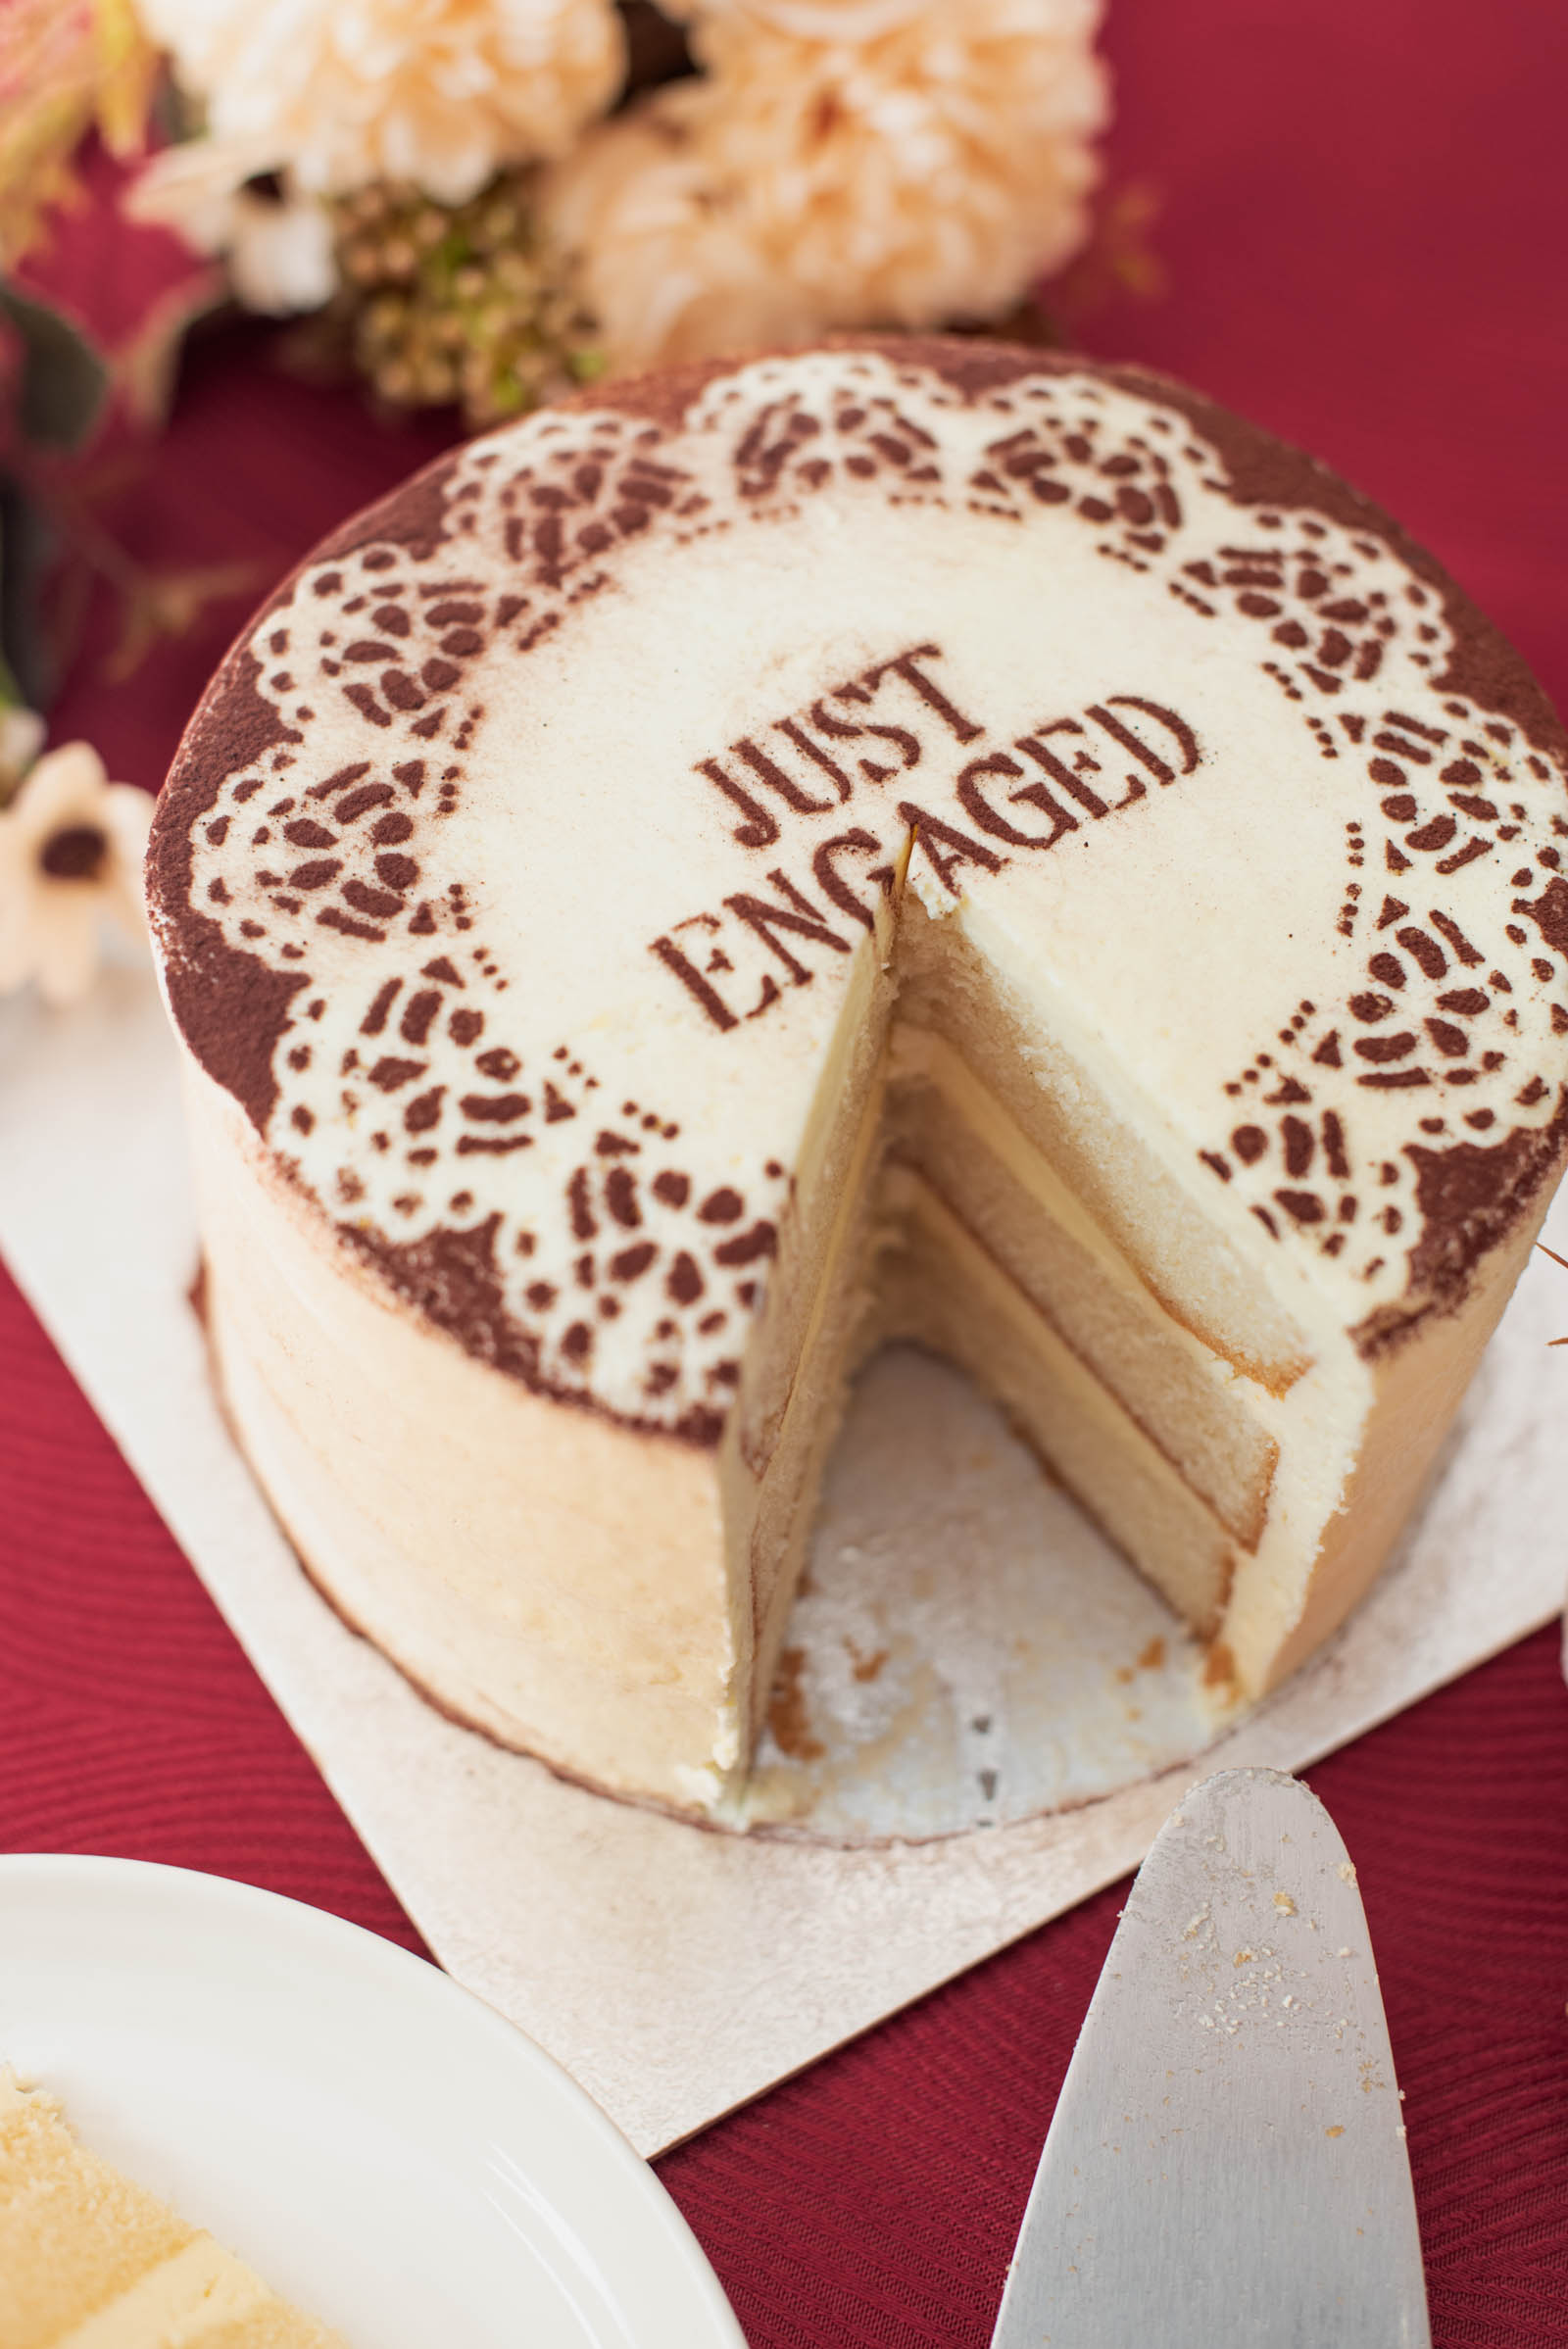
To keep cocoa powder from smudging under a stencil, chill your cake in the fridge for 20-30 minutes until the frosting is firm to the touch. Hold a fine-mesh tea strainer or sifter about 4 inches above the cake, dust lightly with your finger by tapping the side of the strainer. Once all covered in cocoa, carefully lift the acetate stencil with two hands straight up in one smooth movement. And whatever you do, don't accidentally blow on it like we did as you can see in the final photos! Oops.
Which Cricut machine is best for cutting acetate stencils?
All current Cricut models (including the Cricut Joy, Cricut Joy Xtra, Cricut Explore, and Cricut Maker machines) can cut thin acetate cake stencils using a fine-point blade. For thick acetate or rigid stencil material, you may need a deep-point blade which is only available for the Explore and Maker machines at the time of writing.
Make This Cake Stencil Yours
There's something especially satisfying about taking a simple store-bought cake and giving it a detail that feels completely your own. With a Cricut and a homemade acetate stencil, even a small engagement party cake can become a personalized part of the celebration.
And that's the beauty of this DIY: you don't need to reinvent the cake! Choose a stencil that reflects your style, add a dusting of cocoa powder, and let that one thoughtful detail do the decorating for you.
Whether your celebration is inspired by lace, the latest tiramisu trend, or simply a design you love, this easy Cricut cake stencil technique is one more way to make the little moments leading up to your wedding feel like yours.
Ready to tackle more Cricut wedding DIY projects? Head over to our Wedding DIY Hub for all the education and inspo you need to get started.

WRITTEN BY
Chelsea Barton
Founder & Wedding DIY Expert
A former wedding photographer, the founder of Tidewater and Tulle, and author of Cricut Weddings, Chelsea Barton has been helping couples bring their dream weddings to life through creative, approachable ideas since 2009. Her insight and work have been featured in Martha Stewart Weddings, Southern Living, and other top publications around the world. She combines editorial expertise and real-world insight to inspire meaningful celebrations.
TUTORIAL CREDITS
Photography and Video: Chelsea Barton
Editor's Note: Some above product links may be partner-connected and purchasing through these links means we get a small commission from those brands that helps support this website. You can find our full affiliate disclosure policy here on Tidewater and Tulle.